

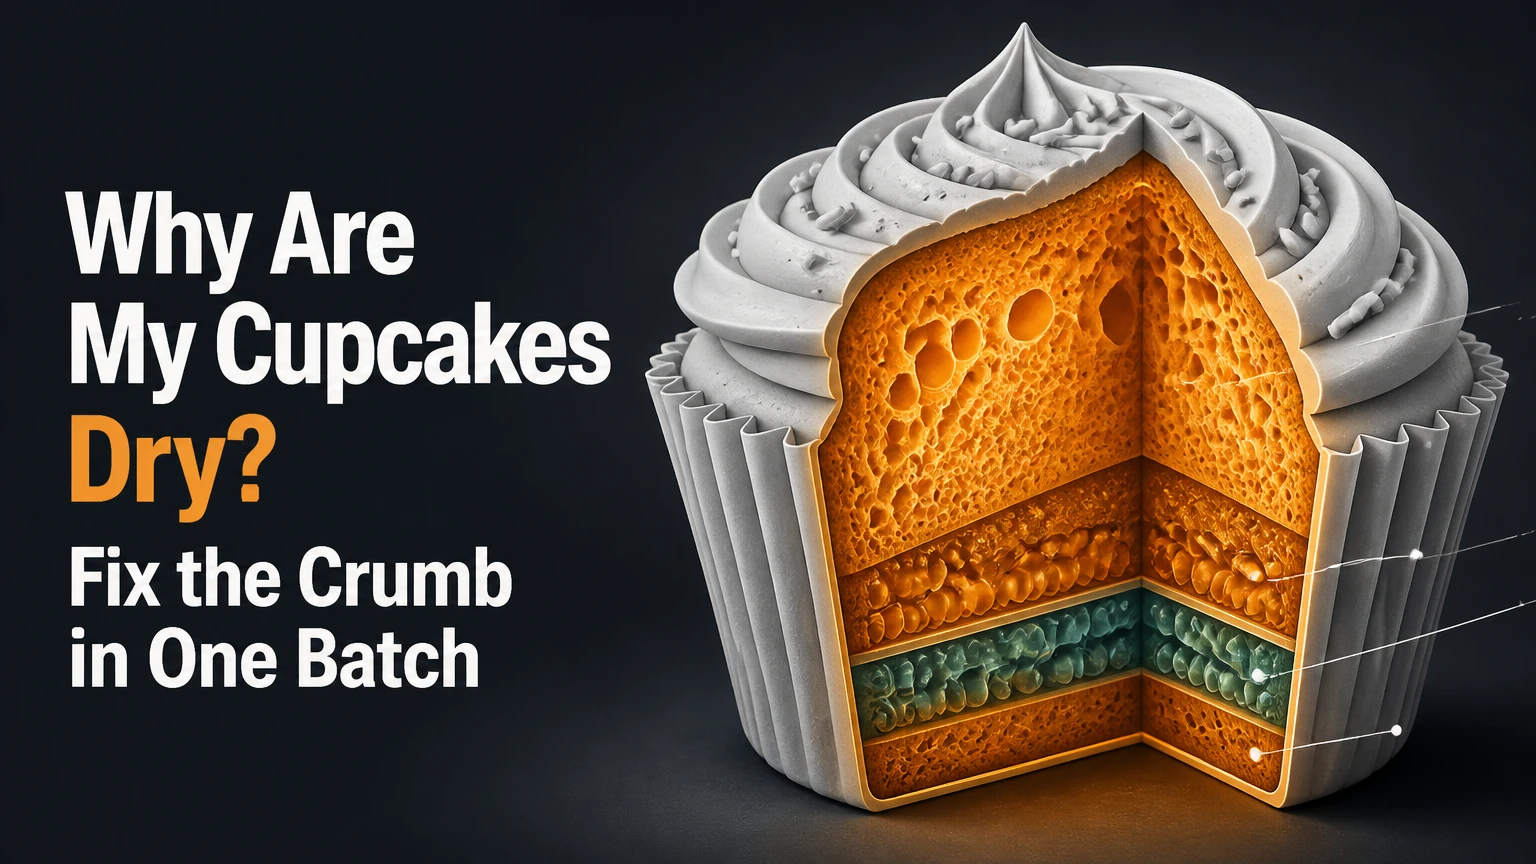
Dry cupcakes usually result from too much flour, too little moisture-retaining fat or sugar, overmixing, or excessive baking. Oven heat turns water from milk, eggs, and butter into steam, and every extra minute removes more moisture. A cupcake can also feel dry when chilled butter firms the crumb or when uncovered storage allows moisture to escape.
Key Facts at a Glance
Overbaking is the most common reason cupcakes lose moisture after the crumb has already set.
A cup of flour can weigh about 120-150 grams when scooped, while many recipes expect approximately 120 grams.
Oil-based cupcakes usually feel softer at room temperature than butter-only cupcakes.
Cupcakes are typically ready when a toothpick shows a few moist crumbs, not when it comes out bone-dry.
A typical rescue amount is 1-2 teaspoons of simple syrup per standard cupcake.
Airtight storage should begin after cupcakes cool, because uncovered cake loses moisture quickly.
What Causes Dry Cupcakes?
Dry cupcakes occur when the baked crumb loses more water than the recipe can retain, or when the formula creates a firm structure around too little available moisture. The main variables are flour quantity, liquid, sugar, fat, egg composition, mixing, baking time, and storage.
Cake flour, all-purpose flour, cocoa powder, egg whites, and starches build structure or absorb liquid. Sugar, egg yolks, butter, oil, milk, yogurt, and sour cream soften the crumb by holding or distributing moisture. The result depends on their ratio, not on one ingredient alone.
A dry cupcake may have a light texture and still lack moisture. A tough cupcake has excessive structure, often from overmixing or too much flour. A crumbly cupcake may have too little binding, too much fat, insufficient egg, or a formula disturbed by substitutions.
How Do Flour, Sugar, Fat, and Eggs Change Texture?
Flour absorbs liquid and forms a protein network that supports the cupcake. Sugar competes with flour for water, while fat coats some flour particles and limits gluten development. Egg whites add structure; egg yolks contribute fat and emulsifiers that help water and fat remain evenly dispersed.
| Ingredient or variable | Primary function | Typical drying risk | Practical correction |
|---|---|---|---|
| All-purpose flour, 120-150 g per cup | Structure and starch | Extra 20-30 g can produce a dry crumb | Weigh flour or spoon and level it |
| Granulated sugar, 150-200 g per cup | Water binding and tenderness | Cutting sugar too far reduces moisture retention | Preserve the tested recipe ratio |
| Butter, 80-115 g per 1/2 cup | Fat, flavor, aeration | Firms when chilled and can feel dry | Serve at room temperature or replace part with oil |
| Vegetable oil, 100-110 g per 1/2 cup | Liquid fat and softness | Excess can weaken structure | Replace only 25-50% of butter unless reformulating |
| Egg whites, 30-35 g each | Protein structure and water | Extra whites can make a firm, dry crumb | Use whole eggs when tenderness matters |
| Egg yolks, 17-20 g each | Fat and emulsification | Removing yolks reduces tenderness | Add a yolk only when the recipe can support it |
| Cocoa powder, 5-7 g per tablespoon | Flavor, color, absorbent solids | Replacing flour gram-for-gram can reduce hydration | Add liquid or use a tested chocolate formula |
Baker’s percentages provide useful direction, but they are not a universal cupcake law. Many butter cakes have sugar close to flour by weight, yet sponge cakes, reduced-sugar recipes, and high-cocoa formulas use different balances. A recipe’s method and ingredient type matter as much as the headline ratio.
How Does Oven Heat Remove Moisture?
Oven heat dries cupcakes when the baking period continues after the interior structure has set. Water in milk, eggs, butter, and other liquids becomes vapor, and that vapor escapes through the porous crumb. A high oven temperature accelerates browning and edge drying before the center finishes.
Cupcakes generally bake well at 160-175°C, or 325-350°F, in a conventional oven. For a fan-assisted oven, a common adjustment is 15-20°C lower, although the oven manufacturer and recipe may specify a different setting.
Cupcake liners, pan color, cavity size, and rack position alter heat transfer. Dark metal pans absorb more radiant heat than pale aluminum pans, and mini cupcakes lose moisture faster because they have a greater surface-area-to-volume ratio.
What Internal Temperature Should Cupcakes Reach?
Most standard cupcakes are typically finished at approximately 93-98°C, or 200-208°F, in the center, but internal temperature is a guide rather than an absolute rule. A thermometer can damage a small cupcake and may read differently near a chocolate chip, pocket of filling, or pan wall.
Use three checks together:
- Begin checking 3-5 minutes before the recipe’s earliest finish time.
- Insert a wooden pick into the center, avoiding frosting, chips, or filling.
- Look for a few moist crumbs and a surface that springs back lightly.
| Symptom after baking | Likely heat problem | Typical evidence | Next-batch adjustment |
|---|---|---|---|
| Dry edges, pale center | Pan too full or oven too hot | Edges set 5-10 minutes before center | Fill cavities 1/2-2/3 full and reduce heat 5-10°C |
| Dry top, moist center | Top heat or fan too strong | Dome feels firm while center jiggles | Move pan to the middle rack |
| Uniformly dry crumb | Baking time too long | Toothpick is completely clean | Remove 3-5 minutes earlier |
| Brown crust and raw middle | Oven runs hot | Surface darkens before center reaches 90°C | Check oven with a separate thermometer |
| Dry mini cupcakes | Small size loses water quickly | Crumb dries within 1-2 minutes after doneness | Start checking 3-4 minutes earlier |
| Dry cupcakes in one area | Oven hot spot | Neighboring cupcakes differ visibly | Rotate once after the structure begins setting |
An oven display is not proof of oven accuracy. An inexpensive oven thermometer can reveal a 10-25°C difference, which is enough to alter cupcake moisture and baking time.
Which Cupcake Base Stays Moistest?
Oil-based cupcakes usually remain softer after cooling because liquid oil does not solidify at room temperature. Butter cakes provide stronger flavor and a pleasant fresh-baked texture, but chilled butter can make the same cupcake seem dry. Sponge cakes need careful baking because they contain less fat to buffer moisture loss.
| Cupcake base | Main moisture source | Texture at room temperature | Best correction for dryness |
|---|---|---|---|
| Butter cake | Butter, eggs, milk | Tender fresh, firmer when chilled | Use room-temperature ingredients or replace 25% of butter with oil |
| Oil cake | Vegetable oil, milk, buttermilk | Soft for 1-3 days when sealed | Avoid overbaking and preserve the liquid ratio |
| Foam sponge | Whipped eggs and sugar | Light, delicate, quick to stale | Brush 1 teaspoon syrup per cupcake after cooling |
| Chocolate cake | Oil or butter, milk, cocoa | Soft when hydrated, firm when cocoa is high | Add sour cream, yogurt, or recipe-specified liquid |
| Red velvet cake | Oil, buttermilk, cocoa | Moist and flexible | Do not reduce buttermilk or oil without reformulation |
| Filled cupcake | Cake plus jam, curd, or cream | Moist center, variable outer crumb | Seal the surface and fill only after cooling |
Butter is not inherently a dry ingredient. Butter contains roughly 15-18% water, but its fat becomes firm as the cupcake cools. Oil contributes no water, yet it keeps the crumb soft because it remains liquid and interferes with firm fat crystallization.
That distinction explains a common misdiagnosis. A butter cupcake taken directly from the refrigerator may seem dry even when its moisture level is acceptable. Let it stand at room temperature for 30-60 minutes before changing the recipe.
Why Are Chocolate Cupcakes Especially Dry?
Chocolate cupcakes often dry out because cocoa powder absorbs liquid and adds fine particles that compete with flour starch for hydration. The effect becomes stronger when natural or Dutch-process cocoa is increased without adding the liquid specified by the original formula.
Cocoa cannot always replace flour gram-for-gram. Cocoa has different particle size, acidity, fat content, and water absorption, so a substitution can change both hydration and leavening. A recipe that replaces 30 g of flour with 30 g of cocoa may require additional liquid or fat.
Sour cream, yogurt, buttermilk, brewed coffee, and hot water are common formula-specific additions. They are not interchangeable in every recipe because acidity affects baking soda, while water changes viscosity without adding fat.
| Chocolate adjustment | Typical amount for 12 cupcakes | Moisture effect | Main limitation |
|---|---|---|---|
| Unsweetened cocoa powder | 25-45 g | Adds absorbent solids | Can create dryness if liquid stays unchanged |
| Sour cream | 60-120 g | Adds fat and water | Heavy amounts can reduce rise |
| Plain yogurt | 60-120 g | Adds water, protein, and acidity | Thick yogurt may need loosening |
| Buttermilk | 120-180 g | Adds liquid and acidity | Requires compatible leavener |
| Hot water or coffee | 60-120 g | Hydrates cocoa and loosens batter | Too much can weaken structure |
| Vegetable oil | 60-100 g | Keeps crumb soft after cooling | Excess may make the center greasy |
Did Flour Measurement Make the Cupcakes Dry?
Incorrect flour measurement can make cupcakes dry because packed flour adds more starch and protein than the recipe intended. A typical 240 ml measuring cup may hold about 120 g of spooned-and-leveled all-purpose flour, but direct scooping can produce approximately 130-150 g.
For a recipe calling for 240 g of flour, two heavily packed cups can add 20-60 g beyond the intended amount. That error is large enough to absorb liquid, reduce spread, and create a tight crumb.
Use a digital scale whenever possible. If volume measurement is necessary, stir the flour, spoon it into the cup without compressing it, and level the top with a straight edge. Do not tap the cup on the counter.
How Much Flour Is Right for a Cupcake Recipe?
The correct flour quantity is the gram amount in the recipe, not a generic cup conversion. Typical 12-cupcake formulas use approximately 120-180 g flour, depending on egg size, sugar, fat, cocoa, and liquid.
| Formula type for 12 cupcakes | Flour or flour solids | Typical sugar | Typical liquid or egg mass |
|---|---|---|---|
| Light vanilla cake | 150-180 g | 140-200 g | 120-180 g |
| Oil-based vanilla cake | 140-175 g | 150-210 g | 150-210 g |
| Chocolate cake | 110-150 g plus 25-45 g cocoa | 160-220 g | 170-240 g |
| Reduced-sugar cake | 160-190 g | 90-140 g | 120-180 g |
| Sponge-style cupcake | 100-150 g | 120-180 g | 100-160 g |
These ranges are typical working ranges, not replacement formulas. Changing flour, sugar, or liquid independently can disturb leavening, batter viscosity, and structural strength.
Can Overmixing Make Cupcakes Dry?
Overmixing can make cupcakes dry by developing more gluten in wheat flour and producing a firm, elastic crumb. Excess mixing can also deflate aerated batter or break an emulsion, so the finished cupcake may be dense, uneven, and dry at the edges.
For creamed butter cakes, beat butter and sugar until lighter and aerated, then add eggs gradually so the mixture stays emulsified. Add flour and liquid in alternating portions if the recipe directs it, mixing on low speed only until no dry streaks remain.
For oil-based cakes, whisking is usually enough. Once flour is hydrated, continued high-speed mixing increases structure without improving tenderness.
The practitioner rule is simple: mix aggressively during the aeration stage, then become conservative after flour enters. A smooth batter is not necessarily a better batter.
Do Cold Ingredients Cause Dry Cupcakes?
Cold ingredients can contribute to uneven texture in butter-based cupcakes because cold eggs or milk may cause the butter mixture to curdle. A broken emulsion distributes fat and water less evenly, which can produce dense patches that feel dry.
Room-temperature eggs, milk, and butter usually fall near 20-22°C. Softened butter should indent under light pressure but remain cool, not oily or melted.
Ingredient temperature matters less in an oil-based recipe. Oil does not need creaming, so cold milk may be less disruptive, although large temperature differences can still affect batter viscosity and bake time.
Can Dry Cupcakes Be Saved?
Slightly dry cupcakes can usually be improved with simple syrup, frosting, or a filling. Severely overbaked cupcakes cannot be returned to their original crumb because the lost water and changed protein-starch structure cannot be fully reversed.
Step 1: Test the Damage
Cut one cupcake through the center. A slightly dry cupcake has a coherent crumb with a firm chew. A severely overbaked cupcake has hard edges, loose crumbs, a hollow dryness in the mouth, or a crust that separates from the interior.
Do not soak every cupcake before testing one. Too much syrup can create a gummy base.
Step 2: Apply a Small Amount of Syrup
Make simple syrup with equal weights of sugar and water, heating until the sugar dissolves. Cool it until warm or room temperature, then brush 1-2 teaspoons over each standard cupcake.
For mini cupcakes, use 1/4-1/2 teaspoon. For jumbo cupcakes, use 2-3 teaspoons. Poke 4-6 shallow holes in the top, apply half the syrup, wait 5 minutes, then add more only if the crumb still feels dry.
Vanilla, citrus zest, or coffee can flavor the syrup. Avoid soaking the wrapper because liquid can soften the paper and make the cupcake difficult to handle.
Step 3: Add a Moisture Barrier
Frosting reduces moisture exchange between cake and air. Pipe or spread frosting to the edge of the cupcake so exposed cake does not continue drying.
A filling can improve a dry center, but it cannot repair a hard outer ring. For severely dry cupcakes, cut them into cubes for layered desserts or crumble them into a trifle rather than adding enough syrup to make them wet.
How Do Storage and Frosting Affect Dryness?
Cupcakes lose moisture fastest when they are uncovered, warm, or exposed to moving air. Store cooled cupcakes in a genuinely airtight container, and avoid refrigeration unless the frosting or filling requires it.
Do not seal steaming-hot cupcakes. Condensation can wet the tops and create sticky liners. Cool cupcakes until no warmth remains, then cover them promptly.
Refrigeration firms butter, starch, and some frostings. If refrigerated cupcakes are safe to serve cold, allow 30-60 minutes at room temperature before judging their texture.
| Storage condition | Typical texture change | Recommended duration | Best practice |
|---|---|---|---|
| Uncovered room temperature | Noticeably drier crust | 2-6 hours | Cover after cooling |
| Airtight room temperature | Soft crumb retained | 1-2 days | Keep away from sunlight and heat |
| Airtight refrigerator | Firm butter and starch | 2-4 days | Bring to room temperature before serving |
| Double-wrapped freezer | Slow moisture loss | 1-2 months | Thaw sealed to limit condensation |
| Frosted airtight container | Protected surface | 1-2 days | Keep frosting from touching the lid |
Frosting does not add moisture evenly throughout a dry cupcake. It protects the top and changes perceived richness, but the interior still needs adequate hydration or a measured soak.
Why Are the Edges Dry but the Center Wet?
Dry edges with a wet center usually indicate uneven heat transfer, overfilled cavities, an inaccurate oven, or a batter that is too fluid for its structure. The outer crumb sets first because it is closest to the hot pan, while the center continues receiving heat more slowly.
Fill standard liners about one-half to two-thirds full. Use the pan size specified by the recipe, because converting a mini cupcake recipe to standard cavities changes the surface-area and baking-time relationship.
If the tops brown before the centers set, reduce the oven temperature by 5-10°C and extend the bake slightly. Do not simply remove the cupcakes early, because the wet center may collapse and leave the edges overdone.
Check whether the oven rack is too close to the top or bottom heating element. A middle rack generally produces more balanced heat in a conventional home oven.
What Is the Most Reliable Prevention Method?
The most reliable prevention method is to weigh flour, use the recipe’s stated pan size, verify oven temperature, and start checking cupcakes before the maximum baking time. These controls address the highest-impact variables without changing the formula unnecessarily.
A Practical Prevention Workflow
- Weigh flour and cocoa in grams.
- Measure liquids by weight or a level measuring jug.
- Bring butter, eggs, and dairy to approximately 20-22°C when using the creaming method.
- Preheat for at least 15 minutes, then verify temperature with an oven thermometer.
- Fill liners consistently, using a scoop that dispenses the same mass.
- Bake on the middle rack with space around the pan.
- Check color, spring, crumbs, and temperature near the early end of the time range.
- Cool in the pan for 5 minutes, then transfer cupcakes to a rack.
- Seal completely cooled cupcakes in an airtight container.
A scale improves repeatability more than adding an extra egg yolk to an unknown recipe. Extra yolk can soften a suitable formula, but it can also alter rise, richness, and baking time.
What Should Beginners Change First?
Beginners should change measurement and baking control before changing ingredients. Oil-based recipes are often more forgiving at room temperature, but an oil cake still becomes dry when overbaked or stored uncovered.
For a boxed mix, follow the package formula first. Adding sour cream, oil, or an egg yolk may improve some mixes, but those additions can make the batter heavier and extend baking time. Change one variable per batch so the result remains interpretable.
What Should Scratch Bakers Change?
Scratch bakers should preserve the recipe’s total flour, sugar, and liquid balance while changing only one moisture variable. Replacing 25-50% of butter with oil can improve softness, but the flavor and aeration profile will change.
Honey or corn syrup can bind water because invert sugars remain liquid, yet one tablespoon per 12-cupcake batch is usually enough to test the effect. More can produce a sticky surface, excessive browning, or a gummy crumb.
What Should High-Volume Bakers Change?
Commercial bakers should control bake loss, portion mass, oven uniformity, and packaging time. A typical production test weighs one cupcake before and after baking, then compares the result across oven zones.
A syrup brush or injection can improve consistency after baking, but it masks an unstable formula if used to compensate for large batch variation. Wrapped, cooled bases generally retain texture better than exposed display cupcakes.
Which Fix Matches the Symptom?
The best correction depends on when the dryness appears and where it occurs. Change the variable that matches the evidence instead of adding liquid automatically.
| Observed problem | Most likely cause | First correction | Avoid |
|---|---|---|---|
| Dry everywhere | Overbaking or excess flour | Weigh flour and reduce bake time 3-5 minutes | Adding large amounts of liquid |
| Crumbly and pale | Low binding or underdeveloped structure | Check eggs, flour, and leavener | More oil without testing |
| Tough and chewy | Overmixing or excess flour | Mix briefly after flour enters | Beating until perfectly smooth |
| Dry only when cold | Butter firming | Serve at room temperature | Rewriting a sound recipe |
| Chocolate and dusty | Cocoa underhydrated | Add recipe-specified dairy or water | Equal flour-to-cocoa swaps |
| Dry after one day | Poor packaging | Seal in an airtight container | Leaving cupcakes on a cooling rack |
| Wet middle, dry rim | Overfilled or hot oven | Reduce fill and verify temperature | Shortening bake time alone |
One counterintuitive truth matters here: adding liquid can make cupcakes wetter but not moister. Excess liquid may create a gummy, weak crumb while the original problem, usually overbaking or excess flour, remains.
Frequently Asked Questions
Can I add milk to cupcake batter to make it moist?
Add milk only when the recipe has enough structure and leavening to support it. An untested extra splash can thin the batter, weaken the crumb, and extend baking time. For an established recipe, replace a specified water portion with whole milk or buttermilk rather than adding liquid on top of the original quantity.
Why are my cupcakes dry the next day?
Cupcakes become dry the next day when moisture migrates from the crumb and escapes through the container or when starch firms during cooling. Seal cooled cupcakes immediately, keep them at room temperature when food safety allows, and let refrigerated butter-based cupcakes warm for 30-60 minutes before evaluating them.
Should I use oil instead of butter for moist cupcakes?
Oil usually produces a softer cupcake after cooling because liquid oil stays fluid at room temperature. Butter provides stronger flavor and aeration, so a 25-50% butter-to-oil substitution can balance tenderness and taste, but the change may require a small adjustment to mixing and baking time.
Can I use simple syrup on every cupcake?
Simple syrup is useful for sponge cakes and slightly overbaked cupcakes, but it should not be automatic. Start with 1 teaspoon for a standard cupcake, wait 5 minutes, and test the crumb. Excess syrup can create a sticky top, soggy wrapper, or gummy interior.
Why do my cupcake liners pull away from the cake?
Cupcake liners commonly pull away when the cake cools and contracts, when the batter contains high moisture or fat, or when cupcakes are stored in a humid container. Oil on the liner, underbaking, and condensation can worsen separation, but liner detachment alone does not prove the cupcake is dry.
Are dry cupcakes safe to eat?
Dry cupcakes are generally safe when they were baked, handled, and stored correctly, although dryness affects quality rather than safety. Mold, unusual odor, visible spoilage, or cream-based fillings held outside safe refrigeration are reasons to discard them instead of attempting a syrup rescue.
The Bottom Line
Why are my cupcakes dry? Start by checking flour weight, bake time, oven accuracy, and storage before changing the recipe. Use a measured 1-2 teaspoons of syrup to rescue a slightly dry standard cupcake, then correct the specific cause: less flour for packed measurements, less time for overbaking, gentler mixing for toughness, and airtight storage for next-day staleness.
