

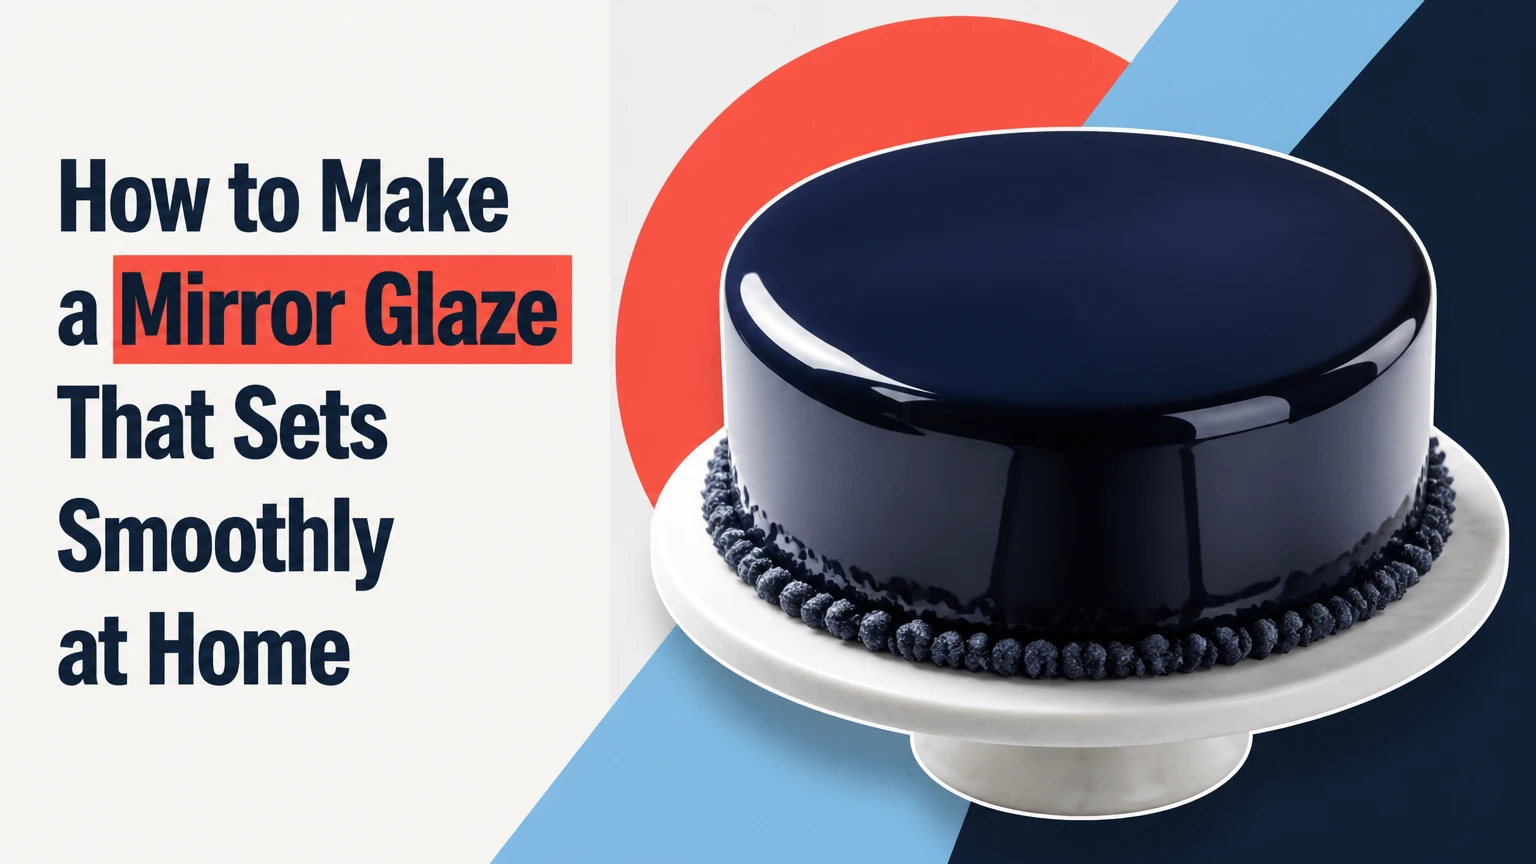
A mirror glaze is made by combining hydrated gelatin, cooked sugar syrup, glucose syrup, condensed milk, and white chocolate, then emulsifying and pouring the mixture at 32-34°C over a cake frozen below -18°C. The smoothest finish depends more on temperature, emulsion, and a frost-free cake than on decorative technique.
Key Facts at a Glance
- A white chocolate mirror glaze yields approximately 650-700 g, enough for one 20 cm cake with generous runoff.
- The finished cake must be frozen solid, typically below -18°C, before glazing.
- The practical pouring range is 32-34°C; below 29°C, the glaze becomes thick and rubbery.
- A digital thermometer, immersion blender, fine sieve, and tall narrow container improve consistency.
- Gelatin sheets and powdered gelatin are interchangeable only after accounting for bloom strength and hydration water.
- Mirror glaze sets in the refrigerator, but the coated cake usually needs 2-4 hours before serving.
What Is a Mirror Glaze?
Mirror glaze, also called glaçage miroir, is a glossy confectionery coating applied to frozen mousse cakes, entremets, and other smooth pastries. The coating forms a thin, flexible layer that sets as the cake warms gradually in the refrigerator.
Mirror glaze is not the same as a pourable icing for a warm sponge cake. A mousse cake provides a firm, even surface, while freezing gives the liquid glaze an immediate setting surface. Without that contrast, the glaze may run, become translucent, or expose dents in the cake.
The standard white chocolate formula below is the most adaptable version for home pastry work. White chocolate supplies cocoa butter and milk solids, condensed milk adds body, glucose interferes with coarse sugar crystallization, and gelatin creates the elastic structure that holds the film together.
What equipment gives the most control?
Use a digital probe thermometer that reads from 20-110°C, a saucepan, kitchen scale, tall narrow immersion-blender container, fine-mesh sieve, heatproof bowl, freezer, and wire rack. A cake turntable is helpful but not required.
A narrow container improves the blender’s contact with the liquid and reduces air intake. A wide bowl makes a small batch difficult to emulsify because the blade draws air from the surface.
How Does Mirror Glaze Work?
Mirror glaze becomes shiny when a stable emulsion forms around sugar syrup, chocolate fat, milk solids, water, and gelatin. Gelatin controls the final set, while glucose, condensed milk, and chocolate reduce the chance that sucrose forms large visible crystals.
The glaze must remain fluid during pouring, then cool quickly against the frozen cake. A cake that is too warm cannot set the coating rapidly, while glaze that is too cold may form ridges instead of leveling.
Callebaut Chocolate Academy gives a practical glazing range of approximately 32-35°C for chocolate-based coatings. The narrower 32-34°C range used here is a useful home-baking target because kitchen thermometers, chocolate brands, and room temperatures vary.
The syrup temperature matters because water loss changes the final concentration. Reaching about 103°C usually produces the right concentration for this formula, but the final pouring temperature is the more important measurement at application.
Before You Start
| Requirement | Typical value | Why it matters |
|---|---|---|
| Active preparation | 20-25 minutes | Includes blooming, heating, blending, and straining |
| Cooling and resting | 2-4 hours | Allows bubbles to rise and the emulsion to stabilize |
| Application window | 10-15 minutes | The glaze thickens as it approaches room temperature |
| Finished yield | 650-700 g | Includes enough excess to coat a 20 cm cake |
| Difficulty | Moderate | Temperature and air control determine the finish |
| Typical ingredient cost | $8-$18 | White chocolate quality creates the largest variation |
For a 16 cm cake, use about two-thirds of the formula or prepare the full batch and save the excess. A generous quantity is necessary because the glaze must flow over the sides in one continuous pour. Scraping up every drip for the first pour often creates streaks.
White chocolate mirror glaze ingredients
| Ingredient | Quantity | Function or specification |
|---|---|---|
| Powdered gelatin | 10 g | Use approximately 200-225 bloom gelatin |
| Cold water for gelatin | 60 g | Hydrates powdered gelatin |
| Granulated sugar | 150 g | Sweetness and dissolved solids |
| Glucose syrup or light corn syrup | 150 g | Controls crystallization and texture |
| Water for syrup | 75 g | Dissolves sugar before heating |
| Sweetened condensed milk | 100 g | Adds milk solids, sweetness, and opacity |
| White couverture chocolate | 150 g | Adds cocoa butter, fat, and structure |
| Gel food coloring | As needed | Add after emulsifying or divide for designs |
Use white chocolate with roughly 28-35% cocoa butter when possible. Compound coating can work, but its vegetable fats may produce a different set and less clean flavor.
Tools and cake prerequisites
The mousse cake needs a smooth exterior without exposed crumbs, frozen fruit, or sharp air pockets. Freeze the assembled cake for at least 6 hours, although overnight freezing gives the most reliable surface.
Remove the cake from its mold only after it is firm. Keep it in the freezer until the glaze reaches working temperature, then inspect the surface for frost. Visible frost becomes water on contact and can cause a pale, broken patch.
How Do You Make a Mirror Glaze?
Make a mirror glaze in seven controlled stages: hydrate the gelatin, cook the syrup, dissolve the gelatin, melt the chocolate, emulsify without air, strain and cool, then pour over the frozen cake. The key checkpoint is a smooth glaze at 32-34°C meeting a completely frozen, frost-free surface.
Step 1: Hydrate the gelatin
Sprinkle 10 g powdered gelatin evenly over 60 g cold water. Leave it for 5-10 minutes until the mixture becomes a firm, swollen gel.
For sheet gelatin, soak sheets in plenty of ice-cold water for 5-10 minutes, then squeeze out the water thoroughly. Sheet weights differ by brand, so use the equivalent gelatin weight rather than assuming every sheet has the same strength.
You will know the gelatin is ready when no dry powder remains and the mass bends as one hydrated piece. The common mistake is adding dry gelatin directly to hot syrup, which can create undissolved granules.
Step 2: Cook the sugar syrup
Place 150 g sugar, 150 g glucose syrup, and 75 g water in a saucepan. Heat over medium heat until the syrup reaches 103°C, checking with a digital thermometer rather than relying on elapsed time.
Do not stir vigorously after the syrup starts boiling. A wet pastry brush can remove sugar crystals from the pan wall if needed, although glucose already reduces crystallization risk.
The syrup should be clear and fully dissolved at the target temperature. A common mistake is stopping when the sugar appears melted, because insufficient concentration can leave a glaze that flows off the cake.
Step 3: Add gelatin and condensed milk
Remove the saucepan from the heat. Stir in the hydrated gelatin until no opaque pieces remain, then add 100 g sweetened condensed milk and mix gently.
The syrup must still be hot enough to dissolve the gelatin, but boiling the gelatin for an extended period can weaken its setting performance. Stir slowly to limit foam.
The mixture is ready when the gelatin disappears completely and the condensed milk is evenly dispersed. If gelatin remains visible, wait 30 seconds and stir again rather than adding more gelatin.
Step 4: Melt the white chocolate
Put 150 g finely chopped white chocolate into a tall, narrow container. Pour the hot syrup and milk mixture over it, then wait 60-90 seconds before blending.
Small chocolate pieces melt more evenly than large chunks. If the chocolate remains partly solid after the resting time, blend briefly or warm the container in short intervals.
The mixture should have no visible shards before extended blending. The mistake to avoid is microwaving the completed glaze aggressively, because localized heat can scorch the chocolate and alter the emulsion.
Step 5: Emulsify without trapping air
Insert the immersion blender until the blade is fully submerged and rests slightly off-center. Blend on low speed while holding the container at a slight angle, keeping the blade below the surface at all times.
Blend for 60-90 seconds, or until the glaze looks uniformly smooth and opaque. Do not pump the blender up and down, because each movement pulls air into the liquid and creates pinholes on the cake.
You will know the emulsion is stable when the glaze flows as one glossy ribbon without separated oil. The common mistake is using high speed to finish faster. High speed can create a foam layer that remains visible after straining.
Step 6: Strain, cover, and cool
Pass the glaze through a fine-mesh sieve into a clean bowl. Press plastic wrap directly onto the surface, then let the glaze cool gradually to 32-34°C.
Resting for 2-4 hours improves the result because bubbles rise and the gelatin, sugar, and chocolate structure stabilizes. If you need to cool the glaze sooner, place the bowl over cool water and stir gently, but do not whisk.
The glaze is ready when the thermometer reads 32-34°C and a spoonful falls in a smooth ribbon. At 36°C or above, the coating may become too thin; below 29°C, it can set before leveling.
Step 7: Pour over the frozen cake
Place the frozen cake on a rack above a lined tray. Remove frost with a clean, dry fingertip immediately before pouring, then pour the glaze onto the center in a continuous spiral that reaches the edge.
Use enough glaze to cover the top and sides without stopping. Allow 3-5 minutes for runoff, then slide a spatula under the bottom edge once to remove hanging drips.
The glaze should form an even coat before the first drip stops. The mistake is touching the top with a spatula, which leaves permanent marks while the gelatin film is setting.
| Stage | Target | Failure if missed |
|---|---|---|
| Gelatin hydration | 5-10 minutes | Grainy or weak setting |
| Sugar syrup | 103°C | Glaze may remain too fluid |
| Chocolate rest | 60-90 seconds | Unmelted chocolate pieces |
| Emulsifying | 60-90 seconds, low speed | Separation or air bubbles |
| Pouring | 32-34°C | Ridges, thin coverage, or runoff |
| Refrigerator setting | 2-4 hours | Soft coating and difficult slicing |
Which Mirror Glaze Base Should You Use?
White chocolate is the best general-purpose base for colored entremets, cocoa glaze is the best choice for deep chocolate flavor, and fruit glaze is best when translucency matters more than vertical coverage. The correct base depends on flavor, color, opacity, and the pastry’s surface geometry.
| Base | Main ingredients | Typical finish | Best application |
|---|---|---|---|
| White chocolate | White chocolate, condensed milk, glucose, gelatin | Opaque, colored, glossy | Mousse cakes and geometric entremets |
| Cocoa | Cocoa powder, sugar, cream, water, gelatin | Dark brown, reflective | Chocolate cakes and tortes |
| Fruit | Purée or juice, sugar, pectin or gelatin | Clear to translucent | Fruit tarts and fruit-topped pastries |
| Neutral nappage | Water, sugar, pectin, glucose | Clear, thin, wet shine | Exposed fruit and pastry decoration |
When should you choose cocoa mirror glaze?
Choose cocoa glaze for chocolate desserts where a dark, less milky coating fits the flavor. Cocoa powder disperses pigment naturally, so the glaze hides tiny bubbles and uneven color better than pale glaze.
Cocoa glaze usually has a narrower visual range. It cannot produce clean pastel colors, and excessive boiling can make cocoa taste harsh. Use it when flavor and a dark finish outweigh color customization.
When is white chocolate the better option?
White chocolate is better for red, blue, green, pastel, metallic, and marbled finishes because its pale base accepts gel or oil-dispersible color. It also gives a thicker, more opaque coat that conceals minor mousse imperfections.
White chocolate glaze is sweeter than cocoa glaze and can taste heavy with a sweet mousse. Pair it with acidic fruit, citrus, yogurt, or dark chocolate inserts rather than stacking it with several sweet fillings.
Why does fruit glaze behave differently?
Fruit glaze relies on pectin or gelatin and contains less chocolate fat, so it usually produces a lighter, more translucent coating. Fruit glaze can slide from vertical sides when the layer is too thin or the fruit releases moisture.
For a fruit tart, brush the glaze onto fruit at approximately 35-45°C according to the pectin product instructions. Fruit glaze is not a direct substitute for the white chocolate formula when you need an opaque coating on a tall mousse cake.
How Do You Color and Marble the Glaze?
Color mirror glaze after emulsifying, using concentrated gel color for ordinary shades and oil-dispersible color when the product contains substantial cocoa butter. Divide the batch into separate cups, then combine colors in one pouring jug without stirring to create controlled ribbons.
Use white glaze for pale colors because dark food coloring cannot reliably make a transparent base opaque. Add color in small increments; excessive gel can dilute the formula slightly and introduce a bitter or artificial taste.
For a marble effect, pour three colors into the same jug in alternating amounts. Do not shake the jug or blend the colors together. Pour from the center and move in a slow circle, because a fast zigzag tends to create bands instead of a soft pattern.
A metallic finish usually works better as a surface dusting or spray after the glaze sets. Mixing dry metallic powder directly into a water-based glaze can leave specks and reduce the mirror effect.
What Are the Most Common Mirror Glaze Problems?
Most mirror glaze failures come from temperature, air, surface moisture, or formula balance rather than from the pouring motion itself. Identify the visible symptom first, then adjust one variable instead of changing gelatin, chocolate, and temperature simultaneously.
| Symptom | Likely cause | Immediate correction | Prevention |
|---|---|---|---|
| Dull or matte surface | Glaze too hot or cake too warm | Cool glaze to 32-34°C; refreeze cake | Use a thermometer and freeze overnight |
| Pinholes and bubbles | Blender drew air into glaze | Strain, rest, and skim foam | Keep blade submerged and use low speed |
| Glaze slides off | Frost, condensation, or glaze above 35°C | Refreeze cake and cool glaze 1-2°C | Wipe frost immediately before pouring |
| Thick rubbery coat | Glaze below 29°C or excess gelatin | Warm in 5-second bursts | Recheck gelatin weight and temperature |
| Streaks or thin sides | Too little glaze or interrupted pour | Rewarm remaining glaze and repour once | Prepare 1.5 times the cake’s surface requirement |
| Cracks during slicing | Coating too thick or cake too cold | Allow gradual refrigerator thawing | Use a thinner pour and a warm knife |
Why is the glaze dull?
A dull mirror glaze usually results from a cake that was not cold enough, a glaze poured too hot, or a broken emulsion. The coating needs to set quickly against the cake, but excessive heat thins the film before gelatin can establish its structure.
If the surface is dull immediately, do not add more gelatin. Check the cake temperature and glaze temperature first. A second coating rarely restores a mirror finish once the first layer has partially set.
Why are there bubbles?
Micro-bubbles enter when an immersion blender breaks the surface, when the glaze is whisked, or when it is poured from a great height. A tall container and submerged low-speed blending reduce the problem at its source.
Strain the glaze once, cover it directly, and allow it to rest. Before pouring, tap the container gently against the counter and skim visible foam from the surface.
Why does glaze slide down the cake?
Sliding occurs when the cake has frost or condensation, when the glaze is too warm, or when the coating is too fluid for the cake’s shape. Vertical sides need a slightly thicker glaze than a flat tart surface.
Refreeze the uncoated cake until hard, remove moisture immediately before pouring, and cool the glaze by 1-2°C. Do not scrape the glaze back onto the cake after it has begun setting.
Can a failed glaze be reheated?
Reheat mirror glaze gently in 5-10 second microwave intervals or over a warm water bath. Stir between intervals and stop at approximately 32-34°C.
Reblend only when separation is visible, and keep the blender submerged. Repeated reheating can darken white chocolate, weaken the gelatin texture, and increase the chance of bubbles, so reheat once whenever possible.
How Should You Store and Reuse Mirror Glaze?
Store unused mirror glaze in an airtight container with plastic wrap touching the surface, refrigerated at 2-5°C for up to 7 days for best quality. Commercial kitchens may hold some formulas longer, but home cooks should follow the shortest date on the dairy and chocolate ingredients.
To reuse it, warm the glaze slowly, stir until uniform, strain if needed, and return it to 32-34°C. Do not repeatedly cool and reheat the same batch because the texture and color can deteriorate.
| Storage situation | Temperature | Typical limit | Required action |
|---|---|---|---|
| Fresh unused glaze | 2-5°C | Up to 7 days | Seal with film touching surface |
| Frozen unused glaze | -18°C | About 1 month | Thaw overnight in refrigerator |
| Coated mousse cake | 2-5°C | 2-3 days | Keep uncovered only briefly |
| Room-temperature working batch | 20-24°C | 1-2 hours | Recheck temperature before use |
| Leftover runoff | 2-5°C | Up to 3 days | Strain before reheating |
The finished cake should thaw in the refrigerator, not on the counter. Slow thawing reduces condensation, preserves the mousse texture, and keeps the glaze attached to the surface.
What Variations Work for Different Cakes?
A stable white chocolate base can be adapted for color and flavor, but reducing the chocolate or gelatin changes the coating’s setting behavior. Make one complete batch successfully before changing the formula for a special design.
- For a strongly acidic fruit mousse: Add citrus zest or fruit flavor to the mousse rather than adding large amounts of juice to the glaze. Extra water can weaken the coating.
- For a dark finish: Replace the white chocolate formula with a cocoa glaze containing cocoa powder, cream, sugar, water, and gelatin. Use the same frozen-cake and temperature principles.
- For fruit tarts: Use a pectin or neutral nappage glaze, applied with a brush at the manufacturer’s specified temperature. It is thinner and more translucent than mirror glaze.
- For gelatin-free pastry: Use a suitable commercial pectin or agar formulation designed for glazing. Agar sets more firmly and can become brittle, so a direct one-to-one gelatin replacement is unreliable.
Mirror glaze is poorly suited to rough buttercream, warm cakes, whipped cream exposed to air, and desserts that cannot be frozen. It can cover a very smooth ganache or buttercream cake if the surface is chilled hard, but the finish will reveal dents that mousse can conceal.
How Much Mirror Glaze Do You Need?
Prepare approximately 1.5 times the amount needed to cover the cake because runoff is part of the application process. A 20 cm round cake generally needs 600-700 g of working glaze, while a 16 cm cake often needs 400-500 g.
| Cake size | Cake height | Working glaze | Typical finished coating |
|---|---|---|---|
| 16 cm round | 5 cm | 400-500 g | 250-325 g |
| 18 cm round | 5-6 cm | 500-600 g | 325-400 g |
| 20 cm round | 5-6 cm | 600-700 g | 400-475 g |
| 22 cm round | 6 cm | 750-900 g | 500-625 g |
| 20 cm square | 5-6 cm | 700-850 g | 475-575 g |
The finished coating weighs less than the prepared batch because excess glaze falls through the rack. Collect runoff only if it has not touched crumbs, fruit, or the tray.
FAQ
Can mirror glaze go directly on a sponge cake?
Mirror glaze performs best on a frozen mousse or ganache surface, not directly on porous sponge. A sponge can absorb moisture and produce an uneven, dull coating. Cover the cake with a smooth layer of ganache or buttercream, chill it until firm, and test a small amount before committing to the full pour.
Can you make mirror glaze without condensed milk?
Yes, but condensed milk contributes milk solids, sweetness, opacity, and body. Replacing it with cream or milk changes the water and fat balance, so use a tested alternative formula rather than substituting equal volumes. A cocoa-based glaze is often a simpler choice when condensed milk is unavailable.
How long should a cake freeze before glazing?
Freeze an assembled mousse cake for at least 6 hours and preferably overnight. The center must be solid, and the surface must be free from frost at the moment of pouring. A shallow cake may freeze sooner, while a tall cake with inserts needs longer for the core to harden.
Why does my mirror glaze show the color of the cake underneath?
A thin glaze layer, pale coloring, or a glaze poured too warm can allow the cake to show through. Use enough glaze for complete coverage, choose a white chocolate base for opacity, and pour at 32-34°C. Dark inserts near the surface may still influence translucent fruit glazes.
Can mirror glaze cover a frozen cheesecake?
Mirror glaze can cover a smooth frozen cheesecake if the top and sides are level and sealed. Freeze the cheesecake until firm, remove surface frost, and confirm that the coating contains enough gelatin or chocolate to adhere. A crumbly baked cheesecake surface should receive a smooth ganache or cream-cheese coating first.
How do you slice a mirror-glazed cake cleanly?
Thaw the cake in the refrigerator for 2-4 hours, then use a long knife warmed in hot water and dried completely. Cut with one confident downward motion and clean the blade between slices. A serrated knife can tear the gelatin film and drag color across the cut surface.
The Bottom Line
To make a mirror glaze successfully, prepare the white chocolate formula with accurate weights, cook the sugar syrup to about 103°C, emulsify without air, and cool the glaze to 32-34°C. Pour it over a solidly frozen, frost-free cake, then refrigerate the coated dessert for 2-4 hours. For this method, temperature control determines the mirror finish more reliably than decorative skill.
