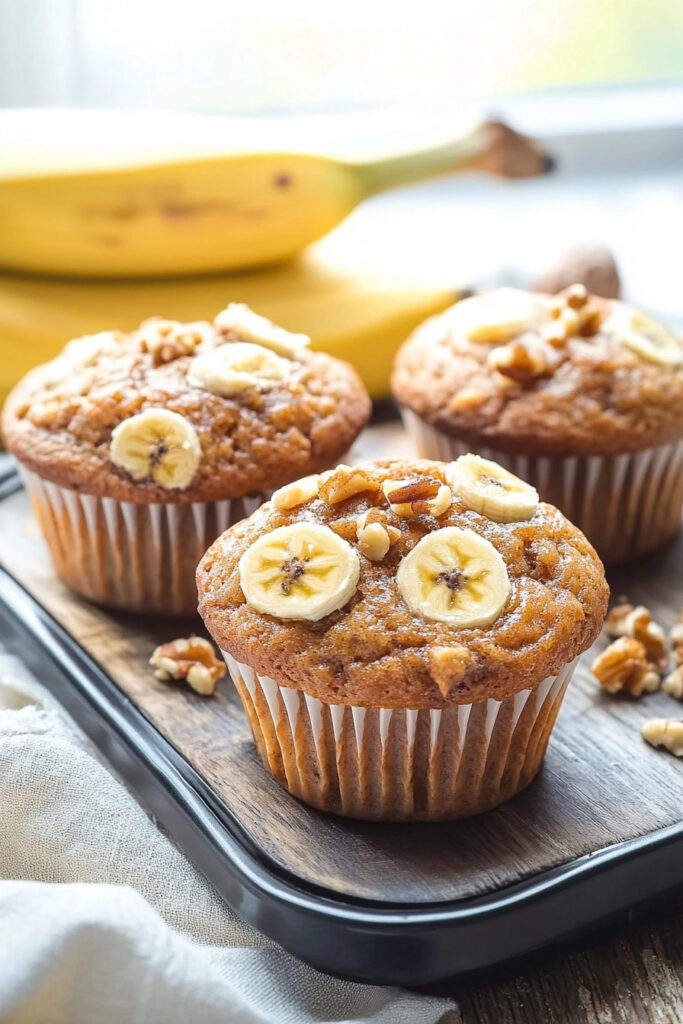
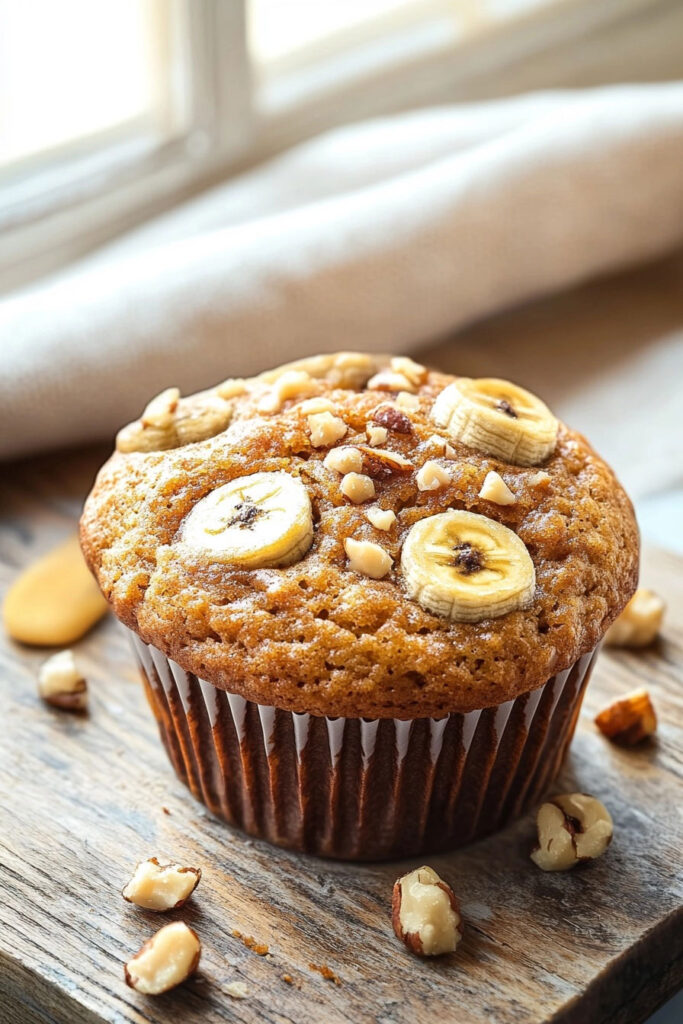
If you’re craving a moist, flavorful treat, look no further than banana nut muffins! These delicious muffins are packed with ripe bananas, crunchy walnuts, and a hint of cinnamon, making them perfect for breakfast or an afternoon snack. They’re easy to make, requiring simple ingredients you likely already have in your pantry. And the best part—they’re full of heart-healthy nuts and naturally sweet bananas, which means you can enjoy them guilt-free.
Unlike standard muffins that may dry out quickly, my banana nut muffin recipe retains its moisture thanks to the bananas, making each bite soft and satisfying. With a crunchy nut topping that adds a delightful contrast, these muffins are sure to be a hit wherever you serve them.
In this guide, I’ll walk you through the step-by-step process of making banana nut muffins. Whether you’re craving something sweet with your coffee or you’re looking for a healthier baked treat, these muffins are sure to please.
Ingredients and Tools
Before we jump into the mixing and baking, let’s gather everything you’ll need to create these delicious banana nut muffins. Here’s the list of ingredients for both the muffins and the crunchy topping, plus the essential tools that will help you along the way.
Ingredients for the Muffins:
- 3 large ripe bananas: The riper the bananas, the sweeter and more moist your muffins will be. Look for bananas with brown speckles—they’re perfect!
- ¾ cup white sugar: For just the right amount of sweetness.
- 1 large egg: Helps bind the ingredients together and adds a delicate richness to the muffins.
- ⅓ cup vegetable oil: Keeps the muffins tender.
- 1 ½ cups all-purpose flour: A good base for structure.
- 1 teaspoon baking powder: Helps the muffins rise and become fluffy.
- 1 teaspoon baking soda: Reacts with the acidic bananas for even more lift.
- ½ teaspoon salt: Balances the sweetness and enhances the flavor.
- ½ teaspoon cinnamon: Adds warmth and a cozy flavor.
- ¼ teaspoon nutmeg (optional): If you want to add an extra depth of spice, nutmeg adds a lovely touch.
- ¾ cup chopped walnuts: These will be folded right into the batter for that perfect nutty crunch.
For the Topping:
- ¾ cup chopped walnuts: For extra crunch on top!
- 2 tablespoons brown sugar: For a touch of sweetness and caramelized glaze.
- 1 tablespoon melted butter: Helps bind the topping and adds rich flavor.
Kitchen Tools:
- Large Mixing Bowl: For mashing bananas and mixing ingredients.
- Wooden Spoon or Spatula: To combine the wet and dry ingredients without overmixing.
- 12-Cup Muffin Tin: This standard muffin tin needs to be prepped with paper liners or greased.
- Measuring Cups and Spoons: To accurately measure ingredients.
- Wire Cooling Rack: For cooling the muffins once they’re baked.
Now that we’ve gathered everything, it’s time to start baking! Follow the instructions below to prepare your batter and create that unforgettable nutty topping for the banana nut muffins.
Mixing and Baking the Muffins
Now that you’ve gathered your ingredients and tools, it’s time to put everything together and start baking those irresistible banana nut muffins! Follow these simple steps, and you’ll have a batch of homemade muffins ready in no time.
Step 1: Preheat the Oven
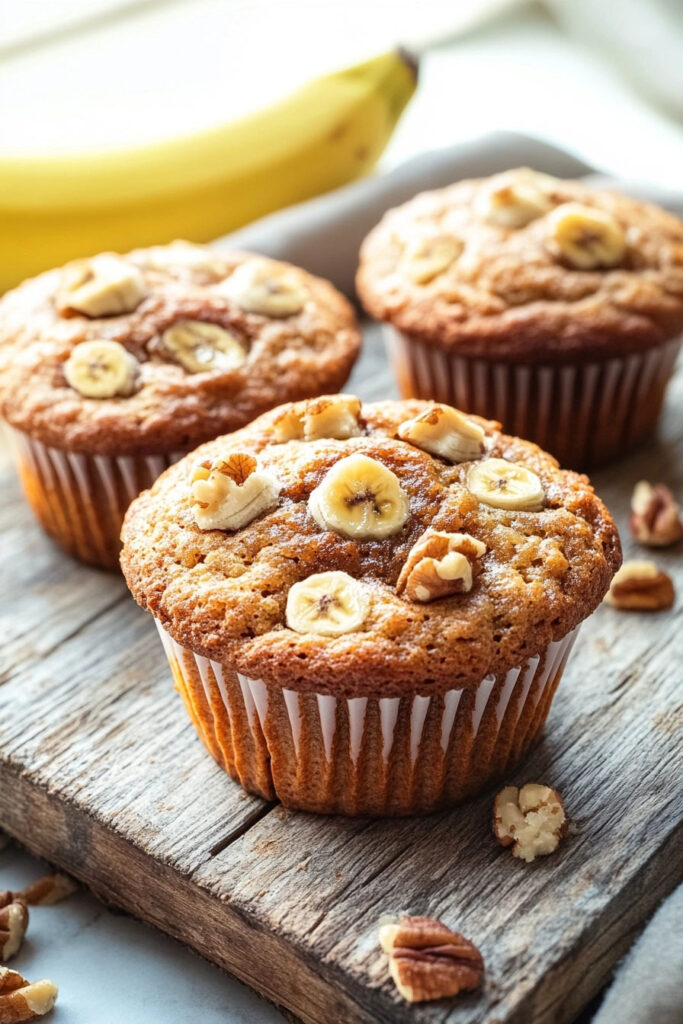
Before working with the batter, preheat your oven to 350°F (175°C) . This ensures that the muffins will bake evenly right from the start. While the oven heats up, prepare your 12-cup muffin tin . You can either line the muffin cups with paper liners, or if you prefer, grease the cups well using butter or non-stick spray.
Step 2: Mash the Bananas
In a large mixing bowl , mash the 3 ripe bananas using a fork or potato masher. You want them to be smooth with only a few lumps remaining. Overripe bananas are best for this recipe because they are sweeter and softer, making it easier to mash and integrate into the batter.
Step 3: Mix the Wet Ingredients
To your mashed bananas, add ¾ cup white sugar and 1 large egg . Stir these ingredients together using a wooden spoon or whisk until everything is well combined and smooth.
Next, add ⅓ cup vegetable oil to the banana mixture. Stir again until the oil is fully incorporated, and the mixture has a smooth consistency. This oil will keep your muffins moist and tender.
Step 4: Add Dry Ingredients and Walnuts
In the same bowl, add the following dry ingredients: 1 ½ cups all-purpose flour , 1 teaspoon baking powder , 1 teaspoon baking soda , ½ teaspoon salt , ½ teaspoon cinnamon , and ¼ teaspoon nutmeg (if using).
Now, gently fold in ¾ cup chopped walnuts . Try to mix just until the flour is combined with the wet ingredients. Overmixing can result in tough muffins, so mix lightly to keep the batter fluffy and tender.
Step 5: Prepare the Topping
In a small bowl, combine the remaining ¾ cup chopped walnuts , 2 tablespoons brown sugar , and 1 tablespoon melted butter . Stir until the walnuts are coated with the butter-sugar mixture. This topping will add a delightful crunch and a touch of sweetness to your banana nut muffins.
Step 6: Fill the Muffin Tin
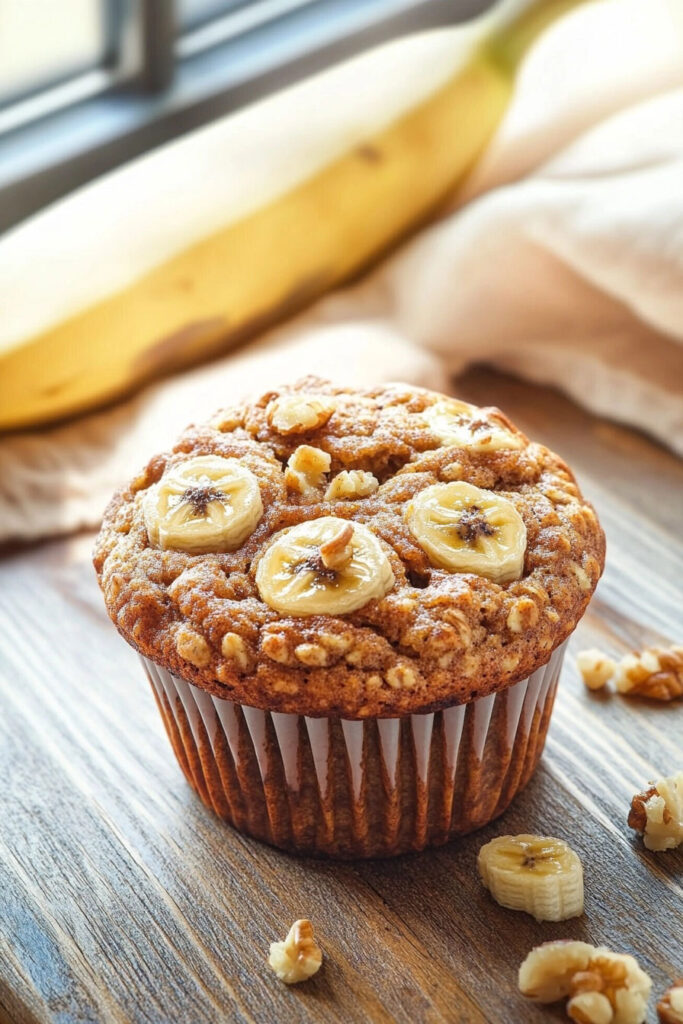
Using a spoon or an ice cream scoop, evenly divide the batter into the 12 muffin cups . Each cup should be about two-thirds full, leaving enough space for the muffins to rise. Afterward, spoon the walnut-sugar topping over each muffin. Be sure to distribute the mixture evenly across all of the muffins to ensure each one gets that lovely crunchy layer.
Now, it’s time to pop them into the oven and let the magic happen!
Step 7: Bake the Muffins
Place the muffin tin in your preheated oven and bake for 20-23 minutes . You’ll know the muffins are done when the tops are golden brown and a toothpick inserted into the center of a muffin comes out clean or with just a few crumbs clinging to it.
Once baked, let the muffins cool in the tin for about 5 minutes before transferring them to a wire cooling rack to cool completely.
Serving, Storing, and Tips for Success

You’ve baked your delicious banana nut muffins, and now comes the best part—enjoying them! Whether you’re saving these to enjoy throughout the week or serving them fresh, I’ve got you covered on all the essential tips to keep them moist, flavorful, and perfectly delicious.
Serving Your Banana Nut Muffins
These muffins are best served fresh and slightly warm. Right after they cool a little on the wire cooling rack , you can enjoy them as-is or with a light smear of butter for added indulgence. Pair them with your favorite coffee, tea, or even a glass of cold milk for a satisfying treat at any time of the day.
These muffins are perfect for breakfast on-the-go, as a snack, or as a cozy dessert option. If you’re looking to elevate your presentation, arrange them in a basket lined with a tea towel, or dust a little powdered sugar over the top for an extra touch of sweetness.
Storing Your Banana Nut Muffins
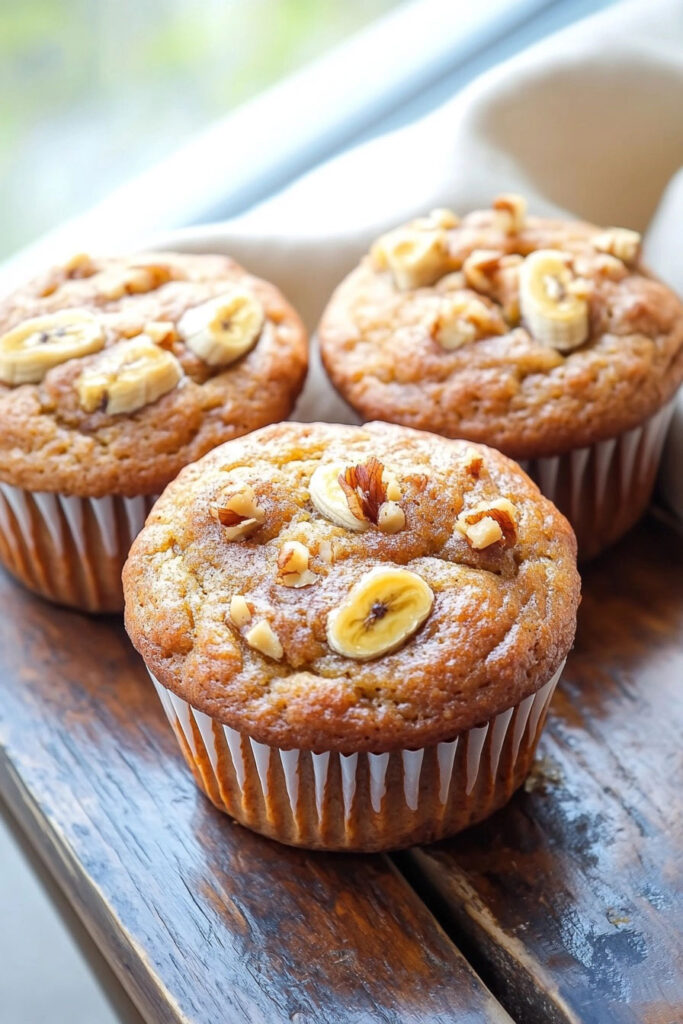
To keep your banana nut muffins fresh and delicious, follow these simple storage steps:
- At Room Temperature:
If you plan to eat the muffins in the next 1-2 days, store them in an airtight container at room temperature. This prevents them from drying out. You can also line the container with a paper towel to help absorb any excess moisture from the bananas. - In the Fridge:
For longer storage (up to 5 days), keep the muffins in an airtight container in the fridge. When you’re ready to enjoy one, simply warm it in the microwave for about 10-15 seconds for that just-baked softness. - Freezing Banana Nut Muffins:
If you want to save some for later, freeze the muffins in a freezer-safe bag or container. Make sure to remove as much air as possible before sealing. They can last in the freezer for up to 3 months . When you’re ready to eat them, thaw the muffins at room temperature or give them a quick reheat in the oven at 325°F (160°C) for about 5-7 minutes .
Expert Tips for Perfect Muffins Every Time:
- Don’t Overmix the Batter: The key to soft, fluffy muffins is not overmixing the batter once the dry ingredients have been added. Stir only until there are no visible streaks of flour. Overmixing can result in tough, dense muffins.
- Use Ripe Bananas: The riper, the better! Bananas with brown spots are sweeter and easier to mash. They add moisture and natural sweetness to the muffins.
- Be Generous with the Topping: The walnut-sugar-butter topping is one of the highlights of these muffins. Make sure each muffin has a nice amount for that extra crunch and sweetness.
- Watch the Baking Time: Be sure to start checking your muffins around the 20-minute mark. Every oven varies slightly, so you want to avoid overbaking. Insert a toothpick into the center—if it comes out clean, your muffins are ready.
Customize Your Banana Nut Muffins:
- Add Chocolate Chips: Want to make these muffins a little more indulgent? Fold in ½ cup of chocolate chips along with the walnuts for a banana-chocolate twist.
- Try Different Nuts: If you’re not a fan of walnuts, feel free to sub in pecans, almonds, or even macadamia nuts for a twist.
- Add a Glaze: For an extra touch of sweetness, drizzle the cooled muffins with a simple powdered sugar glaze (mix powdered sugar with a bit of milk or water) for a bakery-style finish.
Conclusion
Congratulations! You’ve just made a batch of warm, comforting banana nut muffins that will surely satisfy any craving. They’re packed with ripe bananas, crunchy walnuts, and just the right amount of spice and sweetness. Now you have a versatile snack that’s perfect for any occasion—whether you keep them to yourself (don’t worry, no judgment!) or share them with others.
The next time you see those bananas getting overripe on your counter, remember—they’re practically begging to be made into these delicious muffins!
Enjoy your baking, and don’t hesitate to customize the recipe to make it your own. Whether you stick with the classic banana nut combo or add new twists, these muffins are bound to become a staple in your kitchen.


