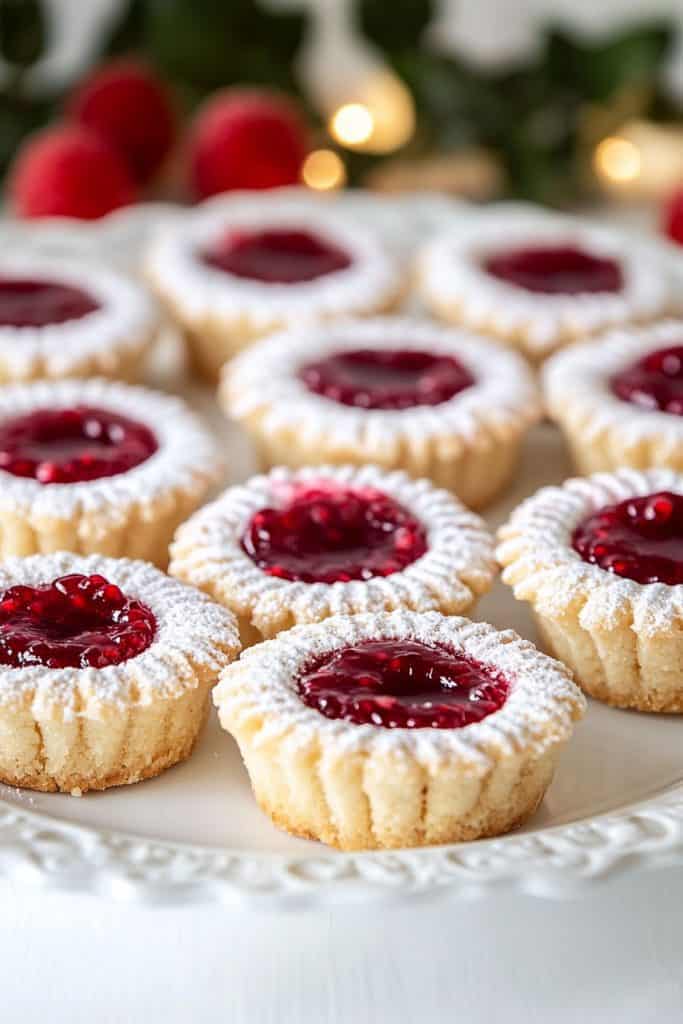
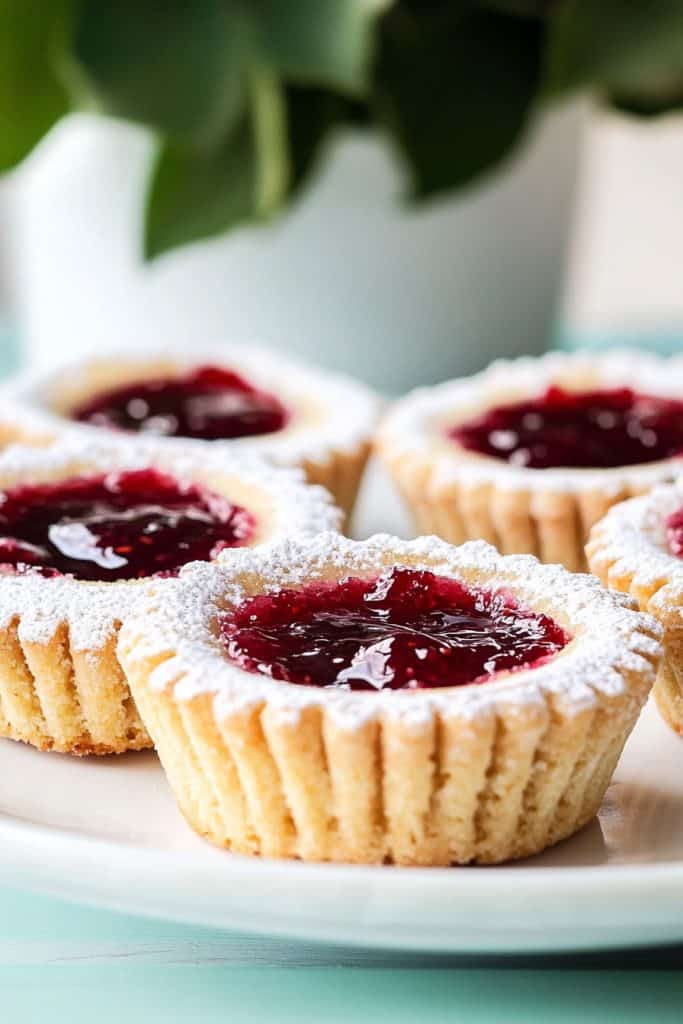
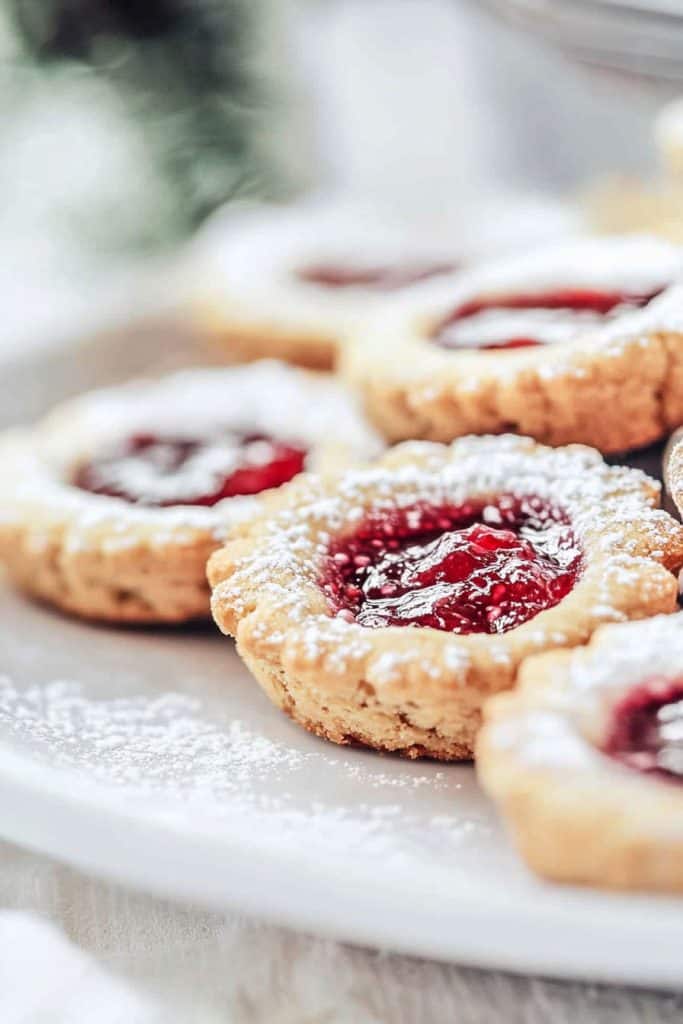
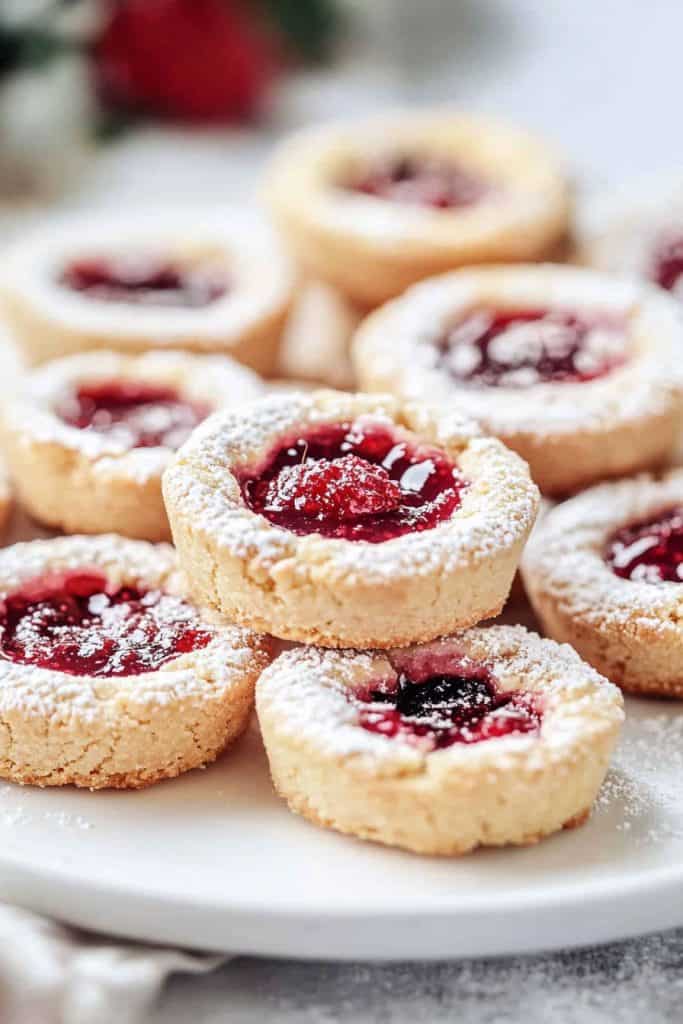
Scandinavian raspberry jam shortbread tarts are an absolute delight, blending the buttery richness of shortbread with the tangy sweetness of raspberry jam. These little treats have their roots in the Nordic tradition, where simple, high-quality ingredients shine. I love how the tart raspberry jam perfectly complements the crumbly, melt-in-your-mouth shortbread, creating a flavor combination that’s both nostalgic and irresistible.

Ingredients
To recreate these delightful Scandinavian raspberry jam shortbread tarts at home, you’ll need a selection of simple yet high-quality ingredients. Here’s what you need:
Shortbread Crust
- 1 cup (2 sticks) Unsalted Butter: Softened to room temperature
- 1/2 cup Granulated Sugar
- 1/2 tsp Vanilla Extract
- 2 cups All-Purpose Flour
- 1/4 tsp Salt
Raspberry Jam Filling
- 3/4 cup Raspberry Jam: Opt for a high-quality, seedless variety for a smoother texture
- 2 tbsp Lemon Juice: Freshly squeezed, to enhance the tartness of the raspberries
- Powdered Sugar: For dusting over the finished tarts
These ingredients will ensure your tarts have the perfect balance of buttery shortbread and tangy raspberry filling.
Equipment Needed
To craft these delectable Scandinavian raspberry jam shortbread tarts at home, you’ll need a few essential kitchen tools. Here’s what I recommend:
- Mixing Bowls: At least two medium-sized mixing bowls for preparing the shortbread dough and the raspberry jam filling.
- Electric Mixer: A stand mixer or hand mixer to cream the butter and sugar for the shortbread dough until light and fluffy.
- Measuring Cups and Spoons: Accurate measurements are essential for baking, so have a set of measuring cups and spoons on hand.
- Fine Mesh Sieve: For sifting powdered sugar onto the tart shells, ensuring an even and fine distribution.
- Spatulas: Rubber spatulas for scraping down the sides of mixing bowls and incorporating all ingredients thoroughly.
- Rolling Pin: To roll out the shortbread dough evenly, achieving the perfect thickness for tart shells.
- Tart Pan: A 9-inch tart pan with a removable bottom for easy release of the finished tarts.
- Parchment Paper: To line the tart pan and prevent the dough from sticking.
- Cooling Rack: Essential for allowing the tart shells and finished tarts to cool evenly.
- Saucepan: A small saucepan for heating the raspberry jam filling to the perfect consistency.
Having these tools ready makes the process smoother, helping you achieve that perfect blend of buttery crust and tangy raspberry filling in your Scandinavian shortbread tarts.

Directions
Follow these detailed instructions to create the perfect Scandinavian raspberry jam shortbread tarts. Each step is carefully outlined to ensure a seamless baking experience.
Preparing the Pastry Dough
- Cream the Butter and Sugar:
- In a large mixing bowl, beat 1 cup of unsalted butter and 1/2 cup of granulated sugar using an electric mixer on medium speed until the mixture is light and fluffy. This should take about 3 minutes.
- Add Vanilla Extract:
- Mix in 1 teaspoon of vanilla extract until fully incorporated.
- Combine Dry Ingredients:
- In a separate bowl, sift together 2 cups of all-purpose flour and 1/4 teaspoon of salt. Gradually add this to the butter mixture, beating on low speed until the dough begins to form.
- Chill the Dough:
- Shape the dough into a disk, wrap it in plastic wrap, and refrigerate for at least 1 hour or until firm.
Making the Filling
- Prepare the Jam Mixture:
- In a small saucepan, combine 1 cup of raspberry jam with 1 tablespoon of lemon juice. Warm over low heat, stirring occasionally, until smooth.
- Strain the Jam:
- Remove the saucepan from the heat. Using a fine mesh sieve, strain the jam into a bowl to remove any seeds. Let it cool slightly.
Assembling the Tarts
- Roll Out the Dough:
- On a lightly floured surface, roll out the chilled dough to about 1/4-inch thickness. Use a round cookie cutter or the rim of a glass to cut out circles slightly larger than your tart pans.
- Line the Tart Pans:
- Gently press the dough circles into the tart pans. Use a fork to prick the bottom of each tart shell.
- Add the Jam Filling:
- Spoon 1-2 teaspoons of the raspberry jam filling into each tart shell, spreading it evenly.
- Preheat the Oven:
- Preheat your oven to 350°F (175°C).
- Bake the Tarts:
- Place the tart pans on a baking sheet and bake for 15-20 minutes or until the edges are golden brown.
- Cool the Tarts:
- Remove from the oven and transfer the tarts to a cooling rack. Let them cool completely before serving.

Tips & Tricks
Creating the perfect Scandinavian raspberry jam shortbread tarts can be a delightful challenge. Here are my top tips and tricks to ensure your tarts turn out exquisitely:
Use Cold Butter
Cold butter is crucial for achieving a tender and crumbly shortbread crust. I always cut my unsalted butter into small cubes and refrigerate it until I’m ready to use it. Cold butter prevents the dough from becoming too oily and helps in creating a flaky texture.
Chill the Dough
Once you’ve combined the shortbread ingredients, make sure to chill the dough for at least 30 minutes. This step ensures the dough is easier to handle and will hold its shape better when baking. I typically wrap my dough in plastic wrap and let it sit in the fridge.
Prevent Overmixing
When adding the flour to the creamed butter and sugar, mix until just combined. Overmixing can lead to a dense and tougher shortbread. I prefer using a spatula to gently fold the dry ingredients into the wet mixture to maintain a light texture.
Keep an Eye on Baking Time
Each oven varies, so keep a close watch on your tarts towards the end of the baking time. The edges should be lightly golden, but not too brown. I recommend starting with the lower end of the suggested baking time and checking frequently.
Strain the Jam
For a smooth and glossy raspberry filling, strain the jam to remove seeds. I use a fine mesh sieve, pressing the jam through with a spatula to ensure the consistency is right. This results in a more polished and professional finish for your tarts.
Cool Completely Before Serving
Allow the tarts to cool fully on a cooling rack before serving. This cooling period helps the shortbread set and the jam to firm up. It’s tempting to dig in right away, but patience yields the best results.
Experiment with Flavors
While raspberry jam is traditional, don’t be afraid to try different preserves or even a mix of your favorite berries. I have found that apricot or blackberry jams work splendidly as well, providing a delightful twist on the classic recipe.
Use Quality Ingredients
High-quality ingredients make all the difference. Opt for real vanilla extract rather than imitation, and choose a good-quality jam. The flavor payoff is worth it, and your tarts will taste authentic and delicious.

Serve & Store
Once your Scandinavian raspberry jam shortbread tarts have cooled completely, it’s time to serve and enjoy them. Here’s how to do it best:
Serving
- Presentation: Arrange the tarts on a beautiful platter to highlight their rustic charm. The golden crust and vibrant raspberry filling create a visually appealing dessert.
- Garnish Options: Enhance the presentation by dusting a light layer of powdered sugar over the tarts. Alternatively, garnish with fresh raspberries or a sprig of mint for an added touch of color and freshness.
- Timing: Serve the tarts at room temperature. This ensures the shortbread is perfectly tender while the jam maintains its rich, gooey texture.
Storing
- Room Temperature: If you plan to consume the tarts within 2 to 3 days, store them in an airtight container at room temperature. This method keeps the shortbread crisp and the filling flavorful.
- Refrigeration: For a longer shelf life, place the tarts in an airtight container and refrigerate them. They will stay fresh for up to 5 days. Before serving, let them sit at room temperature for about 30 minutes to bring back the ideal texture.
- Freezing: To enjoy the tarts at a later date, you can freeze them. Place the tarts in a single layer on a baking sheet and freeze until solid. Once frozen, transfer them to a freezer-safe container or zip-lock bag. They can be frozen for up to 3 months. Thaw the tarts at room temperature before serving.
By following these tips, you’ll ensure your Scandinavian raspberry jam shortbread tarts remain fresh and delicious whether you’re enjoying them immediately or saving them for later.

Conclusion
Scandinavian raspberry jam shortbread tarts are a delightful treat that combines rich buttery shortbread with tangy raspberry jam. By using simple high-quality ingredients and following the detailed recipe steps you can create these traditional Nordic tarts at home. Remember to use cold butter for a tender crust and chill the dough for best results.
Experimenting with different flavors and garnishes can add a personal touch to your tarts. Proper storage methods ensure they stay fresh and delicious whether you’re serving them at a gathering or enjoying them as a personal indulgence. With these tips and tricks you’ll master the art of making Scandinavian raspberry jam shortbread tarts in no time.
PrintScandinavian Raspberry Jam Shortbread Tarts
A buttery shortbread crust filled with tangy raspberry jam, these tarts are a classic Scandinavian treat. Perfect for fika or as a delightful dessert, they’re simple to make and irresistibly delicious!
- Prep Time: 20 minutes
- Cook Time: 20 minutes
- Total Time: 1 hour 15 minutes (includes chilling time)
- Yield: 6–8 tarts 1x
- Category: Dessert
- Cuisine: Scandinavian
Ingredients
For the Shortbread Crust:
- 1 cup (2 sticks) unsalted butter, softened
- 1/2 cup granulated sugar
- 1/2 tsp vanilla extract
- 2 cups all-purpose flour, sifted
- 1/4 tsp salt
For the Raspberry Filling:
- 3/4 cup raspberry jam (seedless preferred)
- 2 tbsp fresh lemon juice
Optional Garnish:
- Powdered sugar, for dusting
Instructions
Prepare the Dough:
- In a mixing bowl, cream softened butter and sugar until light and fluffy (about 2–3 minutes). Mix in vanilla extract.
- Gradually add flour and salt, mixing until a soft dough forms. Avoid overmixing.
- Shape dough into a disk, wrap in plastic wrap, and chill for at least 35 minutes.
Make the Filling:
- Heat raspberry jam and lemon juice in a small saucepan over low heat until smooth. Strain through a fine mesh sieve to remove seeds and set aside to cool slightly.
Assemble the Tarts:
- Preheat oven to 350°F (175°C). Roll out chilled dough on a floured surface to about 1/4-inch thickness. Cut into circles slightly larger than your tart pans.
- Press dough circles into tart pans, trimming excess edges. Prick bottoms with a fork to prevent puffing.
- Spoon about 1–2 teaspoons of jam filling into each tart shell.
Bake and Cool:
- Place tart pans on a baking sheet and bake for 15–20 minutes, or until edges are golden brown. Cool completely on a wire rack before removing from pans.
Notes
Serving Suggestions:
- Dust with powdered sugar or garnish with fresh raspberries for an elegant presentation.
- Serve with whipped cream or vanilla ice cream for added indulgence.
Tips & Tricks:
- Use high-quality butter and jam for the best flavor.
- Chill the dough thoroughly to make it easier to handle.
- Keep an eye on baking time—edges should be lightly golden but not overly browned.
Storage & Reheating:
- Store in an airtight container at room temperature for up to 2 days or refrigerate for up to 5 days.
- To freeze, place cooled tarts in a freezer-safe container for up to 3 months. Thaw at room temperature before serving.


2 Comments
Hello! Thank you for sharing your wonderful recipe! I was wondering…the photos showing very distinct ridges around the edges, can I ask what style mini tart pan you used? Was it a pan or mini shells? Can you share a photo or link to where you purchased the item/s? Thank you sooooo much!!
Hello! Thank you for your kind words! The distinct ridges around the edges of the tarts in the photos were achieved using a mini tart pan with fluted sides. A great option to replicate this look is the Wilton Non-Stick Mini Tart Pan Set, which is specifically designed for making individual tarts with beautifully defined edges. You can find it online or at most kitchenware stores. I hope this helps, and happy baking! 😊 Let me know if you need more details!