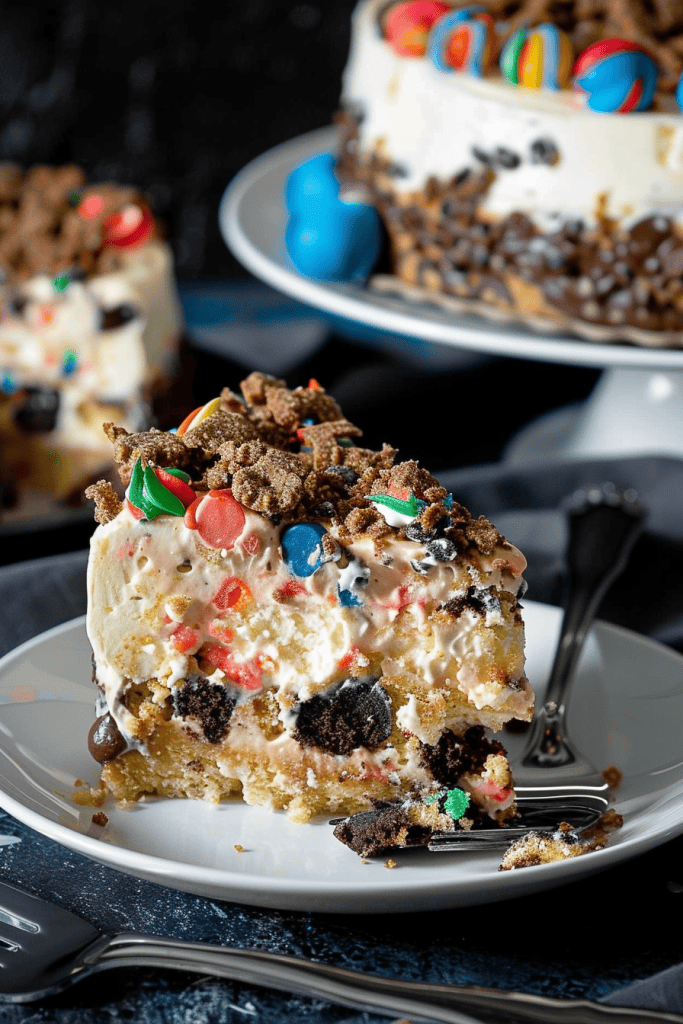
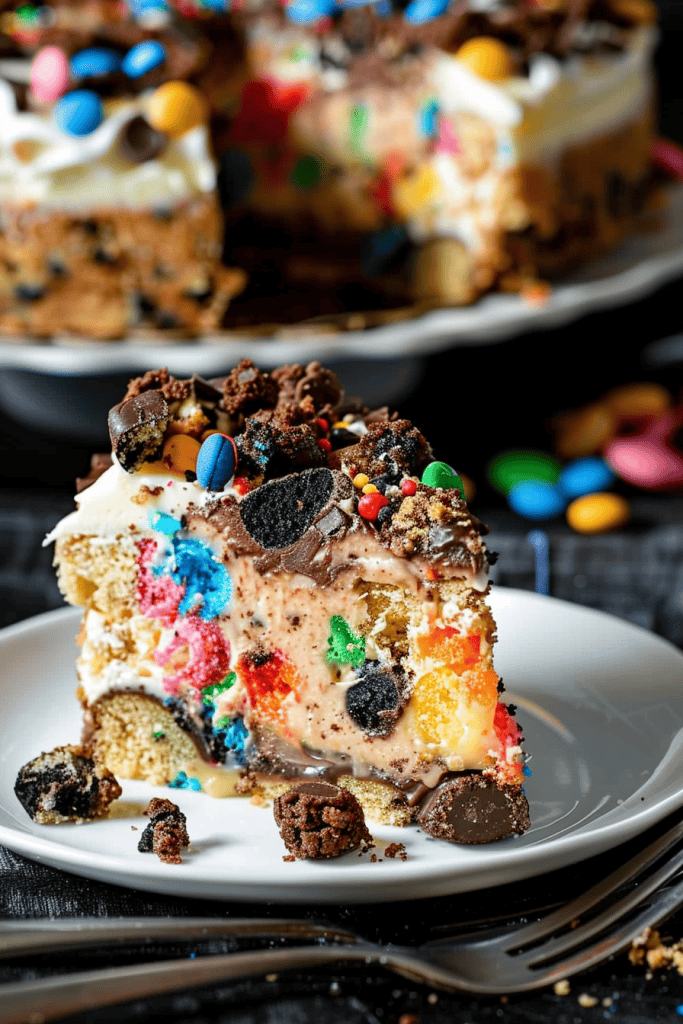
Craving a delightful dessert that combines the best of both worlds? Look no further than monster cookie cheesecake! This decadent treat merges the beloved flavors of monster cookies with the creamy richness of cheesecake. Imagine a monster cookie crust packed with peanut butter, oats, and mini M&Ms, topped with a luscious baked cheesecake filled with even more mini M&Ms and chocolate chips. It’s a match made in dessert heaven!
Ingredients
Monster Cookie Components
- 1 stick of softened butter
- 1/2 cup of sugar
- 1/4 cup of light brown sugar
- 1 cup of creamy peanut butter
- 1/2 cup of flour
- 1 teaspoon of vanilla extract
- 2 cups of quick-cooking oats
- 3/4 cup of mini M&Ms
- 1/2 cup of mini chocolate chips
Cheesecake Batter
- 1 1/2 cups plus 2 tablespoons of heavy whipping cream, divided
- 3/4 cup of powdered sugar
- 12 oz of cream cheese, softened
- 1/2 cup of granulated sugar
- 1 teaspoon of vanilla extract
- 1 cup of mini chocolate chips
- For the topping:
- 3/4 cup of heavy whipping cream
- 1/4 cup of powdered sugar
- 2 tablespoons of creamy peanut butter
- 1 cup of mini M&Ms
Necessary Equipment
For baking this delectable monster cookie cheesecake recipe, you will need a few essential kitchen tools to make the process smoother and more efficient.
- 9-inch Springform Pan
- Electric Mixer
- Spatula
- Mixing Bowls
- Measuring Cups and Spoons
- Oven
- Cooling Rack
- Pastry Brush
- Aluminum Foil
- Baking Sheet
Having these kitchen tools on hand will ensure that you can easily prepare and bake your monster cookie cheesecake with precision and ease.
Preparation Steps
Preparing Monster Cookie Dough
- Preheat your oven to 350 degrees. Using a stand mixer or a hand mixer, cream together the butter, peanut butter, and sugar on high speed for about 1-2 minutes until smooth.
- Add in the egg, vanilla extract, baking soda, and salt. Mix until well combined.
- Gradually add the oats in 2-3 portions, mixing after each addition.
- Gently fold in the mini chocolate chips and mini M&Ms using a silicone spatula or wooden spoon.
- Line an 8×8 baking pan with parchment paper and press half of the cookie dough evenly at the bottom of the pan.
- Bake the crust for 8-12 minutes or until lightly browned.
- Line an 8×8 baking pan with parchment paper for easy removal later. Press half of the cookie dough evenly at the bottom of the pan, reserving the rest for later use.
- Use another sheet of parchment paper to press the cookie dough down firmly for a thin, even layer.
- Bake the crust for 8-12 minutes until it starts to brown.
- While the crust is baking, prepare the cheesecake layer.
Baking the Cheesecake
Assembly of Layers
After preparing the monster cookie crust and the cheesecake batter, it’s time to assemble the layers. Start by pressing half of the monster cookie dough into the prepared springform pan to create the crust. Pour the cheesecake batter over the cookie crust, ensuring it spreads evenly.
Baking Time and Temperatures
Bake the assembled cheesecake in a water bath to regulate the heat and prevent cracks. Follow the baking instructions carefully, ensuring the internal temperature reaches 160-165 degrees Fahrenheit. Remember that the center of the cheesecake should still be slightly jiggly when done. Chill the cheesecake overnight for best results.
Decorating Your Cheesecake
Applying Toppings and Garnishes
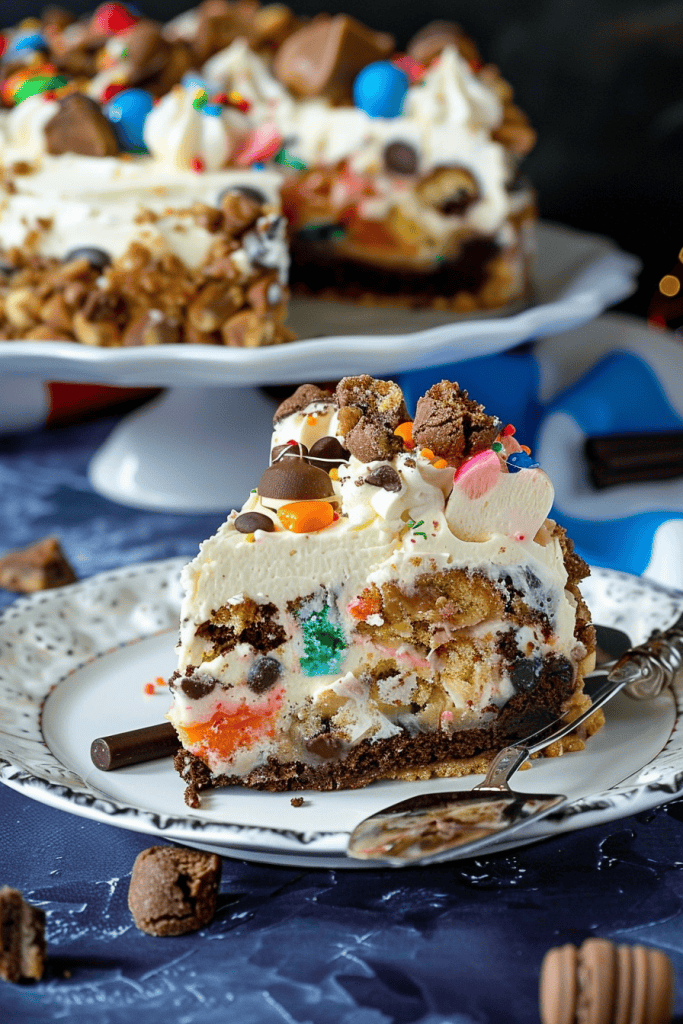
Once your monster cookie cheesecake has chilled overnight and is ready to be served, it’s time to take the presentation to the next level with some delightful toppings and garnishes. Here’s how to enhance the look and taste of your cheesecake:
- Chocolate Ganache: Prepare a rich and decadent chocolate ganache to spread over the top of your cheesecake. The smooth chocolate layer will add a luxurious finish to your dessert.
- Mini Chocolate Chip Cookies: Decorate the surface of your cheesecake with store-bought mini chocolate chip cookies for a charming and delicious touch. These cookies not only look adorable but also add a delightful crunch to each bite.
- Whipped Cream: A dollop of freshly whipped cream on each slice of cheesecake can add a light and airy element to the decadent treat. Optionally, you can also sprinkle some chocolate shavings or colorful sprinkles on the whipped cream for extra flair.
- Chocolate Drizzle: Drizzle some melted chocolate over the top of the cheesecake in an artistic pattern to create a visually appealing design. The glossy chocolate drizzle will make your cheesecake look elegant and inviting.
Serving and Storing
Cutting and Serving
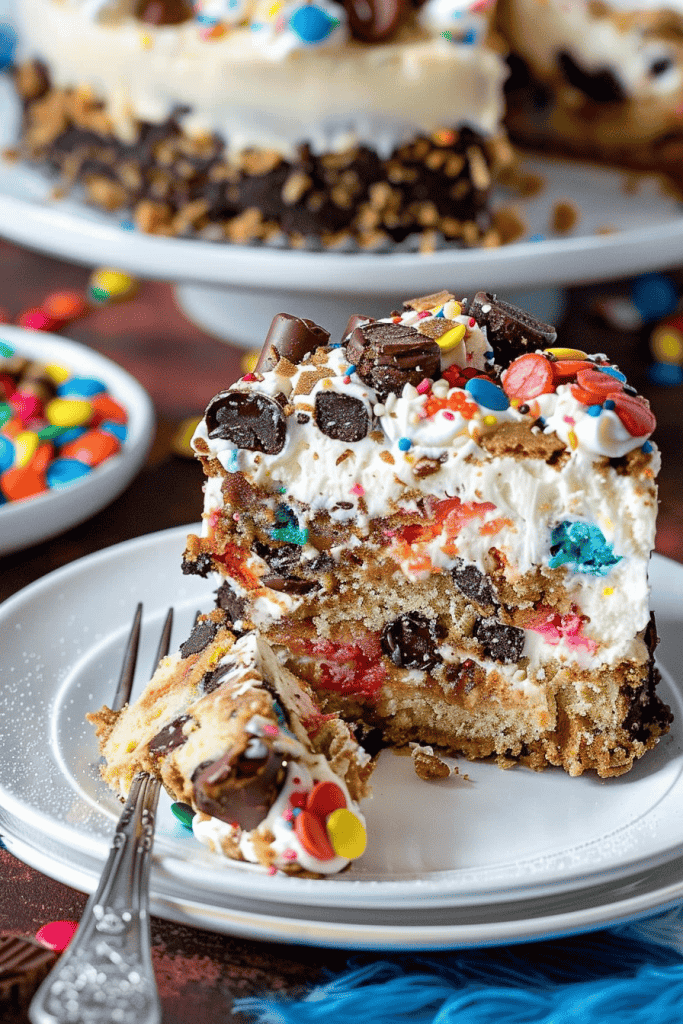
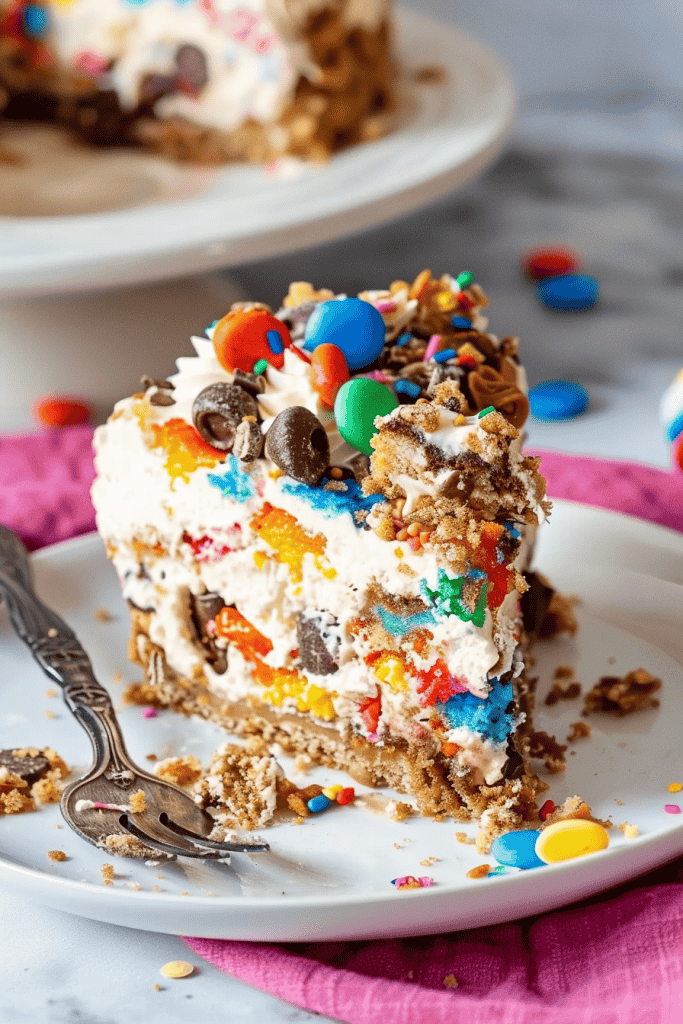
To serve the delightful Cookie Monster Cheesecake, use a sharp knife dipped in hot water for clean slices. The contrast of the colorful M&Ms against the creamy cheesecake will surely impress your guests.
Storage Recommendations
Store any leftover Cookie Monster Cheesecake in an airtight container in the refrigerator for up to three months. If you want to savor a slice later, you can freeze the cheesecake for future indulgence. Just ensure it’s tightly wrapped to preserve its fresh flavors.
Conclusion
I’ve shared a delicious monster cookie cheesecake recipe that combines the best of both worlds – monster cookies and creamy cheesecake. By following the steps outlined in this article, you can create a decadent dessert that will impress your family and friends. Don’t forget to get creative with the toppings to elevate the presentation and flavor of your cheesecake. Remember to use a sharp knife for clean slices and store any leftovers properly to enjoy later. Happy baking and indulging in this irresistible treat!
