
Hey there! So today, I’m going to guide you through a fun and incredibly satisfying recipe: Mini Egg and Herb Tartlets. These little guys are buttery, golden cups of joy with perfectly baked eggs and a sprinkle of fresh herbs on top. The best part? They look fancy but are surprisingly easy to make.
I came across this idea while preparing for a family brunch. You know, one of those moments where you want something that wows people but doesn’t have you sweating in the kitchen for hours. And voilà—this recipe became my go-to! It’s inspired by European tartlets but with a playful twist: heart-shaped pastry shells that are perfect for any occasion.
Let’s break it down step by step.
Recipe Overview
Here’s a quick peek at what you’re getting into:
- Prep Time: 15 minutes
- Cook Time: 15 minutes
- Total Time: 30 minutes (seriously quick!)
- Servings: 6 tartlets (that’s 3 servings of 2 tartlets each—enough for a little group or just yourself!)
- Difficulty: Pretty simple. If you’ve ever rolled out dough, this will be a breeze.
- Equipment You’ll Need:
- A muffin tin or tartlet pan (don’t have one? Use a cupcake tray; it works just as well).
- A heart-shaped cookie cutter (or keep it classic with a round one).
- Rolling pin (or even a clean wine bottle in a pinch).
- Fork for docking the pastry.
Want a head start? Prep the dough the day before and refrigerate it. It makes life so much easier when you’re short on time!
Ingredients
Here’s everything you’ll need to whip these up:
For the Pastry Shells:
- 1 ½ cups all-purpose flour (or a gluten-free baking mix if needed).
- ½ cup unsalted butter, cold and cubed.
- 2 tablespoons cold water (might need a smidge more).
- ½ teaspoon salt.
For the Filling:
- 6 small eggs (quail eggs are adorable for this, but regular chicken eggs work too).
- 1 tablespoon heavy cream (optional but makes the eggs creamier).
- Salt and black pepper, to taste.
For Garnish:
- A small handful of fresh garden cress (or any microgreens you like).
- 3 cherry tomatoes, halved.
Ingredient Tips:
- Butter: Keep it cold. That’s how you get that flaky, melt-in-your-mouth pastry!
- Flour: All-purpose works great, but whole-wheat pastry flour adds a nutty flavor.
- Eggs: Quail eggs are perfect for their smaller size, but chicken eggs are more practical for most kitchens.
Step-by-Step Instructions
1. Make the Pastry Dough
Start with the dough. This is the base of your tartlets, so let’s keep it simple but perfect.
- Combine the flour and salt in a mixing bowl.
- Toss in the cold, cubed butter. Use your fingers or a pastry cutter to break it down into coarse crumbs. It should look like little pea-sized bits of butter in flour.
- Slowly add the water, one tablespoon at a time. Mix until the dough just comes together—don’t overwork it!
- Shape the dough into a ball, wrap it in plastic, and let it chill in the fridge for at least 15 minutes. This makes rolling much easier.
Pro Tip: Cold butter = flaky pastry. Keep everything chilled for the best results!
2. Shape the Tartlet Shells
Now for the fun part: rolling and cutting.
- Preheat your oven to 350°F (180°C). Grease your muffin tin lightly with butter or non-stick spray.
- Roll the chilled dough out on a floured surface until it’s about ⅛-inch thick.
- Use your cookie cutter to cut out shapes. Hearts for Valentine’s? Absolutely. Circles for brunch? Classic.
- Press each piece of dough into the muffin tin, smoothing the edges to form little cups. Dock the base (poke it a few times with a fork) so it doesn’t puff up too much in the oven.
3. Pre-Bake the Shells
Pop the empty shells into the oven for 8–10 minutes, just until they’re lightly golden. This helps them stay nice and crisp when you add the eggs later.
4. Add the Eggs and Bake
Here’s where the magic happens:
- Carefully crack one egg into each shell. If you’re using cream, whisk it with the egg before pouring into the tartlet.
- Sprinkle with a pinch of salt and pepper.
- Bake for another 5–7 minutes if you want soft yet set yolks. Prefer firmer yolks? Give them an extra minute or two.
Visual Cue: Look for egg whites that are no longer translucent but slightly jiggly—perfectly cooked!
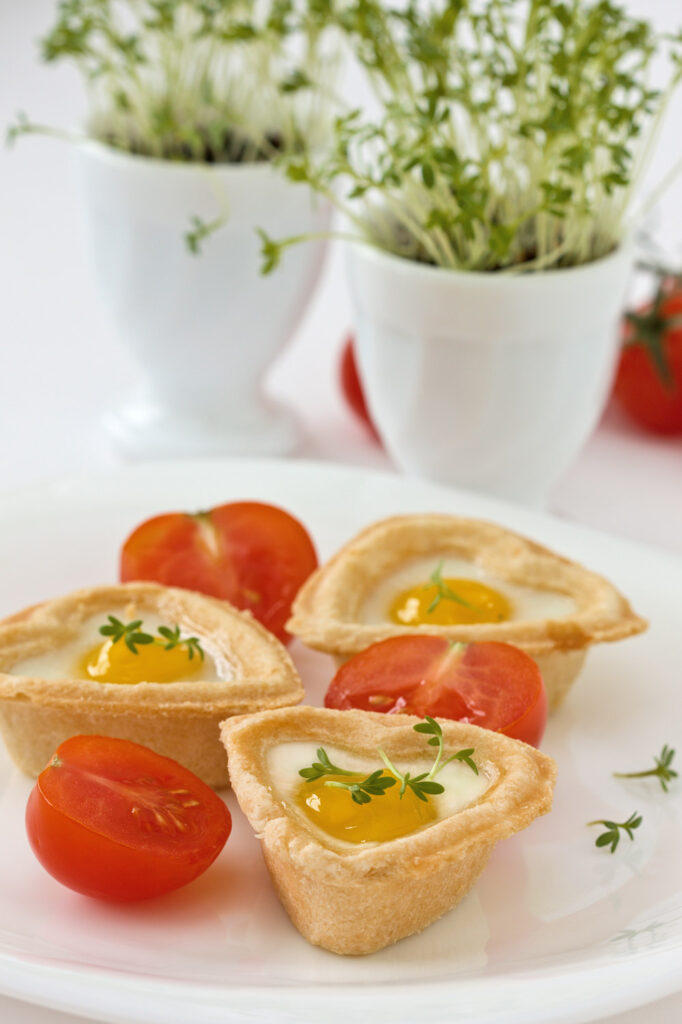
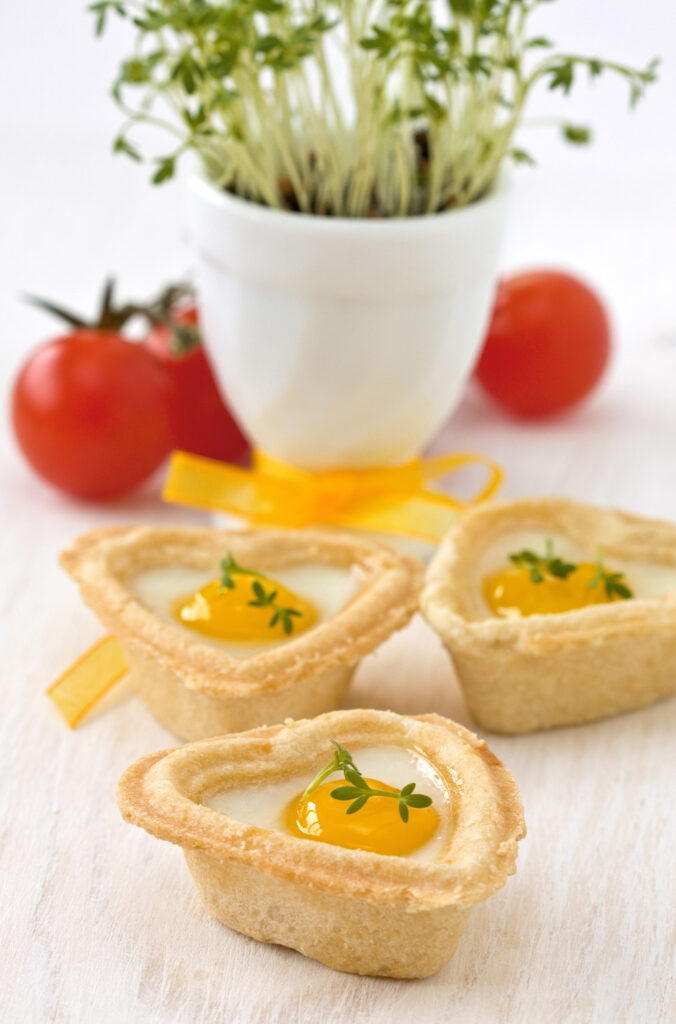
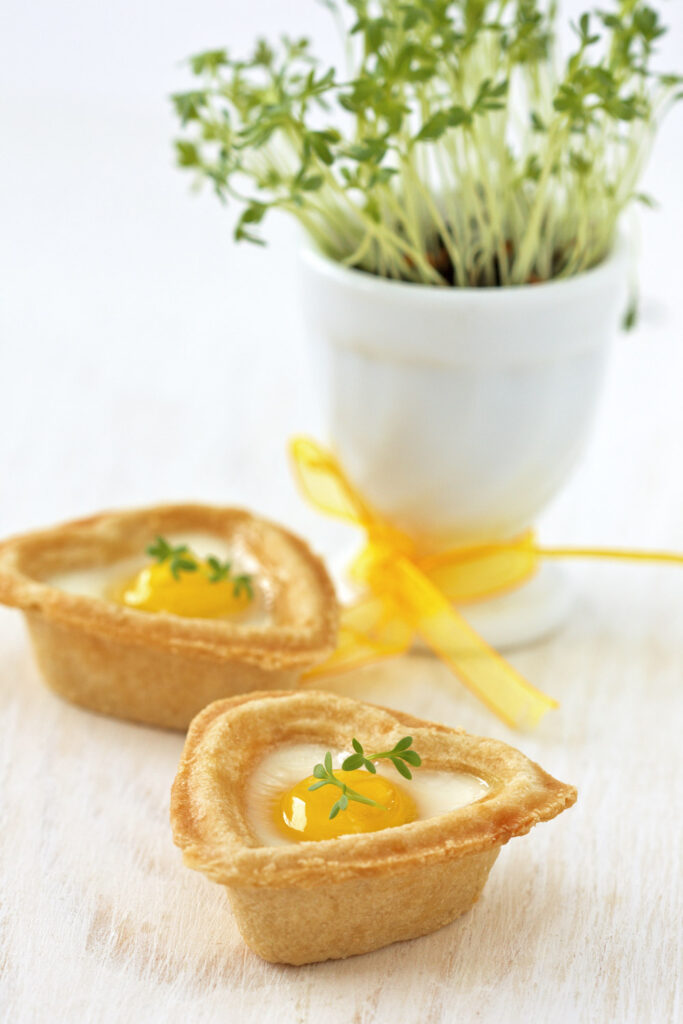
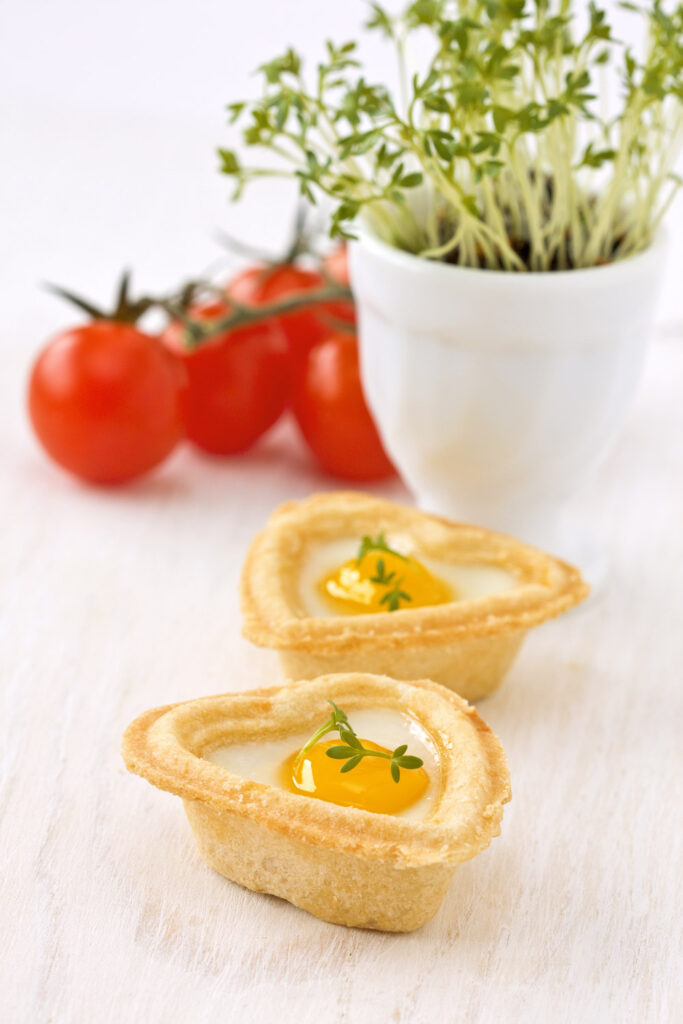
5. Garnish and Serve
Let the tartlets cool for just a minute or two before popping them out of the tin. This is where you can get creative:
- Top each tartlet with a few sprigs of garden cress.
- Plate them up alongside halved cherry tomatoes. The red and green add a gorgeous burst of color.
And there you go! Your mini tartlets are ready to impress.
Variations and Customizations
- Gluten-Free: Swap the flour for a gluten-free blend and adjust the water slightly.
- Dairy-Free: Replace the butter with a vegan spread, and skip the cream.
- Add-ins: Line the base of the shell with sautéed spinach, caramelized onions, or grated cheese before adding the egg.
- Seasonal Swaps: In summer, garnish with fresh basil or arugula. In winter, try roasted red peppers.
Serving and Storage
Plating Suggestions
I love serving these tartlets on a simple white plate. That way, the bright yellow yolks, green herbs, and red tomatoes really pop. For a brunch table, pair them with fresh fruit or a side salad.
How to Store
If you have leftovers (unlikely!), keep them in an airtight container in the fridge for up to 2 days.
Reheating Tips
Reheat in the oven at 300°F (150°C) for 5–7 minutes to keep the pastry crisp. Avoid the microwave—it’ll make the shells soggy.
Freezing
You can freeze fully baked tartlets for up to 1 month. Thaw them overnight in the fridge and reheat in the oven before serving.
So there you have it—simple, elegant, and absolutely delicious Mini Egg and Herb Tartlets. These are perfect for breakfast, brunch, or even a cute snack. Trust me, once you try them, they’ll become a staple in your kitchen too!
PrintMini Egg and Herb Tartlets

Delicately crisp pastry shells filled with soft-cooked eggs, garnished with fresh garden cress, and served alongside juicy cherry tomatoes. These tartlets are a versatile choice for brunch, snacks, or light meals. Simple, elegant, and full of flavor!
- Prep Time: 15 minutes
- Cook Time: 15 minutes
- Total Time: 30 minutes
- Yield: 6 tartlets (3 servings of 2 tartlets each) 1x
- Category: Breakfast/Brunch
- Cuisine: European
Ingredients
For the Pastry Shells:
- 1 ½ cups all-purpose flour
- ½ cup unsalted butter, cold and cubed
- 2 tablespoons cold water
- ½ teaspoon salt
For the Filling:
- 6 small eggs (quail or chicken eggs, depending on size)
- 1 tablespoon heavy cream (optional)
- Salt, to taste
- Black pepper, to taste
For Garnish:
- Fresh garden cress (or microgreens of choice)
- Cherry tomatoes, halved
Instructions
1. Make the Pastry Shells
- Combine the flour and salt in a mixing bowl. Add cold, cubed butter and work it into the flour using your fingertips until it resembles coarse crumbs.
- Gradually mix in cold water, one tablespoon at a time, until the dough holds together. Form into a ball, wrap in plastic wrap, and chill for 15 minutes.
2. Shape and Pre-Bake the Shells
- Preheat the oven to 350°F (180°C) and grease a muffin tin or tartlet pan.
- Roll out the chilled dough on a floured surface to about ⅛-inch thickness. Cut into heart or round shapes and press them into the muffin tin.
- Prick the bottom of each shell with a fork to prevent puffing. Bake for 8–10 minutes until lightly golden.
3. Add the Filling and Bake
- Crack one egg into each shell. If desired, whisk the eggs with heavy cream before pouring them in. Sprinkle with salt and pepper.
- Bake for 5–7 minutes for soft yolks or 8–10 minutes for firmer yolks.
4. Garnish and Serve
- Cool slightly, then top with fresh garden cress. Plate with halved cherry tomatoes for added color and flavor.
Notes
- Serving Suggestions: These tartlets pair beautifully with a fresh salad, roasted vegetables, or crusty bread.
- Tips & Tricks:
- Use cold butter for the crispiest pastry.
- Quail eggs are great for smaller tartlets, while chicken eggs fit larger shells.
- Storage/Reheating:
- Store leftovers in an airtight container in the fridge for up to 2 days.
- Reheat in the oven at 300°F (150°C) for about 7 minutes to maintain the crispness. Avoid microwaving.