

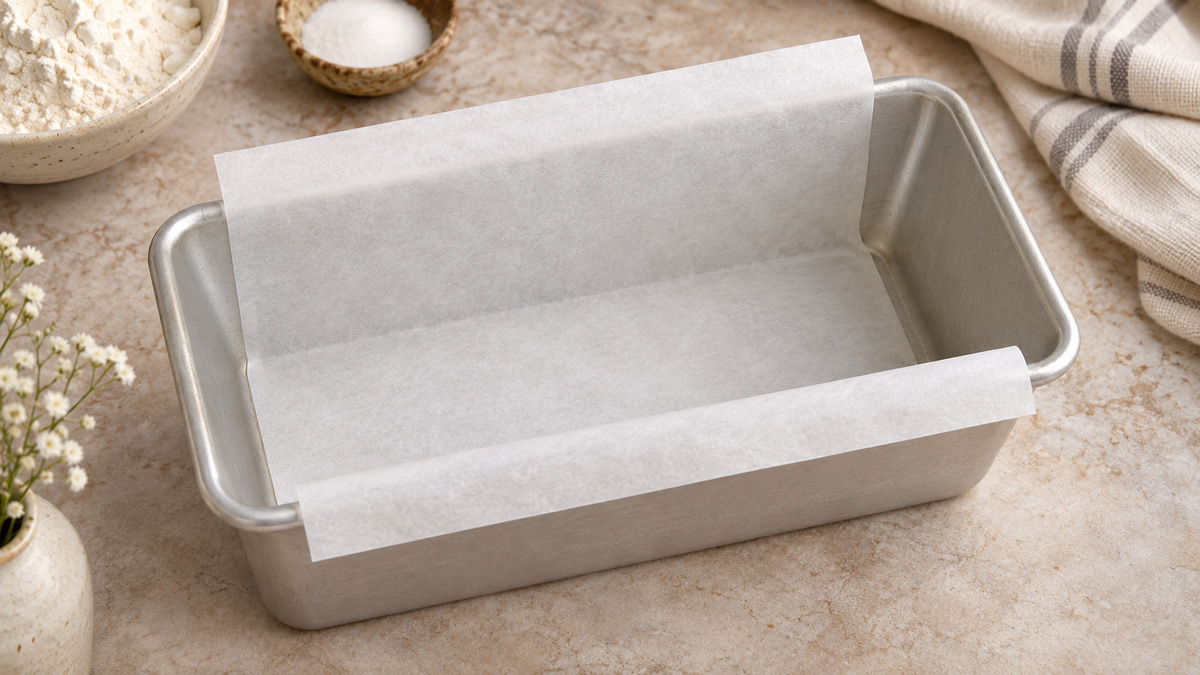
To line a loaf pan, cut a strip of baking parchment wide enough to cover the base from one short end to the other. Make it long enough to run across the base, climb both long sides, and leave a couple of inches above each rim. Those two overhangs give you handles to lift the cooled loaf. Lightly grease the pan first so the parchment stays in place when you pour in the batter.
This setup is particularly handy for glazed loaves, cakes with juicy fruit, and delicate quick breads. You can lift the loaf upright, which keeps the top from touching a board. A sling also makes it easier to move a loaf from the pan to a cooling rack without squeezing its sides.
What you need
- A clean loaf pan
- Oven-safe baking parchment
- Scissors
- A little butter or neutral oil, or the pan grease specified in your recipe
- A ruler, if you prefer to measure the strip before cutting it
Use parchment labeled for baking and follow the temperature limit on the package. Wax paper is intended for tasks such as wrapping and separating foods. For a loaf that will go into a hot oven, choose baking parchment.
How to make a parchment sling
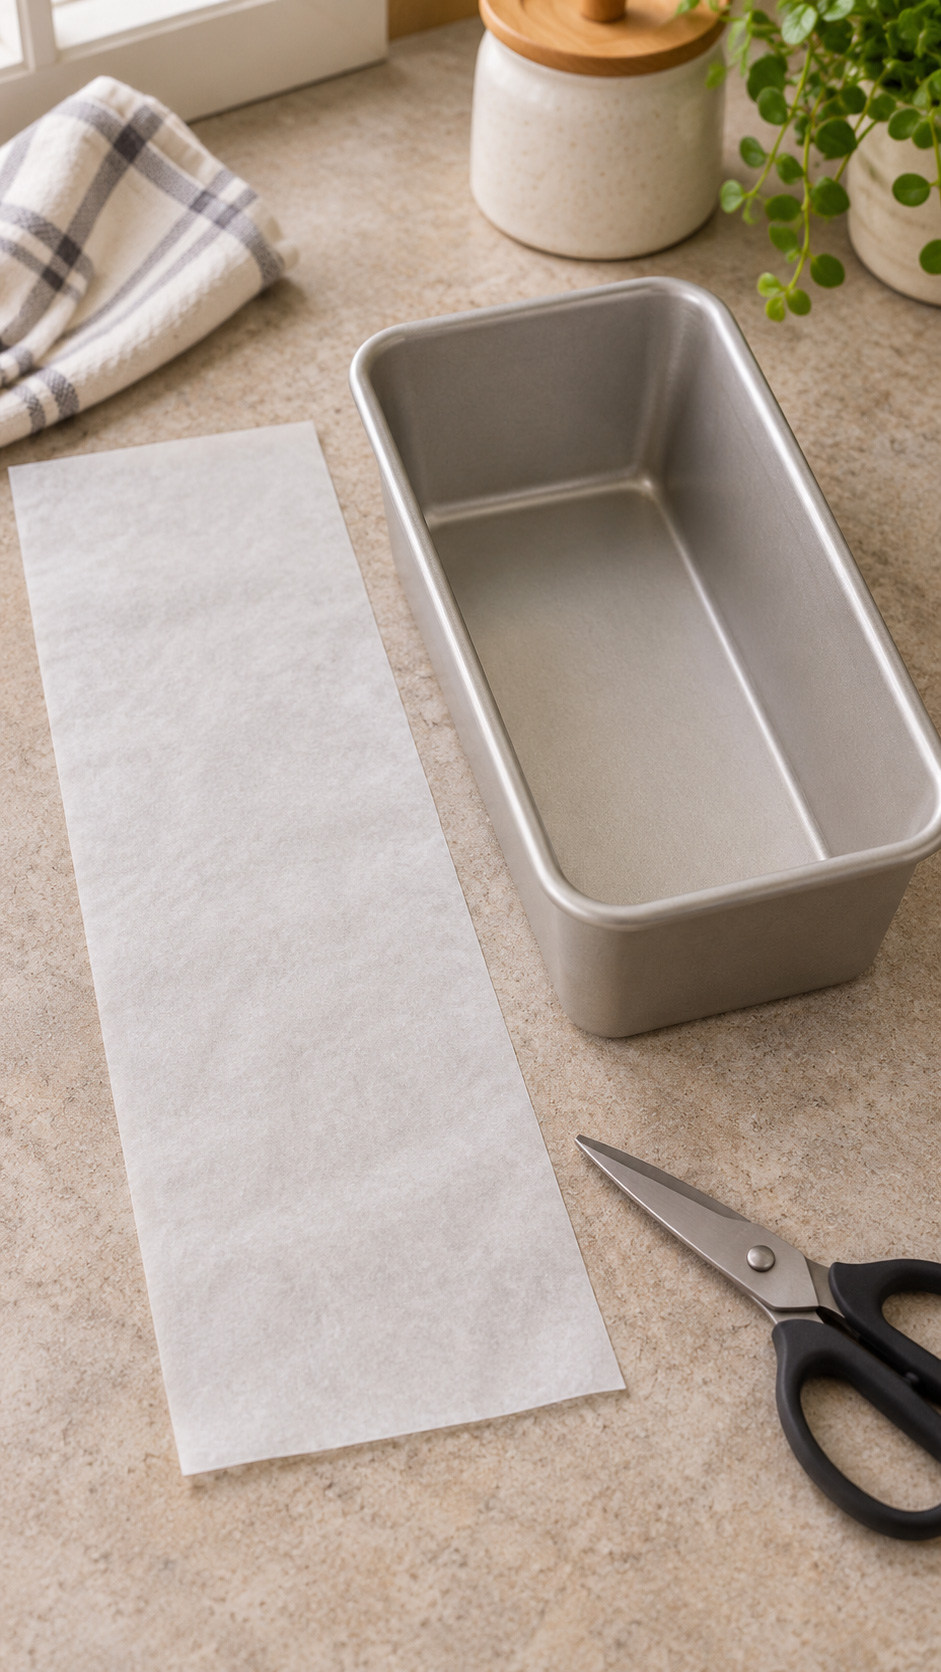
- Measure the base. Set the loaf pan on the counter and measure the interior length along the bottom between the two short ends. Cut the parchment to that width. A strip slightly narrower than the base is easier to fit if the pan has rounded corners.
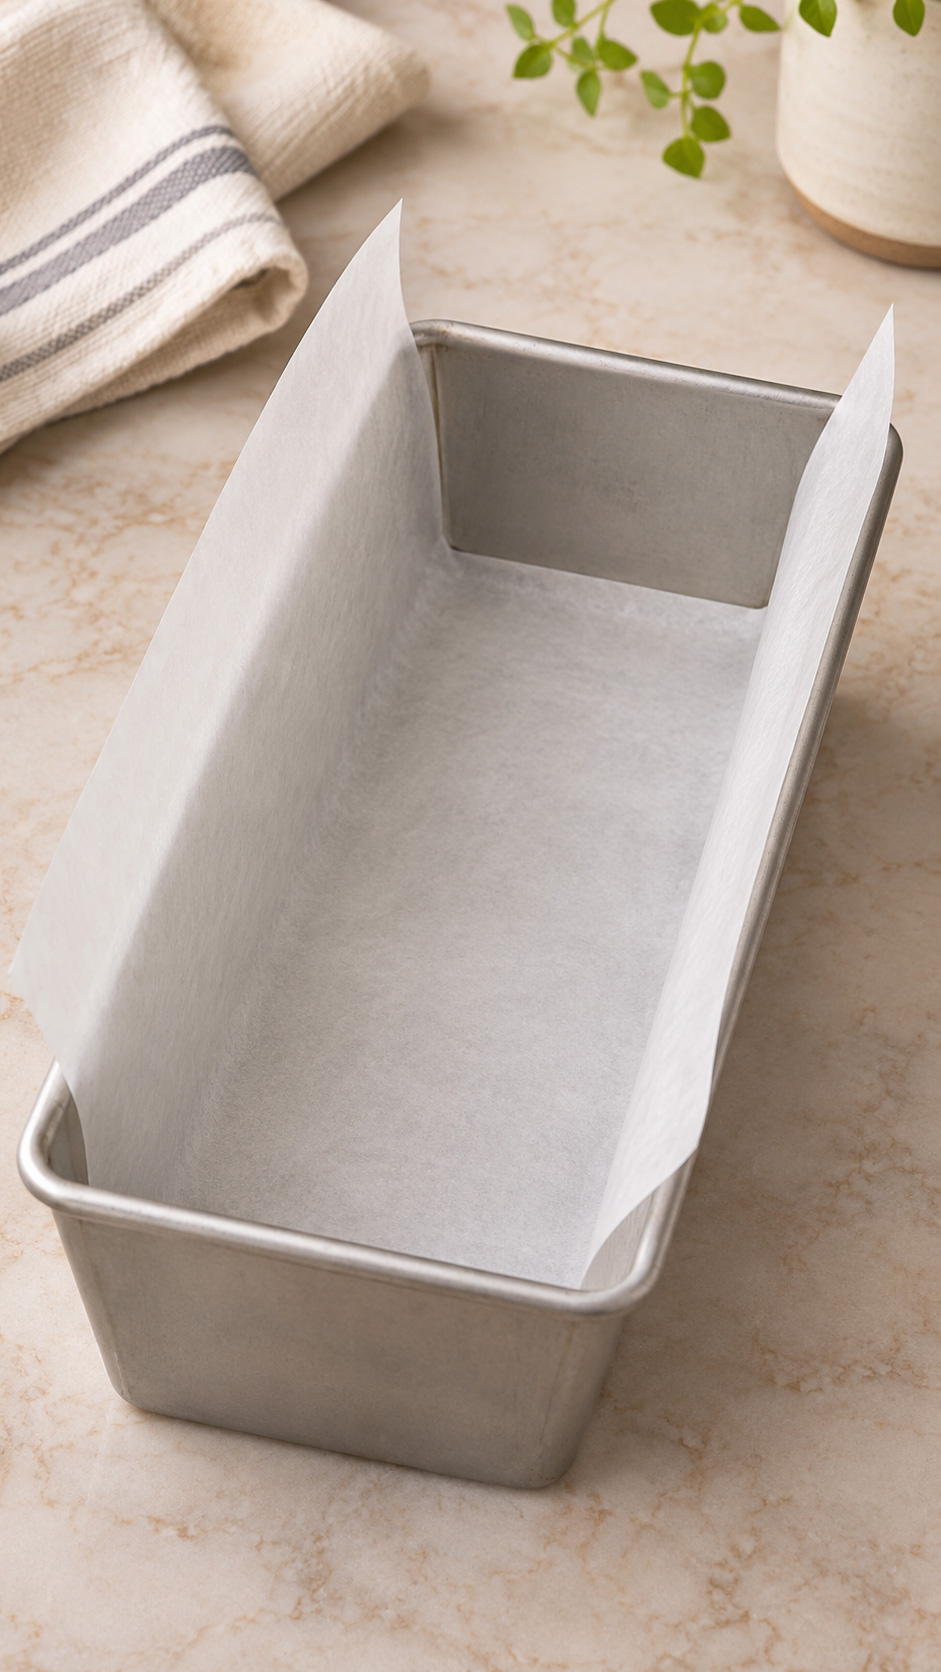
- Measure across the pan. Start at one long rim and measure down the inside wall, across the bottom, and back up the opposite long wall. Add roughly 2 inches at each end for handles. A soft measuring tape makes this easy. You can also press the uncut paper into the empty pan, mark it at both rims, then trim it beyond the marks on the counter.
- Grease and fit the parchment. Rub a thin layer of grease over the base and walls. Set the strip in the pan so it rises up the two long sides. Sweep a fingertip along each bottom crease. The grease holds the strip against the metal and helps release the loaf at the exposed short ends.
- Check the fit before filling. Press the paper flat along the base and make sure the strip reaches both ends without bunching. Trim any extra length at the handles if the paper could fold onto the batter or brush the oven wall or heating element.
- Fill and bake. Pour or spoon the batter into the center first, then guide it toward the short ends with a spatula. Bake according to the recipe. There is no need to change the baking temperature solely because the pan is lined.
Lining the short ends for extra protection
A single strip leaves the short ends exposed. Greasing those ends is usually enough for cakes that pull away cleanly. If your batter contains berries or a sticky filling, add a second narrower strip running in the other direction. Make it wide enough to cover the base between the two long walls, then long enough to rise up both short walls. Fit both strips before pouring in the batter.
The two strips overlap across the bottom. Smooth the paper flat at the overlap so the finished cake has an even base. Leave the lower corners visible as you fit each piece so you can trim excess paper. If a strip bunches at a tapered corner, take it out, shave a narrow strip off the side, and test the fit again. A small gap where two sheets meet is easy to grease.
| What you are baking | Lining to try |
|---|---|
| A plain quick bread or pound cake | One strip up the long sides, with the short ends greased |
| A berry loaf with exposed pieces of fruit | Two crossing strips for more coverage |
| A loaf with a swirl on top | One strip with enough overhang to lift the loaf upright |
How to lift the loaf without breaking it
Follow the recipe’s cooling instructions. For many quick breads, that means a short rest in the pan before transferring the loaf to a rack. The crumb needs a little time to firm. Check the uncovered ends first. If either has stuck, run a thin offset spatula between the cake and the pan, keeping the blade close to the metal.
Hold the two overhangs near the center of each long side. Raise both at the same speed, keeping the cake level. Set it down on a cooling rack and release the paper. When the loaf is sturdy enough to handle, ease the parchment out from underneath or peel it gently from the sides. Let the cake cool completely before adding a glaze so the icing sets on the surface.
Fix common lining problems
The parchment rolls back into the center. Cut it from the roll, reverse the curl by rolling it loosely the other way, then grease the pan and press the strip into the corners again.
Batter has slipped behind the parchment. This can happen when the strip pulls away from a wall. Next time, press the paper down before adding batter and start pouring in the middle where you can see it land.
The loaf has ridges down the sides. Creases usually come from paper that is too wide for the pan base. Measure the inside bottom, then give yourself a little clearance at the corners.
The loaf still feels stuck. Check the exposed ends and lift gently after loosening them. If the cake flexes when lifted, set it down and give it a few more minutes to firm.
Try the method with a loaf cake
Use the sling for Chocolate Pistachio Loaf to move the cake without turning its top against a plate. You can also use it for Moist Lemon Cake, where lifting the loaf upright leaves the top ready for finishing. The same measurement method works for 8½ × 4½-inch and 9 × 5-inch pans. Fit the paper to the pan in front of you, and keep the two handles accessible after filling.
