

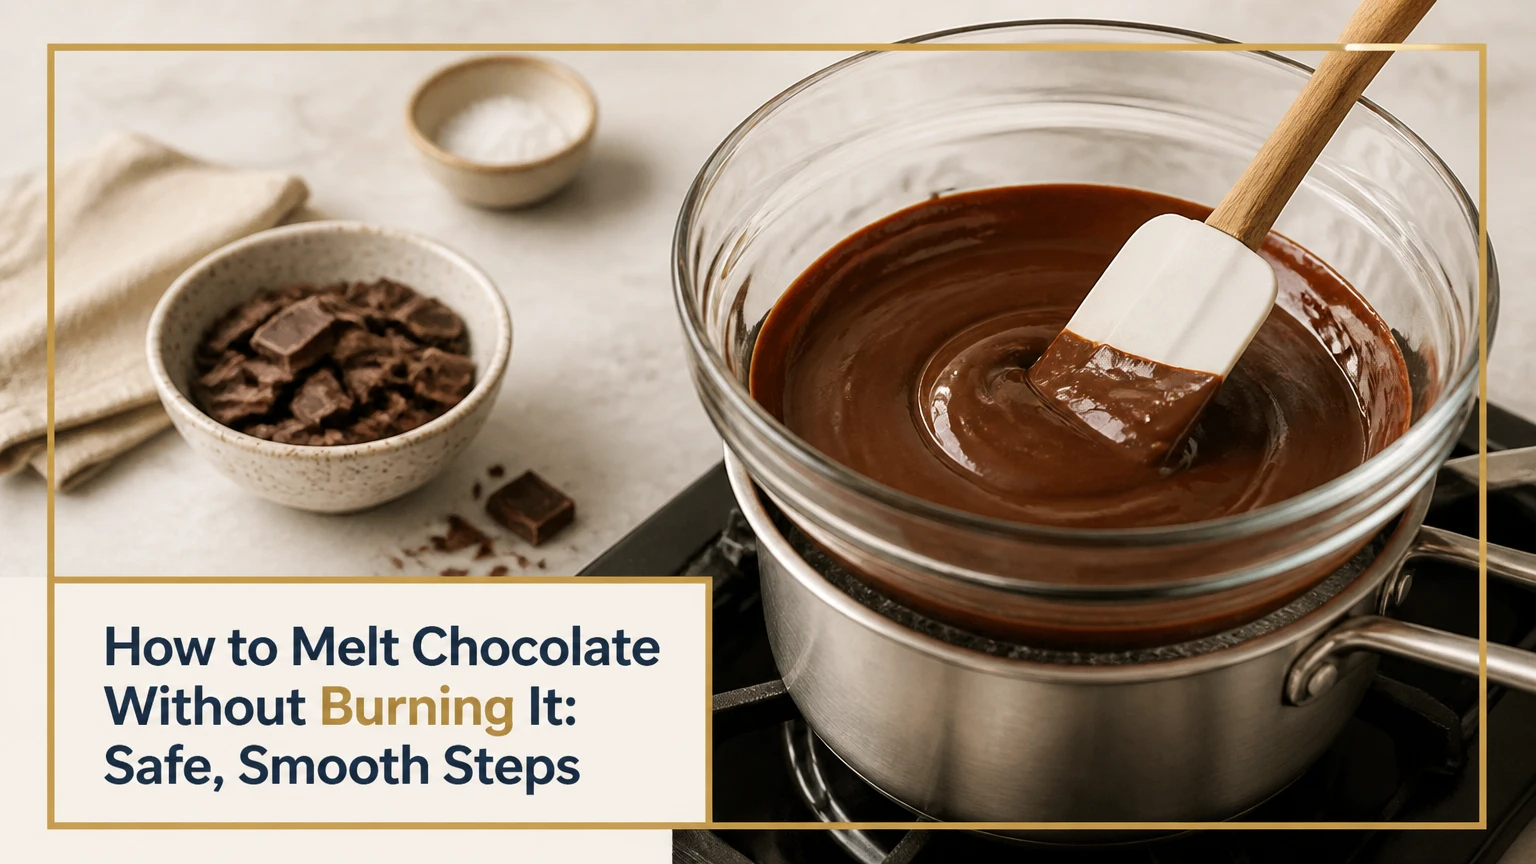
To melt chocolate without burning it, chop it evenly, use gentle indirect heat, stir frequently, and stop before every solid piece disappears. Keep bowls and utensils completely dry, because steam can make chocolate seize. Dark chocolate generally tolerates more heat than milk or white chocolate, but all chocolate benefits from low temperatures and residual-heat finishing.
Key facts at a glance
A double boiler melts chocolate gradually at approximately 40-50°C (104-122°F), depending on the chocolate type.
A microwave works best at 50% power in 15-30-second intervals with stirring after every interval.
Chocolate can burn without reaching a single universal temperature because formulation, quantity, and hot spots affect overheating.
White and milk chocolate need more cautious heating because milk solids and sugar can scorch quickly.
Water causes seizing in plain melted chocolate, while sufficient warm cream or another liquid can deliberately create a sauce.
Stop heating when small lumps remain, then stir until residual heat produces a smooth texture.
Before You Start: Time, Tools, and Ingredients
Melting 225 g (8 oz) of chocolate usually takes 5-10 minutes with a double boiler or 2-4 minutes in a microwave. The task is easy, but the chocolate must be chopped into similar pieces and protected from direct heat, water, and condensation.
| Requirement | Typical amount or setting | Practical specification |
|---|---|---|
| Chocolate | 100-450 g | Bars, baking wafers, callets, or chips |
| Chopped pieces | 0.5-1.5 cm | Similar size for even heating |
| Double-boiler water | 2.5-5 cm deep | Bowl must sit above water |
| Microwave power | 50% | Medium power, not full power |
| Mixing tool | 1 dry spatula | Silicone or flexible heatproof rubber |
| Total working time | 2-10 minutes | Depends on method and batch size |
Use a heatproof glass or stainless-steel bowl, a saucepan, a silicone spatula, and a dry towel. A digital thermometer helps with tempering, but it is unnecessary for chocolate used in brownies, cake batter, ganache, or most baked desserts.
Chocolate chips melt reliably, although stabilizers can make some brands thicker than chopped bar chocolate. Couverture chocolate usually produces a more fluid coating because it contains more cocoa butter, while ordinary chips may hold their shape after heating and need vigorous stirring to reveal that they have softened.
Why Does Chocolate Burn or Seize?
Chocolate burns when localized heat damages its cocoa solids, sugar, milk solids, or flavor compounds. Chocolate seizes when water dissolves sugar on the surface, creating a concentrated syrup that binds cocoa particles into a thick, grainy mass.
Chocolate contains cocoa particles and sugar dispersed through cocoa butter, with milk chocolate and white chocolate also containing milk ingredients. Cocoa butter melts over a range rather than at one exact point, so the chocolate may become fluid before every crystal structure has fully changed.
The six cocoa butter crystal forms matter most when tempering, because tempering creates stable crystals for a glossy finish and clean snap. Ordinary melting for baking does not require tempering, and overheated chocolate cannot be repaired by tempering alone.
The frequently repeated claim that milk or white chocolate “burns above 43°C” and dark chocolate “burns above 49°C” is too simplistic. Those temperatures are useful caution points, not universal burn thresholds. A small bowl over a hot pan can develop damaging hot spots well above the average temperature, while a larger mass may remain safe at a higher measured average.
What temperature should chocolate reach?
For ordinary melting, keep dark chocolate roughly between 45-50°C, milk chocolate between 40-46°C, and white chocolate between 38-43°C. These are practical working ranges, not absolute burn points, and the chocolate should leave the heat before it reaches the upper end.
| Chocolate type | Typical melting range | Conservative working target | Main risk |
|---|---|---|---|
| Dark chocolate | 45-50°C | 45-48°C | Scorching cocoa solids |
| Milk chocolate | 40-46°C | 40-44°C | Scorching milk solids |
| White chocolate | 37-43°C | 37-41°C | Burning sugar and milk solids |
| Ruby chocolate | 38-45°C | 38-42°C | Thickening and flavor damage |
The temperature ranges above are practical confectionery targets used by pastry cooks, not a promise that every brand behaves identically. Cocoa percentage, particle size, added fats, and the accuracy of the thermometer all affect the result.
A thermometer measures one location. Stirring matters because it distributes warmer fat through cooler chocolate and prevents a hot layer from remaining against the bowl.
How to Melt Chocolate Without Burning It
The most reliable process has five actions: prepare dry equipment, chop the chocolate, apply low indirect heat, stir continuously or frequently, and finish away from the heat. The double boiler gives the greatest control for 100-450 g batches, while a microwave is faster for small amounts.
Step 1: Chop the chocolate evenly
Cut a chocolate bar into pieces approximately 0.5-1.5 cm wide, or use callets and chips that are already similar in size. Smaller, uniform pieces expose more surface area and shorten the time that the chocolate spends over heat.
Place the pieces in a completely dry bowl. Wipe away condensation from a bowl taken from a cool cupboard, because a few droplets can create a grainy texture.
You will know this step worked when the pieces have similar dimensions and no moisture appears inside the bowl. The common mistake is melting one large block, which leaves the outside overheated while the center remains solid.
Step 2: Set up a dry double boiler
Add 2.5-5 cm of water to a saucepan and bring it to a gentle simmer, not a rolling boil. Set a heatproof bowl over the pan so the bowl’s base remains at least 2-3 cm above the water.
The bowl should be heated by steam and warm air, not by contact with boiling water. Excessive steam increases the risk of condensation, while direct contact can create a hot ring around the bowl.
You will know the setup is correct when the water simmers quietly and the bowl stays stable without touching the surface. The common mistake is using too much water, which splashes or generates unnecessary steam.
Step 3: Melt the chocolate over low heat
Add about two-thirds of the chopped chocolate to the bowl. Keep the heat at its lowest setting, and stir with a dry silicone spatula every 15-20 seconds, scraping the sides and bottom.
Remove the bowl from the pan when the chocolate is approximately 80-90% melted. The warm bowl and liquid cocoa butter will finish the remaining pieces without additional direct heat.
You will know the chocolate is progressing correctly when it becomes glossy and gradually loosens, without smoke, gritty particles, or a sharp scorched smell. The common mistake is leaving the bowl over simmering water until the chocolate looks completely liquid.
Step 4: Finish with residual heat
Add the remaining one-third of the chocolate and stir steadily for 1-2 minutes. This method lowers the mixture’s temperature while introducing unmelted cocoa butter, which helps create a smoother texture.
If small pieces remain after stirring, return the bowl to the pan for 5-10 seconds, then remove it again. Repeat only as needed.
You will know the chocolate is ready when it flows in a continuous ribbon from the spatula and no pale streaks or lumps remain. The common mistake is reheating immediately instead of allowing stirring to distribute residual heat.
Step 5: Use or hold the melted chocolate safely
Use melted chocolate immediately for drizzling, coating, or mixing into a recipe. If the chocolate must remain fluid, keep the bowl over warm water with the heat off, or place it in a warm location below its working temperature.
| Application | Useful texture | Typical holding approach | Extra ingredient |
|---|---|---|---|
| Brownie batter | Fluid and glossy | Use within 10 minutes | None |
| Fruit dipping | Thin coating | Warm bowl, heat off | 1-2 tsp cocoa butter per 225 g if needed |
| Cake drizzle | Pourable ribbon | Stir every 5 minutes | 1-2 tsp neutral oil per 225 g |
| Ganache | Smooth emulsion | Keep above 30°C | Warm cream, measured by recipe |
| Tempered molding | Fluid with stable crystals | Follow tempering curve | None |
Chocolate intended for a glossy molded shell or firm dipped coating may need tempering after melting. Chocolate mixed into cake batter, frosting, or a warm sauce usually does not need tempering because the final recipe changes its crystal structure.
Is the Microwave or Double Boiler Better?
A microwave is fastest for batches under 225 g, while a double boiler gives better control for larger quantities, white chocolate, or chocolate that must remain in a narrow temperature range. Neither method is automatically safer; low energy settings and frequent stirring determine the outcome.
| Method | Best batch size | Typical time | Temperature control | Main limitation |
|---|---|---|---|---|
| Microwave | 30-225 g | 2-4 minutes | Moderate | Uneven hot spots |
| Double boiler | 100-900 g | 5-15 minutes | High | Steam and condensation |
| Slow cooker | 450-2,000 g | 30-60 minutes | Low to moderate | Condensation under lid |
| Sous vide | 100-1,000 g | 20-40 minutes | Very high | Requires sealed bags and equipment |
Microwave method for small batches
Place chopped chocolate in a dry, microwave-safe glass or ceramic bowl. Heat at 50% power for 30 seconds, stir thoroughly, then continue in 15-second intervals.
Stir after every interval even if the chocolate appears unchanged. Microwaves heat unevenly, and stirring moves hotter areas into cooler areas before the sugar or milk solids scorch.
Stop when a few lumps remain and stir for 30-60 seconds. Typical times vary by microwave wattage, chocolate quantity, and bowl shape, so the visual checkpoint matters more than a fixed timer.
| Chocolate amount | First interval | Later intervals | Typical total time |
|---|---|---|---|
| 60 g | 20-30 seconds | 10-15 seconds | 45-90 seconds |
| 115 g | 30 seconds | 15 seconds | 1.5-2.5 minutes |
| 225 g | 30 seconds | 15-20 seconds | 2-4 minutes |
| 450 g | 30 seconds | 20-30 seconds | 4-7 minutes |
A full-power microwave can create hot spots before the rest of the bowl softens. The microwave method is convenient, but it is a poor choice when a recipe requires precise tempering or when the appliance has very uneven heating.
Slow cooker method for large quantities
Use a slow cooker only for large batches or extended warm holding. Add chocolate to a dry insert, use the lowest setting, stir every 10-15 minutes, and switch to warm as soon as the chocolate becomes fluid.
Do not place the lid directly over uncovered chocolate for long periods. Condensation can collect on the lid and fall into the mixture, causing seizing.
Slow cookers vary widely, and some low settings run hot enough to scorch white chocolate. A heatproof bowl set inside the cooker can provide a gentler buffer, but the method remains less responsive than a saucepan.
Sous vide method for controlled melting
Place chocolate in a moisture-proof, heat-safe bag and warm it in a water bath at approximately 40-45°C. Massage the bag periodically, and remove it when the chocolate is smooth.
Sous vide limits temperature overshoot, but the bag must be properly sealed and suitable for heated food contact. This method is useful for pastry production and tempering workflows, though it is unnecessary for a small home batch.
Which Melting Method Should You Choose?
Choose a microwave for speed, a double boiler for control, a slow cooker for prolonged serving, and sous vide for precision. The final application matters as much as the quantity: dipping and molding demand more temperature control than folding melted chocolate into a baked mixture.
| User situation | Recommended method | Reason | Avoid when |
|---|---|---|---|
| 60 g for a drizzle | Microwave | Fast and minimal cleanup | Microwave has severe hot spots |
| 225 g for brownies | Double boiler or microwave | Both finish smoothly | Chocolate will sit unattended |
| 450 g for dipped fruit | Double boiler | Better control during coating | No heatproof bowl is available |
| 1 kg for a party | Slow cooker | Holds a large volume warm | The lid will create condensation |
| Tempering couverture | Double boiler or sous vide | Narrower temperature control | Equipment cannot measure temperature |
For a beginner, the microwave at 50% power is usually the simplest option for a small amount. For white chocolate, a double boiler is often more forgiving because it lets you see and stir the chocolate continuously.
For dipping, couverture chocolate provides better fluidity than many chips. For baking, the difference matters less because the chocolate is combined with flour, eggs, fat, or another recipe component.
How Do Dark, Milk, and White Chocolate Differ?
Dark chocolate generally tolerates the highest working temperature, milk chocolate needs moderate heat, and white chocolate requires the most caution. White chocolate contains no cocoa solids, but its cocoa butter, milk powder, sugar, and emulsifiers can still overheat, thicken, or scorch.
| Type | Typical cocoa solids | Practical heat approach | Visual warning |
|---|---|---|---|
| Dark 55-70% | 55-70% | Low heat, up to 45-48°C | Dull surface or scorched aroma |
| Dark 70-85% | 70-85% | Stir frequently, finish off heat | Thickening before full melt |
| Milk | 10-40% | Use 40-44°C target | Tan streaks or burnt milk smell |
| White | 0% cocoa solids | Use 37-41°C target | Grainy paste or yellowing |
White chocolate can remain thick even when fully melted because brand formulations differ. Adding a small quantity of cocoa butter can improve fluidity, while adding ordinary water usually makes the texture worse.
Chocolate chips may also remain mound-shaped after melting. Stir them before deciding they need more heat.
Why Does Chocolate Seize, and Can You Fix It?
Chocolate seizes when a small amount of water contacts melted chocolate and binds dissolved sugar and cocoa particles into a stiff paste. Seized chocolate is usually unsuitable for dipping or molding, but it can often become useful in a sauce, cake batter, brownie mixture, or frosting.
Remove the bowl from heat immediately. For a sauce-like recovery, add 1 teaspoon of hot water, warm cream, or another recipe-compatible liquid at a time, stirring vigorously after each addition.
The important distinction is quantity. A few drops destabilize plain chocolate, while enough warm liquid disperses the sugar and creates a smooth emulsion. The recovered mixture will be thinner and will not behave like pure melted chocolate.
| Problem | Likely cause | Immediate action | Suitable final use |
|---|---|---|---|
| Grainy, stiff paste | Water or steam | Add warm liquid gradually | Sauce, batter, frosting |
| Thick but glossy chocolate | Chips or low cocoa butter | Stir, then add cocoa butter | Drizzle or coating |
| Pale gray streaks | Fat or sugar bloom | Melt gently and stir | Baking or sauce |
| Scorched smell and bitter taste | Excessive heat | Stop and discard | None |
| Solid center, liquid edges | Large pieces or poor stirring | Chop or stir thoroughly | Continue melting |
Do not add oil to severely seized chocolate and expect it to return to a firm dipping texture. Oil may loosen the paste, but it does not reverse the sugar-water reaction or restore the original cocoa butter structure.
Common Mistakes and How to Fix Them
The most common melting failures come from uneven pieces, excessive heat, trapped steam, and stopping the process too late. Each failure has a different remedy, so adding more heat is often the wrong response.
- Using full microwave power: Transfer the chocolate to a dry bowl and use 50% power with 10-15-second intervals. If a burnt odor remains, discard the chocolate.
- Allowing the bowl to touch boiling water: Move to a bowl with adequate clearance and use a gentle simmer. Direct heat creates a hot band that can scorch the edges.
- Covering the bowl: Remove the cover and wipe condensation from the rim before stirring. Steam droplets can seize the chocolate.
- Using a wet wooden spoon: Replace it with a dry silicone spatula. Wood can retain moisture, particularly after washing.
- Heating until completely liquid: Remove the chocolate when small lumps remain, then stir. Residual heat is safer than another long heating cycle.
- Adding cold liquid: Warm cream, butter, or another liquid before combining it with chocolate. A large temperature difference can create a thick, uneven emulsion.
A practitioner rule of thumb is to treat the bowl as part of the heat source. If the bowl feels very hot in your hand, the chocolate may already be hotter than necessary even when its center looks under-melted.
Another counterintuitive point is that stirring can make chocolate appear thicker for a moment. Stirring cools the mixture and redistributes particles, but continued movement usually produces a smoother, more fluid result.
Can You Melt Chocolate With Butter, Oil, or Cream?
You can melt chocolate with butter, oil, or cream when the recipe calls for a sauce, ganache, glaze, or softer coating. The added liquid or fat changes the final texture, so the result is no longer plain melted chocolate suitable for every application.
Use warm cream to make ganache, softened butter for a richer sauce, and a small amount of neutral oil or cocoa butter to improve drizzle or dipping fluidity. Measure additions rather than pouring freely, because excess fat can prevent a coating from setting firmly.
| Addition | Typical amount per 225 g chocolate | Result | Best use |
|---|---|---|---|
| Cocoa butter | 5-15 g | Thinner, firmer coating | Dipping and molding |
| Neutral oil | 5-10 g | Softer, glossy coating | Drizzle and fruit |
| Butter | 30-60 g | Rich, soft texture | Sauce and frosting |
| Warm cream | 110-225 g | Emulsified ganache | Filling and glaze |
Water is not inherently incompatible with chocolate. Water is a problem when a small amount enters plain melted chocolate, but a deliberate, adequately sized quantity of hot cream can produce a stable emulsion.
How Do You Keep Melted Chocolate Fluid?
Keep melted chocolate fluid by minimizing temperature loss, stirring periodically, and holding it gently between approximately 30-40°C, depending on the chocolate and application. Avoid direct heat, which can create hot spots while the surface still appears smooth.
For short holding, leave the bowl over a pan of warm water with the burner off. For a larger serving batch, use a slow cooker on warm and stir at regular intervals, but monitor the chocolate because appliance temperatures differ.
Tempered chocolate has a narrower working range than chocolate intended for baking. If the coating becomes too cool and thick, brief reheating may be possible, but repeated heating and cooling can disrupt temper and produce dull streaks.
Melting Chocolate for Specific Uses
Melted chocolate for baking can be slightly thicker because the chocolate will combine with other ingredients. Chocolate for dipping needs a fluid consistency and usually benefits from couverture chocolate or a small amount of cocoa butter.
For brownies, melt the chocolate gently with butter if the recipe specifies both ingredients. For a drizzle, stir in a measured teaspoon of neutral oil per 225 g only if the finished dessert does not require a hard set.
For molded candy or a glossy shell, melting is only the first stage. Tempering controls cocoa butter crystals through a heat, cool, and rewarm sequence, and a thermometer becomes much more valuable.
Frequently Asked Questions
Can you melt chocolate chips without burning them?
Yes. Place chocolate chips in a dry bowl and microwave them at 50% power for 30 seconds, then use 15-second intervals with thorough stirring. Chips may retain their shape after softening, so stir before applying more heat. Stop when a few lumps remain and let residual heat finish the melting.
Why is my melted chocolate thick but not burned?
Thick chocolate may contain less cocoa butter, may be partially seized, or may simply need more stirring. If the chocolate smells normal and looks glossy, stir for 60 seconds, then add 5-10 g cocoa butter per 225 g if a thinner coating is needed.
Can one drop of water really ruin chocolate?
One drop can seize a small quantity of plain melted chocolate because dissolved sugar binds cocoa particles into a paste. A larger, deliberate amount of warm cream or water can instead form a sauce or ganache, so the effect depends on the liquid-to-chocolate ratio and mixing method.
How long does melted chocolate stay liquid?
Melted chocolate usually remains fluid for 5-15 minutes at room temperature, depending on the bowl, batch size, and room temperature. A warm water bath with the heat off can extend the working period, but stirring and temperature monitoring prevent overheating or premature thickening.
Should melted chocolate be refrigerated to make it harden?
Refrigeration can set chocolate in approximately 10-20 minutes, but condensation may form when the chocolate returns to a warmer room. For a glossy finish, allow properly tempered chocolate to set in a cool, dry room whenever the recipe requires a firm professional-looking surface.
Can burned chocolate be saved?
Burned chocolate cannot be restored if it has a scorched smell, bitter flavor, darkened particles, or persistent clumps caused by overheating. Straining may remove a few solids, but it will not remove absorbed burnt flavor. Discard it and melt a fresh batch at lower heat.
The Bottom Line
To melt chocolate without burning it, use small uniform pieces, dry equipment, low indirect heat, and frequent stirring. Choose a microwave for small batches, a double boiler for maximum control, and a slow cooker only for large quantities that need gentle warm holding. Stop before the chocolate is completely liquid, then finish with residual heat. For dipping or molding, consider tempering after melting; for baking and sauces, smooth texture matters more than crystal stability.
