

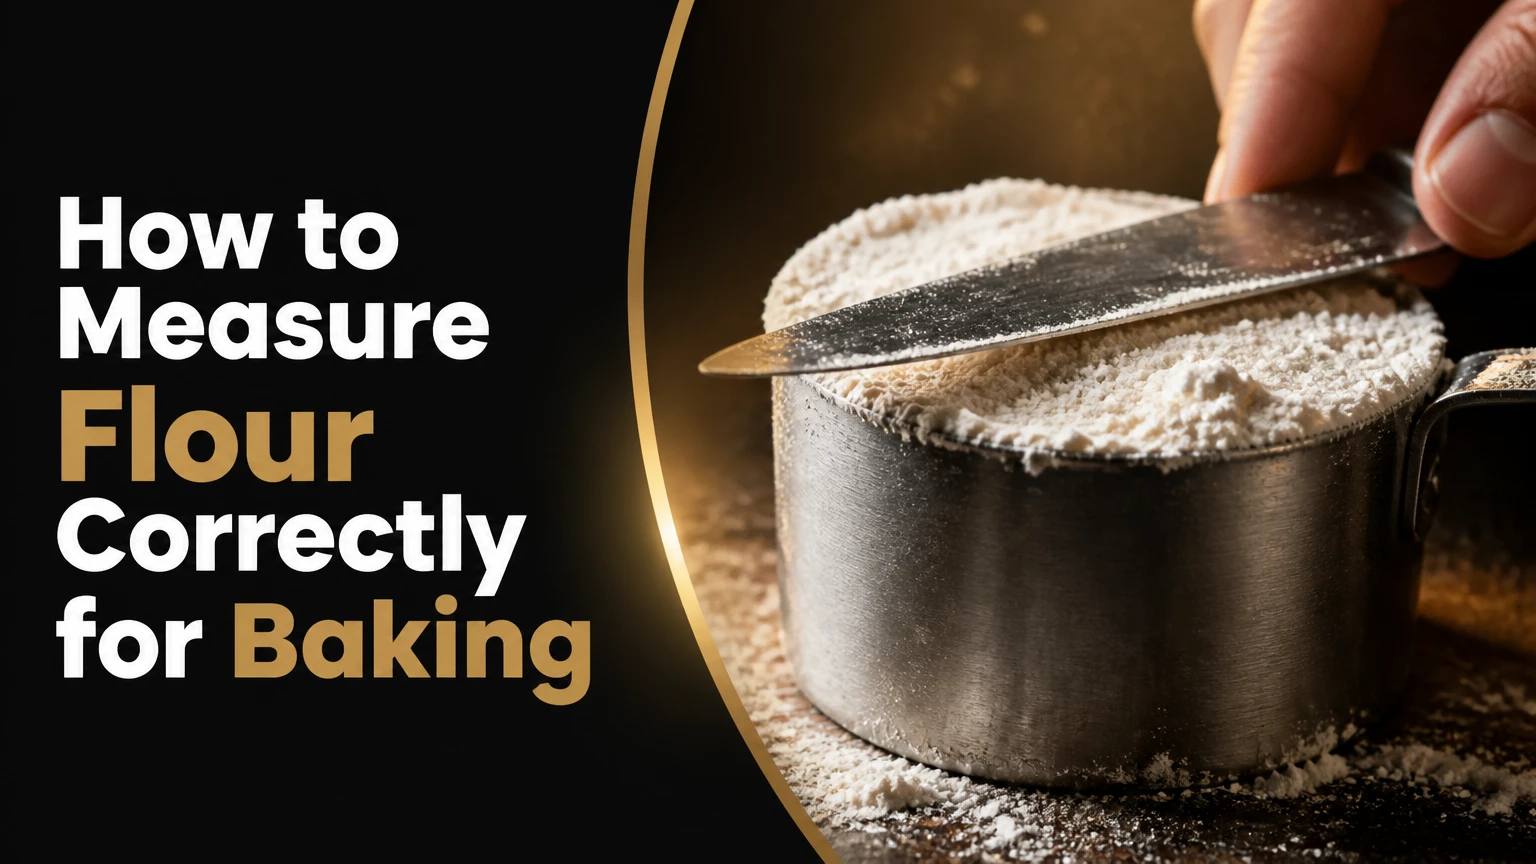
Measure flour by weight with a digital kitchen scale whenever possible. Place the bowl on the scale, tare it to zero, and add the flour in grams until you reach the recipe’s specified amount. Without a scale, loosen the flour, spoon it into a dry measuring cup, and level it without packing or tapping.
Key Facts at a Glance
- A digital scale gives the most repeatable flour measurement because grams measure mass directly.
- A common United States baking convention is 120 grams for 1 cup of all-purpose flour, but recipe-author standards vary.
- Scooping flour with a measuring cup can compress the flour and add substantially more flour than intended.
- Spoon-and-level measurement means loosening flour, spooning it into a dry cup, and scraping the excess flat.
- A recipe that says “1 cup sifted flour” requires sifting before measuring; “1 cup flour, sifted” requires measuring before sifting.
- Flour errors change hydration, dough stiffness, cookie spread, cake texture, and bread volume.
What is the most accurate way to measure flour?
The most accurate way to measure flour is to weigh it in grams with a digital kitchen scale. Volume measurement depends on how much flour has settled or been compressed, while a gram measurement remains the same regardless of the flour’s arrangement inside the bowl.
King Arthur Baking describes weighing as “the most accurate way to measure flour.” That recommendation matters because flour is compressible: two cups with the same visible volume can contain different masses. A recipe written in grams removes most of that variation and makes scaling straightforward.
A scale is especially valuable when flour represents a large percentage of the formula, as it does in bread, pastry, cookies, and laminated dough. For a cake, a difference of 20-30 grams can alter the batter enough to produce a dry crumb or poor rise.
Why does scooping flour produce different results?
Scooping flour directly from a bag or deep canister pushes the cup through loose particles and compresses them. The result can be heavier than a gently filled cup because the same volume contains more flour.
The exact difference depends on flour type, storage container, humidity, scoop pressure, and whether the flour was recently stirred. A common 120-gram cup standard should therefore be treated as a recipe convention, not a guarantee that every cup physically weighs 120 grams.
What equipment do you need?
A reliable flour-measuring setup requires a digital scale that reads in 1-gram increments, a mixing bowl, and either a spoon or a dry measuring cup. A scale with a capacity of at least 5 kilograms handles ordinary home baking, including the bowl and several ingredients.
| Equipment | Typical specification | Typical cost | Primary use |
|---|---|---|---|
| Digital kitchen scale | 1 g resolution, 5 kg capacity | $10-$25 | Weigh flour and other ingredients |
| Dry measuring cups | 1/4, 1/3, 1/2, and 1 cup | $5-$20 | Spoon-and-level flour |
| Measuring spoon | 1 tablespoon capacity | $2-$10 | Add small flour quantities |
| Straight-edged knife | 7-10 inch blade | Already owned | Level a dry measuring cup |
| Mixing bowl | 2-5 quart capacity | $5-$30 | Hold flour during weighing |
Place the scale on a firm, level counter. A soft towel, uneven surface, or bowl touching the counter can interfere with the reading. Confirm that the display shows grams rather than ounces before adding flour.
A scale is not useful if its batteries are weak or if the bowl rests against a wall. Check the display after placing the empty bowl and before every major addition.
How do you measure flour with a digital scale?
Use this five-step process to weigh flour accurately:
- Place the bowl on the scale.
- Select grams and press tare.
- Loosen the flour in its container.
- Add flour gradually to the target weight.
- Confirm the reading before mixing.
The complete process usually takes 10-20 seconds once the scale is ready. The main success factor is following the recipe’s stated gram quantity, rather than automatically converting every cup to 120 grams.
Step 1: Place the bowl and select grams
Set the empty mixing bowl in the center of the scale. Press the tare or zero button, then confirm that the display reads 0 g.
If the recipe lists ounces, grams remain preferable for precision because most home scales resolve grams more consistently than small fractions of an ounce. For example, 360 g is easier to target repeatedly than 12.7 ounces.
Success checkpoint: The scale reads 0 g with the bowl in place.
Common mistake: Adding flour before taring, then forgetting the bowl’s weight.
Step 2: Loosen and add the flour
Stir the flour lightly with a fork or spoon if it has settled in storage. Spoon or pour flour into the tared bowl until the display reaches the recipe’s target weight.
Slow down during the final 10 grams. If you overshoot by 2-3 grams in a cake or cookie recipe, the result may remain acceptable, but repeated overshooting undermines the benefit of weighing.
Success checkpoint: The scale shows the recipe’s gram value before other ingredients are added.
Common mistake: Reading the number while the display is still fluctuating from the last addition.
Step 3: Weigh multiple flours separately
Tare the bowl between ingredients when a recipe uses more than one flour. For example, a dough calling for 240 g bread flour and 60 g whole wheat flour should reach 240 g first, then 300 g after the second flour.
The total matters, but the individual amounts also affect protein, absorption, flavor, and dough strength. Substituting 60 g whole wheat flour for 60 g cake flour changes the formula even when the total mass remains unchanged.
Success checkpoint: Each flour matches the recipe’s stated mass and type.
Common mistake: Treating all flour as interchangeable because the scale shows the correct total.
Step 4: Record the actual weight
When adapting a cup-based recipe, record the weight you used and the flour brand. A 1-cup measure that worked for one recipe may not represent the same mass in another recipe if the authors used different standards.
This record helps diagnose future results. If a cookie recipe performs well at 125 g per cup, keep that conversion for that recipe instead of switching between 120 g and 140 g.
Success checkpoint: Your recipe notes include flour type, brand, and gram conversion.
Common mistake: Changing the conversion every time without recording the outcome.
How do you measure flour without a scale?
Use the spoon-and-level method when a scale is unavailable. Loosen the flour, spoon it gently into a dry measuring cup until it rises above the rim, and sweep a straight edge across the top without shaking, tapping, or pressing.
Spoon-and-level measurement is substantially more consistent than dipping the cup into flour. It still cannot match the repeatability of a scale because spoon size, flour settling, and leveling technique vary.
Step 1: Fluff the flour
Stir the flour in its container with a fork or spoon for several seconds. The goal is to break up settled areas and distribute the particles before measuring.
Do not use a sifter unless the recipe instructs you to sift at this stage. Aerating flour and removing lumps can change its volume, which matters when the recipe’s wording depends on the order of operations.
Success checkpoint: The flour looks loose and spoonable rather than compacted.
Common mistake: Pressing the spoon into the container and dragging it through the flour.
Step 2: Spoon flour into a dry measuring cup
Use a spoon to transfer flour into the correct dry cup. Let the flour fall loosely until it forms a mound above the rim.
Do not dip the cup into the flour, pack the flour into corners, or tap the cup against the counter. Tapping settles the particles and increases the mass inside the same volume.
Success checkpoint: The cup is full with a loose mound and no compressed surface.
Common mistake: Shaking the cup to make room for another spoonful.
Step 3: Level the cup
Hold a straight-edged knife horizontally and sweep it across the rim in one motion. Return excess flour to the container rather than pressing it into the cup.
A liquid measuring jug is a poor substitute because its curved sides and spout make a precise dry level difficult. Use a dry cup for flour, sugar, starch, and similar powders.
Success checkpoint: Flour is flush with the cup rim, with no dome or hollow.
Common mistake: Using the back of a rounded spoon, which leaves a mound.
How much does a cup of flour weigh?
A common conversion is 120 grams for 1 cup of all-purpose flour, but the correct value is the number supplied by the recipe author or flour manufacturer. Different flours have different particle sizes and densities, and different publishers use different cup standards.
| Flour type | Common reference weight per cup | Approximate weight per 1/2 cup | Main measurement caution |
|---|---|---|---|
| All-purpose flour | 120 g | 60 g | Use the recipe author’s stated standard |
| Bread flour | 120-127 g | 60-64 g | Higher protein does not automatically mean a fixed density |
| Cake flour | 114-120 g | 57-60 g | Sifting and brand affect volume |
| Pastry flour | 114-120 g | 57-60 g | Follow the specific recipe conversion |
| Whole wheat flour | 113-128 g | 57-64 g | Bran and germ alter density and absorption |
| Almond flour | 96-112 g | 48-56 g | Meal size and grind create large variation |
The 120-gram all-purpose standard is widely used by King Arthur Baking, while other reputable recipe publishers may specify 125 or 130 grams. Neither number should be silently imposed on a recipe that already provides grams.
How should you convert cups to grams?
Multiply the number of cups by the recipe’s stated grams-per-cup standard. If no standard appears, use a reliable conversion from the recipe publisher, then record it for future batches.
| Recipe amount | At 120 g per cup | At 125 g per cup | Difference |
|---|---|---|---|
| 1/4 cup | 30 g | 31 g | 1 g |
| 1/2 cup | 60 g | 63 g | 3 g |
| 1 cup | 120 g | 125 g | 5 g |
| 2 cups | 240 g | 250 g | 10 g |
| 3 cups | 360 g | 375 g | 15 g |
A conversion chart cannot recover the original measurement method if the recipe author never states one. For a valuable or technically sensitive recipe, weigh the flour using the publisher’s grams when available.
Which flour-measuring method should you choose?
Choose a digital scale for bread, pastry, repeated baking, recipe scaling, or any formula that lists baker’s percentages. Choose spoon-and-level for occasional home baking when the recipe uses cups and no scale is available. Direct scooping is the least reliable option.
| Method | Typical time | Repeatability | Best use | Main limitation |
|---|---|---|---|---|
| Digital scale | 10-20 seconds | Highest | Bread, pastry, scaling | Requires batteries and a scale |
| Spoon and level | 1-2 minutes | Moderate | Cakes and cookies without a scale | Technique still changes mass |
| Direct cup scoop | Under 10 seconds | Low | Emergency rough measuring | Often compresses flour |
| Recipe-provided grams | 10-20 seconds | Highest | Professional or repeat baking | Requires a gram-listed recipe |
The scale wins for accuracy, speed across multiple ingredients, and mathematical control. Spoon-and-level remains a sound fallback when performed carefully.
The direct scoop is not automatically disastrous in every recipe, but it creates an uncontrolled variable. Recipes with forgiving hydration may tolerate it, while delicate cakes and cookies may not.
When should flour be sifted?
Follow the recipe’s exact wording. “One cup sifted flour” means sift the flour before filling the cup, while “one cup flour, sifted” means fill the cup first and sift afterward.
Sifting can remove lumps, distribute cocoa or leaveners, and change flour volume. A recipe that specifies sifting after measurement usually wants a particular mass of flour that is then aerated for mixing.
| Recipe wording | Correct order | What the cup represents |
|---|---|---|
| “1 cup sifted flour” | Sift, then measure | A cup of already sifted flour |
| “1 cup flour, sifted” | Measure, then sift | One cup of flour before aeration |
| “120 g flour, sifted” | Weigh, then sift | 120 g regardless of volume |
| “Sift dry ingredients together” | Measure all, then sift together | The listed masses before aeration |
A flour sifter does not make an incorrect quantity correct. Sifted flour still needs to be weighed or measured according to the recipe’s stated sequence.
How do flour type and storage affect measurement?
Flour type affects both density and water absorption, while storage conditions affect settling and clumping. Whole wheat flour contains bran and germ, almond flour contains fat-rich particles, and cake flour is usually finer and lighter than bread flour.
Flour also absorbs moisture from the surrounding air. Humidity usually changes handling and clumping more visibly than it changes the mass of a sealed quantity, but a volume measure can behave differently when flour is damp, compacted, or recently sifted.
| Situation | Likely measurement effect | Baking consequence | Best response |
|---|---|---|---|
| Flour settled in a deep bin | More flour enters a dipped cup | Dry dough or batter | Stir, then spoon and level |
| Flour recently sifted | More air occupies the cup | Lower flour mass by volume | Follow the recipe’s sift wording |
| Humid storage | Clumps and altered flow | Uneven distribution | Break clumps and weigh |
| Whole wheat substitution | More bran and absorption | Stiffer dough | Use a tested formula |
| Almond flour substitution | Different fat and particle size | Changed structure | Do not use an all-purpose conversion |
How should bread flour be measured?
Measure bread flour by weight and calculate hydration from the flour mass. A bread formula with 500 g flour and 350 g water has 70 percent hydration, while a volume-based estimate cannot preserve that ratio consistently.
Bread dough exposes flour error quickly. An extra 30 grams of flour in a 500-gram dough lowers the effective hydration and can produce stiff dough, slower fermentation, and a tighter crumb.
Do not add flour automatically during kneading. Reserve a small portion only when the recipe instructs you to hold some back, then judge dough texture after several minutes of mixing because flour continues absorbing water.
Common mistakes and how do you fix them?
Most flour-measuring failures come from compression, incorrect recipe interpretation, or a scale setup error. The fastest recovery depends on whether the flour has already been mixed with liquid.
| Mistake | Observable symptom | Immediate fix | Prevention |
|---|---|---|---|
| Scooping from the bag | Dry, heavy batter | Add liquid only if recipe permits | Spoon and level or weigh |
| Tapping the cup | Dense cookies or cake | Do not remove more flour after mixing | Keep the cup still |
| Using a liquid cup | Uneven, rounded top | Transfer to a dry cup | Use a flat-rimmed dry measure |
| Forgetting to tare | Excess flour in bowl | Recalculate before adding liquid | Tare after every container |
| Wrong scale unit | Amount far too large or small | Stop and convert units | Select grams first |
| Sifting in the wrong order | Cake texture differs | Repeat with correct sequence | Read punctuation carefully |
If dry ingredients are still separate, remove the excess flour and reweigh. If the batter is already mixed, avoid corrective flour removal because the gluten and hydration system has begun developing.
For a bread dough that is too stiff, add water in small increments, typically 5-15 grams at a time, and allow each addition to mix in before deciding whether more is needed. For cookies that fail to spread, excess flour is one possibility, but chilled dough, low oven temperature, and altered butter also need checking.
How does flour measurement change for different recipes?
Flour precision matters most when the recipe has a narrow balance between flour, liquid, fat, sugar, and leavening. Cookies, cakes, bread, and pastry each reveal flour errors in different ways.
| Baked good | Common excess-flour symptom | Useful measurement target | Additional check |
|---|---|---|---|
| Drop cookies | Thick, cakey, limited spread | Weigh to recipe grams | Check butter temperature |
| Layer cake | Dry crumb, domed or tough texture | Use the publisher’s cup standard | Avoid overmixing |
| Muffins | Heavy, dry interior | Spoon and level if no scale | Mix only until combined |
| Lean bread | Stiff dough, low volume | Use baker’s percentages | Track hydration |
| Pie pastry | Tough crust, poor flake | Weigh flour and cold fat | Limit added bench flour |
How should you measure flour for cookies?
Weigh flour for cookies because small changes affect spread, chew, and thickness. If a recipe calls for 240 grams, use 240 grams rather than measuring two cups with an unknown volume standard.
Cookie dough can also fail for reasons unrelated to flour. Butter temperature, sugar type, pan color, oven calibration, and chilling time may produce similar symptoms, so flour should be tested alongside those variables rather than blamed automatically.
How should you measure flour for cakes?
Use a scale or spoon-and-level method for cakes, and avoid compressing flour while filling the cup. Cake batter needs enough liquid to hydrate starch and protein but must remain light enough for proper expansion in the oven.
A cake that tastes dry may contain too much flour, but overbaking and inaccurate oven temperature are common alternatives. Weighing removes one major variable before you troubleshoot the rest.
What are the expert rules that improve consistency?
Experienced bakers treat flour measurement as formula control, not a casual measuring step. Three rules prevent most avoidable variation.
- Use the recipe’s gram value before using a generic chart. A recipe’s stated 120 grams, 125 grams, or 130 grams reflects its own testing standard.
- Do not confuse flour weight with sifted volume. Sifting changes arrangement and volume, not the mass already weighed.
- Do not add flour to dough solely because it feels sticky early. Hydration changes during mixing and resting, especially in whole wheat and bread doughs.
A counterintuitive point is that a scale does not correct a poor recipe conversion. If a recipe converted one cup to an unsuitable gram value, weighing that value reproduces the conversion error consistently.
Another practitioner rule is to weigh ingredients directly into the mixing bowl. Taring between additions reduces measuring cups, prevents transfer loss, and lets the baker scale a recipe without recalculating every volume.
How long does accurate flour measurement take and what does it cost?
A basic digital scale typically costs $10-$25 and measures flour in 10-20 seconds after setup. Spoon-and-level measurement costs nothing beyond existing equipment but usually takes 1-2 minutes for several cups of flour.
The scale’s practical advantage grows when a recipe uses multiple dry ingredients. Tare the bowl after each ingredient, add the next mass, and avoid washing separate measuring cups between additions.
A scale is not necessary for a person who bakes twice a year and follows forgiving recipes. Regular bakers, bread makers, and anyone repeating recipes benefit from the lower variation and easier scaling.
FAQ
Can I measure flour in ounces instead of grams?
Yes, but grams are usually easier for baking because most kitchen scales display 1-gram increments. One ounce equals 28.35 grams, so 120 grams is approximately 4.23 ounces. Use the unit printed in the recipe when possible, and avoid switching units midway through a formula.
Should I pack flour into a measuring cup?
No. Flour should not be packed unless a recipe explicitly gives a packed measurement, which is uncommon for ordinary wheat flour. Packing increases the flour mass in the cup and can produce dry batter, stiff dough, or reduced cookie spread.
Is a flour scoop better than a measuring cup?
A flour scoop can transfer flour quickly, but a scoop does not guarantee a specific mass. A scoop is useful when paired with a scale; without a scale, spooning into a dry measuring cup and leveling the top remains the more controlled volume method.
Does sifting make flour lighter?
Sifting makes flour occupy more volume by separating and aerating particles, but it does not reduce the mass of the flour. If a recipe specifies grams, weigh the flour first and then sift it unless the recipe gives a different instruction.
Why did my recipe fail when I measured the flour correctly?
Correct flour measurement removes only one source of variation. Oven temperature, ingredient temperature, leavener age, mixing time, pan dimensions, flour protein, and recipe conversion can also change the result. Compare your flour type and gram standard with the original recipe before changing the formula.
How do I measure a small amount of flour accurately?
Use a scale for amounts below about 1/4 cup whenever possible. For a tablespoon-sized quantity, spoon flour loosely into a measuring spoon and level it with a straight edge, but recognize that a 1-2 gram error becomes proportionally large in small formulas.
The Bottom Line
To measure flour correctly for baking, weigh the flour in grams with a tared digital scale and follow the recipe’s own gram values. When no scale is available, loosen the flour, spoon it into a dry measuring cup, and level it without tapping. The method matters because flour compression changes mass, and flour mass controls hydration, texture, spread, and rise.
