

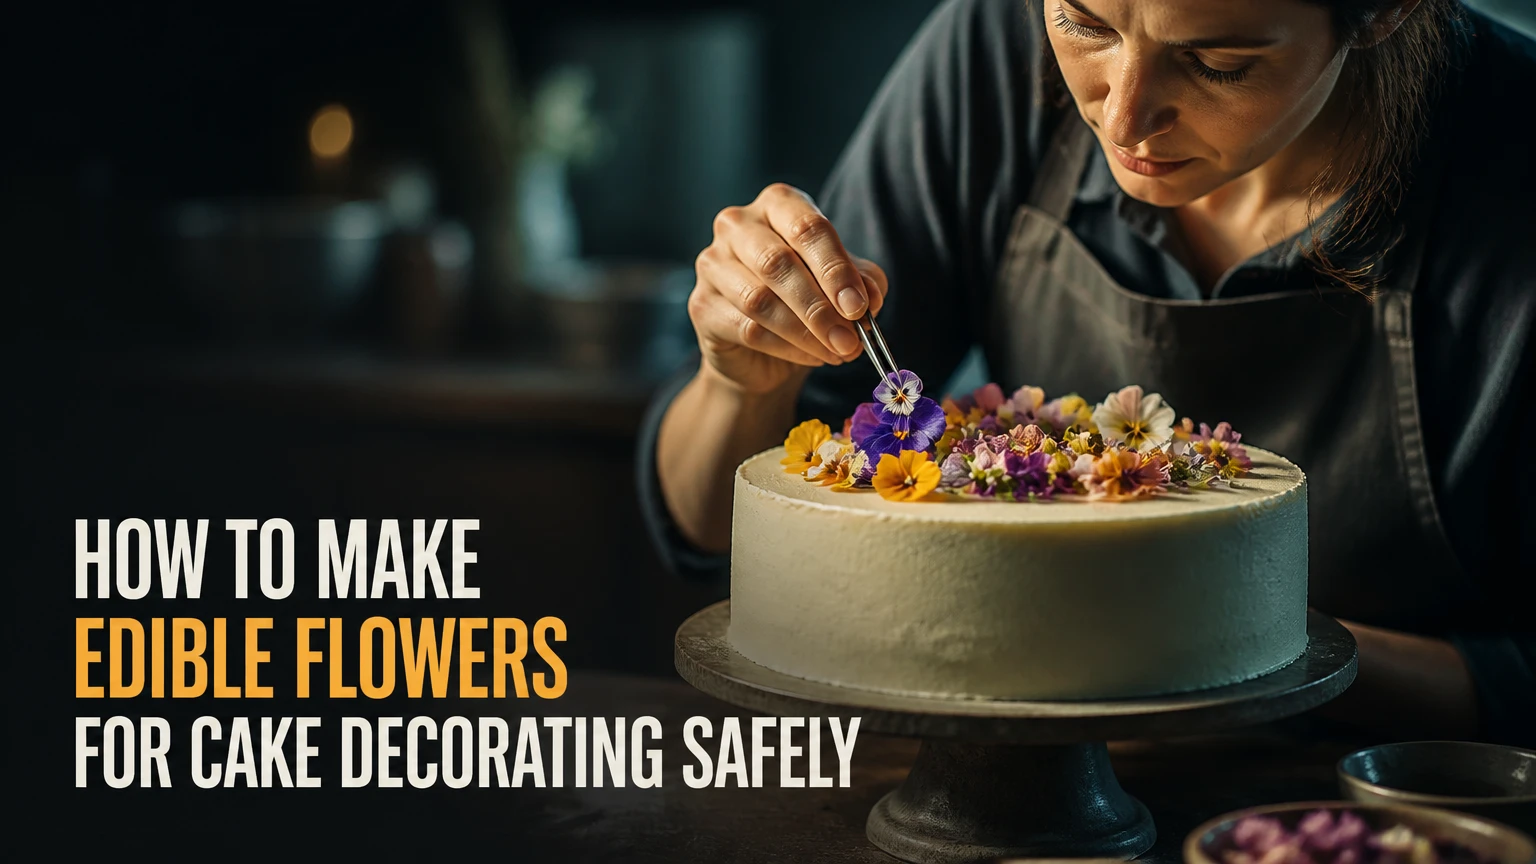
Edible flowers for cake decorating can be made from fresh culinary flowers, gum paste, fondant, buttercream, royal icing, or wafer paper. The safest process is to choose a food-approved medium, prepare it away from chemicals, control moisture, and keep non-edible stems and floral materials out of direct contact with the cake.
Key Facts at a Glance
- Fresh edible flowers should come from a verified culinary grower, not a florist, garden center, roadside verge, or chemically treated plant.
- A fresh flower stem should never be pushed directly into cake because sap, soil, microbes, and floral treatments can contact the food.
- Gum paste dries harder and thinner than fondant, while fondant remains softer and suits larger, less delicate shapes.
- Buttercream flowers are fully edible and flavorful, but heat can soften or deform them above typical room temperatures.
- Wafer paper flowers are lightweight and durable when dry, but water-based frosting can soften them within minutes.
- Typical total preparation time ranges from 30 minutes for simple buttercream rosettes to 24 hours for fully dried gum paste flowers.
Which Type of Edible Flower Should You Make?
The best method depends on whether you value speed, natural appearance, flavor, durability, or complete control over ingredients. Fresh flowers provide the quickest visual result, buttercream provides the most natural eating experience, gum paste provides the highest detail, and wafer paper provides the lightest structure.
| Flower type | Typical preparation time | Typical material cost | Best use | Main limitation |
|---|---|---|---|---|
| Fresh culinary flowers | 20-40 minutes | $5-$20 per batch | Same-day celebration cake | Wilting and sourcing risk |
| Gum paste flowers | 3-8 hours hands-on, 12-24 hours drying | $15-$60 in tools and paste | Wedding and display cakes | Brittle after drying |
| Fondant flowers | 45-120 minutes | $8-$30 in paste and cutters | Large, soft, stylized blooms | Less fine detail |
| Buttercream flowers | 30-60 minutes | $8-$25 in icing and piping tools | Cupcakes and beginner cakes | Heat sensitivity |
| Royal icing flowers | 45-90 minutes, 4-8 hours drying | $8-$25 in icing tools | Make-ahead batches | Hard texture when eaten |
| Wafer paper flowers | 45-150 minutes | $10-$35 in sheets and tools | Lightweight modern designs | Moisture damage |
Fresh Culinary Flowers
Fresh flowers work best when the event is within a few hours and the cake can remain cool. Pansies, violas, calendula, nasturtiums, borage, lavender, cornflowers, and unsprayed rose petals are common culinary choices, but a familiar flower name does not prove that a particular bunch is safe to eat.
Fresh flowers also contribute flavor. Nasturtium can taste peppery, lavender can become bitter when used heavily, rose petals may be perfumed, and borage often contributes a mild cucumber-like note. Use small quantities until the flavor suits the filling.
Sugar Paste Flowers
Gum paste contains a firming ingredient such as tylose or CMC, allowing petals to roll very thinly and dry rigid. Fondant contains more moisture and remains flexible, so it is easier for beginners but less suitable for thin, realistic petals.
Sugar flowers are decorative rather than automatically pleasant to eat. Remove wires, floral tape, toothpicks, stamens, and internal supports before serving, even when the visible petals are made from edible paste.
Buttercream and Royal Icing Flowers
Buttercream flowers are piped with metal tips onto parchment, flower squares, or the chilled cake. Royal icing flowers dry harder and travel better, but royal icing usually has a firm, brittle texture that some guests remove rather than eat.
A typical beginner setup uses a 104 petal tip for roses, a Wilton 1M or equivalent open-star tip for rosettes, a 352 leaf tip for leaves, disposable piping bags, parchment squares, and a flower nail. Chilling the piped flowers for 15-30 minutes makes transfer easier.
Wafer Paper Flowers
Wafer paper is made primarily from starch and becomes flexible when exposed to very small amounts of moisture. It produces translucent petals with little weight, which makes it useful on tall or delicate cakes.
Wafer paper is not a good choice for a wet cake surface, whipped cream, fruit syrup, or a humid outdoor event. Attach wafer flowers shortly before presentation, and keep them in a dry airtight container until the cake is ready.
What You Need Before Starting
Select one method before purchasing supplies. Mixing fresh flowers with sugar flowers can work, but each material has different storage and food-contact requirements.
| Method | Core materials | Useful quantities for one cake | Equipment |
|---|---|---|---|
| Fresh flowers | Culinary blooms, clean water, paper towels | 8-20 flower heads | Scissors, food-safe barrier, floral spike |
| Gum paste | Gum paste, edible glue, corn starch | 50-100 g paste | Petal cutters, foam pad, ball tool |
| Buttercream | Buttercream, gel color, parchment | 250-400 g icing | Piping bags, tips, flower nail |
| Royal icing | Meringue-based icing, gel color | 150-250 g icing | Piping bags, tips, drying board |
| Wafer paper | 0.3-0.8 mm wafer sheets, edible glue | 3-8 sheets | Scissors, veining tool, brush |
Before You Start
- Difficulty: easy for fresh flowers and rosettes; moderate for gum paste roses.
- Active time: 30-60 minutes for simple flowers; 1-3 hours for shaped petals.
- Drying time: none for fresh flowers; 12-24 hours for gum paste; 4-8 hours for royal icing.
- Typical budget: $5-$20 for fresh blooms, $8-$35 for piping or wafer paper, and $15-$60 for a reusable sugar-flower setup.
- Cake condition: chilled buttercream is easiest for attachment; soft or wet surfaces need a barrier or separate support.
How to Prepare Fresh Flowers
Fresh flowers for cake decorating should be selected, cleaned, dried, and isolated from the cake before attachment. Allow about 20-40 minutes for preparation, then place the flowers within a few hours of serving, because cut blooms lose firmness quickly at room temperature.
Step 1: Source Culinary-Grade Flowers
Buy flowers labeled edible or culinary from a grower that can state how the plants were treated. Choose firm, dry blooms with no visible insects, mold, damaged petals, or standing moisture.
Do not use flowers from a florist bouquet. Florist flowers may carry pesticides, preservatives, dye, glitter, or floral-food residue that is not intended for consumption. Garden-center plants can also be treated systemically, meaning residues may remain inside plant tissue rather than simply on the surface.
Success checkpoint: The seller can identify the plant and its growing treatment.
Common mistake: Assuming organic-looking flowers are edible because they appear clean.
Step 2: Remove Unwanted Plant Parts
Trim away most of the stem, leaves, pollen-heavy anthers, and green parts that taste bitter or may shed onto the icing. Keep petals intact, and discard flowers with bruising or crushed centers.
For roses and calendula, separate petals if the whole bloom is too large. For pansies and violas, the complete flower is often easier to position, but inspect the underside for insects.
Success checkpoint: Only the intended edible flower tissue remains.
Common mistake: Leaving leaves or sepals attached because they make the arrangement look fuller.
Step 3: Rinse and Dry the Flowers
Place the flowers in cool potable water for a brief rinse, then lift them out rather than holding them under a strong stream. Pat them gently with paper towels and allow surface moisture to evaporate for 15-30 minutes.
Washing does not make a chemically treated flower safe. It only removes some surface soil and insects, so verified sourcing remains the primary control.
Success checkpoint: Petals feel dry, not wet or slippery.
Common mistake: Decorating while droplets remain, which can stain buttercream and accelerate wilting.
Step 4: Create a Food-Safe Stem Barrier
The most reliable practical method is to place each stem inside a food-safe floral pick or a short food-safe straw, then insert the support into the cake. The flower stem must not touch the sponge, filling, or frosting.
Floral tape is not a food-contact material. Wrapping a stem with tape can reduce direct contact, but the wrapped stem still belongs inside a separate food-safe barrier. Remove the entire support before cutting and serving.
Success checkpoint: No stem, tape, wire, or non-edible adhesive touches the cake.
Common mistake: Dipping the stem in wax and assuming the wax makes the whole flower edible.
Step 5: Attach Flowers Close to Serving
Insert prepared flowers into chilled, stable frosting 1-4 hours before serving. Keep the cake refrigerated when the recipe permits, but protect delicate petals from condensation during transfer to the display area.
For a wedding cake, prepare and arrange flowers separately, then place them after the cake reaches the venue. This reduces transport damage and limits the time fresh flowers spend without water.
Success checkpoint: Petals remain upright, dry, and free of icing stains.
Common mistake: Placing fresh flowers on a warm cake several hours before guests arrive.
How to Make a Gum Paste Rose
A gum paste rose requires approximately 50-100 grams of paste, five to ten petals, edible glue, and 12-24 hours of drying. Roll the petals to about 0.5-1 millimeter, thin their edges, build them around a dry cone, and let the assembled flower harden in low humidity.
Step 1: Form and Dry the Center
Roll a pea-sized piece of gum paste into a cone about 2-3 centimeters tall. Narrow the top and widen the base, then leave the cone for at least 30-60 minutes so it can support the petals.
Success checkpoint: The cone stands without leaning or denting.
Common mistake: Attaching petals to a soft center, which causes the rose to collapse.
Step 2: Roll and Cut Petals
Knead the paste until flexible, then roll it thinly on a lightly dusted mat. Cut five to ten teardrop or rose-petal shapes, keeping unused paste covered because exposed gum paste forms a dry skin.
Use a foam pad and ball tool to thin the outer edge. Thin only the rim, not the whole petal, or the petal will tear during assembly.
Success checkpoint: The edge is delicate while the center retains enough thickness to hold its shape.
Common mistake: Using too much corn starch, which dries the paste and prevents petals from bonding.
Step 3: Shape and Glue the Petals
Brush a small amount of edible glue onto the lower side of the first petal. Wrap it around the cone with the top edge slightly open, then overlap the next petals by about one-third.
Alternate the height and direction of each petal. A rose looks artificial when every petal sits at the same angle and seam.
Success checkpoint: Each petal adheres without visible wet glue or sliding.
Common mistake: Applying water instead of glue, which can dissolve the paste surface and create weak seams.
Step 4: Dry the Rose
Place the rose in a former, egg carton, or suspended support so the petals retain their shape. Dry it at room temperature for 12-24 hours, depending on petal thickness and humidity.
Do not refrigerate unfinished gum paste flowers. Condensation softens the surface and can make colors bleed.
Success checkpoint: The flower feels firm when lifted by its base.
Common mistake: Sealing a partly damp flower in an airtight box, which traps moisture and causes distortion.
Fondant or Gum Paste: Which Works Better?
Gum paste is better for thin, realistic petals because CMC or tylose helps it dry rigid. Fondant is better for broad, soft, stylized flowers that need to remain flexible, and it is usually easier to handle during a short decorating session.
| Attribute | Gum paste | Fondant | Practical result |
|---|---|---|---|
| Typical rolled thickness | 0.5-1 mm | 1-2 mm | Gum paste gives finer edges |
| Drying time | 12-24 hours | 12-48 hours, surface dependent | Gum paste firms sooner |
| Final texture | Hard and brittle | Soft to firm | Fondant is easier to bite |
| Best flower size | 2-8 cm petals | 5-12 cm petals | Fondant suits large shapes |
| Humidity tolerance | Low | Low to moderate | Both need dry storage |
| Typical storage life | Weeks to months when dry | Days to weeks, sealed | Gum paste is better for advance work |
Method 3: Pipe Buttercream Flowers
Buttercream flowers are made by piping colored icing onto parchment or directly onto a chilled cake, then chilling them until firm. A simple rosette takes about 30 minutes for six to twelve flowers, while a structured buttercream rose usually takes 45-60 minutes.
Step 1: Prepare Firm Buttercream
Use a stable American, Swiss meringue, or Italian meringue buttercream with enough structure to hold ridges. If the icing slumps in the piping bag, chill it for 10-15 minutes before continuing.
Tint small batches with concentrated gel color. Liquid color adds water and can make buttercream softer, especially in warm conditions.
Step 2: Pipe the Center and Petals
For a rosette, hold a 1M star tip vertically and pipe from the center outward in one continuous spiral. For a rose, pipe a small cone first, then add overlapping petals with a petal tip.
Pipe onto 4-5 centimeter parchment squares if you want to move the flowers. Chill the squares for 15-30 minutes, then peel away the parchment and place each flower on the cake.
Success checkpoint: Ridges remain sharp for at least two minutes at room temperature.
Common mistake: Overfilling the bag, which warms the icing from hand pressure and weakens the shape.
Step 3: Chill and Attach
Place piped flowers in the refrigerator for 15-30 minutes or the freezer for 8-12 minutes. Transfer them with a small offset spatula, pressing only the base into the frosting.
Buttercream flowers should remain refrigerated when the cake formula allows it. At an outdoor event above approximately 24°C, use shorter display times, shade, and a stable frosting formula.
Method 4: Shape Wafer Paper Flowers
Wafer paper flowers are cut from dry starch sheets, shaped with minimal moisture, and attached shortly before service. Use a fine brush with a barely damp tip, because excess water can dissolve a petal edge in seconds.
Step 1: Cut Petal Shapes
Use scissors, punches, or cutters to make petals from 0.3-0.8 millimeter sheets. Cut several sizes so the flower has a gradual progression from center to outside.
Color the dry sheet with edible dust or airbrush color before shaping. Wet coloring can buckle the paper and create translucent spots.
Step 2: Curve the Petals
Warm the petal gently between clean fingers or shape it over a ball tool. Apply a tiny amount of edible glue at the base, then overlap petals around a dry center.
Success checkpoint: The petal curves without becoming tacky or limp.
Common mistake: Painting the entire sheet with water-based color.
Step 3: Store and Attach
Store completed wafer flowers in an airtight container with a food-safe desiccant packet that cannot contact the flowers. Keep them at room temperature in a dry cupboard, not in the refrigerator.
Attach them to dry buttercream, fondant, or chocolate decorations immediately before display. Avoid placing wafer paper directly against whipped cream, curd, syrup, or fresh fruit.
Which Flowers Are Safe to Put on Cake?
Safe cake flowers must be positively identified edible species grown without unsuitable treatments. Common culinary choices include pansy, viola, calendula, nasturtium, borage, lavender, cornflower, rose, chamomile, and some varieties of chrysanthemum, but cultivar and treatment still matter.
Edible Does Not Mean Suitable in Every Amount
Some edible flowers have strong flavor, irritating pollen, or a history of allergy reactions. Remove pollen-heavy centers when serving guests with sensitivities, and tell guests that flowers are present rather than relying on appearance alone.
The Royal Horticultural Society uses the practical rule, “If in doubt, leave it out,” for plant identification and edibility guidance. That rule is especially important because common names can identify several unrelated species.
| Flower | Typical flavor | Cake pairing | Serving note |
|---|---|---|---|
| Pansy | Mild, slightly grassy | Vanilla, lemon | Use whole flowers or petals |
| Viola | Mild, sweet | Berry, cream | Small size suits cupcakes |
| Calendula | Peppery, saffron-like | Carrot, citrus | Petals are usually preferred |
| Nasturtium | Peppery, mustard-like | Chocolate, savory-sweet | Use sparingly |
| Lavender | Floral, resinous | Lemon, honey | Excess becomes bitter |
| Rose | Fragrant, perfumed | Pistachio, vanilla | Remove bitter white base |
| Borage | Mild cucumber | Lemon, cream | Use young flowers |
| Cornflower | Mild, vegetal | Vanilla, berry | Petals provide color |
Flowers to Exclude
Never use a flower only because an image search labels it decorative. Hydrangea can cause gastrointestinal symptoms, lily-of-the-valley contains cardiac-active compounds, and unknown lilies, foxglove, oleander, and castor bean should be excluded from food decoration.
Baby’s breath, or Gypsophila, is often treated as a decorative flower rather than a food ingredient. Some references describe irritation or gastrointestinal risk, while other sources sell particular culinary forms, so ordinary florist baby’s breath should not touch cake unless the exact product is explicitly food-approved.
How to Insert Fresh Flowers Without Contamination
Fresh flower stems should enter a food-safe pick or barrier rather than the cake itself. The barrier must be long enough to prevent the cut stem from reaching sponge or filling, and every support must be removed before slicing.
Use one support per stem. A single large straw holding several stems can leak water or shift under the weight of the arrangement. Keep inserted flowers above the cake board when possible, and avoid piercing through multiple tiers.
A Safer Insertion Sequence
- Trim the stem to 3-5 centimeters.
- Dry the cut end thoroughly.
- Place the stem inside a food-safe floral pick or narrow food-safe straw.
- Seal or fold the lower end so the stem cannot slide out.
- Insert the barrier into chilled frosting or a pre-made support hole.
- Mark the cake board or serving instructions so every support is removed.
Do not use florist wire, floral tape, toothpicks, or wooden skewers as exposed supports. They can remain hidden inside a flower, but they must not be mistaken for edible parts or left in the cake after decoration.
How Long Do Cake Flowers Last?
Fresh flowers generally look best for 2-4 hours after placement, buttercream flowers last several days when refrigerated, gum paste flowers last weeks or months when kept dry, and wafer paper flowers can last for months or longer in low humidity.
| Medium | Best storage temperature | Typical usable period | Refrigeration rule |
|---|---|---|---|
| Fresh culinary flowers | 2-7°C before placement | 2-4 hours on cake | Refrigerate only if cake permits |
| Buttercream | 2-7°C | 3-5 days | Usually suitable |
| Royal icing | 18-22°C, dry | 1-6 months | Avoid refrigeration |
| Gum paste | 18-22°C, dry | 1-12 months | Avoid refrigeration |
| Wafer paper | 18-22°C, dry | 1-12 months | Avoid refrigeration |
Airtight storage protects sugar and wafer decorations from humidity, but completely sealed containers should contain only fully dry pieces. Condensation from a warm flower placed into a cold container can soften edges and cause color transfer.
Cost, Time, and Yield
The cheapest method is usually a simple buttercream rosette, while gum paste becomes more economical when tools are reused and flowers are prepared in batches. Typical home-baker figures vary by country, brand, and whether cutters or piping tips are already owned.
| Method | Typical active time | Typical total time | Approximate yield | Typical first-project cost |
|---|---|---|---|---|
| Fresh flowers | 20-40 minutes | 30-60 minutes | 8-20 blooms | $5-$20 |
| Buttercream rosettes | 30-60 minutes | 45-90 minutes | 12-30 flowers | $8-$25 |
| Wafer paper flowers | 45-150 minutes | 1-3 hours | 6-15 flowers | $10-$35 |
| Fondant flowers | 45-120 minutes | 2-8 hours | 8-20 flowers | $8-$30 |
| Gum paste roses | 60-180 minutes | 12-24 hours | 4-12 roses | $15-$60 |
| Royal icing flowers | 45-90 minutes | 4-8 hours | 20-60 small flowers | $8-$25 |
Common Problems and How to Fix Them
| Problem | Likely cause | Immediate fix | Prevention |
|---|---|---|---|
| Fresh petals wilt | Warm room or old flowers | Replace with chilled, firm blooms | Place 1-4 hours before serving |
| Icing stains | Wet flower surface | Remove, dry, and replace | Air-dry flowers 15-30 minutes |
| Gum paste cracks | Paste dried during rolling | Knead in a small amount of shortening | Cover unused paste |
| Sugar petals collapse | Center or petals are damp | Dry on a former for another 12 hours | Control humidity |
| Wafer paper melts | Excess water or wet icing | Replace the damaged petal | Use barely damp glue brush |
| Buttercream loses ridges | Warm icing or room | Chill the piping bag | Pipe in smaller batches |
| Cake has stem contact | Missing barrier | Remove flower and inspect cake | Use one food-safe pick per stem |
Expert Rules of Thumb
- Moisture moves toward dry starch. Wafer paper placed on wet frosting will absorb water even when the room feels dry, so a dry fondant patch is safer than a direct attachment.
- The cake is usually safer when flowers are removable. A flower pick lets the decorator create a visually dense arrangement without allowing botanical material to penetrate edible layers.
- Thin does not always mean better. Gum paste petals below roughly 0.5 millimeter may look realistic but break during transport; a slightly thicker edge often survives handling better.
- Fresh flower washing cannot reverse chemical exposure. The grower’s treatment record matters more than the rinsing method.
Variations for Different Cakes and Events
For a Beginner’s Birthday Cake
Use buttercream rosettes or verified pansies. Pipe six to twelve rosettes onto a chilled cake, add small leaves, and finish within 60 minutes.
For a Wedding Cake
Use gum paste or royal icing flowers when the design must be completed days ahead. If fresh flowers are required, arrange them on food-safe picks at the venue and provide a clear removal instruction before cutting.
For a Warm Outdoor Event
Avoid wafer paper against wet frosting and limit buttercream exposure to direct sun. Gum paste flowers offer better shape retention, but they still absorb humidity, so transport them in a dry box and attach them late.
FAQ
Can I use supermarket flowers on a cake?
Use supermarket flowers only when the package identifies them as edible or culinary and provides suitable growing information. Ordinary cut flowers are often treated for appearance and vase life, not food use, so rinsing them does not make them appropriate for cake decoration.
Can edible flowers touch buttercream?
Verified culinary flowers can touch buttercream when they are clean, dry, and free from chemical treatment. Keep stems and non-edible supports out of the frosting, because the edible status of petals does not make floral tape, wire, or plant sap food-safe.
Should I refrigerate gum paste flowers?
Do not refrigerate gum paste flowers unless the manufacturer specifically permits it. Cold storage creates condensation during removal, and that moisture can soften petals, dissolve color, and deform the flower; store fully dry pieces in a sealed container at room temperature.
Can children eat edible cake flowers?
Children can eat verified culinary flowers in normal food portions, but parents should know the flower species and consider allergies. Remove supports, wires, tape, and hard sugar centers before serving, and avoid unidentified blooms because plant toxicity varies by species.
How do I transport a cake with fresh flowers?
Transport the chilled cake separately from the prepared flowers whenever possible. Carry fresh blooms in a clean container with their cut ends protected, then insert them into food-safe picks at the destination within 1-4 hours of serving.
Are pressed flowers safe for cake decorating?
Pressed flowers are safe only when the exact flowers are edible and untreated, and when the pressing materials are clean and food-appropriate. Pressing preserves appearance but does not remove pesticides or toxins, so it cannot convert an unsafe flower into an edible decoration.
The Bottom Line
To make edible flowers for cake decorating, choose between fresh culinary blooms, gum paste, fondant, buttercream, royal icing, and wafer paper according to the event schedule and moisture conditions. Use verified edible ingredients, never insert raw stems into cake, dry sugar and wafer flowers completely, and attach fresh flowers shortly before serving.
