If you’re like me, mornings can be hectic, and finding the perfect breakfast that’s quick, filling, and delicious is always a challenge. Enter cheesy sausage muffins—the ultimate grab-and-go breakfast. These savory muffins combine the bold flavors of sausage and sharp cheddar cheese with the soft, fluffy texture of a homemade muffin. Whether you’re preparing for a busy weekday or hosting a cozy weekend brunch, these muffins are guaranteed to impress.
Let’s dive into everything you need to know to make these cheesy delights at home.
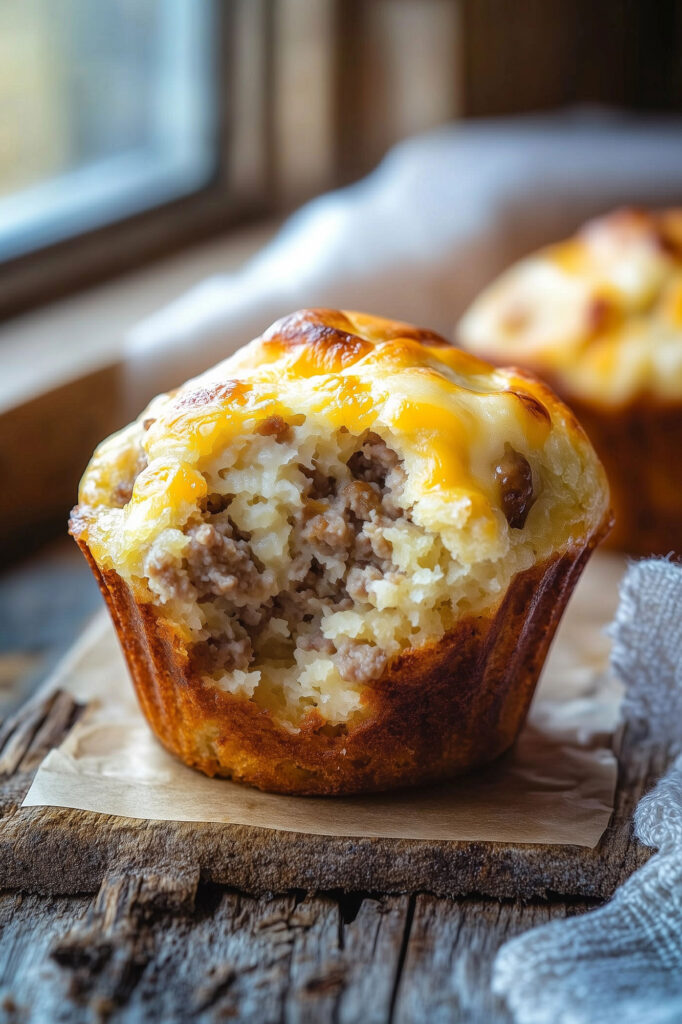
Ingredients List
Essential Ingredients for Cheesy Sausage Muffins
Here’s what you’ll need to whip up these savory muffins:
- 1 pound ground breakfast sausage: Cooked and crumbled for that rich, hearty flavor.
- 2 cups all-purpose flour: Regular or gluten-free options work perfectly.
- 1 tablespoon baking powder: For that fluffy muffin rise.
- ½ teaspoon salt: Enhances all the flavors.
- 1 tablespoon pure maple syrup or sugar: Adds a subtle sweetness to balance the savory notes.
- 2 cups grated sharp cheddar cheese: The star ingredient that makes these muffins irresistibly cheesy.
- 1 cup milk: Creates the perfect batter consistency.
- 1 egg: Binds everything together.
- 6 tablespoons unsalted butter: Melted and cooled for richness.
- (Optional) Additional cheese for topping.
Optional Add-ins for Extra Flavor
Want to elevate your muffins further? Consider these optional ingredients:
- A pinch of cayenne pepper for spice.
- Diced bell peppers or onions for added texture.
- Fresh herbs like parsley or chives for a pop of freshness.
Required Kitchen Tools
A well-equipped kitchen makes this recipe even easier. Here’s what you’ll need:
- Muffin Tin: A 12-cup muffin tin is ideal for this recipe.
- Saute Pan: For cooking the sausage evenly.
- Mixing Bowls: One large bowl for dry ingredients and one small bowl for wet ingredients.
- Whisk and Wooden Spoon: For mixing the batter without overworking it.
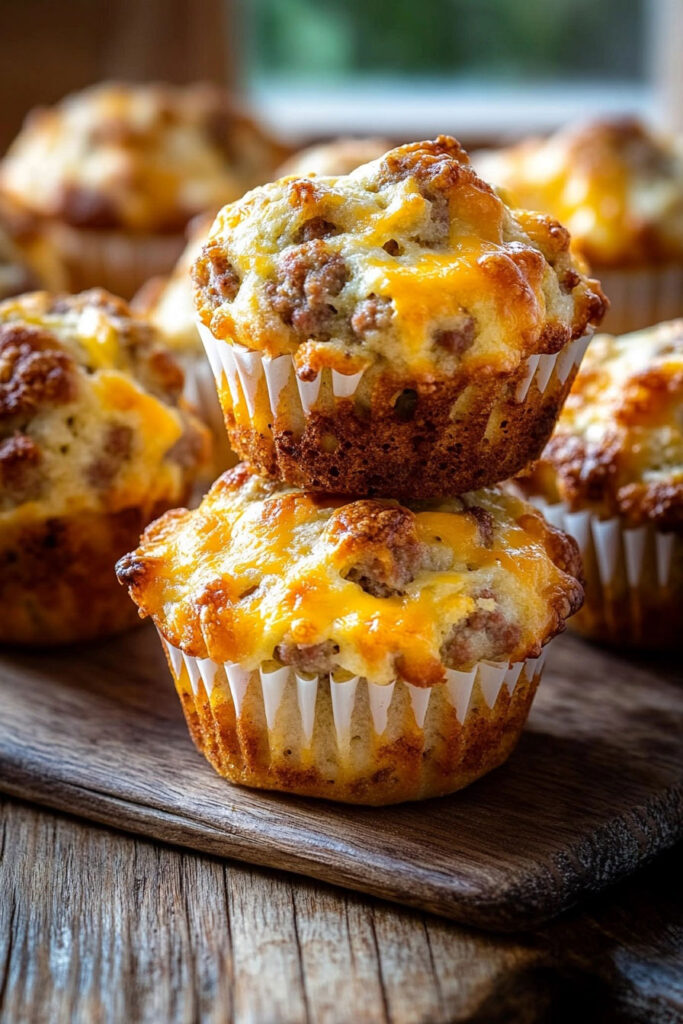
Preparing the Ingredients
Before we get into assembling the muffins, let’s prepare everything step by step.
Cooking the Sausage
Start by browning your sausage in a saute pan over medium heat. Use a wooden spoon to break it into small crumbles as it cooks. Once browned and fully cooked, transfer the sausage to a plate lined with paper towels to drain any excess grease.
Mixing Dry Ingredients
In a large mixing bowl, whisk together:
- Flour
- Baking powder
- Salt
If you’re using sugar instead of maple syrup, add it here as well. Stir in the cooked sausage and grated cheddar cheese to coat them evenly with the dry mixture.
Mixing Wet Ingredients and Assembling the Batter
Now that we’ve prepared the dry ingredients, it’s time to bring everything together with the wet ingredients. This step is crucial for creating a moist and fluffy muffin texture.
Whisking the Wet Ingredients
In a separate small bowl, whisk together:
- 1 cup milk
- 1 egg
- 1 tablespoon pure maple syrup (or sugar)
Once combined, pour this mixture into the bowl with the dry ingredients. Add 6 tablespoons melted and cooled unsalted butter to the mix. Stir gently until all ingredients are just incorporated—be careful not to overmix, as this can make the muffins dense.
Combining Everything
The batter will be thick but should hold together well. Fold in the cooked sausage and grated cheddar cheese, ensuring they’re evenly distributed throughout the mixture. If you’re feeling adventurous, now’s the time to add any optional ingredients like diced bell peppers or fresh herbs for an extra burst of flavor.
Baking Cheesy Sausage Muffins
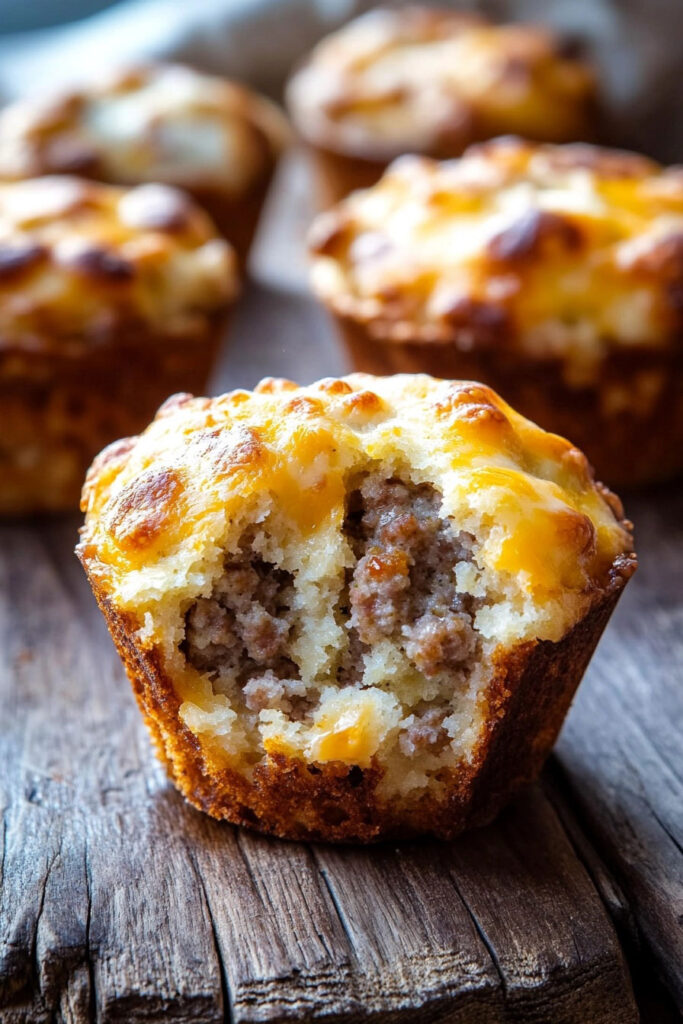
The oven is preheated, and your batter is ready—let’s get these muffins baking!
Preparing the Muffin Tin
Generously grease a 12-cup muffin tin with nonstick cooking spray or butter to prevent sticking. You can also use muffin liners if you prefer an easier cleanup.
Filling the Muffin Cups
Using a spoon or ice cream scoop, fill each muffin cup to the top with batter. If you’d like an extra cheesy topping, sprinkle some additional grated cheddar cheese over each muffin before baking.
Baking Instructions
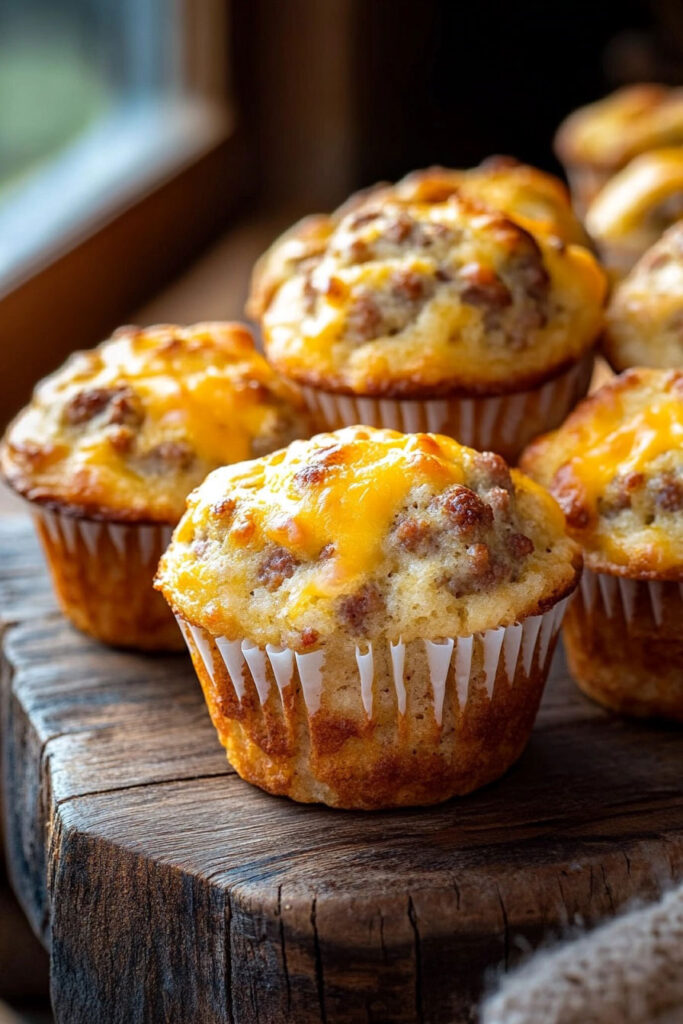
Place the muffin tin in the preheated oven at 400ºF. Bake for 18–20 minutes or until a toothpick inserted into the center of a muffin comes out clean. The tops should be golden brown and slightly crispy from the melted cheese.
Once done, allow the muffins to cool in the pan for about 5 minutes before transferring them to a wire rack. This cooling period helps them firm up and makes them easier to remove from the tin.
Serving and Storing Cheesy Sausage Muffins
Congratulations! Your cheesy sausage muffins are out of the oven, golden brown, and smelling heavenly. Now, let’s talk about the best ways to serve them and how to store any leftovers (if there are any!).
Serving Suggestions
These muffins are incredibly versatile and can be enjoyed in various ways:
- Breakfast on the Go: Pair a warm muffin with a cup of coffee for a quick, satisfying start to your day.
- Brunch Spread: Serve alongside scrambled eggs, fresh fruit, and a mimosa for a complete brunch menu.
- Snack Time: These muffins make a great midday snack, especially when slathered with butter or paired with a dollop of sour cream.
- Party Appetizer: Mini versions of these muffins are perfect for serving at parties or potlucks.
For an extra touch, garnish the muffins with chopped chives or parsley before serving. This adds a pop of color and freshness to each bite.
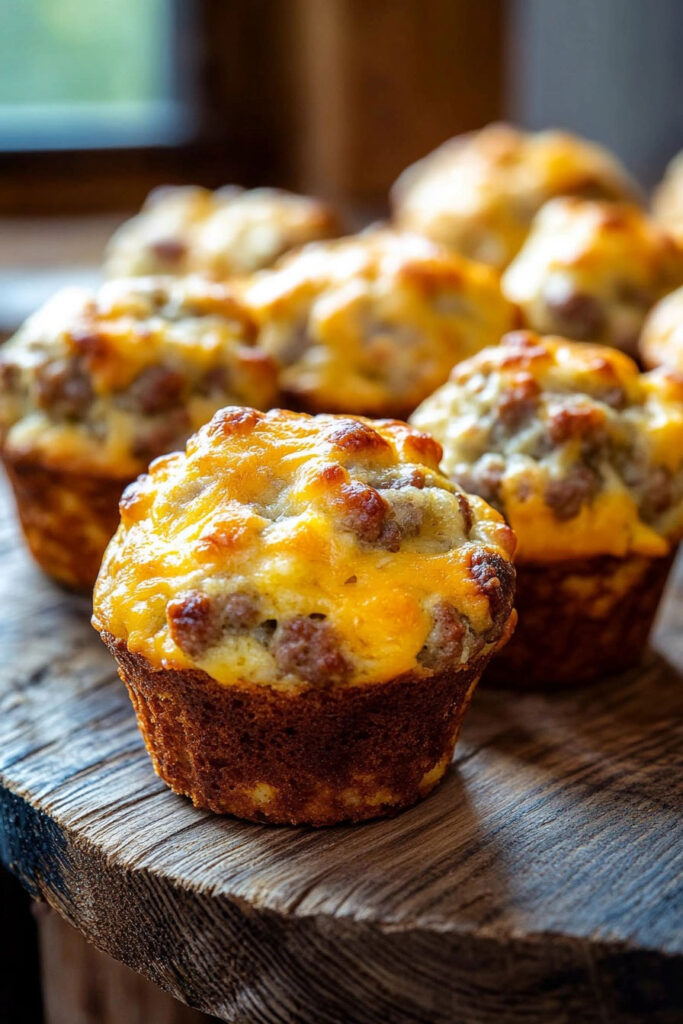
Storing Leftovers
If you have leftovers (a rare occurrence in my house!), here’s how to keep them fresh:
Refrigerator
- Store the muffins in an airtight container in the refrigerator for up to 4 days.
- To reheat, pop them in the microwave for 15–20 seconds or warm them in a 350ºF oven for about 5 minutes.
Freezer
- These muffins freeze beautifully! Place them in a freezer-safe bag or container, ensuring they’re tightly sealed. They can be stored for up to 3 months.
- To reheat, thaw them at room temperature or microwave directly from frozen for about 30 seconds.
Frequently Asked Questions
Can I make these muffins gluten-free?
Absolutely! Substitute regular all-purpose flour with a gluten-free blend like Cup4Cup. Ensure your baking powder is also gluten-free.
Can I use a different type of cheese?
Yes! While sharp cheddar is classic, you can experiment with pepper jack, gouda, or even mozzarella for unique flavors.
What other proteins can I use instead of sausage?
You can swap out sausage for cooked bacon bits, diced ham, or even turkey sausage for a leaner option.
How do I prevent my muffins from sticking to the pan?
Be generous with nonstick cooking spray or use muffin liners. If you’re using liners, lightly spray them as well for easy removal.
Can I add vegetables to the batter?
Definitely! Diced bell peppers, onions, spinach, or even jalapeños can be mixed into the batter for added texture and flavor.
Why You’ll Love Cheesy Sausage Muffins
Cheesy sausage muffins aren’t just another breakfast recipe—they’re a game-changer. Here’s why these savory muffins are bound to become a staple in your kitchen:
- Quick and Convenient: They’re perfect for busy mornings when you need something filling and portable.
- Customizable: You can easily tweak the recipe to suit your taste preferences, whether it’s adding veggies, swapping cheeses, or experimenting with different proteins.
- Crowd-Pleaser: Whether you’re hosting brunch or meal-prepping for the week, these muffins are always a hit.
- Make-Ahead Friendly: Bake a batch, freeze them, and enjoy a delicious homemade breakfast anytime.
Tips for Perfect Cheesy Sausage Muffins Every Time
To ensure your muffins turn out perfectly every time, keep these tips in mind:
- Don’t Overmix the Batter: Overmixing can lead to dense muffins. Stir just until the ingredients are combined.
- Use High-Quality Cheese: Opt for freshly grated cheese rather than pre-shredded varieties for better flavor and texture.
- Grease the Pan Well: Even if you’re using a nonstick pan, greasing it thoroughly will make removing the muffins much easier.
- Check Doneness Early: Ovens can vary, so start checking your muffins around the 18-minute mark to avoid overbaking.
Final Thoughts
Cheesy sausage muffins are everything you could want in a breakfast or snack—savory, cheesy, and packed with flavor. They’re easy to make, endlessly versatile, and sure to be loved by everyone who tries them. Whether you’re meal-prepping for the week or whipping up something special for guests, these muffins will never disappoint.
So, what are you waiting for? Gather your ingredients, preheat that oven, and treat yourself to these irresistible cheesy sausage muffins. Trust me—your mornings will never be the same again!
PrintCheesy Sausage Muffin
These Cheesy Sausage Muffins are a savory, satisfying treat perfect for breakfast, brunch, or snacks. Packed with crumbled sausage, sharp cheddar cheese, and a hint of sweetness, they’re fluffy, flavorful, and easy to make. Ideal for meal prep or on-the-go mornings, this recipe is versatile and freezer-friendly!
- Prep Time: 15 minutes
- Cook Time: 20 minutes
- Total Time: 35 minutes
- Yield: 12 muffins 1x
- Category: Breakfast
- Cuisine: American
Ingredients
Essential Ingredients:
- 1 pound ground breakfast sausage (cooked and crumbled)
- 2 cups all-purpose flour (or gluten-free substitute)
- 1 tablespoon baking powder
- ½ teaspoon salt
- 1 tablespoon pure maple syrup or sugar
- 2 cups sharp cheddar cheese (grated)
- 1 cup milk (room temperature)
- 1 egg (lightly beaten)
- 6 tablespoons unsalted butter (melted and cooled)
Optional Add-ins:
- Pinch of cayenne pepper (for spice)
- Diced bell peppers or onions (for texture)
- Fresh herbs like parsley or chives (for added flavor)
Instructions
Cook the sausage in a skillet over medium heat, breaking it into crumbles as it cooks. Once browned and fully cooked, drain excess grease on paper towels and set aside to cool.
In a large mixing bowl, whisk together the flour, baking powder, salt, and sugar (if using). Stir in the grated cheddar cheese and cooked sausage until evenly coated.
In a separate bowl, whisk the milk, egg, and maple syrup (if using). Slowly add the melted butter while whisking to prevent curdling.
Pour the wet ingredients into the dry mixture. Gently fold until just combined—avoid overmixing to keep the muffins light. The batter will be thick but should hold together well. Add optional ingredients like bell peppers or herbs at this stage.
Preheat your oven to 375°F (190°C). Grease a 12-cup muffin tin generously or use liners. Fill each cup to the top with batter. For extra cheesiness, sprinkle additional grated cheese on top.
Bake for 20–25 minutes or until golden brown and a toothpick inserted into the center comes out clean. Let muffins cool in the pan for about 5 minutes before transferring them to a wire rack.
Notes
Serving Suggestions:
- Serve warm with butter or sour cream. Pair with fresh fruit or scrambled eggs for a complete breakfast.
Tips & Tricks:
- Use freshly grated cheddar for better flavor and melting.
- Don’t overmix the batter; stir just until combined to keep muffins fluffy.
- Check doneness starting at 18 minutes to avoid overbaking.
Storage & Reheating:
- Refrigerator: Store in an airtight container for up to 4 days. Reheat in the microwave for ~15 seconds or in a preheated oven at 350°F for ~5 minutes.
- Freezer: Wrap muffins individually in plastic wrap and store in a freezer-safe bag for up to 3 months. Reheat directly from frozen in the microwave (~30 seconds) or oven (~10 minutes).

