
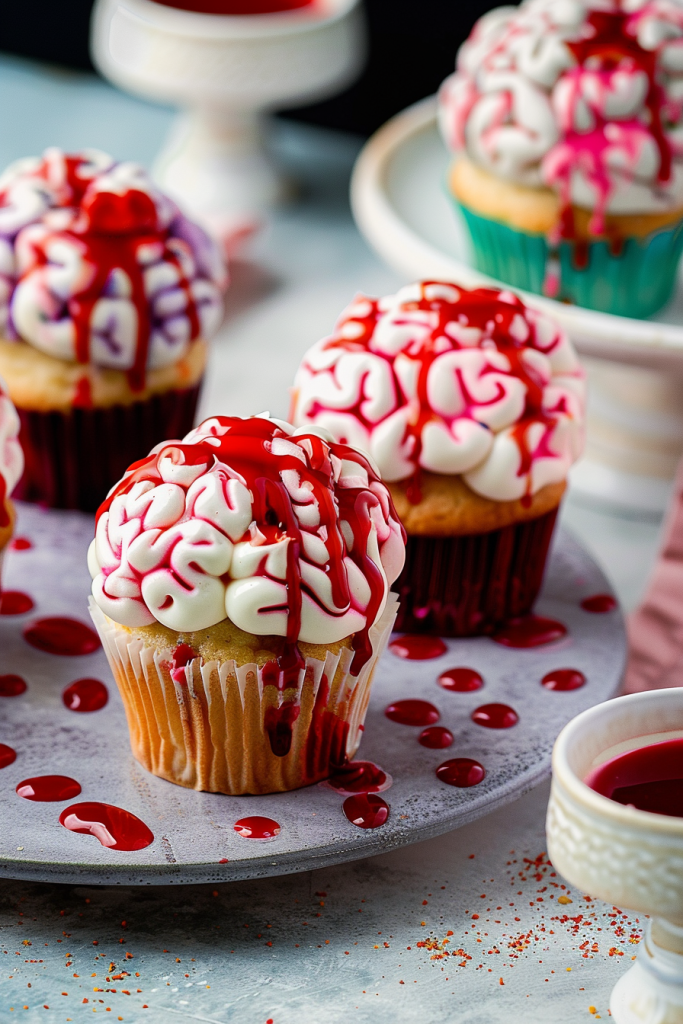
Halloween is around the corner, and it’s time to get spooky with some deliciously creepy treats. These Brain Cupcakes are not only a fun and easy Halloween dessert but also a perfect way to surprise your guests with a touch of eerie delight. Topped with a rich cream cheese frosting and covered in edible blood, these chocolate Brain Cupcakes are sure to be a hit at any Halloween party.
Whether you’re hosting a Halloween bash or just want to indulge in some festive baking, these Brain Cupcakes are a must-try. The decorating method for these cupcakes can be applied to any cake and frosting combination, allowing you to customize them to your liking. So, why not whip up a batch of these spooky treats for your next Halloween gathering and impress your friends with your creepy culinary skills?
As Halloween approaches, it’s time to ditch the cute and embrace the creepy. With these Brain Cupcakes, you can dive into the spirit of the season and create a memorable dessert that will leave everyone pleasantly spooked.
Ingredients
Creating spooky Brain Cupcakes requires a distinctive set of ingredients to bring out the eerie and delicious flavors.
For the Cupcakes
- Cupcakes (24 strawberry-flavored, homemade, or any preferred flavor)
- Unsalted Butter (2 sticks)
- Powdered Sugar
- Strawberry Jam
- Vanilla Extract
- Salt
- Strawberry Syrup
- Cream Cheese (4 oz, softened)
- Unsalted Butter (1/8 cup, softened)
- Vanilla Extract (3/4 tsp)
- Powdered Sugar (1/4 cup)
- Beet Puree (1 to 2 tsp)
Equipment Needed
To create these spooky Brain Cupcakes, you will need a few essential tools and equipment to make the process smooth and enjoyable. Here’s a list of what you’ll need:
Kitchen Equipment:
- Mixing bowls
- Hand or stand mixer
- Measuring cups and spoons
- Whisk
- Cupcake pan
- Cupcake liners
- Piping bag with a small round tip (for frosting)
- Toothpicks (for creating brain-like patterns)
- Red gel icing (optional for extra gory effect)
- Oven for baking
Having these kitchen essentials and tools ready will ensure that you can effortlessly prepare and decorate your Brain Cupcakes to impress your guests at your Halloween party.
Instructions
Preparing the Cupcake Batter
- Preheat the oven to 350 degrees F and line a mini muffin tin with cupcake papers.
- In a large bowl, sift together the flour, baking powder, baking soda, salt, and spices to prepare the dry ingredients.
- In a separate bowl, mix sugar, beet puree, egg, and vanilla to create the wet ingredients.
- Combine the wet ingredients into the dry ingredients, stirring until well combined.
- Using a small scooper or spoon, drop two teaspoons of batter into each cupcake paper.
Baking the Cupcakes
- Bake the cupcakes for 10 to 12 minutes. Ensure they are done by inserting a toothpick into the center; it should come out clean.
- The cupcakes should spring back when lightly touched. Once baked, remove them from the oven and let them cool completely.
- Cream together softened cream cheese, butter, and vanilla until smooth.
- Add beet puree to the mixture and mix until it reaches a uniform color.
- Gradually stir in powdered sugar until a stiff icing forms.
- Use the frosting to generously frost the cooled cupcakes.
Decorating the Cupcakes
Creating the Brain Pattern
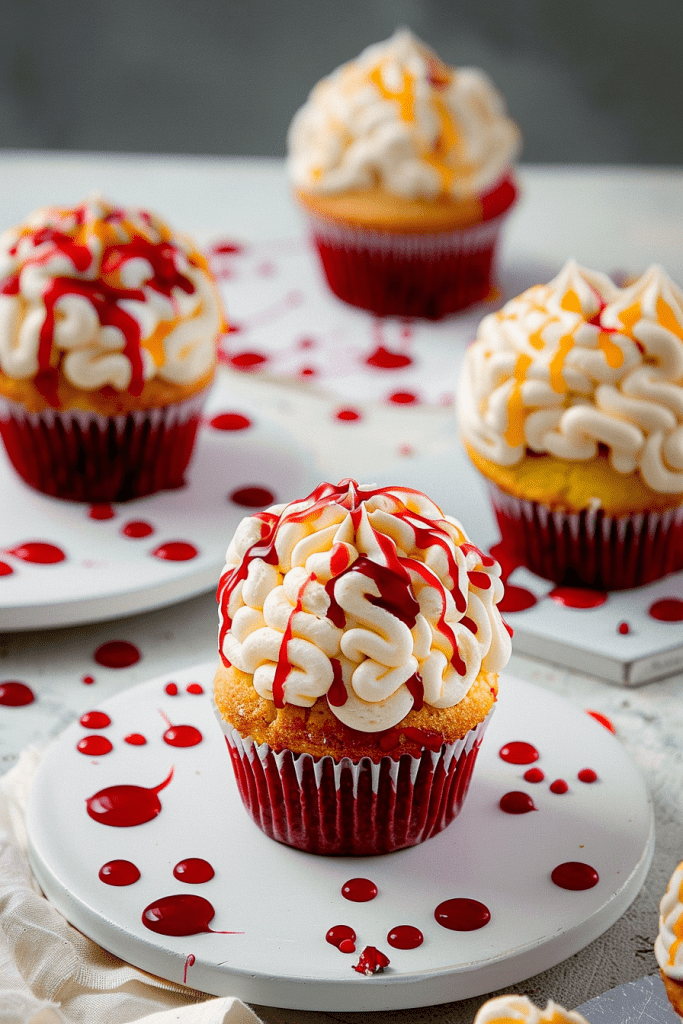
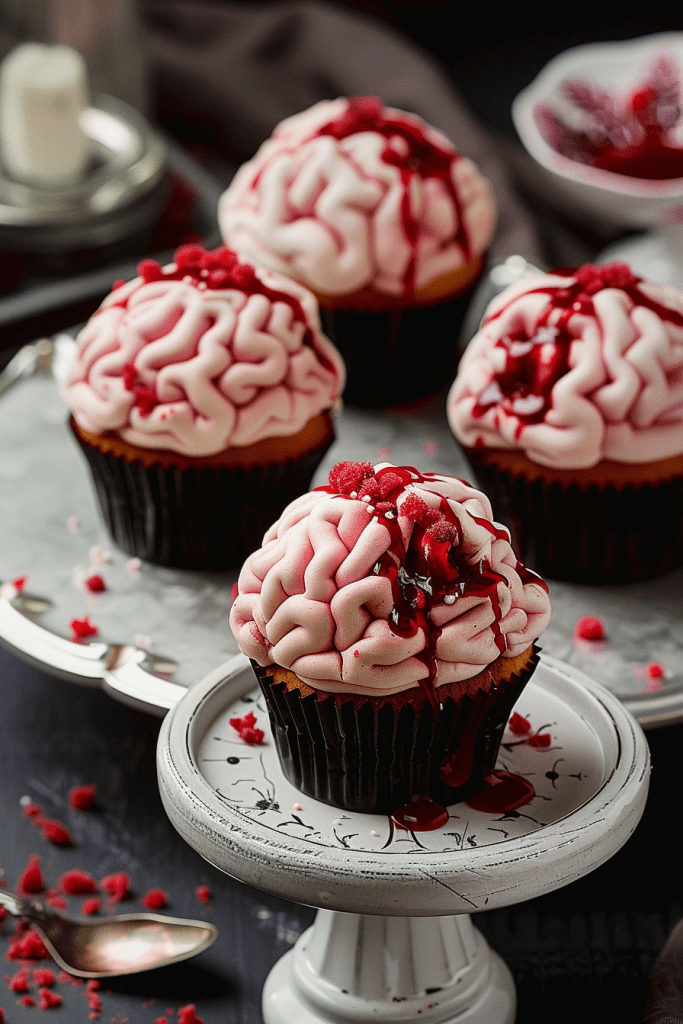
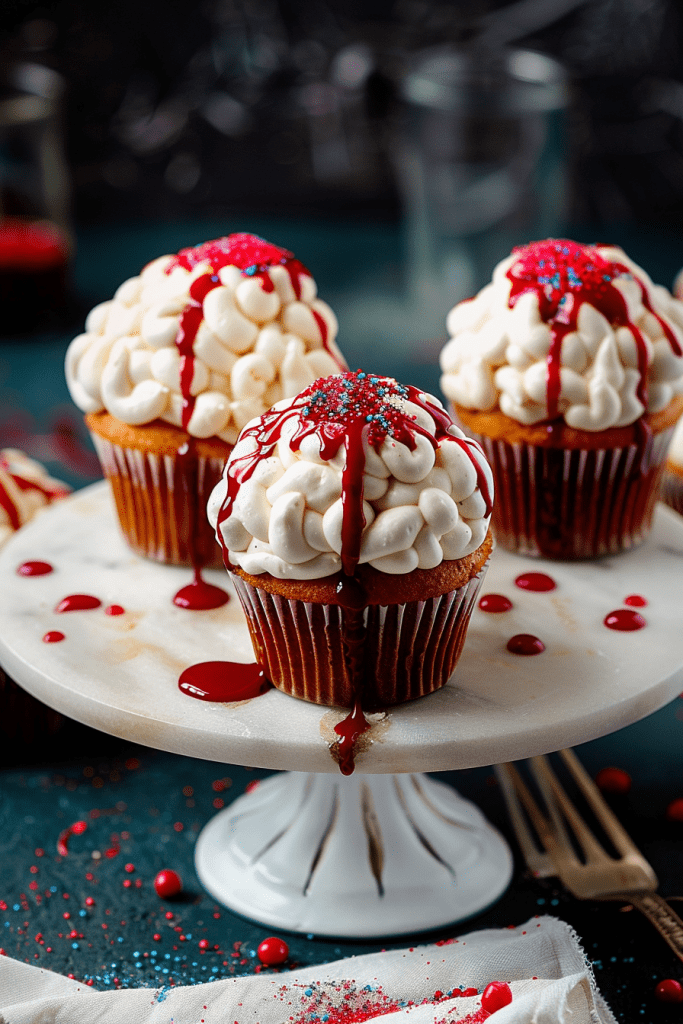
To create the brain pattern on the cupcakes, start by placing the pink frosting in a piping bag with a small round tip. With the offset spatula or butter knife, draw a line down the center of the frosting to serve as the brain’s center line. Then, pipe a winding pattern of frosting on each side of the center line to form the brain wrinkles. Remember, imperfection adds to the spooky effect, so have fun with the process.
Adding the Blood Effect
For an extra gory touch, mix up a concoction of corn syrup, baking cocoa, and a few drops of red food coloring. Drizzle or dip the tops of the cupcakes with this mixture to create a realistic blood effect. Serve the cupcakes immediately to maintain the blood-like appearance, as the syrup has a tendency to slowly run over time.
Make-Ahead Tips
When preparing for a Halloween celebration or party, I recommend utilizing these make-ahead tips to ensure a smooth and stress-free baking experience. By planning ahead and tackling some of the preparation in advance, you can save time on the day of the event and focus on enjoying the festivities. Here are some useful tips for making brain cupcakes ahead of time:
Tip 1: Preparing Cupcake Batter in Advance
To streamline the baking process, you can prepare the cupcake batter a day or two before your event. Follow the recipe instructions to mix the dry and wet ingredients, but instead of baking the cupcakes immediately, cover the batter tightly and refrigerate it. This way, you’ll have freshly baked cupcakes ready to be frosted and decorated when needed.
Tip 2: Making Cream Cheese Frosting Ahead
Another time-saving tip is to make the cream cheese frosting in advance. Once you have whipped up the fluffy and delicious frosting, store it in an airtight container in the refrigerator. When you’re ready to decorate the cupcakes, simply take out the frosting and let it come to room temperature before piping it onto the cupcakes for that perfect brain-like appearance.
Tip 3: Preparing Fake Blood Decoration
If you’re planning to add a gory touch to your brain cupcakes with fake blood decoration, you can also make this in advance. Mix the corn syrup, baking cocoa, and red food coloring to create the realistic blood effect. Store the blood mixture in a squeeze bottle or airtight container in the fridge until you’re ready to use it. Just give it a good shake before applying it to the cupcakes for that gruesome finishing touch.
By following these make-ahead tips, you can simplify the baking process and have your creepy brain cupcakes ready to impress your Halloween party guests. Planning ahead not only saves time but also allows you to enjoy the festivities without the last-minute rush in the kitchen.
Serving and Storage
After creating these spooky brain cupcakes, it’s essential to know how to serve and store them properly to maintain freshness and flavor for an extended period. Here are some tips to ensure your brain cupcakes stay moist and delicious:
Keeping Cupcakes Moist
To keep your brain cupcakes moist, it’s crucial to store them correctly. Make sure to place the cupcakes in an airtight container to prevent them from drying out. Additionally, bring the cupcakes to room temperature before serving to enhance their flavor and texture.
Choosing the Right Icing
When it comes to decorating your brain cupcakes, choosing the right icing is key. The cream cheese frosting used in this recipe not only adds a delicious flavor but also complements the brain-like texture of the cupcakes. The pink hue of the icing and the beet puree instead of artificial coloring make these cupcakes a visually stunning treat for Halloween.
Additional Decorating Tips
For an extra gory touch, consider adding red gel icing between the piped lines on the cupcakes. This simple addition will make your brain cupcakes look even more realistic and spooky, perfect for a Halloween party.
Storage Recommendations
To store any leftover brain cupcakes, place them in an airtight container and keep them refrigerated. These cupcakes can last for up to three days when stored properly, allowing you to enjoy the delicious flavor even after your Halloween celebration.
By following these serving and storage tips, you can ensure that your brain cupcakes remain fresh, moist, and visually appealing for your spooky Halloween gathering.
Conclusion
Creating spooky Brain Cupcakes for Halloween parties is a fun and creative way to impress your guests. With the right ingredients, equipment, and preparation steps, you can easily whip up these gory treats. Remember to follow the serving and storage tips to keep your cupcakes fresh and flavorful. By storing them properly and choosing the right icing, you can ensure that your brain cupcakes remain a hit for up to three days. So, unleash your inner baker, get creative with the decorations, and enjoy the eerie delight of these delicious treats at your next Halloween gathering. Happy baking!