
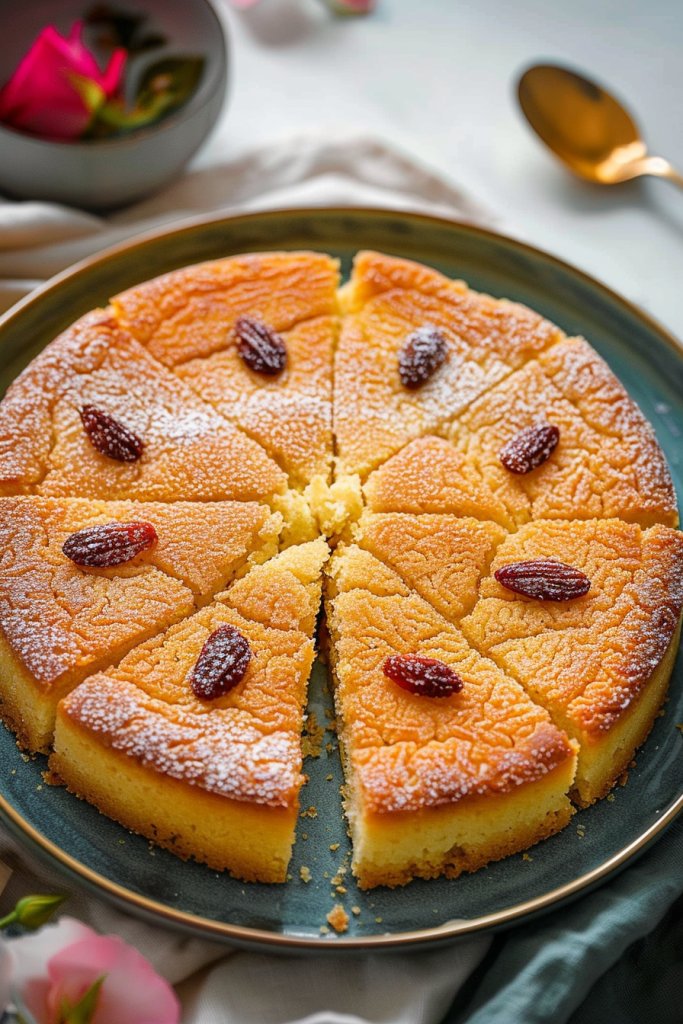
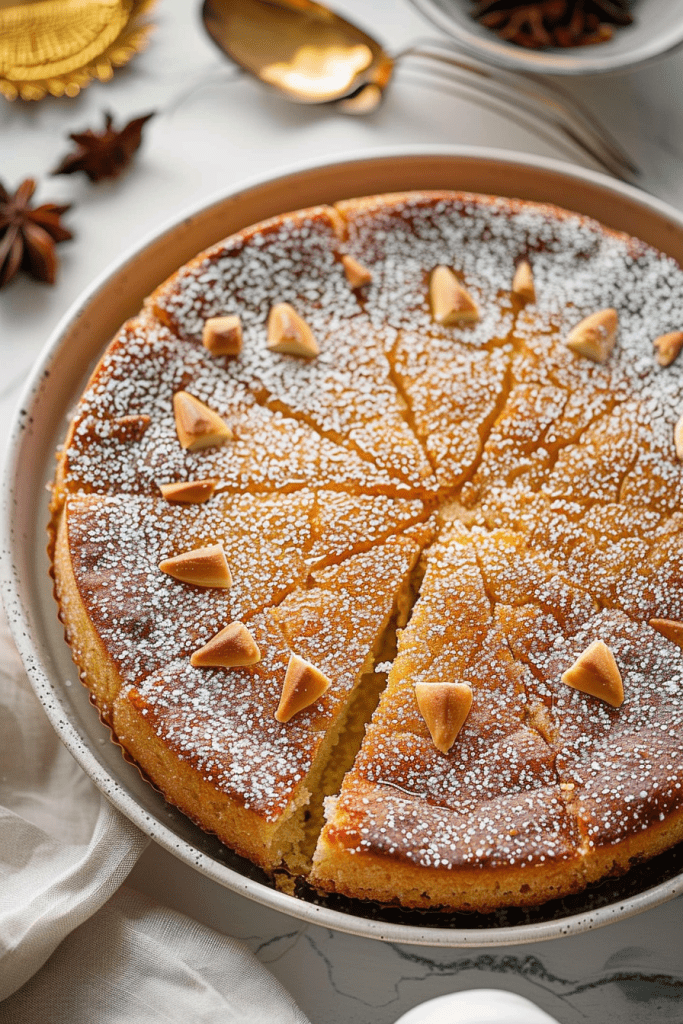
Craving a taste of Egypt’s sweet culinary delights? Look no further than Basbousa – a decadent semolina cake soaked in syrup, sprinkled with nuts, and adorned with a touch of coconut yogurt. This one-bowl wonder is a quick fix for your dessert cravings, effortlessly blending simplicity with perfection.
Basbousa, also known as basboosa in the Middle East, holds a special place in Egyptian hearts, with each bakery boasting its unique take on this beloved dessert. The key to mastering this treat lies in the softness that lingers with every bite, making it a must-have at any gathering or as a sweet indulgence for your loved ones.
With a recipe that stays true to its Egyptian roots, this Basbousa is a delightful fusion of flavors that promises to enchant your taste buds. Get ready to savor a slice of tradition with this authentic and irresistible dessert that’s bound to leave you craving more.
Ingredients
Basbousa is a delightful Egyptian dessert that combines the richness of semolina with the sweetness of syrup. When preparing this luscious treat, you’ll need the following ingredients:
For the Basbousa Cake
- 1 cup Plain Yogurt
- 1 cup Granulated Sugar
- 1.5 tsp Baking Powder
- 0.5 tsp Baking Soda
- 3 cups Semolina (coarse)
- 0.5 cup Butter (unsalted, melted)
- 1 cup Fine Coconut Flakes
- 0.75 cup Milk
- 2 tbsp Tahini Paste
- Whole Almonds (enough for each piece of cake, approx. 24 almonds)
- 1 cup Water
- 2 cups Granulated Sugar
- 1 tbsp Orange Zest
- 1 tsp Lemon Juice
- 1 tsp Orange Blossom Water
Equipment Needed
When preparing Basbousa, having the right equipment on hand is essential for a successful outcome. Here are the items you will need:
Baking Pan:
You will need a baking pan to shape and bake your Basbousa. I recommend using a 9-inch circular pan for this recipe. However, you can also use a slightly larger or square pan, adjusting the baking time accordingly.
Mixing Bowl:
A mixing bowl is necessary for combining all the dry and wet ingredients to form the Basbousa batter. Make sure to choose a bowl that is large enough to comfortably mix all the components.
Spoon or Hands:
You can mix the Basbousa batter using either a spoon or your hands. Using your hands can help ensure thorough mixing and distribution of ingredients, resulting in a well-blended batter.
Knife:
A knife is needed to score the top of the Basbousa before baking. By scoring the batter, you create an intricate pattern on the surface, allowing the syrup to penetrate the cake evenly after baking.
Oven:
An oven is required to bake the Basbousa. Preheat your oven to 400°F and ensure it is adequately heated before placing the cake inside for baking.
Cooling Rack:
After baking, you will need a cooling rack to allow the Basbousa to cool before soaking it in the syrup. Placing the hot cake on a cooling rack helps prevent it from becoming soggy as it absorbs the flavorful syrup.
Having these essential pieces of equipment ready will streamline the Basbousa preparation process and ensure a delightful dessert experience for you and your guests.
Preparation
Before diving into the delightful process of creating basbousa, it’s essential to prepare the key components that will bring this traditional Egyptian dessert to life. Follow these simple steps to ensure a smooth and successful cooking experience.
Making the Syrup
To achieve that signature syrupy texture, basbousa requires two types of syrups – a heavy syrup for the batter before baking and a light soaking syrup for after baking. The heavy syrup, similar to the one used in kunafa and Qatayef, has a 2 to 1 ratio of sugar to water and provides the dessert with a soft, fudgy consistency. Meanwhile, the light soaking syrup is thinner with a higher water to sugar ratio, adding the perfect amount of sweetness and moisture to the baked basbousa. Remember, a quality syrup is the secret to a truly authentic basbousa.
Mixing the Batter
Creating the perfect basbousa batter entails a harmonious blend of ingredients that will result in a decadent dessert. Start by combining semolina, baking soda, baking powder, coconut, sugar, and melted butter in a large bowl. Ensure that the ingredients are thoroughly mixed together, using your hands if needed to achieve the right consistency. Adding yogurt into the mix will slightly moisten the batter, leading to a cohesive texture. Don’t forget to score the top of the batter before baking to create those iconic diamond shapes that define basbousa.
Preparing the Baking Dish
Choosing the right baking dish and prepping it correctly are vital steps in the basbousa-making process. Opt for a 9 x 13 pan lined with parchment paper and greased with butter or nonstick spray to prevent sticking. Once the batter is ready, transfer it to the prepared pan and use an offset spatula to spread it evenly, ensuring a uniform thickness. Remember to score the batter into squares or diamonds before baking, allowing for easy portioning and a visually appealing final product.
Baking Instructions
Pouring and Spreading the Batter
I enjoy the moment when I can finally pour and spread the fragrant basbousa batter into the prepared pan. The semolina mixture, combined with ghee, honey, and yogurt, creates a smooth and delightful texture that promises a delicious outcome. Remember to press the dough evenly into the pan to ensure a uniform base for the dessert.
Baking Time and Temperature
As I place the pan in the preheated oven, I keep a close eye on the baking time and temperature. The oven set at 350°F (180°C) provides the perfect environment for the basbousa to transform into a golden delight. I find that baking for 18 to 22 minutes achieves the ideal balance of golden perfection, ensuring a moist and flavorful dessert.
Testing for Doneness
After the baking time elapses, I perform a simple test to ensure the basbousa is done just right. I look for a golden-brown color on the sides and top, indicating that the dessert has reached its peak in the oven. Sometimes, a quick broil can help achieve the desired golden hue. Once out of the oven, I cut the cake along the scored lines and slowly pour the syrup over the hot cake, allowing it to rest and absorb the sweetness before serving.
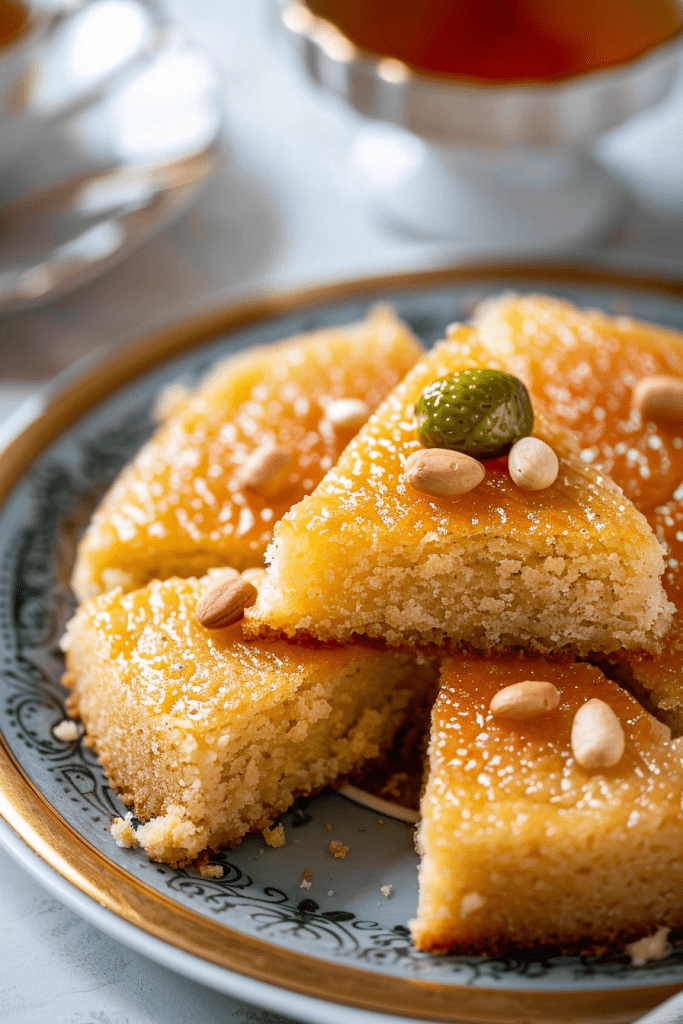
Serving and Presentation
When it comes to serving Basbousa, there are some key considerations to ensure a delightful experience for you and your guests. The cutting technique plays a crucial role in maintaining the structure and aesthetics of the dessert. Additionally, the garnishing options can elevate the visual appeal and flavor profile of your Basbousa creation.
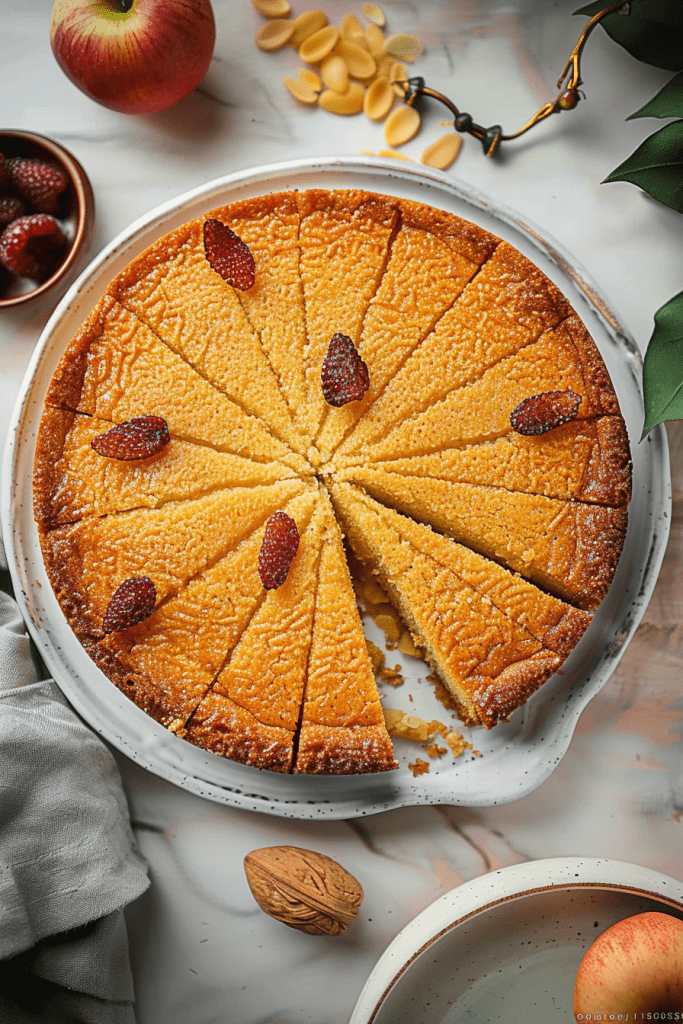
Cutting Techniques
To cut Basbousa effectively, use a sharp knife to create clean, straight lines. It is recommended to score the dessert gently before pouring the syrup to facilitate absorption evenly. Ensuring uniform slices will not only enhance the presentation but also make it easier for serving.
Garnishing Options
Enhance the presentation of your Basbousa by exploring various garnishing options. Consider sprinkling chopped nuts, such as hazelnuts or almonds, on top for added texture and visual appeal. Another delicious option is to serve Basbousa with a dollop of fresh eshta, a traditional country clotted cream, adding richness and a creamy element to the dessert. Get creative with your garnishes to make your Basbousa visually appealing and even more enticing to indulge in.
Storage and Reheating Tips
When it comes to storing Basbousa, it’s essential to maintain its freshness and flavor. To keep your Basbousa tasting just as delightful as when it was freshly made, follow these simple storage tips:
Storage:
- Room Temperature: Basbousa can be stored at room temperature in an airtight container to prevent it from drying out. It can last for up to 2-3 days this way.
- Refrigeration: If you need to store Basbousa for a longer period, it can be refrigerated. Place it in an airtight container to preserve its moisture. It can last up to a week in the refrigerator.
- Freezing: Basbousa is also freezer-friendly. Wrap individual portions tightly in plastic wrap and store them in a freezer-safe container or freezer bag. Properly frozen Basbousa can last up to 2-3 months.
Reheating:
When it’s time to enjoy your stored Basbousa, here are some simple reheating tips to bring back its warmth and freshness:
- Room Temperature: If your Basbousa was stored at room temperature, simply allow it to come to room temperature before serving. This will help bring back its soft texture and flavors.
- Refrigerated Basbousa: To reheat refrigerated Basbousa, you can microwave individual slices for a few seconds until warmed through. Alternatively, you can place the whole Basbousa in a preheated oven at 300°F for about 10-15 minutes.
- Frozen Basbousa: Thaw frozen Basbousa overnight in the refrigerator. Once thawed, you can reheat it in the oven at 300°F for 15-20 minutes or until warmed through.
By following these storage and reheating tips, you can ensure that your Basbousa stays delicious and enjoyable even after it’s been stored. Enjoy the rich flavors of this traditional Egyptian dessert whenever you crave a sweet and comforting treat.
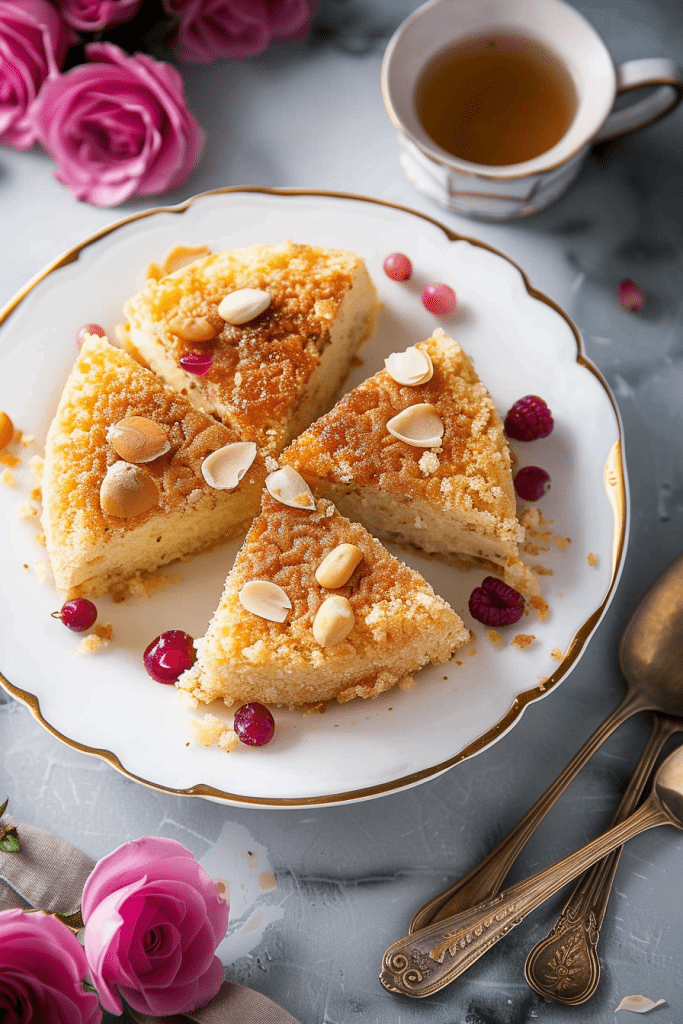
Conclusion
Basbousa is a delightful dessert that captures the essence of Egyptian culinary traditions. Its rich flavors and textures make it a favorite at gatherings and a thoughtful gift. By following the tips on preparation, serving, and storage, you can ensure that your Basbousa stays fresh and delicious. Whether you choose to enjoy it at room temperature, chilled, or reheated, Basbousa retains its irresistible taste. Embrace the cultural heritage of Basbousa by incorporating it into your dessert repertoire and sharing its sweetness with family and friends. Mastering the art of making Basbousa allows you to savor a taste of Egypt in every bite.