
Who says you need refined flour to bake a delicious cake? Atta, or whole wheat flour, isn’t just for your everyday rotis. It can create moist, flavorful cakes that are both nutritious and satisfying. I’ve always been fascinated by how simple ingredients can transform into something extraordinary, and atta cake is a perfect example.
Why Make Atta Cake?
When considering healthier baking options, atta cake stands out as a nutritious and delicious choice. Here are the top reasons why I love making atta cake:
Health Benefits
Atta, or whole wheat flour, retains the bran and germ parts of the wheat kernel, making it richer in fiber and nutrients compared to refined flour. This means that atta cake can be a wholesome treat, providing essential vitamins and minerals while aiding digestion.
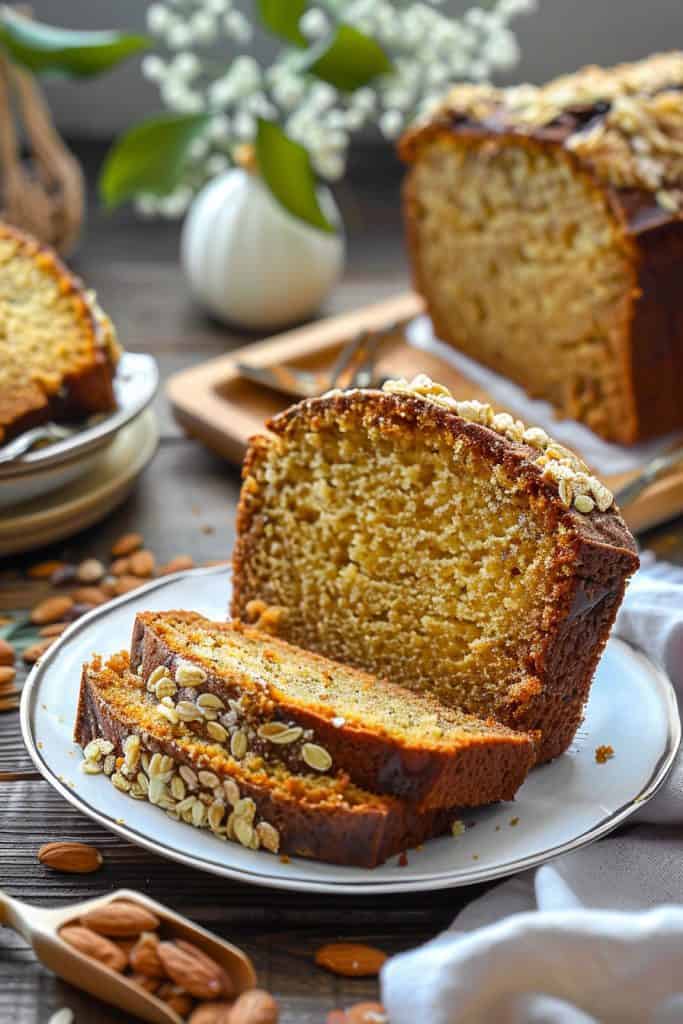
Flavor and Texture
With atta, the cake gains a denser texture and a slightly nutty flavor, which can add depth and richness to the final product. The moisture retention in atta ensures that the cake remains soft and moist, offering a delightful eating experience.
Versatility
Atta cake recipes are incredibly versatile. You can easily incorporate different flavors, such as chocolate, vanilla, or fruits, to suit various occasions and preferences. The adaptability of atta allows for endless creative possibilities in the kitchen.
Natural Sweetness
Using atta often means you can reduce the amount of added sugar in the recipe. The natural sweetness of whole wheat can balance the sugar levels, making the cake a better option for those managing their sugar intake.
Easy to Find
Unlike some specialty flours, atta is widely available in most grocery stores, making it an accessible ingredient for home bakers. Its affordability also makes it a cost-effective choice for baking regularly.
Environmentally Friendly
Baking with atta aligns with sustainable practices as it is less processed than refined flour, meaning less energy consumption during production. Choosing whole wheat flour is a small step toward more eco-friendly baking.
With these benefits in mind, it’s clear why atta cake is a fantastic choice for anyone looking to create delicious, healthy, and versatile baked goods. Whether you are a seasoned baker or just starting, atta offers a reliable, nutritious base for your cake recipes.
Ingredients
Dry Ingredients
- 1 cup Atta (whole wheat flour)
- 1 teaspoon Baking powder
- 1/2 teaspoon Baking soda
- 1/2 teaspoon Ground cinnamon
- 1/4 teaspoon Salt
Wet Ingredients
- 1/2 cup Plain yogurt
- 1/2 cup Milk
- 1/3 cup Vegetable oil
- 2/3 cup Brown sugar
- 2 Eggs, beaten
- 1 teaspoon Vanilla extract
- 1/4 cup Chopped nuts (almonds, walnuts, or pecans)
- 1/4 cup Chocolate chips
- 1/4 cup Desiccated coconut
- 1/4 cup Dried fruits (raisins, cranberries, or apricots)
Tools and Equipment
To create the perfect atta cake, you’ll need some essential tools and equipment. Having these on hand will ensure a smooth baking process and delightful results.
Mixing Bowls
You will need at least two mixing bowls—one for the dry ingredients and one for the wet ingredients. I recommend using medium to large-sized bowls to comfortably mix all the ingredients without any spillage.
Whisk and Spatula
A whisk is essential for blending the dry ingredients and ensuring they are well combined. A spatula, preferably silicone, is perfect for folding in the wet ingredients and scraping down the sides of the bowl.
Electric Mixer or Hand Mixer
Using an electric mixer or hand mixer will significantly speed up the process of creaming the sugar and eggs, giving the cake a light, airy texture. If you don’t have one, a sturdy whisk and some elbow grease will also work.
Measuring Cups and Spoons
Accuracy is crucial in baking. Ensure you have a set of measuring cups for both wet and dry ingredients, along with measuring spoons for smaller quantities like baking powder, baking soda, and spices.
Sieve
A sieve helps in sifting the atta (whole wheat flour). This step is crucial for aerating the flour and eliminating any lumps, resulting in a smoother batter and a fluffier cake.
Cake Pan
Depending on your preference, you can use a round, square, or rectangular cake pan. Ensure your cake pan is non-stick or line it with parchment paper to prevent the cake from sticking. I typically use an 8-inch round pan for an even, moist cake.
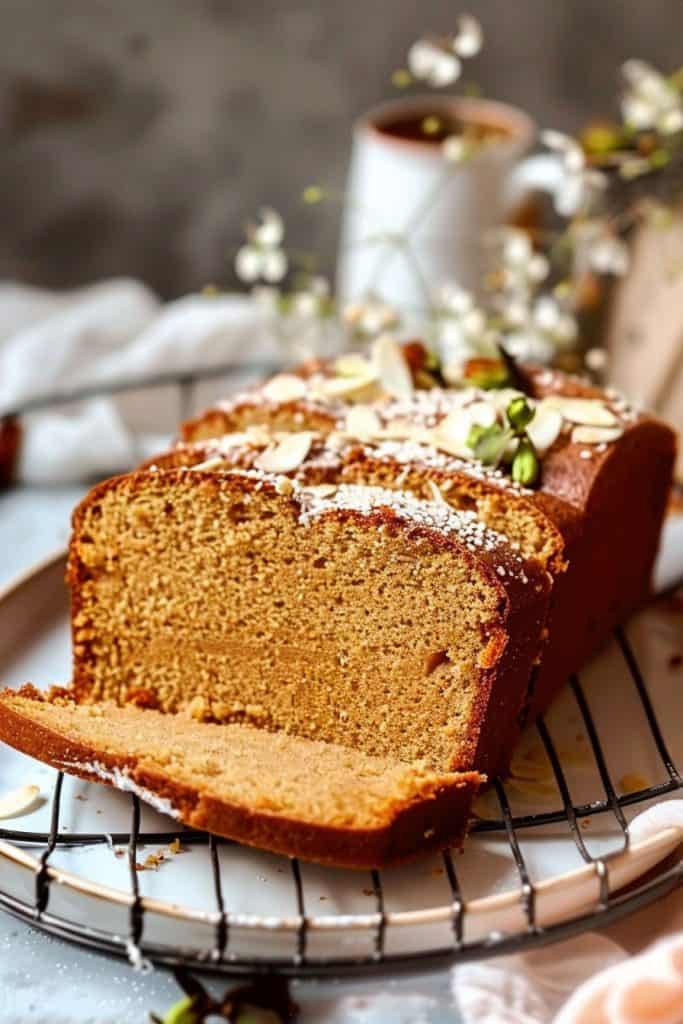
Cooling Rack
A cooling rack is essential for allowing your cake to cool evenly and quickly after baking. It helps to prevent the cake from becoming soggy by letting air circulate around it.
Oven
Of course, you’ll need a reliable oven. Preheat your oven to ensure it reaches the desired temperature before you place your cake inside. Consistent temperature is key to baking perfection.
Baking Spray or Parchment Paper
Use either a baking spray or line your cake pan with parchment paper to ensure easy removal of the cake. This step helps keep the shape and integrity of your cake intact.
By gathering these tools and equipment before you start, you’ll set yourself up for a seamless baking experience, resulting in a delightful, moist, and scrumptious atta cake.
Step-by-Step Directions
Follow these step-by-step instructions to create a delightful atta cake that’s moist and flavorful, packed with healthy whole wheat goodness.
Preparation
- Preheat the Oven: Set your oven to 350°F (175°C) to preheat while you prepare the batter.
- Prepare the Pan: Grease an 8-inch round cake pan with baking spray or line it with parchment paper. This ensures the cake doesn’t stick and comes out easily.
- Measure Ingredients: Gather and measure all ingredients accurately. This includes 1 ½ cups of atta (whole wheat flour), 1 cup of sugar, 1 teaspoon of baking powder, ½ teaspoon of baking soda, ½ teaspoon of salt, 1 cup of yogurt, ½ cup of vegetable oil, 1 teaspoon of vanilla extract, and 2 eggs.
Making the Batter
- Combine Dry Ingredients: In a medium-sized mixing bowl, whisk together the atta, baking powder, baking soda, and salt until well combined.
- Mix Wet Ingredients: In another large bowl, beat the eggs until frothy. Then, add the sugar, yogurt, vegetable oil, and vanilla extract. Use an electric mixer or whisk to blend until the mixture is smooth and creamy.
- Incorporate Dry Ingredients: Gradually add the dry mixture to the wet ingredients. Mix gently until just combined, ensuring not to overmix. The batter should be smooth but don’t worry if it has some small lumps.
- Pour Batter into Pan: Transfer the batter into the prepared cake pan. Spread it evenly with a spatula for a uniform bake.
- Bake: Place the cake pan in the preheated oven. Bake for 30-35 minutes, or until a toothpick inserted into the center comes out clean.
- Cool Down: Remove the cake from the oven and let it cool in the pan for about 10 minutes. Then, transfer it to a cooling rack to cool completely before slicing and serving.
Tips for the Perfect Atta Cake
Use Fresh Ingredients
Ensure all your ingredients, especially atta (whole wheat flour), are fresh. Using old or expired flour can lead to a dense and heavy cake. Always check the expiration dates and store your flour in a cool, dry place.
Measure Accurately
Accuracy is crucial in baking. Use measuring cups and spoons to get the right quantities. For the atta, use a kitchen scale for the most precise measurement. This ensures the cake’s texture is spot on.
Sift the Flour
Sifting the atta can help eliminate lumps and incorporate air into the flour. This leads to a lighter, fluffier cake. Simply use a fine-mesh sieve or a flour sifter before mixing.
Add Moisture
Whole wheat flour tends to absorb more moisture. Adding ingredients like yogurt, buttermilk, or applesauce can keep your atta cake moist and tender. Don’t be afraid to experiment with these additions.
Don’t Overmix
Overmixing the batter can develop the gluten in the atta, resulting in a tough cake. Combine the wet and dry ingredients until just incorporated. A few lumps are okay.
Preheat the Oven
Always preheat the oven to the correct temperature. Preheating ensures your cake bakes evenly and rises properly. Typically, you should preheat to around 350°F (175°C) for most atta cake recipes.
Grease and Line the Pan
To prevent the cake from sticking, thoroughly grease your baking pan with butter or oil and line the bottom with parchment paper. This makes it easier to remove the cake once it’s baked.
Bake at the Right Temperature
Baking at a consistent, moderate temperature is key. Avoid opening the oven door frequently, as it can cause the cake to deflate. Check for doneness with a toothpick; it should come out clean or with a few crumbs.
Cool Before Cutting
Let the cake cool in the pan for about 10 minutes before transferring it to a wire rack. Allow it to cool completely before cutting to ensure clean slices.
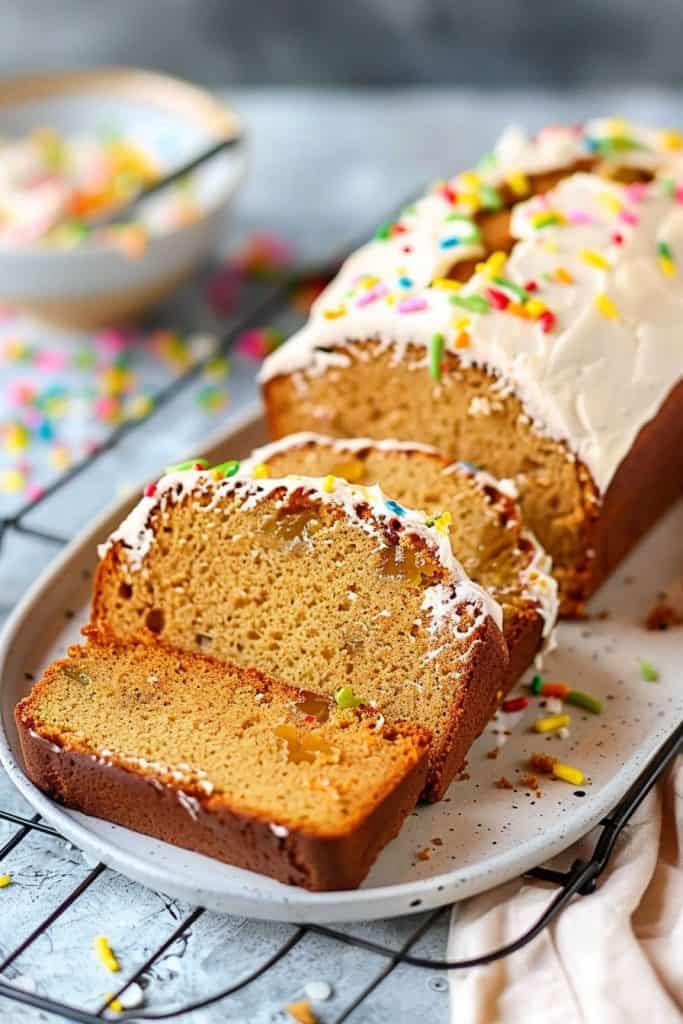
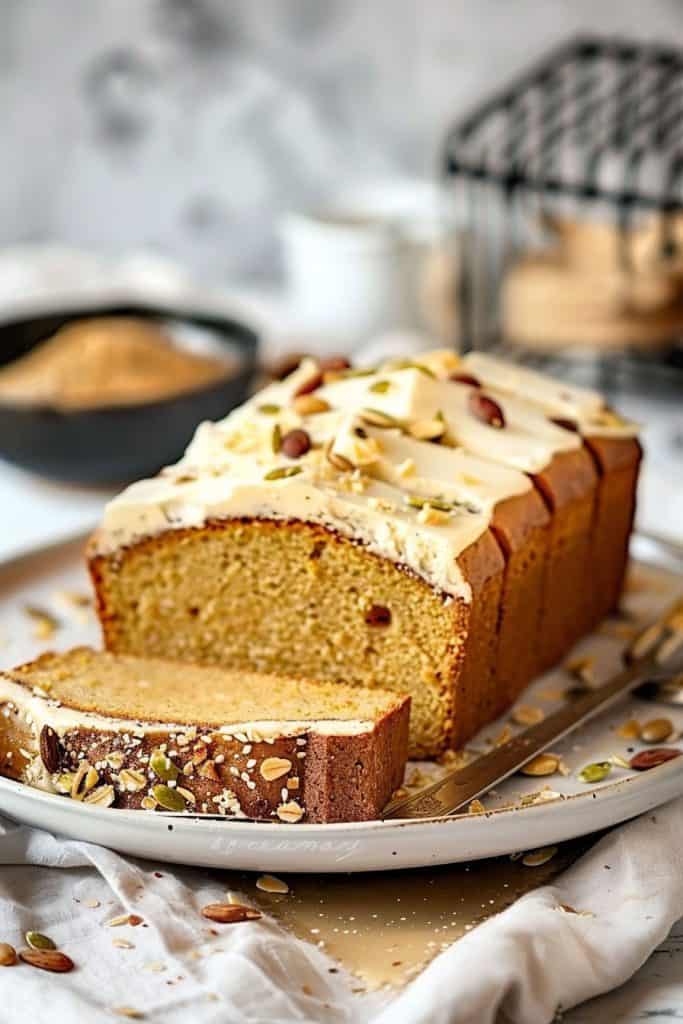
Add Finishing Touches
Consider adding a glaze, frosting, or dusting of powdered sugar for an extra touch of sweetness. You can also decorate with nuts, fruits, or chocolate chips to elevate the presentation.
These tips ensure a successful baking session, resulting in a delicious and moist atta cake every time.
Variations
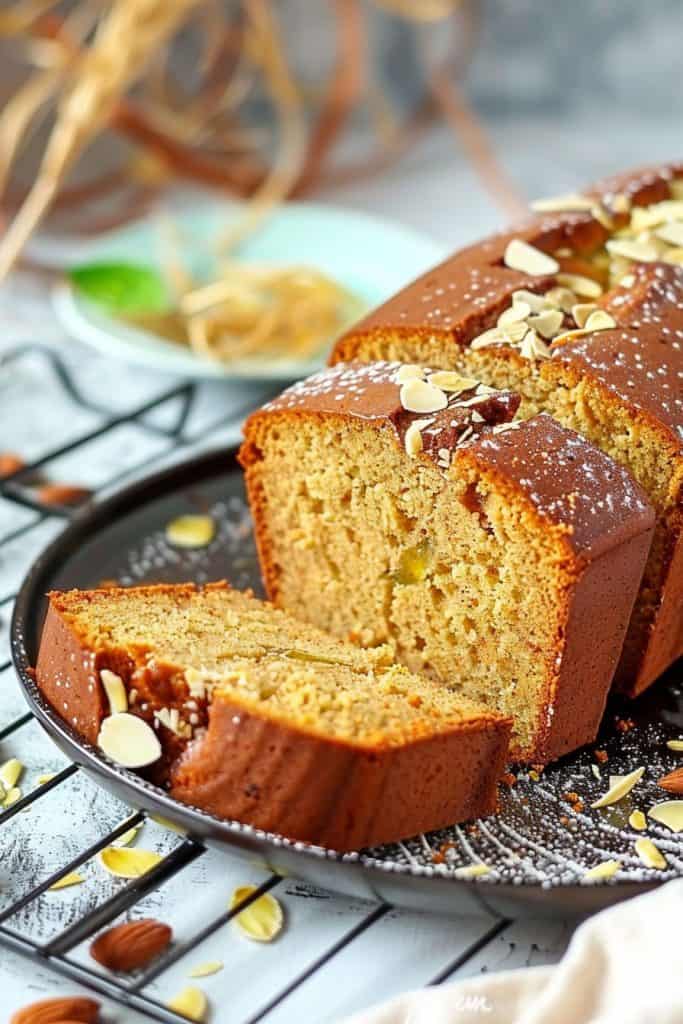
Classic Atta Cake
For the classic atta cake, I keep things simple and let the natural flavor of whole wheat shine. The humble sweetness pairs perfectly with a cup of tea or coffee.
- Preheat the oven to 350°F.
- In a mixing bowl, combine 1 ½ cups atta, 1 teaspoon baking powder, and ½ teaspoon baking soda.
- In another bowl, mix ¾ cup yogurt, ½ cup oil, ¾ cup sugar, and 1 teaspoon vanilla extract.
- Gradually add the dry ingredients to the wet mixture, stirring gently until just combined.
- Pour the batter into a greased and lined 8-inch baking pan.
- Bake for 25-30 minutes or until a toothpick inserted into the center comes out clean.
- Allow the cake to cool before cutting and serving.
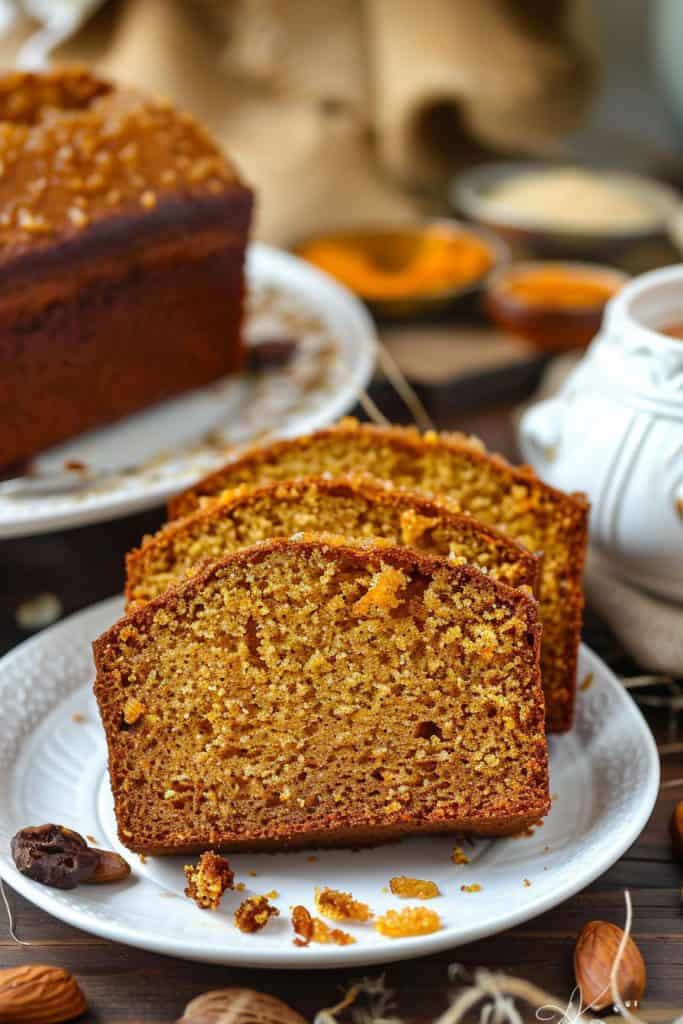
Atta Carrot Cake
I love the texture and flavor that grated carrots add to atta cake. It’s a delightful twist that brings additional moisture and sweetness.
- Follow the steps for the classic atta cake, but reduce sugar to ½ cup.
- Add 1 cup grated carrots to the wet mixture before combining with dry ingredients.
- Optionally, fold in ½ cup chopped walnuts or raisins to the batter.
- Bake as directed in the classic atta cake steps.
- Cool completely before serving and consider topping with cream cheese frosting for an extra treat.
Atta Chocolate Cake
This variation is perfect for chocolate lovers. The rich cocoa balances nicely with the wholesome flavor of atta.
- Preheat the oven to 350°F.
- In a bowl, whisk together 1 ¼ cups atta, ¾ cup cocoa powder, 1 teaspoon baking powder, and ½ teaspoon baking soda.
- In another bowl, blend 1 cup yogurt, ½ cup oil, 1 cup sugar, and 1 teaspoon vanilla extract.
- Slowly mix dry ingredients into the wet ingredients until just combined.
- Fold in ½ cup chocolate chips if desired for extra chocolate goodness.
- Pour the batter into a greased 8-inch pan and bake for 30-35 minutes until a toothpick comes out clean.
- Let the cake cool before slicing and enjoy the chocolaty decadence.
Atta Banana Cake
Bananas add natural sweetness and moisture, making this variation wonderfully soft and aromatic.
- Start with the basic instructions from the classic atta cake.
- Reduce sugar to ½ cup and incorporate 2 ripe mashed bananas into the wet ingredients.
- Optionally, add ½ teaspoon cinnamon or nutmeg for a warm spice note.
- Bake as per the classic atta cake steps, adjusting the baking time to 30-35 minutes due to the added moisture from bananas.
- Allow the cake to cool and indulge in its rich banana flavor.
Atta Coconut Cake
Coconut offers a unique twist, providing a tropical hint that’s simply irresistible.
- Preheat the oven to 350°F.
- In a bowl, mix 1 ½ cups atta, 1 teaspoon baking powder, and ½ teaspoon baking soda.
- In another bowl, combine ½ cup coconut milk, ½ cup oil, ¾ cup sugar, and 1 teaspoon vanilla extract.
- Gradually add dry ingredients to wet mixture, blending gently.
- Fold in ¾ cup desiccated coconut to the batter.
- Pour into a prepared 8-inch pan and bake for 25-30 minutes or until set.
- Cool fully, then offer slices of this tropical delight, optionally serving with a sprinkle of toasted coconut on top.
Serving Suggestions
When it comes to enjoying these delightful atta cakes, there are endless possibilities. Here are some of my favorite ways to serve them:
Classic Atta Cake
- Fresh Berries and Whipped Cream: A simple yet elegant way to enjoy classic atta cake is by pairing it with fresh berries and a dollop of whipped cream. The natural sweetness of the berries complements the cake’s wholesome flavor.
- Dusting of Powdered Sugar: For a minimalist approach, a light dusting of powdered sugar can add a touch of sweetness and an appealing presentation.
Atta Carrot Cake
- Cream Cheese Frosting: Spread a generous layer of cream cheese frosting over the top of the cake. The tangy frosting enhances the spiced flavors of the carrot cake.
- Chopped Walnuts: Sprinkle chopped walnuts on top of the frosting for added texture and a nutty flavor.
Atta Chocolate Cake
- Ganache Drizzle: Melt some dark chocolate and cream together to create a rich ganache. Drizzle it over the cake for a decadent touch.
- Fresh Raspberries: Pair your slice with fresh raspberries; their tartness balances the cake’s sweetness perfectly.
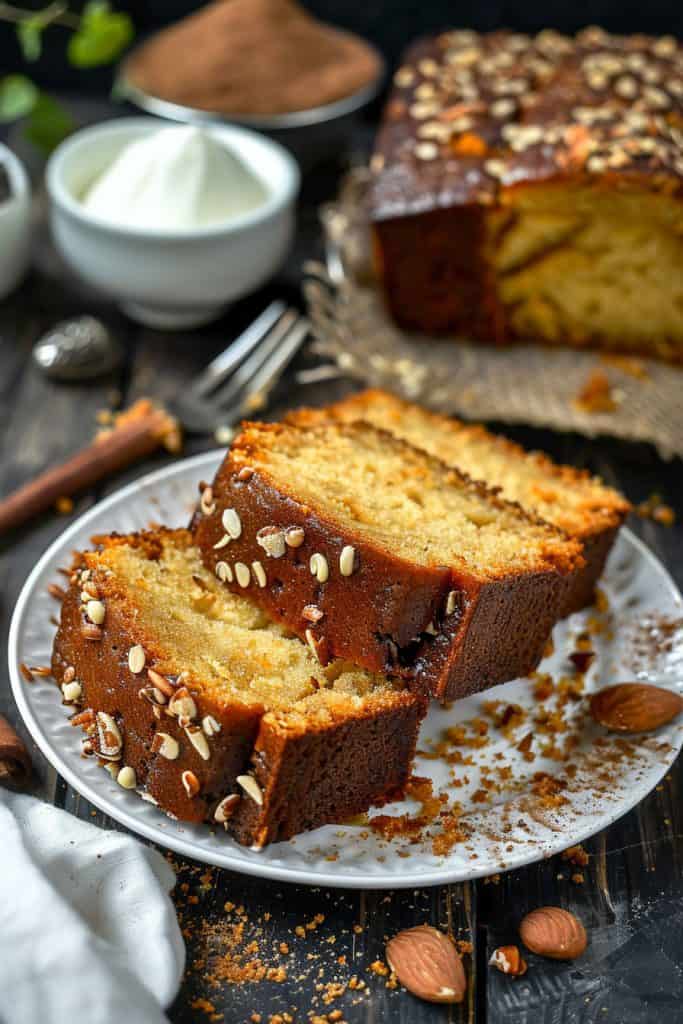
Atta Banana Cake
- Honey and Nuts: Drizzle honey over the cake and sprinkle with chopped pecans or walnuts. The honey adds an additional layer of flavor and the nuts provide a satisfying crunch.
- Greek Yogurt: Serve a slice with a spoonful of Greek yogurt on the side. The creaminess of the yogurt complements the moist texture of the banana cake.
Atta Coconut Cake
- Coconut Cream: Top the cake with a layer of coconut cream for an extra burst of coconut flavor.
- Toasted Coconut Flakes: Sprinkle toasted coconut flakes on top for added texture and a beautiful, golden finish.
- Warm or Room Temperature: Most atta cakes are best enjoyed warm or at room temperature. If serving later, lightly warm the cake slices in the oven or microwave.
- Pairing with Drinks: These cakes pair wonderfully with a variety of beverages. Enjoy a slice with a cup of tea, coffee, or even a glass of milk.
Whether you’re serving Classic Atta Cake dusted with powdered sugar or an Atta Chocolate Cake with a ganache drizzle, these suggestions will enhance your atta cake experience.
Storage Instructions
Proper storage ensures your atta cake stays fresh and maintains its delicious flavor. Follow these steps to store your atta cake effectively:
- Cooling Completely:
Allow the atta cake to cool entirely on a wire rack after baking. Storing a warm cake can lead to condensation, making it soggy. - Wrapping:
Once cooled, wrap the cake tightly using plastic wrap or aluminum foil. This helps to lock in moisture and prevent the cake from drying out. - Storing at Room Temperature:
For short-term storage, place the wrapped cake in an airtight container and keep it at room temperature. It will stay fresh for up to 2 days. - Refrigeration:
For longer storage, place the wrapped cake in an airtight container and refrigerate. Your atta cake will remain fresh for up to a week. Note that refrigeration might make the cake slightly denser, so I recommend allowing it to come to room temperature before serving. - Freezing:
If you need to store the cake for an extended period, freezing is the best option. Wrap the cooled cake in plastic wrap and then foil to prevent freezer burn. Store it in a freezer-safe bag or container. It can be frozen for up to 3 months. - Thawing:
When ready to enjoy, thaw the cake in the refrigerator overnight. Once thawed, allow it to sit at room temperature for 1 to 2 hours before serving to ensure the best texture and flavor. - Individual Portions:
For convenience, consider slicing the cake into individual portions before freezing. Wrap each slice in plastic wrap and place them in a freezer-safe bag. This way, you can thaw single servings as needed.
By following these storage tips, you can ensure that every slice of your atta cake will be as delightful as the day it was baked.
Conclusion
Baking with atta opens up a world of nutritious and delicious possibilities. Whether you’re a fan of classic flavors or love experimenting with new variations like Atta Carrot Cake or Atta Coconut Cake there’s something for everyone. The tips and techniques shared ensure your atta cakes will always be moist and flavorful. Pair them with your favorite beverages and enjoy them at any time of day. With proper storage, you can savor these delightful cakes for days. So grab your ingredients and start baking your way to healthier and tastier treats!