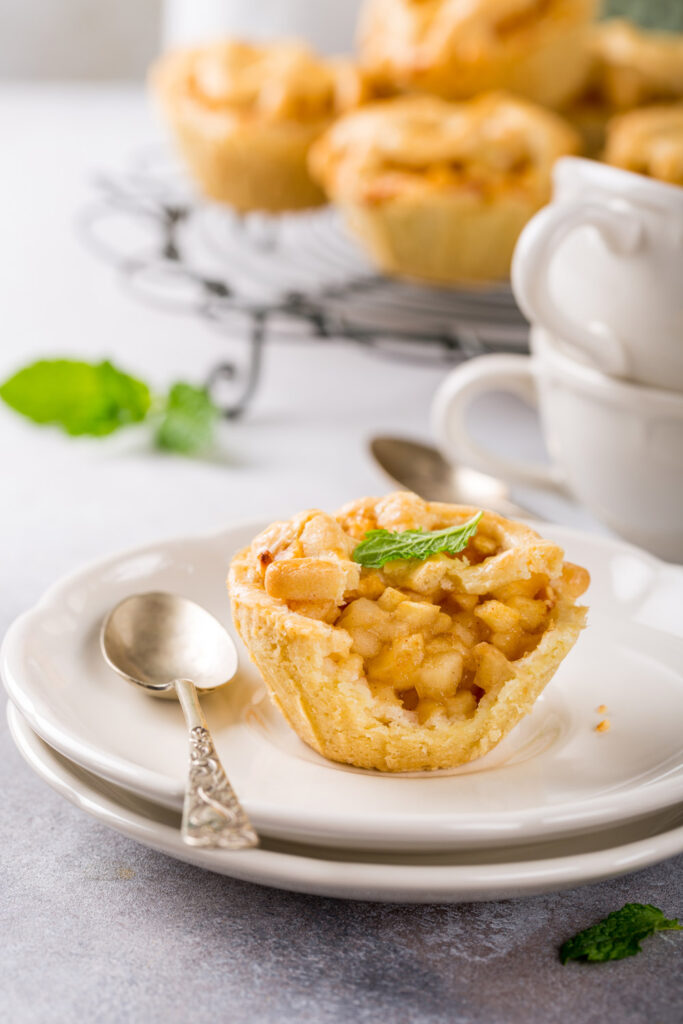
Let me start with this: There’s nothing like the smell of warm apple pie baking in the oven. It’s cozy. It’s nostalgic. It’s the dessert equivalent of a hug. Now, imagine all that goodness packed into a cute, bite-sized pastry. That’s exactly what these Mini Apple Pies are. They’re small, portable, and absolutely bursting with sweet, spiced apple filling. Perfect for when you don’t want to commit to a giant slice of pie but still want all the flavor.
I came up with this recipe after a family gathering where no one could agree on how big their slice of pie should be. These individual pies solved that problem fast. Plus, they’re just so adorable – how can you not love them?
Why Make Mini Apple Pies?
Let me paint a picture: It’s a chilly afternoon. You’ve got these little pies baking in the oven, filling your home with the smell of apples and warm spices. When they come out, golden and steaming, you serve them on a plate with a little whipped cream or vanilla ice cream on the side. Perfection.
Here’s why you’ll love them:
- Perfect for sharing: Everyone gets their own little pie instead of fighting over slices.
- Customizable: Want to add nuts, swap spices, or make them gluten-free? You totally can.
- Great for beginners: They’re easier to make than a full-sized pie. Less intimidating, for sure.
Oh, and one more thing? They taste just as good as they look.
Recipe Overview (Quick Facts)
- Prep Time: 25 minutes
- Cook Time: 20 minutes
- Total Time: 45 minutes
- Servings: 6 mini pies
Difficulty level: Easy – you don’t need to be a pro baker for this one.
What You’ll Need:
- A muffin tin (the regular kind, not the giant one)
- Rolling pin
- A cookie cutter (or just use the rim of a glass – works like a charm!)
- Mixing bowls
Pro tip: If you don’t have a rolling pin, an empty wine bottle works great. Seriously, I’ve done it.
The Ingredients (And How to Customize Them)
Here’s the lineup:
For the Crust:
- 1 ¼ cups all-purpose flour
- 1 tablespoon sugar (because a little sweetness in the crust is magic)
- ½ teaspoon salt
- ½ cup cold, unsalted butter, cubed
- 3-4 tablespoons ice water
Swap Alert: Don’t have butter? Use a good-quality dairy-free alternative for a dairy-free crust.
For the Filling:
- 2 medium apples (Granny Smith or Honeycrisp are my go-to)
- 2 tablespoons granulated sugar
- 2 tablespoons brown sugar
- 1 teaspoon cinnamon
- ¼ teaspoon nutmeg (optional but adds a cozy depth)
- 1 tablespoon all-purpose flour (or cornstarch for gluten-free)
- 1 teaspoon lemon juice (this makes the flavors pop)
- ½ teaspoon vanilla extract
Can’t find Granny Smith apples? No problem. Fuji or Gala work just fine for a sweeter filling.
Let’s Get Baking (Step-by-Step Guide)
Step 1: Make the Crust
- Start with the dry stuff: In a bowl, whisk together flour, sugar, and salt.
- Add the butter: Use a pastry cutter or your fingers to mix the butter into the flour. You’re going for a crumbly texture – like wet sand with little chunks of butter.
- Bring it together: Add ice water, a spoonful at a time, until the dough just comes together. Don’t overwork it! Wrap it up and pop it in the fridge for at least 30 minutes.
Why chill the dough? It keeps the butter cold, which makes the crust flaky when it bakes.
Step 2: Prepare the Filling
- Peel, core, and dice your apples into little cubes. Think pea-sized – smaller pieces fit better in the pies.
- Toss them with the sugars, cinnamon, nutmeg, flour, lemon juice, and vanilla. Give it a good mix. Smell that? That’s autumn in a bowl.
Step 3: Assemble the Pies
- Preheat your oven to 375°F (190°C). Grease your muffin tin or use liners.
- Roll out your chilled dough on a floured surface. Cut circles big enough to fit into the muffin tin cups, with a little extra hanging over the edge.
- Gently press the dough into each muffin cup. Spoon the apple filling in until it’s just heaping.
Step 4: Bake and Cool
- Bake for 18-20 minutes, or until the crust is golden brown and the apples are bubbling.
- Let the pies cool in the tin for 10 minutes before popping them out (a butter knife helps).
Variations You’ll Want to Try
Here’s where you can make the pies your own:
- Dairy-Free: Use plant-based butter for the crust.
- Gluten-Free: Substitute the flour for a 1:1 gluten-free blend and use cornstarch in the filling.
- Nutty Addition: Add chopped pecans or walnuts to the filling for a little crunch.
- Seasonal Swaps: In summer, swap the apples for peaches or berries.
How to Serve and Store
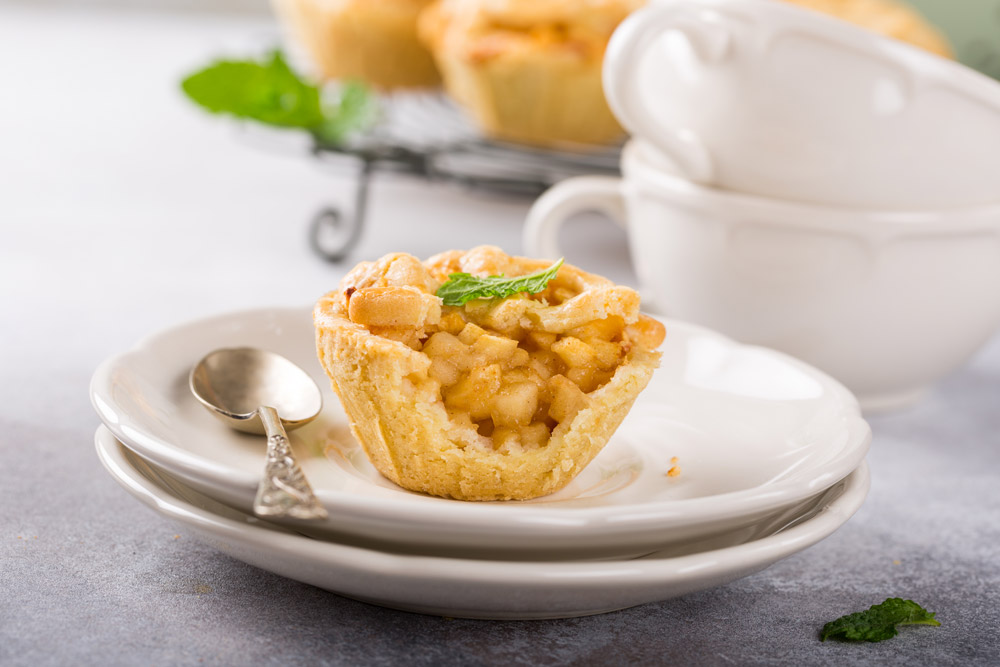
- Serving Ideas: These pies are best served warm. Add a dollop of whipped cream or a scoop of vanilla ice cream. Fancy it up with a sprig of fresh mint for color.
- Storage: Keep them in an airtight container at room temp for up to 2 days. Or, refrigerate them for up to 5 days.
- Reheating: Pop them into a 350°F oven for 5-7 minutes to get that just-baked warmth.
Can you freeze them? Absolutely. Assemble the pies, freeze them in the muffin tin, then transfer to a freezer bag. Bake straight from frozen – just add 5 minutes to the baking time.
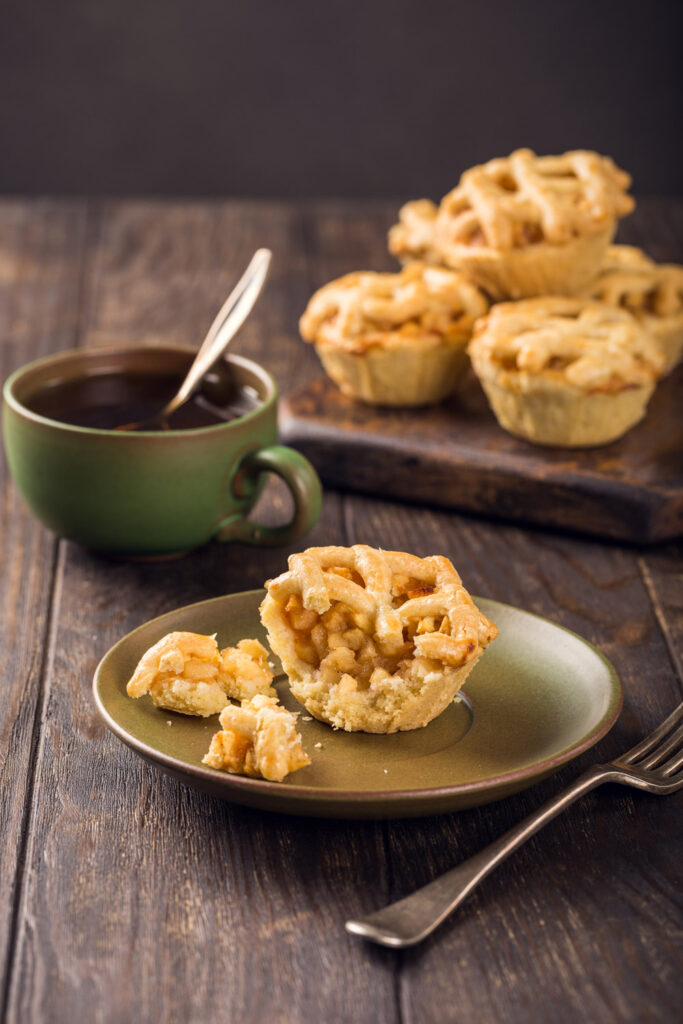
Why These Pies Are Worth It
Baking these Mini Apple Pies is like creating little bites of happiness. I’ve made these for everything from potlucks to cozy nights at home, and they never disappoint.
So, grab some apples, roll up your sleeves, and let’s get baking. Trust me – your kitchen will smell amazing, and your taste buds will thank you.
PrintMini Apple Pies
These Mini Apple Pies are packed with warm apple filling and wrapped in a buttery, flaky crust. Perfectly sized for individual servings, they make a cozy dessert for gatherings or a sweet treat for any day. Serve them warm for maximum comfort!
- Prep Time: 25 minutes
- Cook Time: 20 minutes
- Total Time: 45 minutes
- Yield: 6 mini pies 1x
- Category: Dessert
- Cuisine: American
Ingredients
For the Crust:
- 1 ¼ cups all-purpose flour
- 1 tablespoon sugar
- ½ teaspoon salt
- ½ cup cold, unsalted butter, cubed
- 3–4 tablespoons ice water
For the Filling:
- 2 medium apples (Granny Smith or Honeycrisp), diced
- 2 tablespoons granulated sugar
- 2 tablespoons brown sugar
- 1 teaspoon ground cinnamon
- ¼ teaspoon ground nutmeg
- 1 tablespoon all-purpose flour (or cornstarch for gluten-free)
- 1 teaspoon lemon juice
- ½ teaspoon vanilla extract
Optional Topping:
- Powdered sugar for dusting
Instructions
1. Prepare the Crust:
- In a bowl, whisk together flour, sugar, and salt.
- Add cold butter and work it into the flour using your fingers or a pastry cutter until it resembles coarse crumbs.
- Gradually mix in ice water, 1 tablespoon at a time, until the dough holds together. Wrap in plastic wrap and refrigerate for 30 minutes.
2. Prepare the Filling:
- Combine diced apples, sugars, cinnamon, nutmeg, and flour in a bowl.
- Add lemon juice and vanilla extract. Stir well and set aside to let flavors meld.
3. Assemble the Pies:
- Preheat oven to 375°F (190°C). Grease a muffin tin.
- Roll out the chilled dough to ⅛-inch thickness. Cut circles slightly larger than the muffin cups and gently press them in.
- Fill each crust with apple filling, slightly mounding it above the edge.
4. Bake the Pies:
- Bake for 18-20 minutes, or until the crust is golden brown and the filling is bubbling.
- Cool in the tin for 10 minutes, then transfer to a wire rack.
Notes
- Serving Suggestions: Serve warm with a scoop of vanilla ice cream or a dollop of whipped cream. Dust with powdered sugar for a sweet finish.
- Storage: Store in an airtight container for up to 2 days at room temperature or 5 days in the fridge.
- Reheating: Warm in a 350°F oven for 5-7 minutes to restore the fresh-baked flavor.
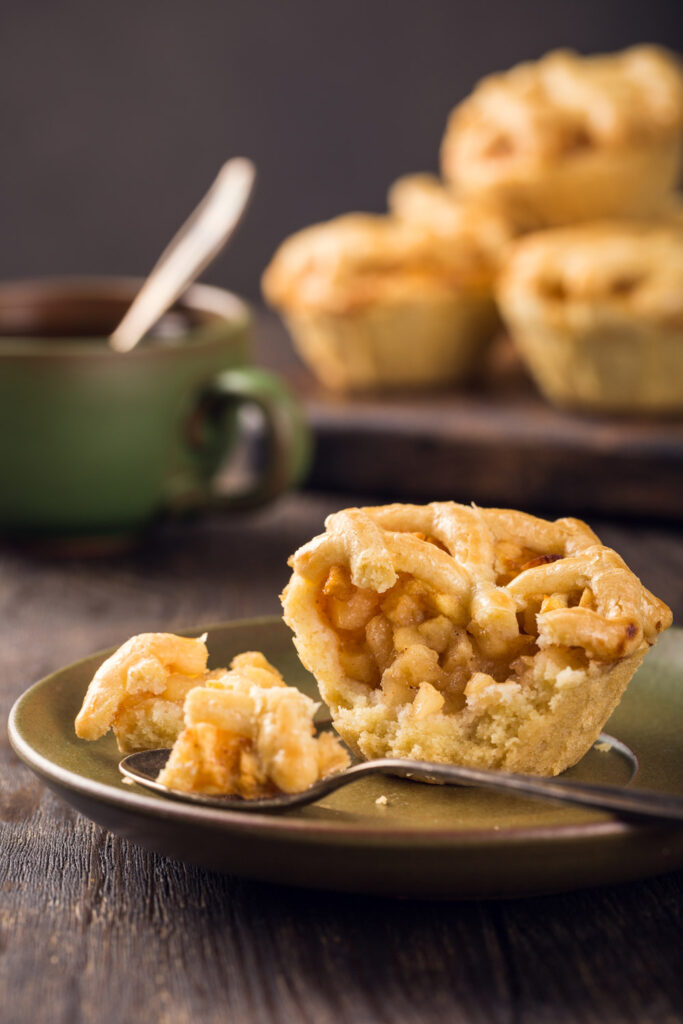
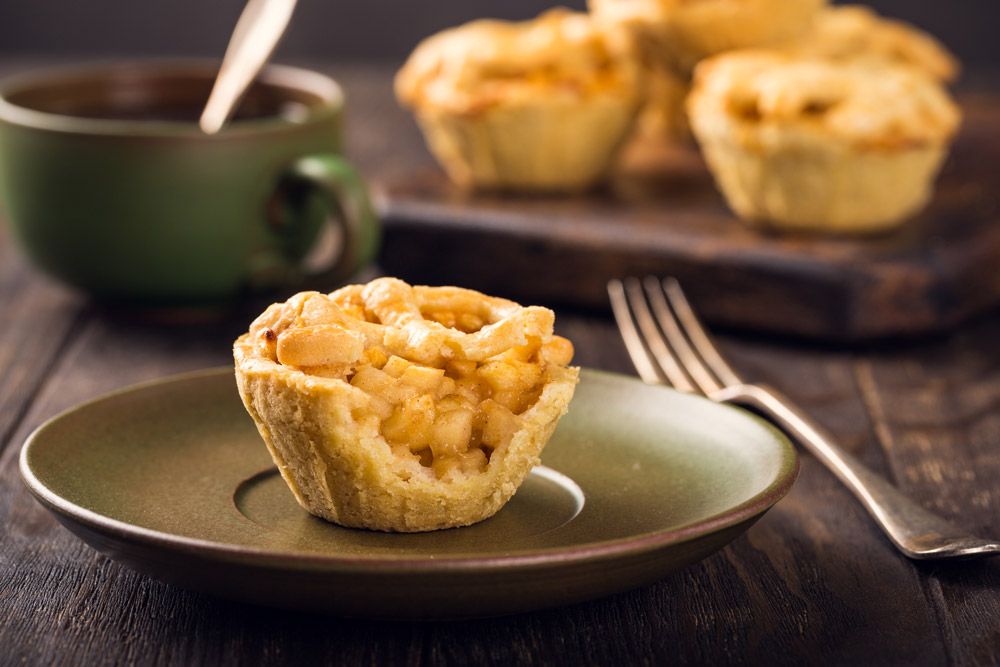
- Tips & Tricks: For a decorative touch, use leftover dough to create lattice tops or cut-out shapes. Always cool slightly before serving to let the filling set.

