Looking for a decadent dessert that combines the tangy sweetness of cranberries with the creamy richness of cheesecake? You’ve come to the right place! This Cranberry Cheesecake does just that – offering a velvety cream cheese filling and a bold, flavorful cranberry topping. Whether you’re making it for the holidays or a special occasion, this cheesecake is guaranteed to be a showstopper. Plus, the recipe is easier than you think!
Let’s get started with a list of ingredients and the tools you’ll need to make this Cranberry Cheesecake in your kitchen.
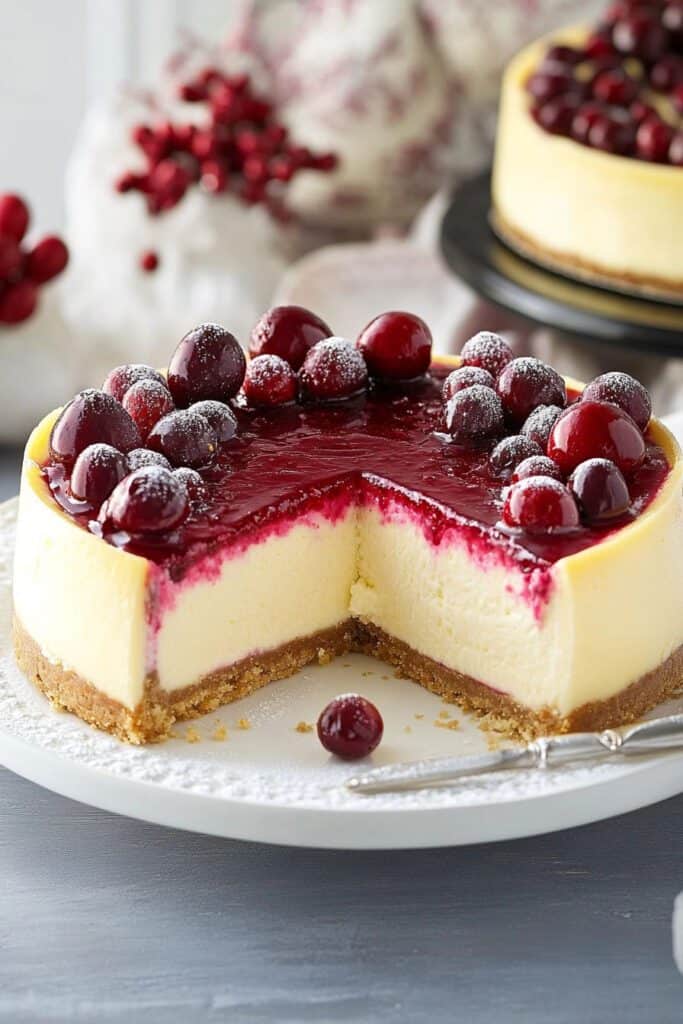
Ingredients List
Crust Ingredients:
- 2 cups graham cracker or shortbread cookie crumbs
- ⅓ cup butter, melted
Cranberry Topping:
- 2 cups fresh or frozen cranberries
- ⅔ cup sugar
- ⅓ cup water
- 1 teaspoon lemon juice
Cheesecake Filling:
- 4 packages (8 ounces each) cream cheese, softened
- 1 cup sugar
- 1 tablespoon lemon juice
- 5 large eggs, lightly beaten
Required Kitchen Tools:
- Springform Pan (9-inch) : A must for any cheesecake to easily release the cake from the mold.
- Heavy-Duty Aluminum Foil : To create a waterproof barrier in your water bath.
- Baking Sheet : For extra protection under the cheesecake pan while baking.
- Food Mill or Fine Mesh Sieve : To make your cranberry topping silky smooth.
- Stand or Hand Mixer : Essential for achieving a lump-free cream cheese filling.
- Saucepan : For preparing the cranberry topping.
- Wire Rack : To cool the cheesecake just right after baking.
Alright, once you have the ingredients and tools ready, you’re set to start this baking journey.
Step 1: Preparing the Crust
The crust is your cheesecake’s foundation, and you want it to be just the right blend of buttery and crunchy.
- Preheat the Oven to 325°F (163°C): Start by preheating your oven, so it’s ready by the time you finish prepping the crust. Place a greased 9-in. springform pan on a double thickness of heavy-duty foil (about 18 inches square) and wrap the foil securely around the bottom of the pan. This prevents any accidental leaks during baking.
- Prepare the Crust:
- In a small mixing bowl, stir together the 2 cups of graham cracker or shortbread cookie crumbs and the ⅓ cup of melted butter. Make sure every bit of the crumb mixture is coated with butter, as this will give you a perfectly cohesive crust.
- Press and Bake:
- Press the buttery crumbs firmly into the bottom of your prepared springform pan to form an even crust. You can use the back of a spoon or the bottom of a flat measuring cup to press the crumbs down and ensure the crust is well-packed.
- Transfer the pan to your preheated oven and bake the crust for 6 minutes , just until it starts to set. You want it to firm up but not brown. Once baked, remove from oven and let it cool on a wire rack while you prepare the rest of the cheesecake.
Step 2: Prepare the Cranberry Topping
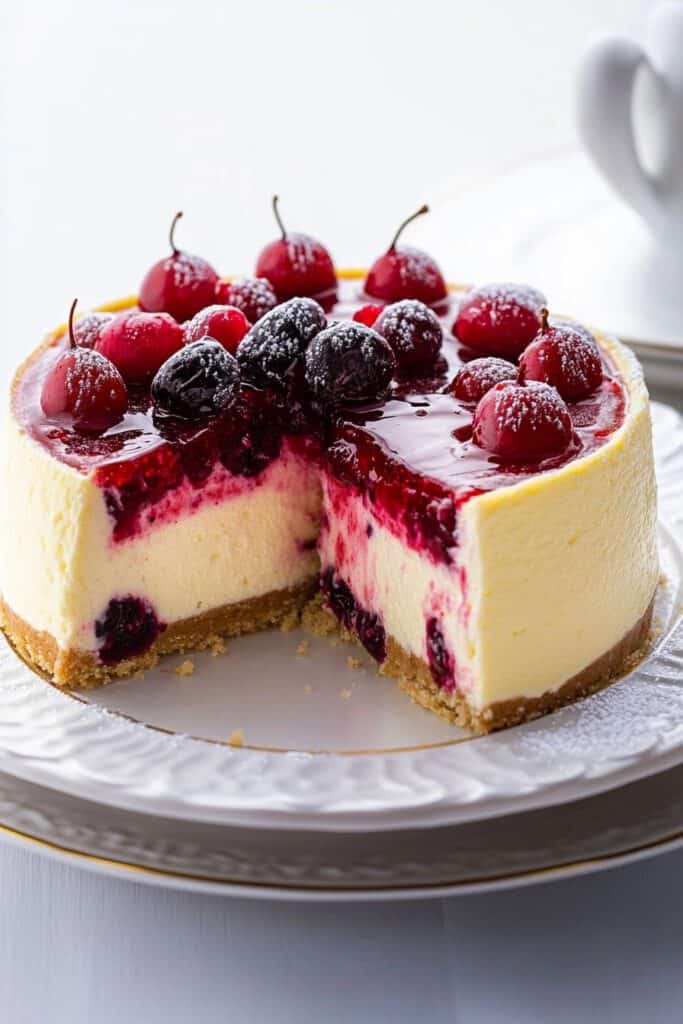
The cranberry topping is what gives this cheesecake a zingy flavor profile that perfectly balances the creamy richness of the filling. Here’s how you prepare it:
- Combine the Cranberries, Sugar, and Water:
- In a medium saucepan, combine 2 cups of cranberries (fresh or frozen), 2/3 cup of sugar , and 1/3 cup of water .
- Stir the mixture together and bring it to a medium heat. Allow it to simmer and cook uncovered , stirring occasionally, for 12-15 minutes . You’ll know it’s done when the cranberries pop and soften, and the mixture thickens.
- Add the Lemon Juice:
- Once off the heat, stir in 1 teaspoon of lemon juice . This will enhance the bright, tangy flavor of the cranberry filling.
- Strain the Cranberry Sauce:
- For a smooth, seed-free sauce, pass the cranberry mixture through a food mill or press it through a fine-mesh sieve into a small bowl. Discard the pulp and seeds leftover in the strainer and set the smooth sauce aside to cool slightly.
Now that you have your baked crust and cranberry topping ready, we’re moving toward the star of the show – the rich, creamy cheesecake filling!
Step 3: Making the Cheesecake Filling
This creamy cheesecake filling is a crucial part of the dessert, offering a smooth, velvety texture with just the right amount of sweetness and a hint of tang from the lemon juice.
- Beat the Cream Cheese and Sugar:
- In a large mixing bowl, using a hand mixer or stand mixer, beat the 4 packages of cream cheese (32 oz total) on medium speed until smooth and creamy. Make sure your cream cheese is at room temperature to avoid lumps.
- Gradually add 1 cup of sugar and 1 tablespoon of lemon juice , beating on medium speed until everything is fully combined, and the mixture is silky.
- Adding the Eggs:
- Reduce the mixer speed to low before adding the eggs. You don’t want to incorporate too much air, as this can cause the cheesecake to crack during baking.
- Lightly beat 5 large eggs in a separate bowl, then slowly add them to the cream cheese mixture, beating just until blended. You want the mixture to be smooth without overmixing.
Step 4: Assemble the Cheesecake
- Pour Cheesecake Filling into the Crust:
- Once your filling is perfectly blended, pour it gently over the cooled crust in the springform pan. Use a spatula to smooth out the surface, ensuring even distribution.
- Swirl the Cranberry Sauce:
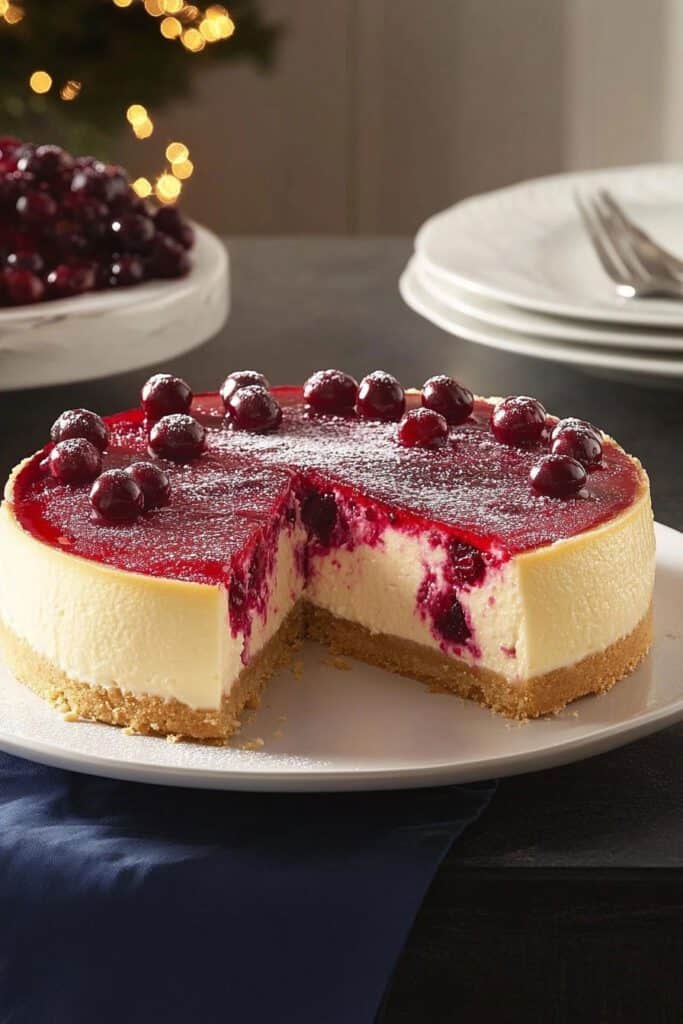
- Reserve about ¼ cup of the prepared cranberry topping. Spoon it over the top of the filling in small dollops.
- Use a knife or a toothpick to carefully swirl the cranberry mixture through the cheesecake filling. Don’t overdo it – a few gentle swirls create a beautiful marbled effect.
- Prepare for the Water Bath:
- To prevent cracks in the cheesecake and ensure even baking, you’ll need to bake it in a water bath. Place the springform pan in a larger roasting pan, and carefully pour about 1 inch of hot water into the larger pan to surround the cheesecake (this is why the foil wrapping is so important – it keeps water out of your cheesecake).
Step 5: Bake the Cheesecake
- Bake the Cheesecake:
- Transfer the roasting pan (containing the springform pan) into your preheated oven. Bake your cheesecake at 325°F (163°C) for 55-65 minutes , or until the center is just set and appears slightly dull.
- A slight jiggle in the center is okay – it will continue to firm up as it cools.
- Cool the Cheesecake:
- Remove the cheesecake from the oven and carefully lift the springform pan out of the water bath. Remove the foil and set the pan on a wire rack.
- Let it cool on the rack for about 10 minutes . Then, carefully run a butter knife around the edges of the cheesecake to loosen it from the sides of the pan. This step helps prevent cracks as the cheesecake cools and shrinks slightly.
Step 6: Cool, Chill, and Add Remaining Cranberry Topping
- Cool the Cheesecake Completely:
- After running a knife around the edge of the cheesecake, allow it to cool for an additional 1 hour on the wire rack. Take your time with this step, as rapid cooling may cause cracks. The cheesecake should firm up as it cools gradually.
- Chill the Cheesecake:
- Once the cheesecake is at room temperature, cover the pan with plastic wrap and place it in the refrigerator overnight or for at least 6-8 hours . Chilling the cheesecake lets the flavors develop and the texture set, making it even more delicious.
Step 7: Add the Cranberry Topping
- Pour Remaining Cranberry Topping:
- Once the cheesecake is fully chilled and set, take the remaining cranberry topping you prepared earlier and pour it gently over the top of the cheesecake. Spread it evenly with a spoon or spatula, covering as much or as little of the surface as you’d like. This topping brings a burst of tart freshness in contrast to the rich filling.
- Final Touch (Optional):
- If you’d like, you can top the cranberry layer with a few fresh cranberries or zest some lemon over the top for an extra pop of color and flavor.
Step 8: Serve and Enjoy!
- Remove the Cheesecake from the Pan:
- Carefully release the sides of the springform pan to reveal the cheesecake. Slice it with a sharp knife, wiping the blade between slices for clean and beautiful cuts.
- Optional Garnishes:
- Want to take the presentation up a notch? Dust the top with some powdered sugar or garnish each slice with a dollop of whipped cream.
- Serve Cold:
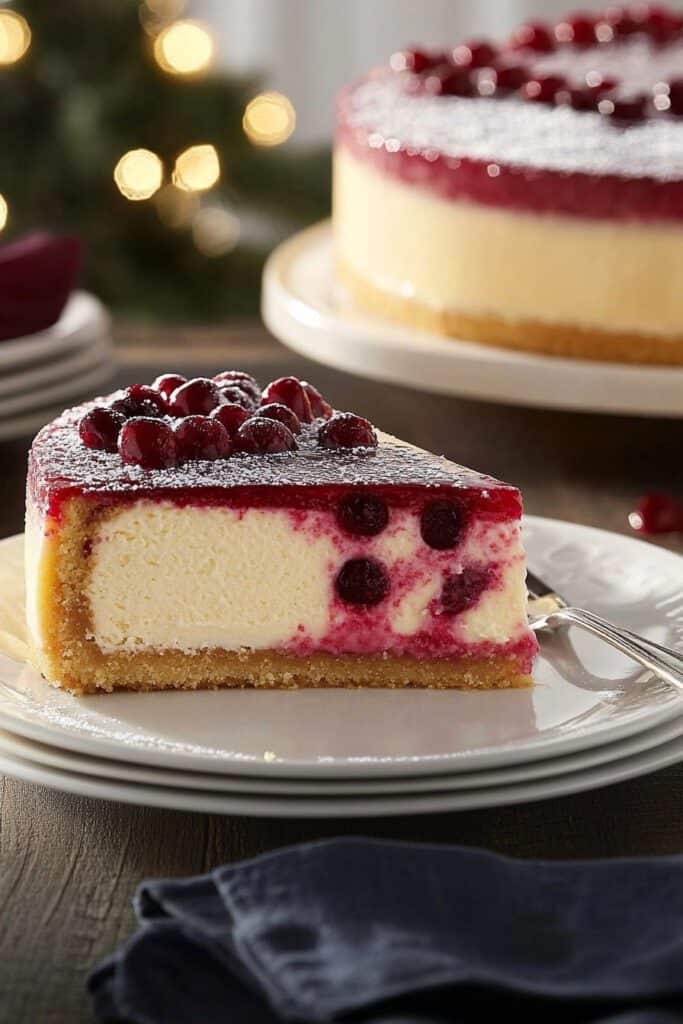
- Your Cranberry Cheesecake is best served chilled, right out of the fridge. The refreshing tartness from the cranberries combined with the creamy filling will delight your taste buds with every bite!
Storage Instructions
If you have leftovers (though I doubt there will be much!), here’s how you can store your cheesecake:
- Refrigerate:
- Cover the cheesecake with plastic wrap or aluminum foil and store it in the refrigerator. It will stay fresh for 3-5 days .
- Freezing Option:
- You can also freeze this cranberry cheesecake for extended storage. Wrap each slice or the whole cheesecake tightly in plastic wrap, followed by aluminum foil, and place it in the freezer. It can be frozen for up to 1 month . Thaw overnight in the fridge for best results.
Conclusion
Congratulations, you’ve just made a luscious Cranberry Cheesecake! This dessert is perfect for winter holidays, family gatherings, or whenever you feel like indulging your sweet tooth. The creamy cheesecake filling paired with the tart cranberry topping offers the perfect balance of flavors.
Whether you’re an experienced baker or just trying your hand at cheesecakes, this step-by-step guide should give you all the confidence you need for cheesecake success. Enjoy every bite!
PrintCranberry Cheesecake Recipe
A creamy, luscious cheesecake with a buttery graham cracker crust and a vibrant, tangy cranberry topping. Perfect for holidays or any special occasion!
- Prep Time: 30 minutes
- Cook Time: 1 hour
- Total Time: ~8 hours 30 minutes (Included Chill Time)
- Yield: 12 slices 1x
- Category: Dessert
- Cuisine: American
Ingredients
For the Crust
- 2 cups graham cracker or shortbread cookie crumbs
- ⅓ cup unsalted butter, melted
For the Cranberry Topping
- 2 cups fresh or frozen cranberries
- ⅔ cup granulated sugar
- ⅓ cup water
- 1 teaspoon lemon juice
For the Cheesecake Filling
- 4 packages (8 ounces each) cream cheese, softened to room temperature
- 1 cup granulated sugar
- 1 tablespoon lemon juice
- 5 large eggs, lightly beaten
Instructions
Step 1: Prepare the Crust
- Preheat your oven to 325°F (163°C). Wrap the bottom of a greased 9-inch springform pan with heavy-duty foil to prevent leaks.
- In a bowl, mix graham cracker crumbs with melted butter until evenly coated. Press firmly into the bottom of the pan to form an even layer.
- Bake for 6 minutes, then let cool on a wire rack while preparing the filling and topping.
Step 2: Make the Cranberry Topping
- In a medium saucepan, combine cranberries, sugar, and water. Simmer over medium heat for 12–15 minutes, stirring occasionally, until cranberries pop and the mixture thickens.
- Remove from heat and stir in lemon juice. For a smooth sauce, strain through a fine-mesh sieve; otherwise, leave as is for texture. Set aside to cool.
Step 3: Prepare the Cheesecake Filling
- In a large mixing bowl, beat softened cream cheese on medium speed until smooth and creamy. Gradually add sugar and lemon juice, mixing until fully combined.
- Reduce speed to low and slowly incorporate beaten eggs, mixing just until blended to avoid over-aeration.
Step 4: Assemble the Cheesecake
- Pour cheesecake filling over the cooled crust in the springform pan. Smooth out the top with a spatula.
- Reserve about ¼ cup of cranberry topping and dollop it onto the filling. Use a knife or toothpick to swirl it gently for a marbled effect.
Step 5: Bake the Cheesecake
- Place the springform pan inside a larger roasting pan and pour about 1 inch of hot water into the roasting pan (water bath). This prevents cracks during baking.
- Bake at 325°F (163°C) for 55–65 minutes, or until the center is just set but slightly jiggly. Remove from oven and carefully lift out of the water bath.
Step 6: Cool and Chill
- Run a knife around the edges of the cheesecake to loosen it from the pan and prevent cracking as it cools. Let it cool on a wire rack for 1 hour, then refrigerate overnight or for at least 6–8 hours.
Step 7: Add Cranberry Topping and Serve
- Spread remaining cranberry topping evenly over the chilled cheesecake before serving. Garnish with fresh cranberries or lemon zest if desired.
Notes
Serving Suggestions:
- Serve chilled with whipped cream or a drizzle of white chocolate for added indulgence.
- Pair with coffee or tea for a delightful dessert experience.
Tips & Tricks:
- Ensure cream cheese is fully softened to avoid lumps in your filling.
- Don’t overmix after adding eggs—this can cause cracks during baking.
- Use heavy-duty foil to keep water from seeping into your crust during the water bath.
Storage & Reheating:
- Refrigerate leftovers tightly covered for up to 5 days.
- To freeze, wrap individual slices in plastic wrap and aluminum foil; store in the freezer for up to 1 month. Thaw overnight in the fridge before serving.

