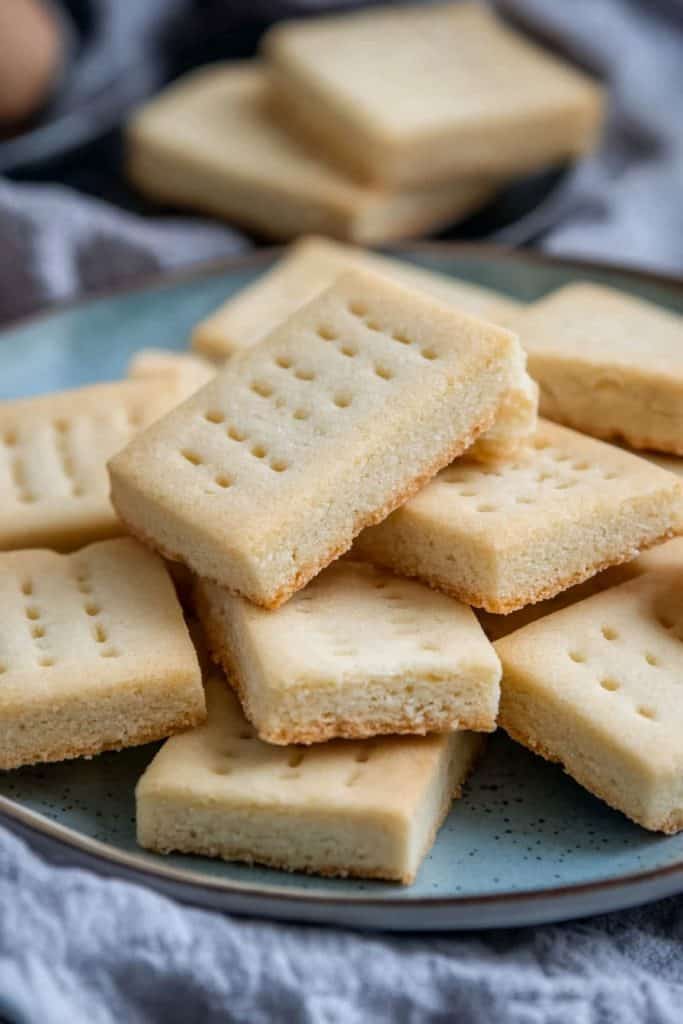
There’s something truly magical about Scottish shortbread cookies. With their buttery, crumbly texture and rich history, these delightful treats have been a staple in Scottish households for centuries. Originating in the 12th century, shortbread has evolved from a luxury reserved for special occasions to a beloved everyday indulgence.
I love how simple ingredients can create such a decadent experience. Just flour, butter, and sugar come together to form a cookie that’s perfect with a cup of tea or as a sweet gift. Whether you’re a seasoned baker or a novice in the kitchen, my Scottish shortbread recipe will guide you through making these classic cookies with ease.
Ingredients
In this section, I will list the essential ingredients needed for the traditional Scottish shortbread cookies along with some optional variations you may want to try.
Essential Ingredients
- All-Purpose Flour: 2 1/2 cups
- Unsalted Butter: 2 sticks, cubed and softened at room temperature (the better the butter, the better the shortbread)
- Caster Sugar: 1/2 cup, or “baker’s sugar” in the U.S. (if you can’t find any, simply pulse granulated sugar in a blender until very fine—do NOT use powdered sugar)
- Salt: 1/2 teaspoon
Optional Add-Ins
- Homemade Candied Ginger
- Homemade Candied Citrus Peel
- Other options include nuts, fresh herbs, dried cranberries, etc.
Tools and Equipment
To make authentic Scottish shortbread cookies, having the right tools and equipment is essential in ensuring perfect texture and flavor. Here are the key items you’ll need:
- 8×8-inch Baking Pan: I recommend this one!
- Food Processor: Essential for combining ingredients into the perfect dough.
- Cookie Stamps (optional): For adding decorative touches.
- Mixing Bowl, Measuring Cups, and Spoons
- Spatula, Rolling Pin, and Cookie Cutters (optional)
Each of these tools will streamline your cookie-making process, from mixing and shaping to baking and cooling. Having them on hand will ensure both efficiency and success in achieving the coveted crumbly and buttery Scottish shortbread perfection.
Directions
Follow these steps to create the perfect Scottish shortbread cookies from start to finish.
Preparation
Preheat your oven to 350°F (177°C). Butter an 8×8-inch square baking pan. You can also use a round cake pan and cut the shortbread into triangles.
Making the Dough
Place the caster sugar, flour, salt, and butter in a food processor. Pulse until the mixture looks like coarse breadcrumbs but is soft and pliable and comes together in a dough when pressed between your fingers. If it’s too dry and crumbly, pulse a bit longer. If using any add-ins, stir them in at this point.
Shaping the Dough
Pour the mixture into the greased baking pan. Use your fingers and hands to firmly press down the mixture. Note: If the mixture is too dry to work with, including pricking with a fork, it was not pulsed long enough in the food processor.
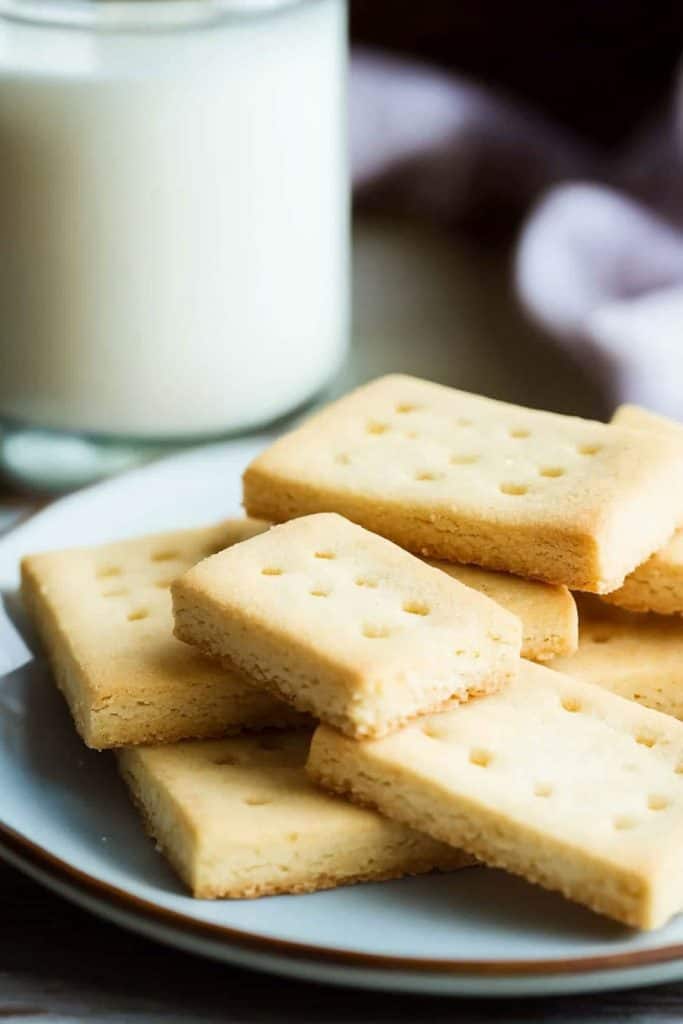
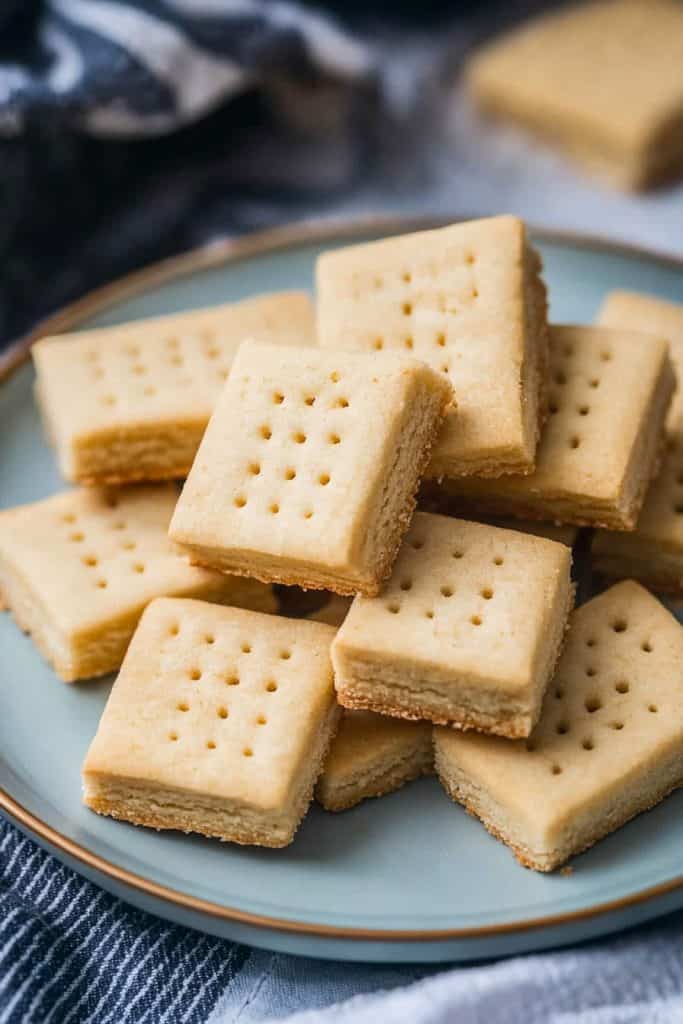
Prick the shortbread with the tines of a fork, creating rows. You can also run a knife between each row of fork tines to make cutting the shortbread easier after it’s baked. Another option is to prick the shortbread with a fork immediately after it is done baking while it is still warm; this way, the holes will be more pronounced as they have a tendency to close during baking.
Baking the Cookies
Place the shortbread on the middle rack and bake for 30-35 minutes or until light golden and firm. Let cool. Cut and serve.
Once cooled, serve the Scottish shortbread cookies with a cup of tea or coffee. Optional: sprinkle a bit of caster sugar over the top before serving for added sweetness.
Tips for Perfect Shortbread Cookies
Achieving perfect shortbread cookies every time requires attention to detail at every step of the process. Here are my top tips to ensure your cookies are buttery, crumbly, and melt-in-your-mouth good:
1. Choose High-Quality Butter
The cornerstone of shortbread cookies is butter. Since the flavor revolves around this one ingredient, use high-quality, unsalted butter. European-style butter, with its higher butterfat content, often yields even better results. Ensure the butter is softened at room temperature before starting—this makes it easier to incorporate into the dough.
2. Use Caster Sugar for Fineness
For the most delicate texture, use caster sugar (also called superfine or baker’s sugar). If you can’t find it, making it yourself by pulsing granulated sugar in a blender until finely ground is a great alternative. Avoid powdered sugar, as it changes the texture, making the cookies less crumbly.
3. Precise Measurements Matter
Shortbread relies on the perfect ratio of flour, butter, and sugar. Too much flour can make the cookies dry and crumbly without the tenderness you want, while excess sugar can cause spreading. Use a kitchen scale, if possible, for precise measurements, especially when measuring flour.
4. Don’t Overwork the Dough
Mix the ingredients just until the dough comes together. Overworking the dough can overdevelop the gluten, resulting in a less tender shortbread. The goal is a crumbly yet cohesive dough that holds its shape when pressed.
5. Chill Before Baking
While this recipe skips the traditional rolling and chilling process, if you live in a warm climate or prefer cut shapes, chilling the dough for 20–30 minutes after pressing it into the pan can help it bake evenly and hold its shape. If the dough feels sticky or soft while handling, a quick chill will firm it up.
6. Pricking is Key
Pricking the dough with a fork isn’t just decorative—it allows steam to escape during baking. This helps maintain the shortbread’s iconic dense texture while preventing air pockets from forming. For a cleaner look, prick the dough as soon as it comes out of the oven while it’s still warm.
7. Bake to Perfection
Shortbread is done when the edges are a light golden color. Baking just a little too long can result in dry, overly crisp cookies, so keep a close eye on them around the 30-minute mark. Remember, shortbread continues to firm as it cools.
8. Allow Time for Cooling
Cooling is as important as baking. Let the shortbread cool in the pan before cutting—it will firm up and hold its shape better. Once cut, place the pieces on a wire rack to cool completely. This ensures the texture sets perfectly.
9. Let the Flavors Bloom
Shortbread actually improves with time. Storing the cookies for a day or two before serving allows the flavors to develop, resulting in a richer, more buttery taste.
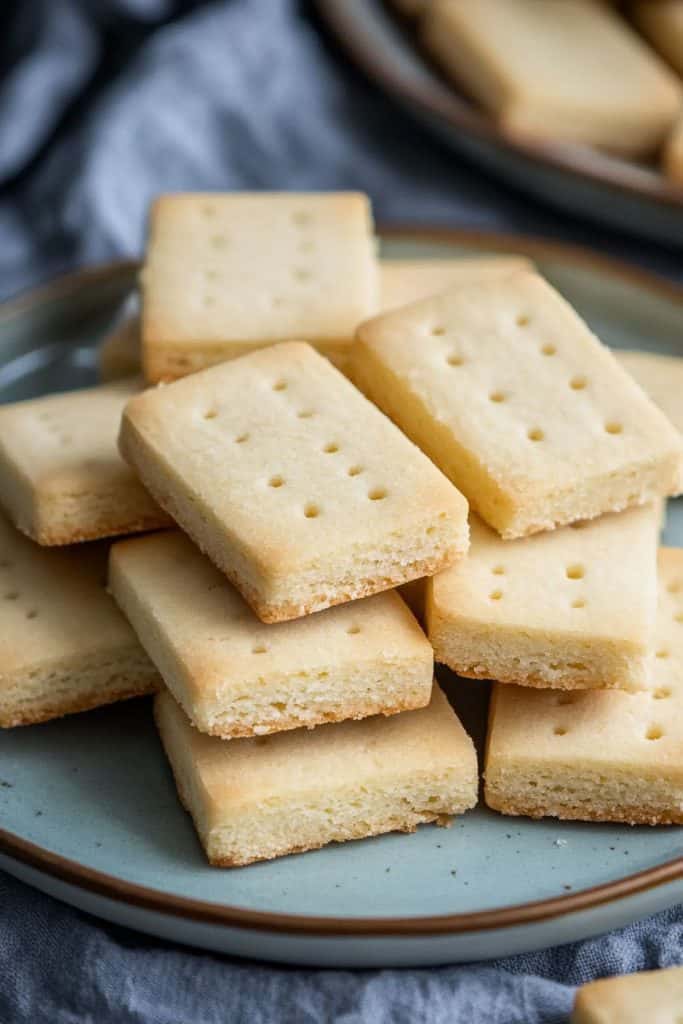
Storage and Shelf Life
Proper storage ensures your Scottish shortbread remains fresh, crisp, and delicious for as long as possible. These cookies are known for their excellent shelf life, making them perfect for gifting or savoring over time.
Short-Term Storage
- Cool Completely Before Storing
Ensure the cookies are completely cooled before packing them to prevent condensation, which can make them soggy. - Use an Airtight Container
Store the cookies in a tightly sealed container to shield them from moisture and air. A metal tin is ideal, as it helps maintain the dry, crisp texture. - Layer with Parchment Paper
If stacking cookies in your container, place layers of parchment paper or wax paper between them. This prevents sticking and helps preserve the integrity of any decorative additions like fork marks or cookie stamps. - Keep in a Cool, Dry Place
Store the container in a cool, dry area away from direct sunlight or heat sources. Extreme temperatures can affect the texture and flavor of the cookies. - Shelf Life
Properly stored, shortbread cookies can stay fresh for up to two weeks. In fact, their flavor deepens and their texture improves after a day or two.
Freezing for Long-Term Storage
Shortbread also freezes beautifully, making it a great option for preparing in advance. Follow these steps for best results:
- Cool Completely
Allow the cookies to cool fully at room temperature before freezing. - Flash Freeze
Lay the cookies in a single layer on a baking sheet and freeze until solid. This prevents them from sticking together later. - Package for Freezing
Transfer the frozen cookies to a freezer-safe container or resealable freezer bag. If stacking, separate layers with parchment paper to maintain their shape. - Label and Date
Clearly label the container with the date to keep track of how long they’ve been stored. - Freeze for Up to 3 Months
Properly stored, Scottish shortbread can be frozen for up to three months without losing any of its delightful texture or flavor.
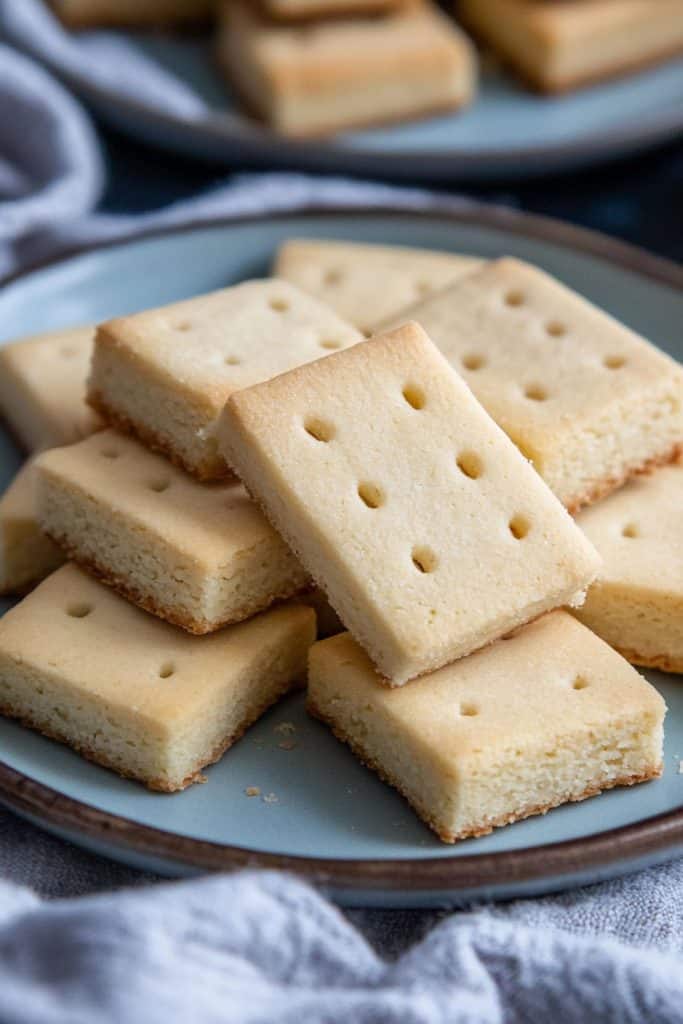
Thawing and Serving
To enjoy thawed shortbread, remove the desired number of cookies from the freezer and let them come to room temperature for about 20–30 minutes. Avoid microwaving, as this can alter their texture.
Conclusion
Scottish shortbread cookies are a delightful treat that combines rich history with irresistible flavor. Whether you stick with the classic recipe or experiment with tasty variations, these cookies are sure to impress. Remember to use high-quality butter and precise measurements for the best results. With the right tools and techniques, you’ll be baking perfect shortbread in no time. And don’t forget proper storage to keep your cookies fresh and delicious. Happy baking!
PrintScottish Shortbread Cookies Recipe
Indulge in the buttery, crumbly delight of traditional Scottish shortbread cookies. Perfect with a cup of tea or as a thoughtful gift, these simple yet decadent cookies are a timeless treat that embodies comfort and nostalgia.
- Prep Time: 15 minutes
- Cook Time: 30-35 minutes
- Total Time: 45-50 minutes
- Yield: 12–16 cookies 1x
- Category: Dessert
- Cuisine: Scottish
Ingredients
Essential Ingredients:
- 2 1/2 cups all-purpose flour
- 2 sticks unsalted butter, cubed and softened at room temperature
- 1/2 cup caster sugar (or superfine sugar)
- 1/2 teaspoon salt
Optional Add-Ins:
- Homemade Candied Ginger
- Homemade Candied Citrus Peel
- Other options: nuts, fresh herbs, dried cranberries
Instructions
1. Preheat and Prepare:
- Preheat the oven to 350°F (177°C).
- Butter an 8×8-inch square baking pan. Alternatively, use a round cake pan for triangular pieces.
2. Mix the Dough:
- In a food processor, combine flour, sugar, salt, and butter.
- Pulse until the mixture resembles coarse breadcrumbs and holds together when pressed.
- Pro Tip: Add-ins like candied ginger or nuts can be stirred in after processing.
3. Press and Shape:
- Transfer the mixture into the prepared baking pan.
- Firmly press down using your fingers to create an even layer.
- Prick the surface with a fork to allow steam to escape during baking.
4. Bake:
- Place the pan on the middle rack in the oven.
- Bake for 30-35 minutes or until the edges turn light golden.
- Avoid over-baking to ensure the cookies remain tender inside.
5. Cool and Cut:
- Let cool slightly before cutting into pieces. If using a round pan, cut into wedges.
- Allow cookies to cool completely on a wire rack for the best texture.
Notes
- Serving Suggestions: Ideal with tea or coffee. These cookies also make wonderful gifts when packaged in decorative tins.
- Tips & Tricks: Ensure butter is at room temperature for easy mixing. If the mixture seems too dry, it may need more pulsing in the food processor.
- Storage: Store in an airtight container at room temperature for up to two weeks. The flavor improves with time.
- Reheating: Shortbread doesn’t typically need reheating, but you can freshen them in a 300°F oven for 5 minutes if desired.
Common Mistakes to Avoid:
- Overworking the Dough: Mix just until combined to avoid tough cookies.
- Incorrect Sugar Type: Use caster sugar for a fine texture; do not substitute with powdered sugar.
- Baking Unevenly: Make sure the dough is pressed evenly to avoid uneven baking.

