
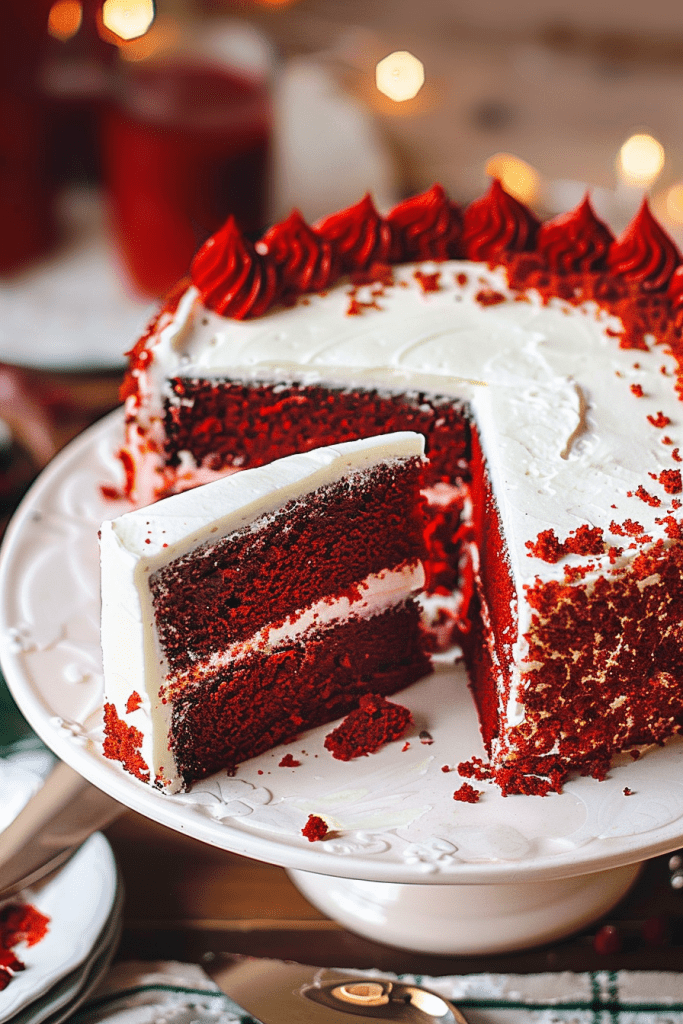
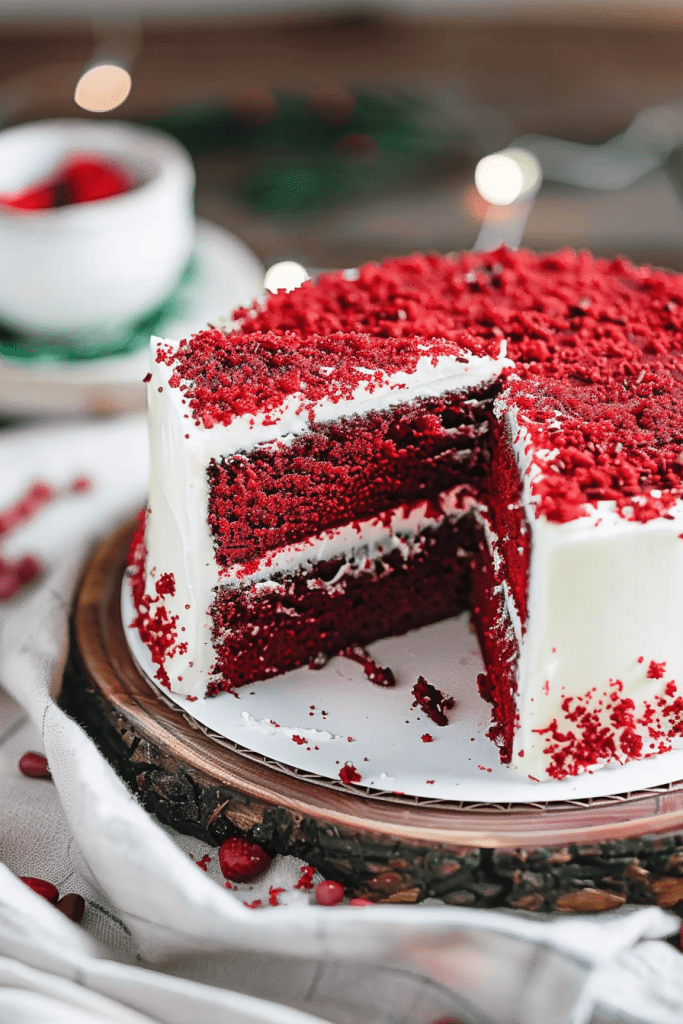
I’m thrilled to share my irresistible red velvet cake recipe with you! This cake is a delightful blend of vanilla and chocolate flavors, boasting a tangy twist from buttermilk and vinegar. Red velvet cake is more than just a chocolate cake with food coloring; it’s a classic southern favorite with a tender crumb and a unique taste profile.
Traditionally, red velvet cake’s reddish hue comes from cocoa powder, but modern versions enhance the color with red food coloring. The result is a light chocolate cake with hints of buttermilk and vanilla, creating a signature flavor loved by many. Paired with a luscious cream cheese frosting, this homemade red velvet cake is a true standout, offering a moist and tender crumb that’s simply irresistible.
Ingredients List
Creating a perfect red velvet cake involves a blend of essential ingredients for both the cake and cream cheese frosting. Let’s dive into the specific items required for each component.
For the Red Velvet Cake
- Cake Flour
- Cocoa Powder
- Butter
- Oil
- Buttermilk
- Vinegar
- Red food coloring
- Eggs
- Vanilla extract
- Sugar
- Salt
- Baking soda
- White distilled vinegar
- Cream cheese
- Unsalted butter
- Powdered sugar
- Vanilla extract
- Salt
Equipment Needed
To make this irresistible red velvet cake, you will need some essential equipment. Here’s a list of the items you will require before delving into the baking process:
- Two 9-inch cake pans
- Nonstick cooking spray
- Parchment paper
- Large mixing bowl
- Whisk
- Sifter
- Stand mixer with paddle attachment or handheld mixer
- Measuring cups and spoons
- Spatula for scraping the bowl
- Oven preheated to 350°F (177°C)
Having these tools ready will ensure a smooth baking experience as you embark on creating the perfect red velvet cake layers for a delightful indulgence.
Preparation Steps
Preparing the Cake Pans
To ensure easy cake release and even baking, I recommend preparing the cake pans by greasing them with cake goop or your preferred pan release. For this recipe, use two 8 x 2 cake pans lined with parchment paper for the perfect red velvet cake layers.
Pre-Mixing Ingredients
Before diving into the red velvet cake batter, it’s essential to pre-mix the dry and wet ingredients separately. By pre-mixing, you’ll ensure that the ingredients are evenly distributed and prevent overmixing later. Stay organized by following these steps for a smooth baking experience.
Cake Batter Instructions
Creating the perfect red velvet cake batter is a delightful process that results in a moist and flavorful cake. Follow these straightforward steps to achieve baking success.
Mixing Dry Ingredients
To start, sift together the dry ingredients to ensure a smooth and well-mixed batter. This step includes combining flour, cornstarch, cocoa powder, baking powder, baking soda, and salt. Sifting helps prevent overmixing later when combining the wet and dry ingredients.
Combining Wet Ingredients
In a separate bowl, cream together butter, oil, and sugar using a hand mixer or stand mixer. Creaming incorporates air into the batter, contributing to a fluffy cake texture. Add eggs one by one, ensuring thorough mixing between each addition. Then, include vanilla extract, white vinegar, and red liquid food coloring, mixing until fully combined.
Merging Wet and Dry Ingredients
Once the wet and dry ingredients are prepared, it’s time to combine them. Gently fold the wet ingredients into the dry mixture until just combined. Avoid overmixing to prevent a tough cake texture. The buttermilk and red food coloring will give the batter its signature red velvet hue and velvety texture.
Baking the Cake
Let’s dive into the baking process of creating a scrumptious red velvet cake. Follow these steps to ensure your cake turns out moist, flavorful, and perfectly baked.
Oven Preheating Guide
Before starting the baking process, preheat your oven to the recommended temperature for baking the red velvet cake. In this case, set your oven to 350°F (177°C) for convection or 325°F (163°C) for conventional baking.
Baking Time and Temperature
When baking the red velvet cake layers, it’s essential to maintain the correct time and temperature for perfect results. The cakes should bake for approximately 25 minutes until the center springs back when gently pressed. Adjust the baking time accordingly if using different cake pan sizes.
Testing for Doneness
A crucial step in baking the red velvet cake is to ensure it is thoroughly cooked. To test for doneness, insert a toothpick into the center of the cake. If it comes out clean or with a few crumbs, the cake is ready. Avoid overbaking to retain the cake’s moist texture.
Making Cream Cheese Frosting
Creating a delectable cream cheese frosting is a must for a perfect red velvet cake. The creamy and tangy frosting complements the rich flavors of the cake beautifully.
Mixing Ingredients
To start, you’ll need a block of full-fat cream cheese, softened butter, powdered sugar, and a splash of heavy cream.
- Begin by placing the softened cream cheese and butter in a mixing bowl.
- Beat them together until smooth and creamy.
- Gradually add the powdered sugar, about a cup at a time, mixing well between additions.
- Once all the sugar is incorporated, add a splash of heavy cream to achieve a fluffy and spreadable consistency.
Adjusting Texture and Sweetness
If you find the frosting too thick, you can add a touch more heavy cream. Conversely, if it’s too thin, a little extra powdered sugar will help thicken it up.
For those who prefer a sweeter frosting, add more powdered sugar gradually until it reaches your desired sweetness level. Remember, the frosting should be creamy, smooth, and easy to spread on your red velvet cake.
Enjoy the process of creating this velvety, creamy frosting that perfectly complements the tender crumb of the red velvet cake.
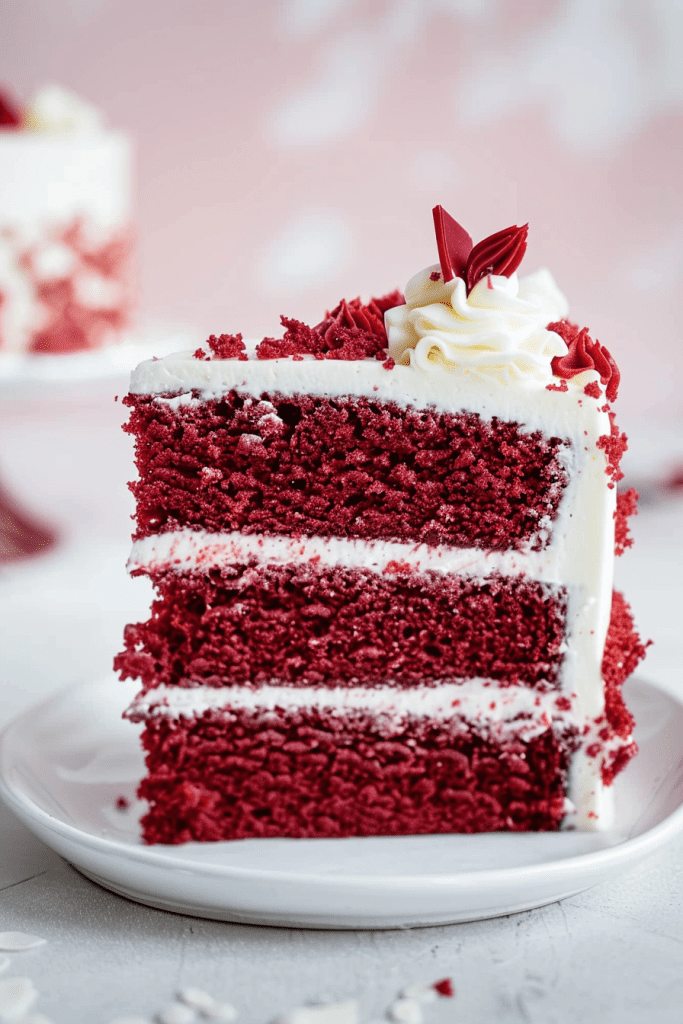
Assembling the Red Velvet Cake
Now that we have our beautifully baked red velvet cake layers and creamy frosting ready, it’s time to assemble the cake and add those final decorative touches to make it truly irresistible!
Layering the Cake and Frosting
- Prepare the Cake Layers: Start by placing one cake layer on a cake stand or serving plate. Spread a generous amount of frosting (around 1/2 cup) on top of the cake, ensuring even coverage.
- Layering Process: Add the second cake layer on top of the frosting and repeat the process. Finish by placing the final cake layer on top and spreading the remaining frosting all over the top and sides of the cake.
- Smoothing and Decorating: Use a bench scraper or offset spatula to smooth out the frosting on the cake. Get creative with decorations by piping a decorative border on top of the cake or adding any desired finishing touches.
- Chilling the Cake: To set the frosting, chill the assembled cake for about an hour. This step helps the frosting to firm up and holds its shape.
- Trimming the Cake: If your cake layers have domed tops, use a serrated knife to level them for even stacking. Alternatively, you can use cake strips during baking to achieve even layers.
- Adding Texture: Create a crumb coat by applying a thin layer of frosting to the entire cake, then refrigerate it for 20-30 minutes. Follow up with a final, thicker layer of frosting for a smooth finish.
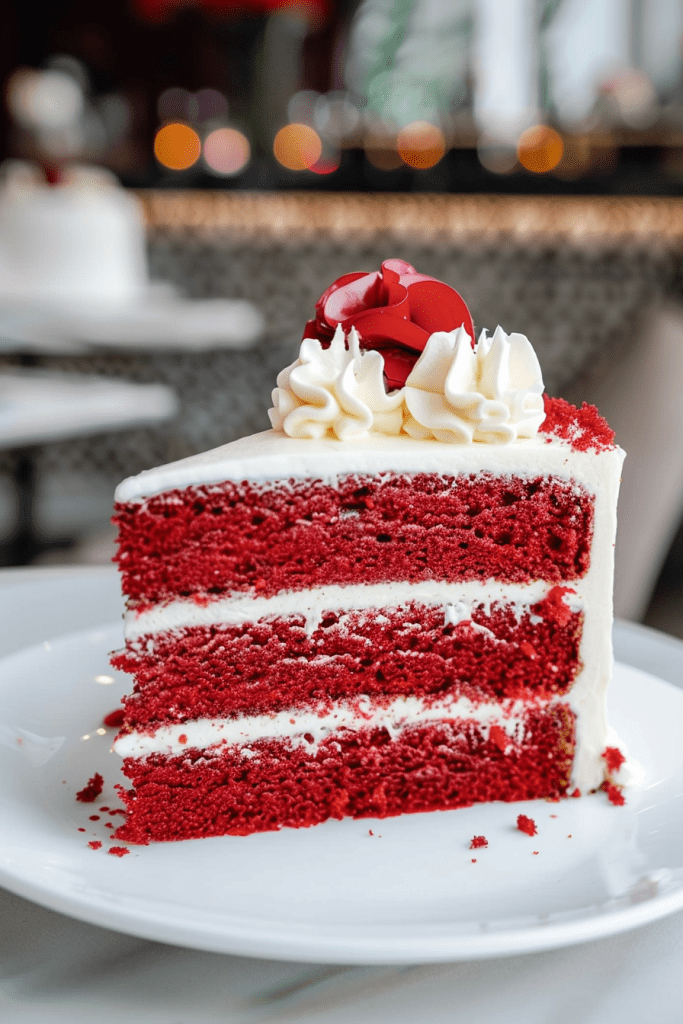
- Decorative Finish: Enhance the look of your red velvet cake by using an offset spatula to create patterns on the sides. For an extra flourish, press some red velvet cake crumbs onto the sides of the cake.
- Finishing Touches: Fill a piping bag with any leftover frosting, attach a star tip, and pipe beautiful rosettes on the top of the cake. A sprinkle of decorations or edible glitter can add a touch of glamour to your masterpiece.
- Storage: Any leftover cake can be stored at room temperature for up to two days or refrigerated for one week. Make sure to cover it well to preserve its freshness.
Storing and Serving
Best Practices for Storage
To keep your red velvet cake fresh and delicious, store it in the refrigerator if you plan to keep it for more than 2 days. Place the cake under a cake dome or lightly cover it with plastic wrap to prevent it from drying out. When you’re ready to serve, bring the cake to room temperature for the best taste experience.
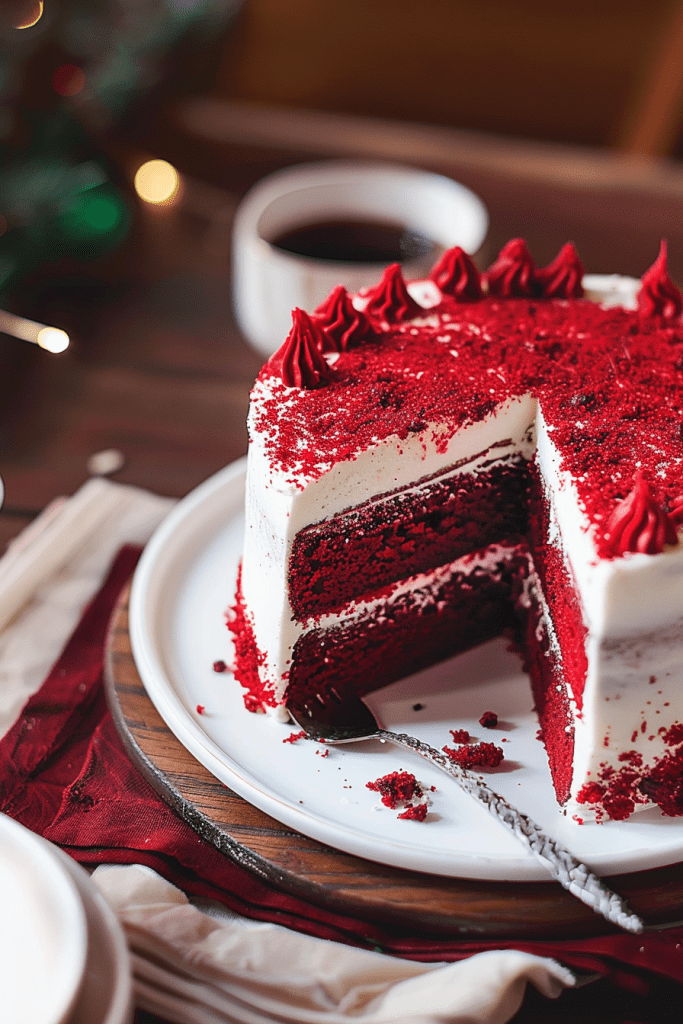
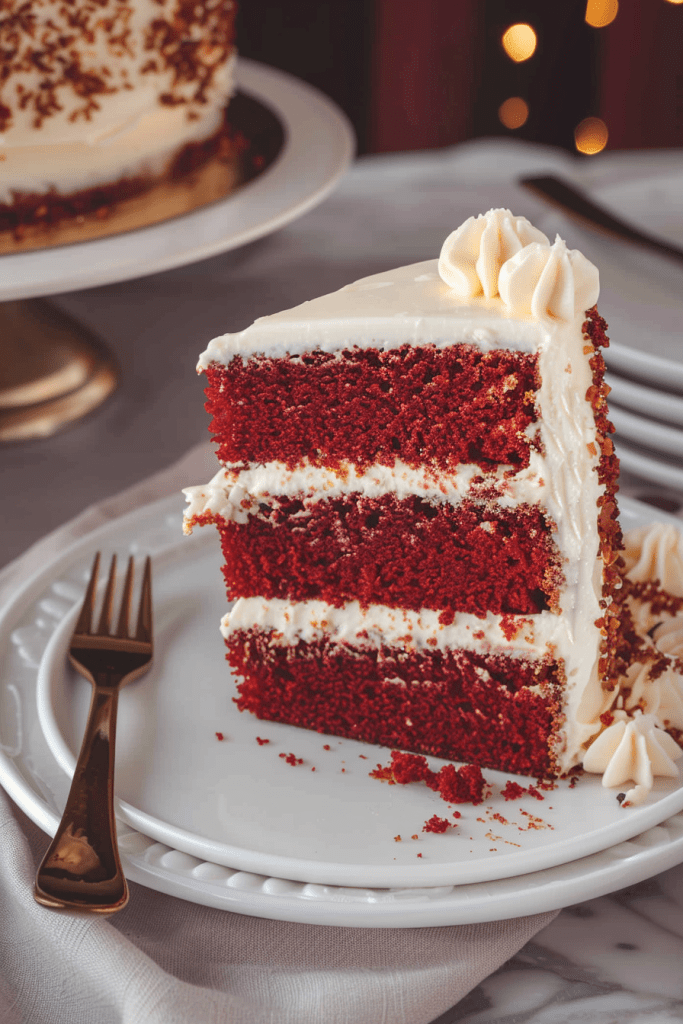
Serving Suggestions
When serving your red velvet cake, you can add a delightful touch by pairing it with a dollop of whipped cream or a scoop of vanilla ice cream. You can also garnish each slice with a sprinkle of cocoa powder or chocolate shavings for an extra elegant presentation. Don’t forget to offer a warm cup of coffee or a glass of cold milk alongside this decadent treat for a perfect dessert experience.
Conclusion
Red velvet cake is a classic dessert that never fails to impress with its rich flavors and velvety texture. Whether you choose the traditional or modern approach to achieve the iconic red color, the key lies in proper ingredient preparation and mixing techniques. From batter preparation to final decoration, attention to detail is crucial for a perfect red velvet cake. Remember to store leftovers in the refrigerator and consider serving it with whipped cream, ice cream, or your favorite beverage for a delightful treat. With these tips in mind, you’re ready to create your own delicious red velvet masterpiece.