

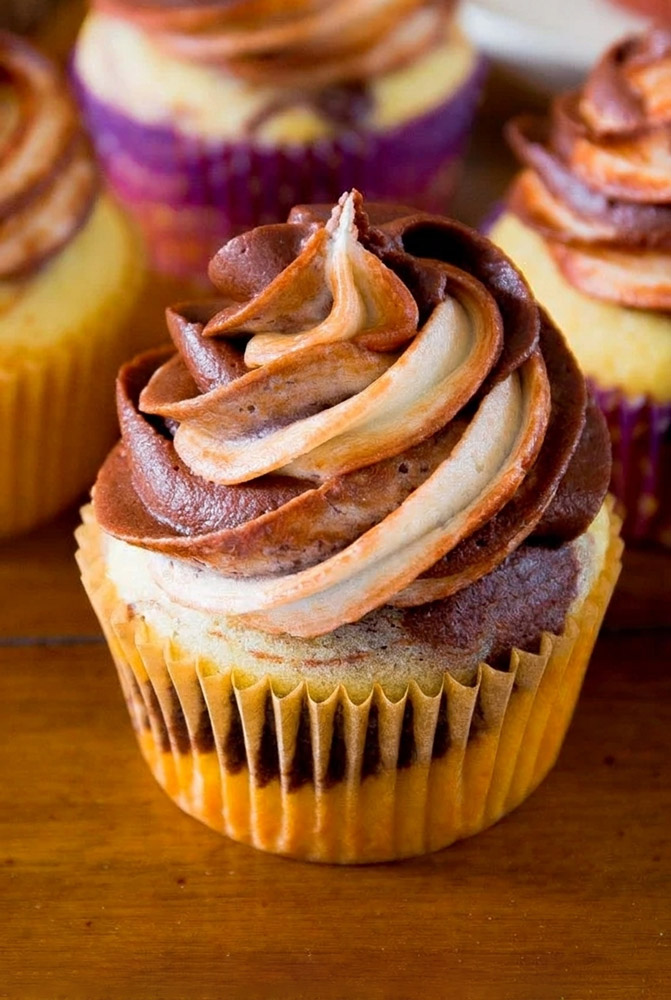
There is something inherently nostalgic about standing in front of a bakery glass case, unable to decide between rich chocolate fudge and classic Madagascar vanilla. Growing up, my local neighborhood bakery solved this childhood dilemma with a towering, two-tone swirl cupcake that felt like getting away with two desserts in one sitting.
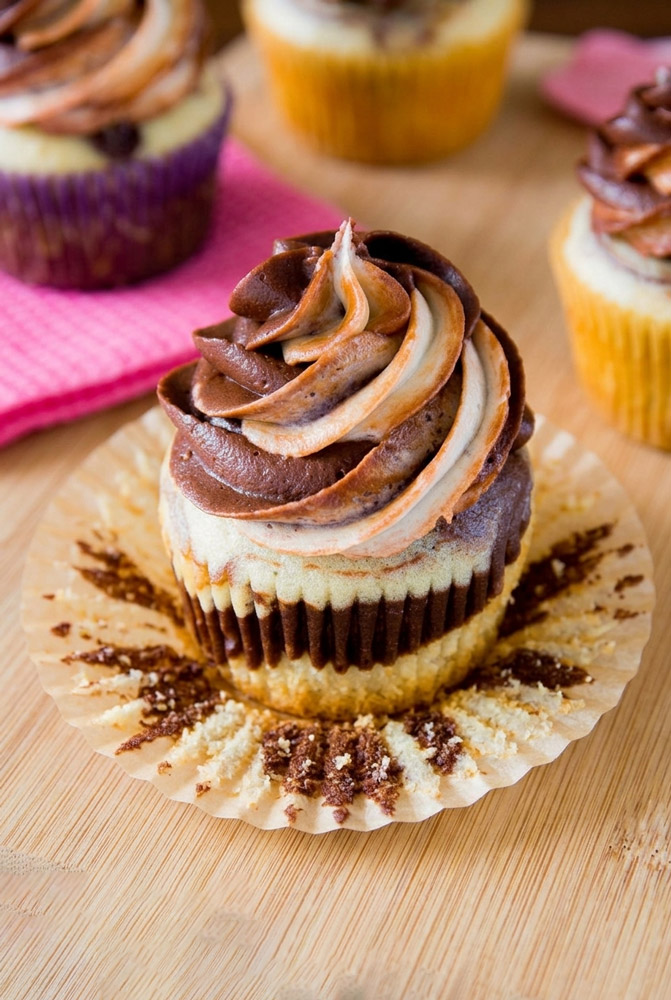
Recreating that distinct bakery crumb at home—soft, tight-crumbed, yet impossibly plush—took years of trial and error. The secret doesn’t lie in complex pastry wizardry; it comes down to a streamlined single-batter split technique balanced with cultured dairy. This recipe gives you distinct, ribboned layers of deep chocolate and fragrant vanilla cake topped with a dramatic duo-toned buttercream swirl that looks straight out of an upscale boutique display.
Kitchen Logistics & Planning
- Active Prep Time: 30 minutes
- Bake Time: 20 to 24 minutes at 350°F (177°C)
- Cooling & Decorating: ~2 hours (crucial for structural frosting stability)
- Yield: Exactly 14 standard cupcakes (can easily be halved or doubled using 1:1 scale)
- Difficulty: Beginner-friendly with intermediate presentation payoff
- Essential Gear: Standard 12-cup muffin tin (plus an extra 2-cup tin or ramekins), hand or stand mixer fitted with paddle attachment, 1M or 2D star piping tips, piping bags, toothpicks.
Make-Ahead & Meal Prep Strategy
- Bake ahead: The unfrosted cupcakes freeze exceptionally well for up to 3 months when wrapped tightly in plastic wrap.
- Frosting prep: Both the vanilla and chocolate buttercreams can be whipped 48 hours in advance and stored in the fridge. Bring to room temperature and re-whip on medium speed for 60 seconds before piping.
Ingredient Mastery & Role Breakdown
- All-Purpose Flour (209g / 1 2/3 cups): Provides structural scaffolding. Spoon and level your flour; scooping directly compresses up to 25% extra flour, turning tender cupcakes dense and dry.
- Baking Powder & Baking Soda: A calculated dual-leavening balance. The soda reacts immediately with the acidic yogurt, while the powder provides high-heat lift in the oven for dome tops.
- Melted Unsalted Butter (113g / 1/2 cup): Melted butter creates a rich, authentic bakery mouthfeel that vegetable oil simply cannot replicate.
- Plain Yogurt or Sour Cream (60g / 1/4 cup): The secret weapon. Cultured dairy breaks down gluten strands, producing an ultra-tender crumb while contributing moisture without thinning the batter.
- Whole Milk (Divided): Delivers hydration and fat. The reserved single tablespoon is critical: adding cocoa powder to batter absorbs liquid like a sponge, so that extra tablespoon keeps the chocolate swirl just as moist as the vanilla.
- Unsweetened Natural Cocoa Powder: Natural cocoa retains slight fruitiness and acidity, blending instantly with our leaveners and providing sharp visual contrast against the pale vanilla batter.
- Heavy Cream (Frosting): Transforms standard confectioners’ sugar into a silky, aerated cloud suitable for intricate piping.
Step-by-Step Baking Method
1. Foundation and Dry Blend Preheat your oven to 350°F (177°C) and line your pans. In a medium mixing bowl, whisk together the flour, baking powder, baking soda, and fine salt until completely homogenous. Setting this dry mix aside ensures your leaveners are evenly dispersed before they hit any moisture.
2. The Emulsion Base Melt your butter in a large microwave-safe bowl. Whisk in the granulated sugar vigorously; the texture will look coarse and gritty like wet sand. Pop the bowl into the refrigerator for precisely 60 seconds to cool it down slightly so it won’t cook the egg. Whisk in the room-temperature egg, yogurt, 3/4 cup of milk, and pure vanilla extract until the mixture turns pale, glossy, and emulsified.
3. Single-Batter Split Gently fold the dry ingredients into the wet mixture using a silicone spatula just until the flour streaks disappear. The batter will be thick and ribbons off the spatula. Scoop out 3/4 cup of this base batter and transfer it to a separate bowl. Stir the 2 tablespoons of cocoa powder and 1 tablespoon of milk into this smaller portion until smooth, rich, and dark brown.
4. The Layer & Swirl Technique Drop 1 level tablespoon of vanilla batter into the bottom of each liner. Layer a dollop of chocolate batter directly on top, followed by a final crown of vanilla batter, distributing all batter evenly across the 14 cups. Take a clean toothpick, insert it halfway into the batter, and draw a gentle “figure-8” or “S-curve” through the center.
Baker’s Caution: Do not over-swirl! Two brief loops are plenty. Over-mixing merges the batters into a solid milk chocolate shade rather than high-contrast marbling.
5. Precision Baking & Cooling Bake at 350°F (177°C) for 20 to 24 minutes. Look for lightly golden edges and tops that gently spring back when pressed lightly with a fingertip. A toothpick inserted into the center should emerge clean or with a few moist crumbs, but no wet batter. Cool in the pan for 5 minutes, then transfer to a wire rack to cool 100% to room temperature. Frosting warm cupcakes will instantly melt your buttercream into a puddle.
6. The Dual Buttercream Execution For both frostings, beat softened butter on medium speed for a full 2 minutes until pale and creamy.
- For Chocolate: Sift your confectioners’ sugar and cocoa powder together to eliminate bitter cocoa clumps, then alternate beating in dry mix and heavy cream until silky.
- For Vanilla: Slowly incorporate the sugar, heavy cream, and vanilla, finishing on high speed for 3 full minutes to whip air into the matrix.
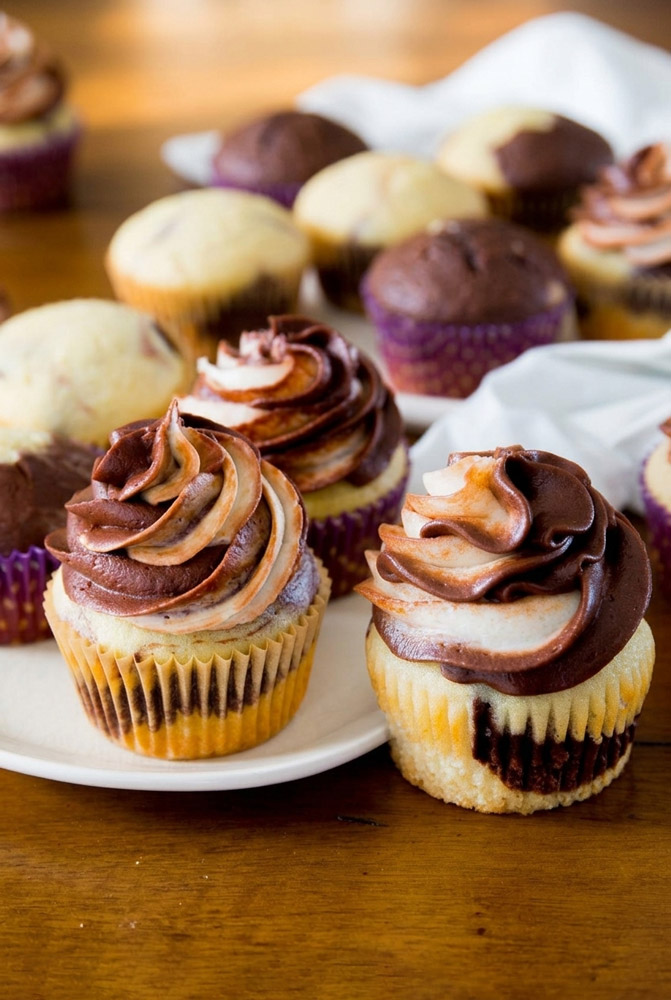
7. Assembly & Piping To achieve the signature two-tone bakery swirl, transfer the chocolate frosting into one small piping bag and the vanilla frosting into a second piping bag. Snip the tips off both bags, then slide them side-by-side into a single large piping bag fitted with an open star tip (like a Wilton 1M). Pipe starting from the outer perimeter spiraling inward with steady, even pressure.
Flavor Adaptations & Dietary Tweaks
- Mocha Marble: Replace the 1 tablespoon of milk added to the chocolate batter with strong brewed espresso.
- Dairy-Free Alternative: Swap the butter for a high-quality plant-based block butter (such as Miyoko’s), use almond milk, and use unflavored coconut yogurt.
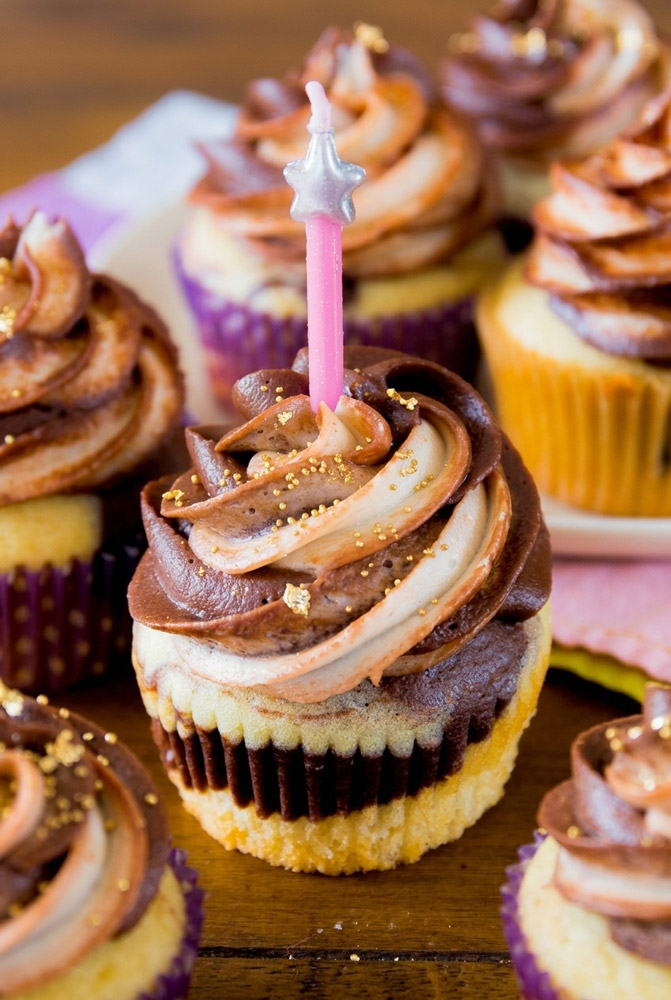
- Black & White Celebration: Add a dash of black cocoa powder to the chocolate batter for a dramatic Oreo-like visual contrast against the vanilla.
Serving, Storage & Freshness
- Countertop Storage: Store frosted cupcakes in an airtight, deep cupcake dome or carrier at room temperature for up to 2 days.
- Refrigeration: Kept in a sealed container, they will stay fresh for up to 5 days. Always pull refrigerated cupcakes 30 to 45 minutes before serving to allow the butter in the cake and frosting to return to room temperature for optimal melt-in-your-mouth texture.
- Pairings: Serve alongside a dark roast pour-over coffee or cold-brew oat latte to balance the sweetness of the dual buttercream.
Ultimate Marble Cupcakes
Tender, scratch-made vanilla and chocolate cake ribboned together in a single pan, topped with a dual-swirled chocolate and vanilla buttercream.
- Prep Time: 30 minutes
- Cook Time: 20 minutes
- Total Time: 2 hours 50 minutes (Cooling Time)
- Yield: 14 cupcakes 1x
- Category: Dessert
- Cuisine: American
Ingredients
Marble Cupcake Batter:
- 1 2/3 cups (209g) all-purpose flour, spooned and leveled
- 1/2 tsp baking powder
- 1/4 tsp baking soda
- 1/2 tsp fine salt
- 1/2 cup (113g) unsalted butter, melted
- 1 cup (200g) granulated sugar
- 1 large egg, room temperature
- 1/4 cup (60g) plain yogurt or sour cream
- 3/4 cup + 1 tbsp (195ml) whole milk, divided
- 2 tsp pure vanilla extract
- 2 tbsp (10g) unsweetened natural cocoa powder
Milk Chocolate Buttercream:
- 1/2 cup (113g) unsalted butter, softened
- 1 3/4 cups (210g) confectioners’ sugar
- 1/4 cup (21g) unsweetened cocoa powder, sifted
- 2 tbsp (30ml) heavy cream
- 1 tsp pure vanilla extract
- Pinch of salt
Vanilla Buttercream:
- 1/2 cup (113g) unsalted butter, softened
- 1 3/4 cups (210g) confectioners’ sugar
- 2 tbsp (30ml) heavy cream
- 1 tsp pure vanilla extract
- Pinch of salt
Instructions
- Prep: Heat oven to 350°F (177°C) and line a 12-cup muffin tin plus 2 extra wells with paper liners.
- Mix Dry: Whisk flour, baking powder, baking soda, and salt in a medium bowl; set aside.
- Mix Wet: Melt butter in a large bowl, whisk in sugar, and chill 1 minute. Whisk in egg, yogurt, 3/4 cup milk, and vanilla until smooth.
- Combine: Fold dry ingredients into wet until just combined.
- Split Batter: Transfer 3/4 cup batter to a separate bowl; stir in cocoa powder and remaining 1 tbsp milk.
- Layer & Swirl: Alternate vanilla, chocolate, and vanilla spoons into liners. Swirl lightly with a toothpick.
- Bake: Bake for 20–24 minutes until a toothpick comes out clean. Cool completely.
- Make Frostings: Beat butter for each frosting until creamy (2 mins). For chocolate, beat in sifted cocoa, sugar, cream, and vanilla. For vanilla, beat sugar, cream, and vanilla for 3 mins.
- Frost: Pipe both frostings together using a dual-bag technique or frost individually.
Notes
- Room Temperature Ingredients: Ensure egg and milk are at room temperature to avoid curdling the melted butter base.
- Storage: Keep in an airtight container at room temperature for up to 2 days, or refrigerated up to 5 days.
