

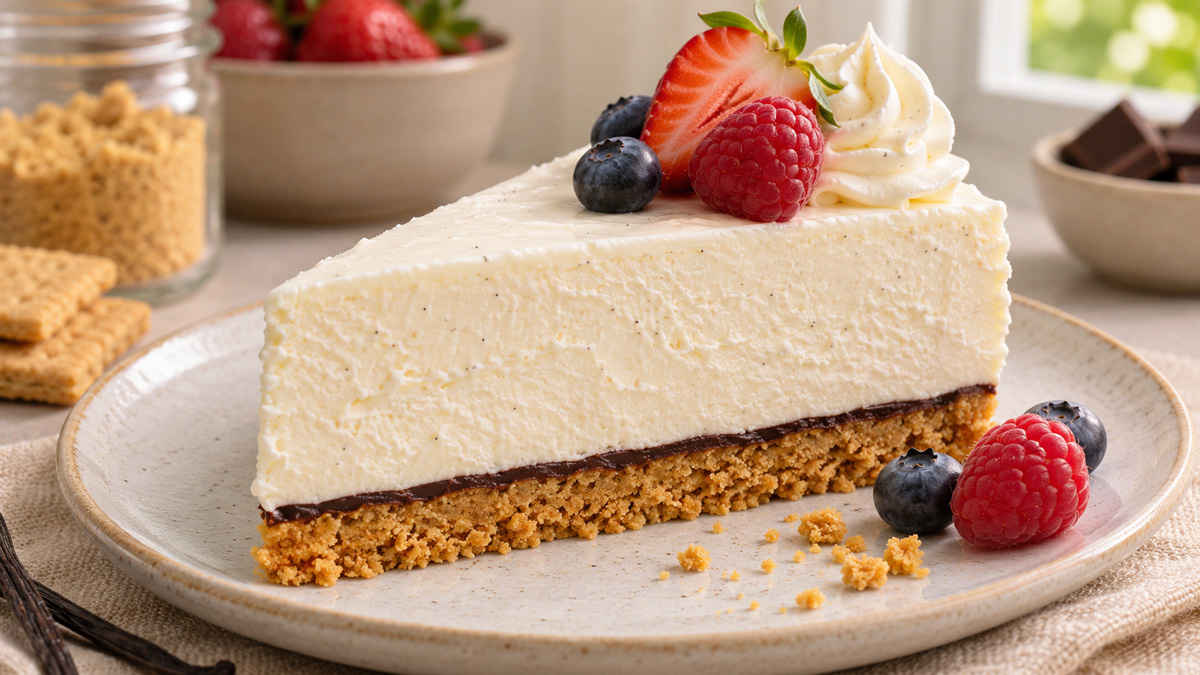
A firm, tidy no-bake cheesecake crust starts with evenly coated crumbs, enough pressure to hold them together, and time in the refrigerator before the filling goes in. Moisture slowly moves from the filling and toppings into the crumb base. You can slow that process by building a compact crust, keeping loose fruit juice away from the base, and adding a thin chocolate layer when you want extra crunch.
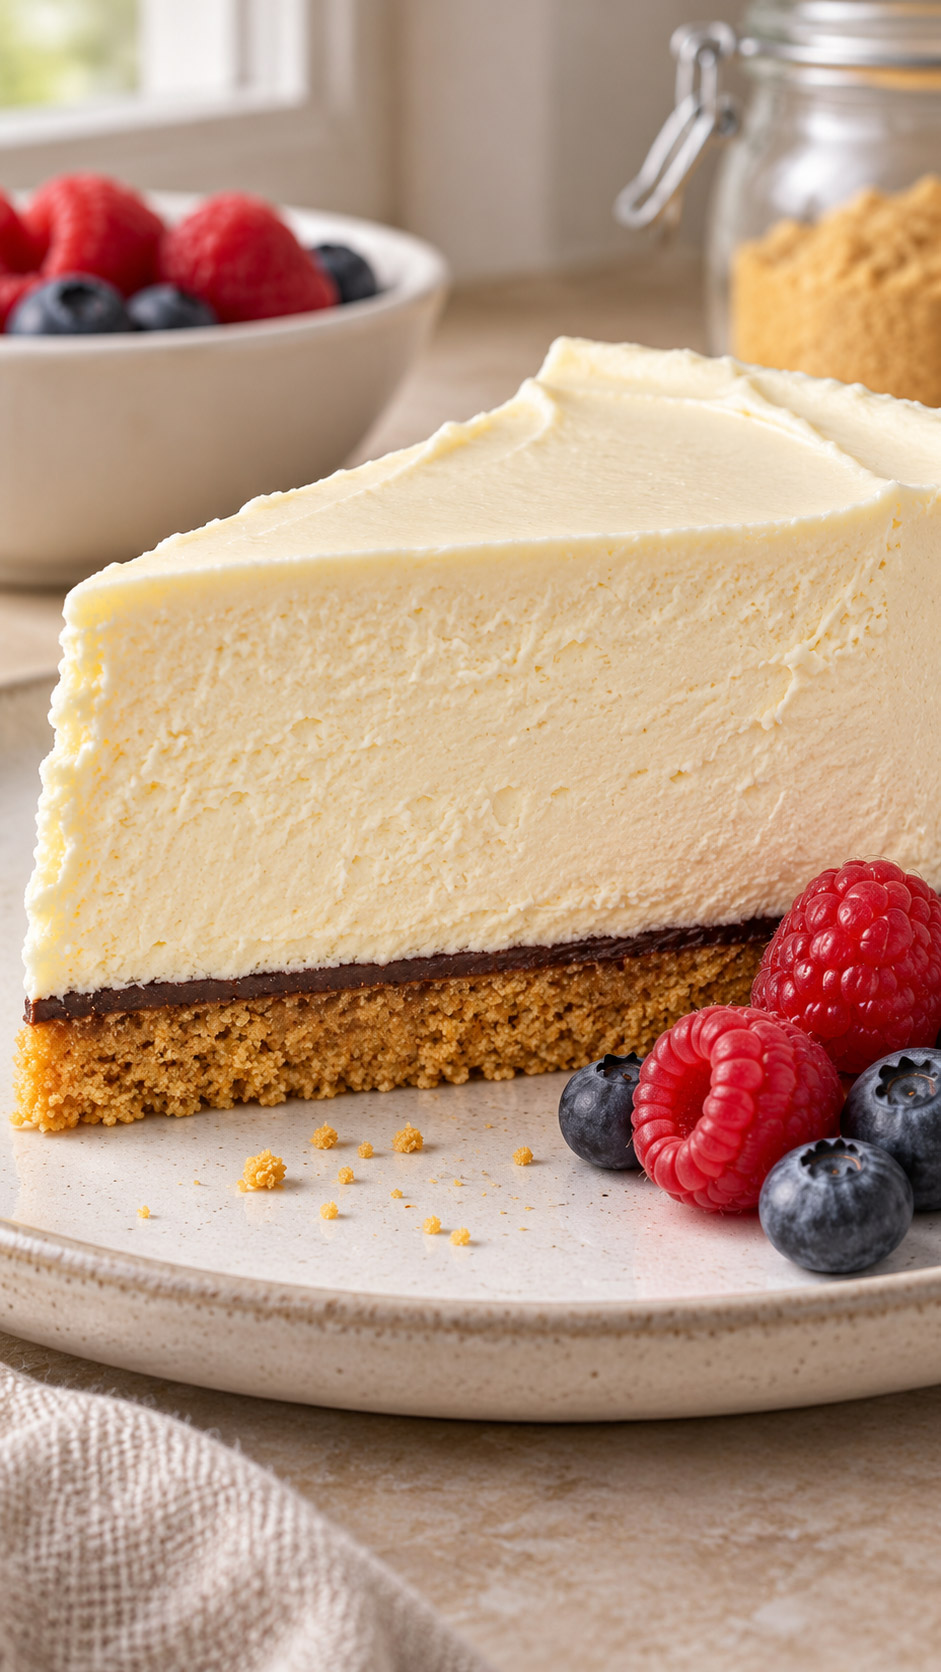
A chilled crumb base usually has a little give. Judge the crust by how it cuts and lifts. A slice should leave the pan with an even bottom that holds its shape on the server. That is a more useful benchmark than whether the crust snaps like a plain cracker.
Start with the right crumb and butter balance
Follow the measurements for the type of crumb specified in your recipe. A graham cracker base and a chocolate sandwich cookie base absorb butter differently. Sandwich cookies ground with their filling already contain extra fat and sugar, so a direct swap can leave the crust greasy. If you change brands or cookie types, set aside a little melted butter and add it gradually.
Crush the crackers to fine, even crumbs. Large shards leave gaps and can come loose when you cut a slice. Add the melted butter and stir until the mixture looks like damp sand. Squeeze a spoonful in your hand. It should hold briefly when pressed and break apart when nudged. If it falls apart immediately, work in a little more of the reserved butter. If it looks slick, mix in extra crumbs a spoonful at a time.
As a starting point for a straight graham cracker base, try about 170 g fine crumbs with 75 g melted unsalted butter, then judge the mixture by feel. The exact amount depends on the crumb and on whether the recipe uses added sugar. When making a cheesecake from an existing recipe, start with its formula and use the squeeze test to assess it before packing the pan.
Pack the crust and chill it before filling
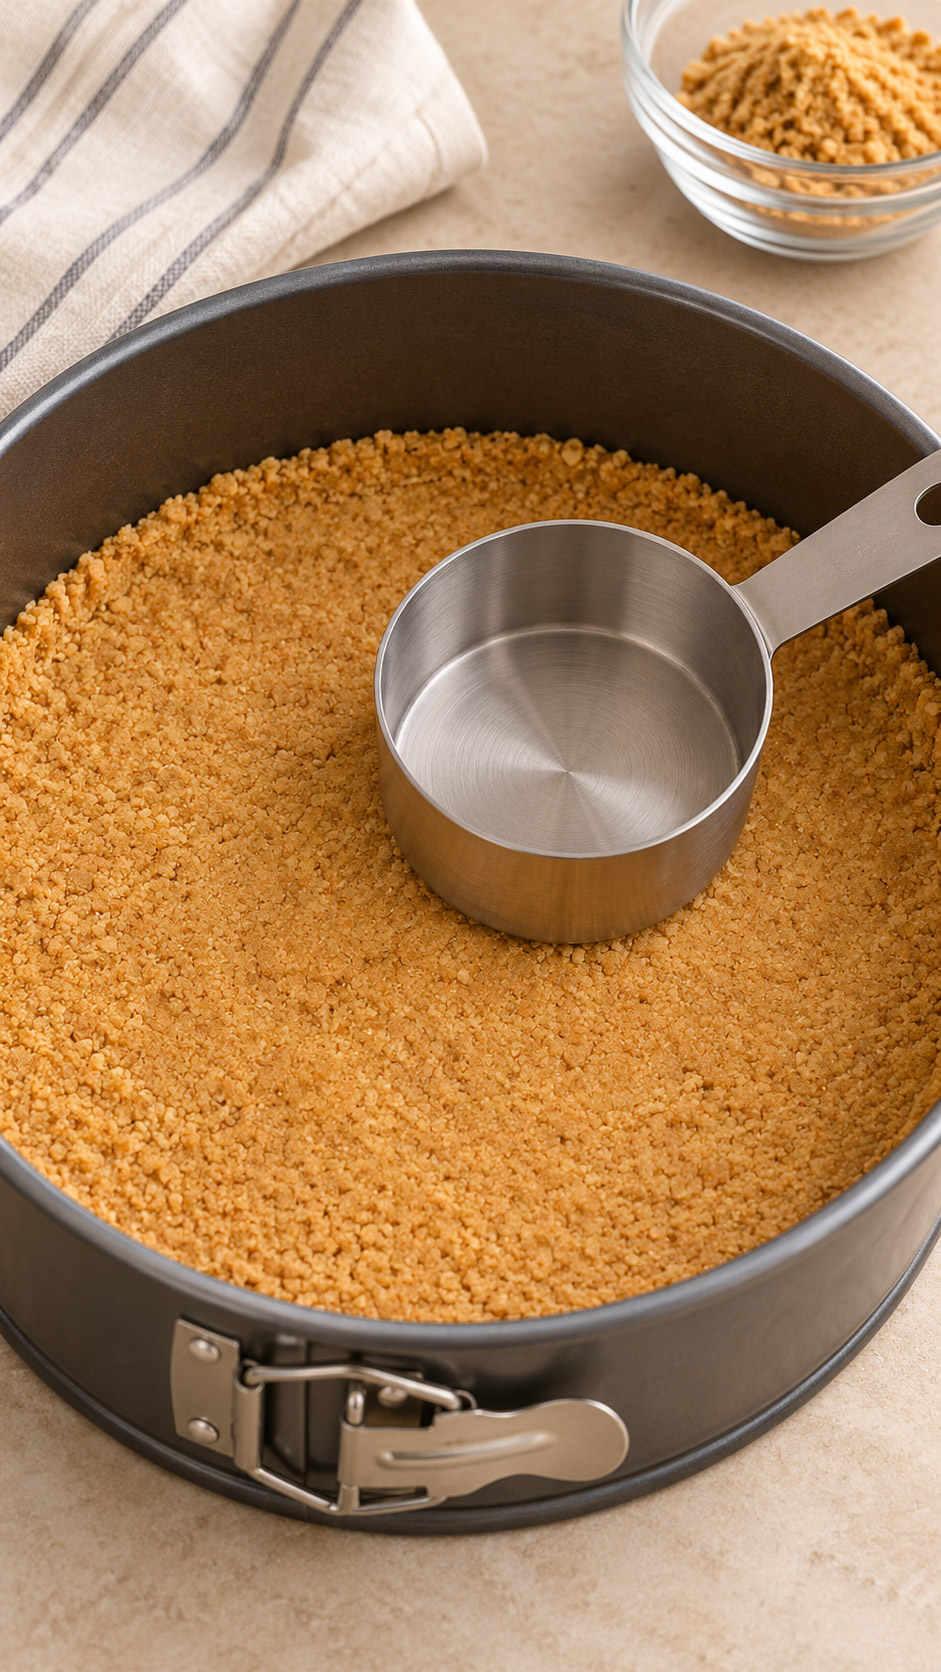
Spread the crumb mixture across the pan before pressing. Concentrate on an even layer, especially where the base meets the sides. Use the flat bottom of a measuring cup to press the center, then work outward in overlapping passes. Gentle, firm pressure is enough. A crust pressed until it feels like a solid slab can be harder to slice after chilling.
Refrigerate the pressed base until it feels firm, about 30 minutes as a starting point. Use that time to prepare the filling and clean up the workstation. Spoon thick filling into a few spots across the base, then smooth it with the back of a spoon or an offset spatula. Spreading one heavy pile from the middle can pull loose crumbs into the filling. Follow your recipe for the full chill after assembly.
For a pan with a removable base, you can line the bottom with a parchment circle before adding the crumb mixture. That helps the whole chilled cake slide onto a plate while keeping the crumb layer intact. Fold or crimp the paper well clear of the cutting surface so it does not snag on the first slice.
Add a thin chocolate barrier for extra crunch
A thin coating of chocolate can slow moisture movement from the filling into the crust. Choose white chocolate for citrus or berry fillings and semisweet chocolate for chocolate or coffee flavors. Let the chilled crust firm first. Melt a small amount of chocolate, let it cool slightly while still spreadable, then brush or spread a thin layer across the crumb base. Cover the surface where the filling will touch it.
Chill until the coating is set before adding the filling. Keep the layer thin enough to slice easily. A thick chocolate disk can crack when you press the knife through it and can shove the filling sideways. For cleaner portions, use a sharp knife warmed under hot water, wipe it dry, and press evenly through the base. Wipe and dry the blade between cuts.
Keep fruit toppings from soaking the crust
Let a cooked fruit topping cool completely before spreading it over a chilled cheesecake. If the fruit is especially juicy, spoon the solids onto the slices just before serving and offer the remaining sauce in a small jug. For a fresh fruit garnish, gently dry the berries and add them after the filling has set. Avoid pouring syrup around the edge of the whole cake, where it can run straight down to the base.
If the recipe already swirls fruit into the filling, follow its measured quantity. Adding an extra layer of puree on top gives the moisture another route to the crumb layer. Serve additional sauce at the table when you want a stronger fruit flavor. No-Bake Blackberry Cheesecake and No-Bake Cherry Ripe Cheesecake offer two different ways to add fruit flavor to a chilled cheesecake.
Diagnose the base before adjusting the filling
| What you see | What to change next time |
|---|---|
| The edge collapses as you lift a slice | Crush the crumbs more evenly, check the butter balance, and firm the crust before filling. |
| The crust looks shiny or feels oily | Weigh the butter and use the specified type of crumb. |
| The crust starts firm and softens overnight | Add fruit topping at serving time or try a thin chocolate coating. |
| The bottom holds together but the filling slumps | Check the filling formula and chill time separately. |
A crust that has already absorbed moisture is difficult to crisp once the cheesecake is assembled. Keep the cake chilled and serve individual slices with a sprinkle of fresh crushed crackers or cookies for texture. If you have time to make the dessert again, change one thing at a time. Start with the crumb ratio if the crust was soft immediately, or change when you add the fruit if the issue appeared after chilling.
For a cake with a sturdy base and a filling that still will not hold its shape, use the separate guide on why a no-bake cheesecake did not set. The crust and filling firm in different ways, so the surface you see failing tells you which part of the recipe to adjust.
