

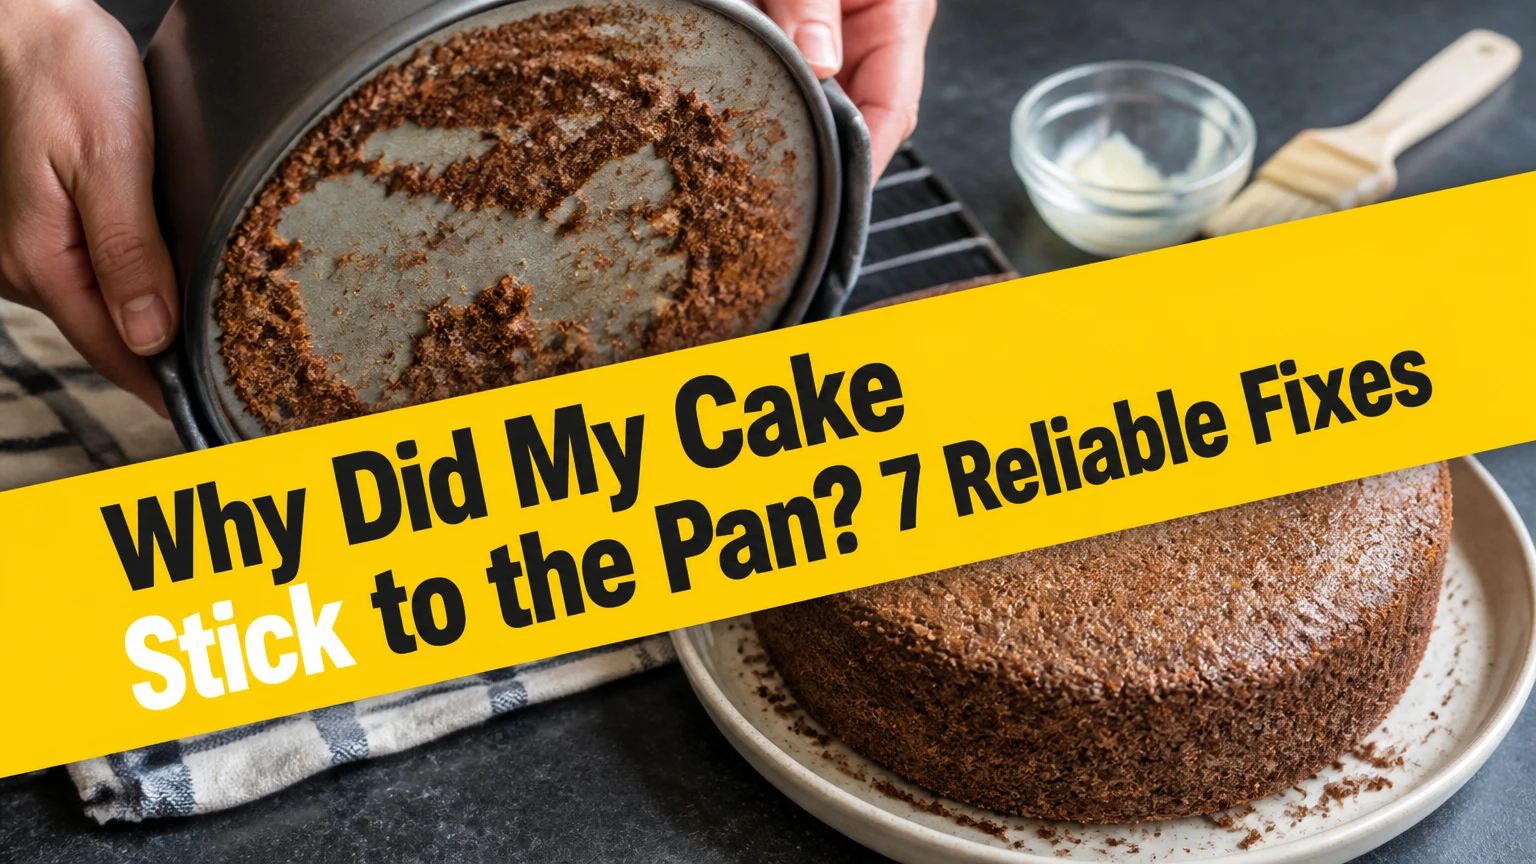
Cake sticks to a pan when the cake’s crust adheres more strongly to the pan than the baked crumb can resist. The usual causes are inadequate pan preparation, an underbaked or fragile cake, sugary batter contacting the metal, damaged nonstick coating, or removing the cake at the wrong time.
Key Facts at a Glance
- A cake pan needs a release barrier unless the recipe specifically requires an ungreased surface.
- Parchment on the bottom prevents most round layer cakes from sticking, but it does not protect unlined sidewalls.
- Cake generally releases best after 10-15 minutes of cooling, although angel food and chiffon cakes follow different rules.
- Butter alone is less reliable than shortening or baking spray because butter contains water and can leave exposed patches.
- Bundt pans require complete coverage in every groove, followed by a thin dusting of flour or cocoa.
- A cake that sticks throughout its center is often underbaked, while a cake that sticks only at the edges usually has a preparation problem.
Why Does Cake Stick to a Pan?
Cake sticks because heat dries and sets batter against the pan while surface fats fail to maintain a continuous separation layer. Proteins, starches, and sugars create a browned crust that can grip scratches, texture, and small surface irregularities; the cake then tears if its internal crumb is weaker than that grip.
The process is mainly mechanical adhesion plus food-surface bonding, not a permanent chemical weld. Raw batter flows into microscopic texture that is invisible during ordinary inspection. As the cake heats, egg proteins coagulate, flour starch gelatinizes, water turns to steam, and dissolved sugar becomes concentrated at the edges. Browning reactions can make the contact layer firm and brittle.
A dry interface creates the largest risk. Fat, parchment, or a well-maintained nonstick coating interrupts direct contact, while flour or cocoa adds a dry particulate layer that reduces exposed batter. The barrier must cover the entire area that touches batter, including corners, side seams, tube ridges, and decorative cavities.
Cake release depends on two competing strengths. Adhesive strength is the grip between crust and pan. Cohesive strength is the cake’s ability to hold itself together. If adhesive strength wins, the crust stays behind and the cake comes out with a torn side or missing bottom.
What does the residue reveal?
The location and appearance of stuck residue often identify the failure. A thin ring around the sides points toward incomplete greasing or a cake removed too late, while a wet, dense patch on the bottom more often indicates underbaking or excess moisture.
| Sticking pattern | Most likely cause | Confirming sign | Best correction |
|---|---|---|---|
| Entire bottom attached | Missing parchment or thin release layer | Clean, intact top but torn base | Line the base and grease the paper |
| Upper sidewall attached | Grease slid downward or evaporated | Bare, dry strip near rim | Apply solid shortening above batter level |
| Wet center stuck | Underbaking or overfilled pan | Skewer has wet batter | Bake until center reaches about 200-210°F |
| Bundt details attached | Dry crevices or thick flour paste | Cake remains in grooves | Brush shortening into cavities, then dust lightly |
| Large crumb patches attached | Fragile crumb or early unmolding | Cake bends or cracks | Cool longer and verify doneness |
| Dark sugary shell attached | High sugar, syrup, or fruit | Hard amber residue | Line where possible and release warm |
Is the Cake Pan Preparation the Problem?
Pan preparation is the most common controllable cause of sticking. A reliable coating uses the correct fat, reaches every contact surface, and matches the cake formula; no preparation method works equally well for a delicate sponge, a plain layer cake, and a detailed Bundt.
For a standard 8- or 9-inch round cake, grease the base and sides, place a fitted parchment round on the base, then grease the parchment. Dust the sides with flour for vanilla cake or unsweetened cocoa for chocolate cake. Shake out excess powder, because thick flour clumps can hydrate into paste.
Solid shortening is useful on vertical surfaces because it stays where a brush places it. Baking spray can work well when applied evenly, but a quick burst often leaves dry spots. For a dependable homemade release paste, mix equal volumes of vegetable shortening, neutral cooking oil, and flour until smooth, then brush on a thin film.
| Preparation method | Typical quantity for 9-inch round | Best use | Main limitation |
|---|---|---|---|
| Parchment plus shortening | 1 fitted round, 1 teaspoon fat | Layer cake, brownies, loaf cake base | Does not protect unlined sides |
| Shortening plus flour | 1-2 teaspoons shortening, 1 tablespoon flour | Vanilla cakes and pound cakes | Leaves a pale flour film |
| Shortening plus cocoa | 1-2 teaspoons shortening, 1 tablespoon cocoa | Chocolate cakes and Bundts | Cocoa can darken light batter |
| Baking spray with flour | 1-2 seconds of spray, 1 tablespoon flour | Quick standard cakes | Aerosol coverage can be uneven |
| Pan-release paste | 1-2 teaspoons brushed thinly | Production baking and intricate pans | Requires storage and fresh ingredients |
| Butter alone | 1-2 teaspoons softened butter | Low-risk, low-sugar cakes | Water content can create weak spots |
Is butter or oil better for preventing sticking?
Shortening is usually more dependable than butter alone, and a thin layer of neutral oil can work when it is spread evenly. Butter contains approximately 15-18% water, so the water evaporates during baking and can leave milk solids and flour in direct contact with the pan. Butter still works when combined with parchment or flour.
Liquid oil does not automatically fail. Oil becomes unreliable when it is poured into a pan and allowed to run away from sidewalls before the batter arrives. Brush a very thin, continuous film instead of pooling oil, and use parchment for the base when release matters.
Should you flour every greased pan?
Flour is useful for many butter cakes but unnecessary on parchment-lined bases and sometimes undesirable on dark or highly detailed cakes. Flour forms a sacrificial layer between the fat and batter, although excess flour absorbs moisture and can create a gummy, pale coating.
Use cocoa powder for chocolate cakes when a white flour residue would show. Use finely ground nuts only when the recipe permits their flavor and allergy implications. Do not use flour on angel food or chiffon pans, because those cakes need to grip the sides while rising.
When Should You Remove a Cake From the Pan?
Most butter cakes should be removed after 10-15 minutes on a rack, once the structure has firmed but the cake remains warm. Waiting several hours can allow condensation and dissolved sugar to make the contact layer tackier, while turning out a cake immediately risks collapse and tearing.
Cooling instructions depend on the cake’s structure. A dense pound cake may tolerate 15-20 minutes; a fragile layer cake may need the full 15 minutes before inversion. Angel food cake must cool upside down in its pan, and chiffon cake commonly cools inverted according to its recipe and pan design.
The often-repeated claim that the pan’s contraction alone releases cake is incomplete. Metal contracts as it cools, but the cake also contracts, and the amount depends on material, temperature, moisture, and formula. Release timing works because the crumb firms and the interface loses heat, not because a fixed five-minute mechanical event occurs in every pan.
| Cake type | Typical cooling time before release | Correct release method | Risk if released incorrectly |
|---|---|---|---|
| Butter layer cake | 10-15 minutes | Loosen edge, invert onto rack | Cracked or compressed crumb |
| Pound cake | 15-20 minutes | Loosen edge, invert carefully | Sugary crust remains attached |
| Brownie-style cake | 20-30 minutes | Cool in pan if slicing there | Bottom tears while warm |
| Bundt cake | 10-15 minutes | Tap, invert, lift pan vertically | Detail remains in grooves |
| Angel food cake | 1-2 hours upside down | Run knife around cooled cake | Cake collapses if removed hot |
| Chiffon cake | 1-2 hours inverted | Follow tube-pan instructions | Center sinks or side tears |
How do you know a cake is ready to turn out?
A cake is usually ready when the top springs back lightly, the center no longer wobbles, and a thin knife has loosened the perimeter without meeting wet batter. The pan should feel warm rather than scorching, and the cake should not slide visibly when the pan is tilted.
Doneness matters as much as release technique. A typical butter cake is often finished around 200-210°F in the center, although recipes vary by sugar, fat, pan depth, and altitude. A toothpick should show moist crumbs rather than liquid batter. King Arthur Baking’s testing guidance also emphasizes that visual cues and a cake tester work together, rather than relying on time alone.
Which Pan Material Releases Cake Most Reliably?
For ordinary cakes, a parchment-lined metal pan provides the most predictable release and the best crust control. PTFE nonstick pans reduce risk when undamaged, silicone releases easily but browns less strongly, and ungreased anodized or aluminum tube pans are intentional exceptions for foam cakes.
| Pan material | Heat behavior | Release expectation | Typical price | Suitable cakes |
|---|---|---|---|---|
| Heavy aluminum | Fast, even conduction | Reliable with grease and parchment | $10-$25 | Layers, pound cakes, sheet cakes |
| Bare steel | Slower, strong browning | Requires complete preparation | $8-$20 | Brownies, firm butter cakes |
| PTFE nonstick | Moderate, even heating | Good when coating is intact | $12-$35 | Standard layer and loaf cakes |
| Ceramic-coated metal | Moderate heat response | Variable after wear | $20-$45 | Low-detail cakes with light preparation |
| Food-grade silicone | Slow edge heating | Very easy flex release | $12-$30 | Small cakes and molded shapes |
| Anodized tube pan | Even, durable conduction | Designed to grip foam batter | $15-$40 | Angel food and some chiffon cakes |
Are silicone pans better than metal pans?
Silicone pans are easier to peel away from a baked cake, but silicone is not better for every result. Flexible walls can distort tall cakes, and low thermal conductivity often produces a paler, softer edge than aluminum. Place silicone on a rigid baking sheet before filling, and support it during transport.
Metal remains preferable when the recipe depends on browned edges, straight sides, or rapid heat transfer. Silicone is useful for small molded cakes, sticky shapes, and cooks who prioritize easy removal over crust color. A silicone pan can still need light greasing, especially when its surface is scratched, stained, or used with low-fat batter.
When is an ungreased pan correct?
An ungreased pan is correct for angel food cake and many chiffon cakes because the foam batter must climb the sidewalls. Greasing the sides can make the batter slide down, reducing height and weakening the finished structure.
A tube pan with a removable base helps release these cakes after they cool upside down. Run a thin knife around the outer wall and tube only after the cake has cooled fully. This instruction does not apply to ordinary butter cakes, which usually need a release barrier.
Can Underbaking Cause a Cake to Stick?
Underbaking can cause sticking because the crumb has not developed enough structure to withstand the force required for removal. An underbaked cake often leaves a wet, dense layer on the pan, collapses in the center, or breaks even after the perimeter has been loosened.
Underbaking is more likely when a dark pan, glass dish, oversized recipe, excessive batter depth, or inaccurate oven temperature changes heat transfer. The oven display can be off by 10°F or more, so an inexpensive oven thermometer helps identify inconsistent results. Do not solve every sticking problem by adding bake time, because an overbaked edge can become equally adhesive.
| Structural symptom | Likely baking issue | Test to use | Corrective action |
|---|---|---|---|
| Wet center and clean sides | Underbaking | Center temperature, skewer | Bake 5-minute increments |
| Dry edge, raw center | Pan too small or overfilled | Batter depth | Use pan two-thirds full |
| Cake collapses after turning out | Early release or underbaking | Spring-back test | Cool and bake to full doneness |
| Crumb crumbles into pieces | Overbaking or low structure | Slice after cooling | Use recipe temperature and rest |
| Dark bottom with wet top | Dark pan or low rack | Oven thermometer | Reduce temperature 15-25°F |
| Side tears but center holds | Incomplete greasing | Inspect dry wall patches | Recoat sidewall evenly |
Why Do Bundt Cakes Stick in the Details?
Bundt cakes stick because ridges and cavities create more contact area, sharper corners, and places where dry flour or missed grease can trap crust. The best prevention is a thin coating of solid shortening brushed into every detail, followed by a light dusting suited to the batter.
Aerosol spray can miss narrow grooves, especially when the pan is cold or the spray is held too far away. Use a small pastry brush to work shortening into the central tube, upper ridges, and deep recesses. Avoid thick layers, which pool in the design and leave a greasy crust.
For a vanilla Bundt, flour is conventional. For a chocolate Bundt, cocoa prevents white patches. Finely ground nuts may provide release and flavor, but they can burn in exposed grooves and are unsuitable for allergy-sensitive kitchens.
Can high-sugar cakes stick more than ordinary cakes?
High-sugar cakes, syrup cakes, fruit cakes, and cakes containing jam can stick more because concentrated sugar becomes viscous at the contact surface and hardens as it cools. The risk rises when syrup reaches an unprotected sidewall or fruit rests directly against the pan.
Parchment is especially valuable for loaf and sheet cakes with sticky inclusions. Reduce exposed fruit at the edge, keep the pan below two-thirds full, and release the cake while warm according to the recipe. Do not scrape aggressively while the sugar shell is rigid; gentle heat softens it more safely.
How Can You Rescue a Stuck Cake?
Rescue a stuck cake by loosening the perimeter, warming the pan briefly, and inverting it with controlled support. Start with the least destructive method, because forceful tapping or repeated knife cuts can turn a partially attached cake into several pieces.
- Rest the cake for 10-15 minutes. Set the pan on a cooling rack. If the cake is still hot and visibly fragile, wait another 5 minutes.
- Loosen the sides. Slide a thin metal or silicone spatula against the pan, keeping the blade pressed toward the pan rather than cutting into the cake.
- Warm the base. Place the pan on a warm, damp towel for 1-2 minutes. For a metal pan, brief low heat can soften sugary residue; avoid direct flame and avoid heating nonstick coatings.
- Invert onto a rack. Put the rack over the pan, turn both together, and tap the pan base lightly with your hand.
- Lift vertically. Raise the pan without twisting. If one area remains attached, return the pan and repeat the warm-towel step.
- Patch the cake. Use frosting to attach small fragments, or convert a badly damaged cake into layered dessert portions.
Steam can soften sugar, but boiling water should not be poured onto a hot glass or ceramic pan because thermal shock can fracture it. Ice baths can also crack glass and rarely provide a better first step than gentle warming. The safest rescue depends on the pan material.
| Pan situation | First rescue method | Time | Avoid |
|---|---|---|---|
| Aluminum or steel, warm cake | Perimeter release and inversion | 2-5 minutes | Deep sawing with a knife |
| Metal, cooled sugary residue | Warm damp towel under base | 2-4 minutes | Direct burner heat |
| Glass or ceramic | Room-temperature rest and gentle spatula | 5-10 minutes | Ice water or sudden temperature change |
| Nonstick coating intact | Silicone spatula and light warming | 2-4 minutes | Metal blade and abrasive tools |
| Silicone mold | Peel wall away gradually | 1-3 minutes | Pulling the cake upward |
| Angel food tube pan | Cool fully, then knife release | 1-2 hours cooling | Greasing or hot removal |
What if the cake breaks during removal?
A broken cake remains usable if the pieces are fully baked and clean. Reassemble large sections with frosting, chill the cake for 20-30 minutes, and cover the seam with icing; smaller fragments can become a trifle, crumb topping, or layered dessert.
Do not serve portions containing raw batter from an underbaked center. Return the cake to the pan or a baking dish and bake until the center reaches the recipe’s doneness target. A patched cake will not regain its original crumb strength, so visual repair is more realistic than structural repair.
How Can You Prevent the Next Cake From Sticking?
Prevent sticking by matching the release method to the cake, preparing the entire contact surface, checking doneness, and unmolding within the recipe’s cooling window. The most reliable routine for a standard layer cake is parchment on the base plus a thin, even coating on the sidewalls.
Use this prevention sequence:
- Inspect the pan for scratches, dents, baked-on residue, or worn coating.
- Wash and dry it completely; water under fat creates uncoated spots.
- Grease the sides from the base to slightly above the batter line.
- Fit parchment to the base, then grease the parchment.
- Dust with flour or cocoa only when the recipe benefits from it.
- Fill the pan no more than two-thirds full unless the recipe specifies otherwise.
- Bake until the center springs back and shows no liquid batter.
- Cool on a rack for the recipe’s stated period, commonly 10-15 minutes.
- Loosen the perimeter, invert once, and remove the parchment while warm.
Professional bakers often use pan-release paste for repeated production because it spreads consistently and costs little per pan. Home bakers usually gain more reliability from parchment than from buying a premium coating, particularly when baking sticky or high-sugar formulas.
When is the pan itself the problem?
A pan is the problem when release fails despite complete preparation and proper doneness, especially if the same location sticks repeatedly. Scratches, chips, warped bases, rough welds, and worn nonstick coatings create permanent high-adhesion zones.
Replace a PTFE-coated pan when the coating is peeling, flaking, or deeply scratched. A cosmetic stain alone does not prove release failure, but a rough surface that catches a cloth or spatula will catch crust more readily. Uncoated aluminum and steel can last for decades when cleaned without abrasive damage.
| Pan condition | Release effect | Keep or replace | Practical response |
|---|---|---|---|
| Light discoloration | Usually no measurable effect | Keep | Clean gently and test |
| Fine surface scratches | Localized sticking risk | Keep for low-risk baking | Use parchment |
| Deep grooves or dents | Uneven contact and batter traps | Replace if persistent | Retire from delicate cakes |
| Peeling nonstick coating | Unreliable release and coating debris risk | Replace | Do not scrape coating |
| Warped base | Uneven batter depth | Replace for layer cakes | Use a flat heavy pan |
| Baked-on sugar film | Strong recurring adhesion | Keep after deep cleaning | Remove residue without abrasion |
The Bottom Line
The answer to “Why did my cake stick to the pan” is usually incomplete preparation, insufficient baking, or poor release timing rather than one mysterious ingredient. Use parchment for standard cake bases, solid shortening or evenly applied spray on sidewalls, a full doneness check, and release after about 10-15 minutes unless the recipe specifies an inverted or in-pan cooling method.
For Bundt cakes, brush every cavity and keep the coating thin. For angel food and chiffon cakes, skip grease on the climbing surfaces. If the cake is already stuck, loosen the edge, warm the pan gently, invert it once, and avoid sudden temperature changes that can damage glass or ceramic bakeware.
Frequently Asked Questions
Does parchment paper stop cake from sticking completely?
Parchment prevents sticking on the surface it covers, usually the bottom of a round or loaf pan. Grease the parchment so the cake does not adhere to the paper, and grease the sidewalls separately because parchment rarely protects them. Parchment cannot correct underbaking, overfilling, or a fragile crumb.
Why did my cake stick even though I used nonstick spray?
Nonstick spray can fail when the application misses sidewalls, the pan has a worn coating, or sugary batter dries against exposed metal. Spray the pan from several angles, use the amount specified by the manufacturer, and add parchment for high-value cakes. Do not rely on a damaged coating.
Can I put a stuck cake back in the oven?
You can return a stuck cake to a warm oven only when the cake is underbaked and remains substantially intact. Bake it in the pan until the center sets, then cool it according to the recipe. Reheating a fully baked cake usually dries the edges and does not restore a torn crust.
Why does cake stick to the bottom but not the sides?
Bottom sticking usually results from missing parchment, insufficient fat under the base, or a wet underbaked layer. Sidewalls may release because gravity leaves them better coated or because the cake contracts away from them. Line the bottom, grease the paper, and verify center doneness before changing the recipe.
Should I grease a Bundt pan with butter?
Butter can work in a Bundt pan when brushed into every groove, but shortening is generally more reliable because it remains thicker on vertical and detailed surfaces. Apply a thin layer, dust with flour or cocoa, and remove excess powder. Heavy butter pools can produce paste-like residue in deep cavities.
How do I clean a pan after cake sticks?
Soak a cooled metal pan in warm water with mild dish soap for 15-30 minutes, then lift softened residue with a nylon scraper or soft sponge. Avoid abrasive pads on nonstick and ceramic surfaces. For baked sugar, repeat the soak rather than using a sharp tool that creates scratches.
