

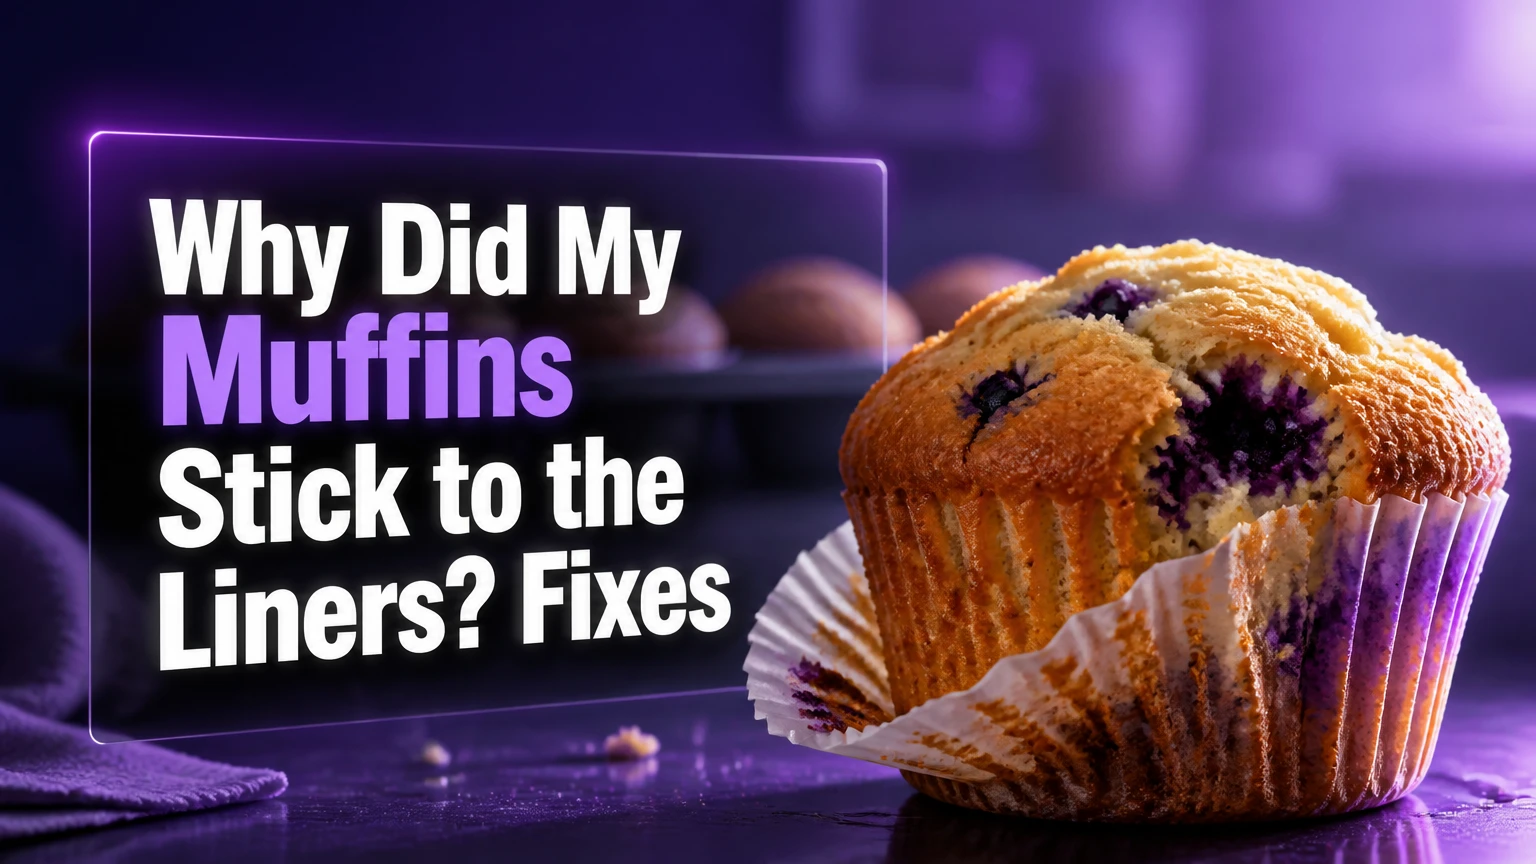
Muffins stick to liners when wet batter starches gel against porous paper, while sugar, proteins, and fruit moisture strengthen the bond as the muffin bakes. Low-fat recipes, excess liquid, underbaking, poor-quality liners, and peeling too soon make the adhesion worse, while suitable liners and complete cooling improve release.
Key Facts at a Glance
- Standard paper liners can absorb starch gel from low-fat or very wet muffin batter.
- A muffin usually needs 5 minutes in the pan, followed by 15-20 minutes on a wire rack.
- High sugar and fruit puree increase sticking because they create a moist, concentrated surface layer.
- Silicone-coated parchment liners release more reliably than porous paper for low-fat batters.
- Greasing the muffin tin does not automatically grease the inside of a paper liner.
- Bottom-only sticking usually indicates moisture, underbaking, or liner contact with a hot pan.
What Causes Muffin Liners to Stick?
Muffin liners stick because gelatinized starch and set proteins bond with the liner’s cellulose fibers during baking. Flour starch absorbs water, swells, and forms a gel; that gel can enter the tiny pores in ordinary paper, then firm as the muffin cools. Sugar and fruit solids intensify the bond at the surface.
Paper liners are porous by design. The paper absorbs some grease and moisture, which helps traditional, moderately rich batters release cleanly, but the same absorbency works against recipes containing little fat or substantial liquid. The liner can become part of the baked surface rather than a removable barrier.
The bond is usually strongest at the bottom and along damp sides. A muffin that releases cleanly around the rim but leaves its base behind has a different problem from a muffin whose entire liner clings to the crumb.
Which ingredients increase sticking?
Recipe composition determines how much moisture and adhesive material reaches the liner. Fat coats flour particles and lubricates the crumb-paper boundary, whereas water hydrates starch and allows the starch gel to contact cellulose.
Sugar also attracts and retains water. It may dissolve into the batter, concentrate near the surface as moisture leaves, and create a tacky edge that cools into a firm layer. Eggs and dairy proteins set during baking and can reinforce adhesion where the batter touches exposed paper.
| Recipe condition | Typical indicator | Why sticking rises | Practical adjustment |
|---|---|---|---|
| Low fat | Under 2 tablespoons oil per 12 muffins | Less lubrication at the paper boundary | Use parchment-coated liners or grease the liner interior |
| High sugar | More than 150 g sugar per 12 muffins | Moist, concentrated syrup-like surface | Use release liners and avoid overbaking the edges |
| Fruit puree | 120-240 g applesauce or banana | Adds water and soluble solids | Reduce other liquid only with a tested recipe |
| Fresh berries | 150-250 g per 12 muffins | Bursting fruit creates wet pockets | Toss fruit with flour and bake fully |
| Gluten-free flour | 180-220 g flour blend | Weaker crumb structure can remain tacky | Allow longer cooling and use coated liners |
| Oat-heavy batter | 60-120 g rolled oats | Oats bind water and slow surface setting | Rest batter briefly, then bake in parchment liners |
A common mistake is to remove butter and replace it with an equal volume of applesauce without changing the rest of the formula. The substitution reduces lubrication while adding water, so ordinary paper may cling even when the muffin appears fully baked.
How Does Baking Turn Batter Into Adhesive?
Muffin batter becomes adhesive when flour starch hydrates, gelatinizes, and dries against the liner. Heat moves water through the batter, starch granules swell, and the resulting gel fills spaces around the crumb; porous cellulose holds part of that gel until cooling makes the connection firm.
Muffin structure develops in stages. Baking powder or baking soda produces gas, proteins begin setting, starch gelatinizes, and water gradually evaporates. If the liner stays in direct contact with a wet surface during these changes, the paper captures crumb material before the outer layer becomes firm.
The explanation is chemical and physical rather than a sign that the paper is defective. Paper quality still matters because liner thickness, sizing, and any grease-resistant coating change how deeply moisture enters the fibers.
Why does the bottom stick more than the sides?
The muffin bottom often sticks because it receives heat through the metal pan and remains pressed against the liner while moisture escapes upward. A wet batter, dark pan, or underbaked center can leave the base softer and more adhesive than the upper crumb.
Bottom adhesion also occurs when the liner is folded poorly or sits against an uneven pan cavity. A thin paper cup can press into ridges, allowing batter to bake directly against exposed fibers. Overfilled cups create a second contact zone where batter spills over the rim and bonds the liner to the pan.
Which Liners Release Muffins Most Reliably?
Silicone-coated parchment liners generally release muffins most reliably, especially when the recipe is low in fat, gluten-free, fruit-heavy, or high in sugar. Standard paper costs less and works well with rich, well-balanced batter, while reusable silicone cups offer strong release but require cleaning and careful drying.
No liner is universally best. Parchment-coated cups can slide within a metal tin if they are undersized, and silicone cups can retain condensation when muffins cool inside them. The best choice depends on fat level, moisture, pan support, cleanup preferences, and whether presentation matters.
| Liner type | Typical cost per cup | Release profile | Best recipe range | Main limitation |
|---|---|---|---|---|
| Standard paper | $0.01-$0.02 | Moderate with rich batter | 8-14% fat by flour weight | Porous and prone to crumb loss |
| Silicone-coated parchment | $0.03-$0.05 | High across sticky batters | 0-14% fat by flour weight | Can slip in an oversized cavity |
| Foil with paper interior | $0.05-$0.08 | High on exposed foil, moderate inside | Dense or heavy batters | Inner paper may still stick |
| Reusable silicone cup | $0.50-$1.00 | High after washing and drying | Low-fat, gluten-free, vegan | Holds steam and needs storage space |
| Tulip greaseproof wrap | $0.06-$0.10 | Moderate to high | Thick bakery-style muffins | Requires deep pan support |
Costs are typical retail ranges rather than fixed prices. Pack size, brand, coating thickness, and location can change the per-cup amount substantially.
Are parchment liners better than ordinary paper?
Parchment liners are better for release when the batter contains little fat or substantial moisture. Their silicone coating creates a more continuous barrier, so starch gel has fewer exposed cellulose fibers to enter, although overbaking, overflow, and a wet crumb can still cause sticking.
Parchment liners also reduce the need for added grease. They are especially useful for bran muffins, fruit muffins, oat muffins, reduced-fat formulas, and gluten-free recipes. Their weakness is mechanical: a lightweight parchment cup may spread or slide unless the muffin tin supports its sides.
Are reusable silicone cups worth using?
Reusable silicone cups are worth using for frequent baking and recipes that repeatedly stick to paper. Food-grade silicone resists crumb adhesion and can eliminate disposable liner costs after repeated use, but silicone transfers heat differently and may leave the muffin softer at the sides.
Silicone is not a substitute for correct baking. A muffin left inside a flexible cup can collect steam, producing a damp exterior that later seems sticky. Remove the cup after 5-10 minutes, wash away oil residue, and dry it completely before storage.
When Should Muffins Be Removed From Liners?
Remove muffins from the hot pan after about 5 minutes, then cool them on a wire rack for 15-20 minutes before peeling. This sequence limits condensation in the pan while giving the crumb enough time to firm, so the liner separates from a stable surface instead of tearing it.
Very small mini muffins may need only 3 minutes in the pan and 10 minutes on a rack. Large, dense muffins can require 7 minutes in the pan and 25 minutes on a rack. The timing is a practical range, not a universal law, because pan color, room humidity, muffin size, and recipe moisture all change cooling speed.
| Muffin size | Pan cooling | Rack cooling before peeling | Release checkpoint |
|---|---|---|---|
| Mini, 20-25 g batter | 3 minutes | 10 minutes | Top feels dry and springs lightly |
| Standard, 60-75 g batter | 5 minutes | 15-20 minutes | Bottom feels firm, not wet |
| Large, 100-120 g batter | 6-8 minutes | 20-25 minutes | Center temperature has dropped noticeably |
| Fruit-heavy standard | 5 minutes | 20-30 minutes | No glossy damp patch at the base |
| Gluten-free standard | 5-7 minutes | 25-35 minutes | Crumb no longer compresses under light pressure |
Peel by loosening the top rim first, then pull the liner downward in short sections. Do not yank the paper upward while the muffin is warm, because the crumb may still be flexible enough to detach with it.
Does baking temperature affect liner release?
Baking temperature affects release through rise speed, crust formation, sugar concentration, and moisture loss. A typical 375-425°F range can promote a faster-set exterior, but excessive heat may darken sugar-rich edges before the center is baked, increasing caramelized adhesion.
A high initial temperature can help a well-formulated muffin rise quickly, yet temperature cannot correct a batter with too much liquid. Follow the recipe’s tested temperature first, then use doneness indicators: a set top, a clean or lightly crumbed skewer, and a center that does not wobble.
| Oven condition | Typical result | Liner risk | Better response |
|---|---|---|---|
| 350°F for dense batter | Slow surface setting | Longer wet contact | Bake until the center is fully set |
| 375°F for standard batter | Balanced rise and setting | Low to moderate | Use correct fill level |
| 400°F initial heat | Rapid rise | Dark edge if sugar is high | Reduce later heat if recipe permits |
| 425°F throughout | Fast browning | Caramelized, stuck rim | Reserve for suitable formulas |
| Oven running 25°F cool | Pale, damp crumb | Bottom adhesion | Verify with an oven thermometer |
How Can You Diagnose the Exact Failure?
The location and texture of the stuck crumb identify the likely cause more accurately than the liner alone. A wet bottom points toward underbaking or condensation, a paper-covered whole surface suggests a porous liner and low-fat batter, and a torn top usually indicates peeling before the crumb set.
Use the pattern after the muffin has cooled fully. Pulling at warm paper can create a false diagnosis because even a well-formulated muffin may tear before its starch structure firms.
| Failure pattern | Likely cause | Confirming clue | Next-batch fix |
|---|---|---|---|
| Bottom only | Wet base or underbaking | Base looks glossy or compresses | Extend baking 3-5 minutes |
| Sides only | Porous paper or low fat | Rim loses a thin crumb layer | Use coated liners |
| Entire liner | Very wet or low-fat batter | Paper is damp over the full cup | Change liner and verify liquid |
| Top edge overflow | Overfilled cups | Batter baked onto pan rim | Fill 2/3 to 3/4 full |
| Paper tears in strips | Peeled too hot | Crumb feels soft | Cool 15-30 minutes longer |
| Muffin sticks to pan too | Overflow or grease gap | Baked batter anchors cup | Clean pan and control fill |
How can you rescue muffins already stuck?
Warm a stuck muffin for 10-15 seconds in a microwave, let it rest for 30 seconds, and peel slowly from the rim. Gentle warmth softens the starch-fat interface, while a short rest prevents steam from making the crumb collapse.
For muffins that remain attached, chill them for 20-30 minutes before peeling. Cold crumb is firmer and less likely to shear. A thin paring knife can separate the paper from the outside edge, but it will not restore crumb already absorbed into the fibers.
If appearance matters, cut away the paper-bound base and serve the muffin upside down with yogurt or fruit. Do not soak the liner, because added water can turn the paper and crumb into a paste.
Should You Grease Paper or Parchment Liners?
Greasing the inside of a paper liner can reduce sticking, but it is usually unnecessary with silicone-coated parchment and can make standard paper greasy or unstable. Apply a very light mist of baking spray to the interior only when a low-fat recipe repeatedly clings to ordinary paper.
Greasing the muffin tin protects the outside of the liner, not the inside surface touching the batter. For unlined cavities, brush a thin film of softened butter or neutral oil into the base and sides, then dust lightly with flour when the recipe permits.
| Method | Typical amount for 12 muffins | Suitable use | Main risk |
|---|---|---|---|
| No added liner grease | 0 teaspoons | Rich batter with parchment coating | Little protection for porous paper |
| Light baking spray | 1-2 seconds total spray | Reduced-fat batter in paper | Excess oil can fry the liner |
| Brushed neutral oil | 1/2 teaspoon per 12 cups | Vegan or low-fat recipes | Uneven coverage causes isolated sticking |
| Greased tin, no liner | 1 teaspoon oil total | Firm, non-sticky batter | Crumb may still adhere to bare metal |
| Flour dusting in tin | 1-2 teaspoons flour total | Unlined cakes and muffins | Visible flour residue on dark crust |
A flour-based baking spray can help standard paper, but it should form a thin film rather than a wet coating. Too much spray mixes with sugar and flour at the edge, creating a fried, gummy ring.
Why Do Gluten-Free, Vegan, and Fruit Muffins Stick?
Gluten-free, vegan, and fruit-heavy muffins stick more often because their crumb may contain less structural protein, less fat, or more water than a conventional formula. The surface can remain tender and tacky even when the interior reaches a safe, fully baked texture.
Gluten-free blends often contain rice flour, starches, oats, or gums that bind water differently from wheat flour. Vegan recipes may replace egg and butter with plant milk, oil, applesauce, flax gel, or mashed fruit. Each substitution changes both the barrier at the liner and the strength of the crumb.
| Recipe style | Common replacement | Typical sticking trigger | Preferred liner |
|---|---|---|---|
| Vegan banana | Banana plus plant milk | High water and sugar | Silicone-coated parchment |
| Reduced-fat bran | Applesauce for oil | Low lubrication | Parchment or lightly greased paper |
| Gluten-free oat | Oats plus starch blend | Water-bound, fragile crumb | Silicone cup or coated parchment |
| Berry muffin | Fresh berries | Wet fruit pockets | Coated parchment |
| High-protein muffin | Yogurt or protein powder | Dense, drying edge | Greased parchment |
| Standard butter muffin | Butter and eggs | Moderate adhesion risk | Ordinary paper usually works |
Do not compensate for sticking by adding random flour. Extra flour can produce a dry, heavy muffin while leaving the liner bond unchanged. Adjust only a tested formula, and first change the liner, cooling process, or doneness.
What Are the Best Alternatives to Disposable Paper?
The best alternatives are silicone-coated parchment for dependable one-time use, reusable silicone for frequent baking, and a greased metal tin for firm batters. Foil cups help with support and presentation, but many foil liners contain an inner paper layer that can still stick.
A bare metal pan provides the most direct browning and can release cleanly when properly greased, but it offers no protection against a wet or sugary batter. Tulip wraps work well for tall bakery-style muffins when placed inside a deep muffin cavity.
| Alternative | Typical setup cost | Cleanup time | Best use |
|---|---|---|---|
| Coated parchment | $3-$5 per 100 | Under 1 minute | Sticky batter and occasional baking |
| Silicone cups | $6-$12 per 12 | 5-10 minutes | Weekly or frequent baking |
| Greased metal tin | $15-$35 per pan | 3-5 minutes | Firm batter and browned edges |
| Foil liners | $5-$8 per 100 | Under 1 minute | Transport and heavy muffins |
| Tulip wraps | $6-$10 per 100 | Under 1 minute | Tall, café-style muffins |
Reusable silicone is less convenient when a household lacks drying space. Silicone cups should be washed with detergent, rinsed thoroughly, and dried inside and out, because residual oil attracts dust and can create odors.
Common Mistakes That Create Sticky Liners
Sticky liners often result from process errors rather than a defective recipe. The most frequent mistakes are underbaking the center, filling cups incorrectly, using paper with a low-fat formula, and allowing steam to condense inside a hot pan.
- Peeling immediately: Wait until the muffin has cooled enough for the crumb to resist light pressure.
- Leaving muffins in the tin: Transfer standard muffins after about 5 minutes so trapped steam cannot soak the paper.
- Filling above three-quarters: Use approximately 60-75 g batter in a standard cup unless the recipe specifies another amount.
- Overmixing: Excess mixing can create uneven tunnels and dense wet zones that cling to paper.
- Trusting a cool oven: A 25°F temperature error can leave the base wet while the top appears finished.
- Using damp liners: Store paper cups in a dry sealed container, away from steam and kitchen splashes.
A practitioner rule of thumb is to change one variable per batch. If the next batch uses a new liner, a longer bake, and a different liquid amount, the result cannot identify which correction worked.
What is the most reliable prevention sequence?
Use a correctly sized coated liner, fill each cup 2/3 to 3/4 full, bake at the recipe’s specified temperature, and cool for 5 minutes in the pan followed by 15-20 minutes on a rack. For standard paper, add a light interior spray only when the batter is low in fat or high in moisture.
Check the base before peeling the whole batch. Remove one test muffin, loosen its rim, and inspect whether the liner pulls away cleanly. This small check prevents tearing eleven more muffins when the batch needs additional cooling.
The Bottom Line
Why did my muffins stick to the liners? The usual answer is a mismatch between batter and liner, intensified by moisture, low fat, sugar, underbaking, or premature peeling. Standard paper works best with moderately rich batter; silicone-coated parchment is the safer choice for fruit-heavy, vegan, gluten-free, or reduced-fat recipes.
For the current batch, cool muffins fully, warm or chill stubborn pieces, and peel from the rim. For the next batch, control fill level, verify oven temperature, transfer muffins after 5 minutes, and select a coated liner when the recipe produces a soft or wet crumb.
Frequently Asked Questions
Can I bake muffins without liners?
You can bake muffins without liners when the tin is clean and thoroughly greased, especially with a firm, moderately fatty batter. Brush approximately 1 teaspoon oil across twelve cavities, coat the base and sides, and release muffins after 5 minutes. Very wet fruit or reduced-fat batter remains more likely to adhere to bare metal.
Why do homemade muffins stick more than packaged muffins?
Homemade muffins often stick because recipes vary in sugar, fat, fruit moisture, and baking time, while commercial products may use release coatings, emulsifiers, or industrial liners. A homemade low-fat muffin in ordinary paper has less lubrication at the crumb boundary, so changing to parchment-coated cups can make a larger difference than adding extra bake time.
Do muffin liners expire?
Paper liners do not have a strict food-safety expiration date when kept dry and clean, but moisture exposure can soften them and reduce their structural strength. Discard cups with discoloration, odors, mold, damp spots, or crushed folds. Store unused liners in a sealed container away from the oven, dishwasher, and humid counters.
Should I peel muffins before storing them?
Leave muffins in their liners during storage unless the paper has become wet or the recipe releases cleanly without it. The liner protects the crumb from handling, while removing it exposes more surface area to drying. Cool muffins completely before placing them in a sealed container, or condensation will make the paper damp and sticky.
Why do liners pull the muffin top off?
A liner pulls away muffin topping when overflow bakes onto the pan rim or when the upper crumb remains warm and fragile. Fill cups no higher than three-quarters full, loosen any baked overflow with a knife, and cool the muffins before peeling. Coated parchment reduces adhesion but cannot detach batter cemented to the pan.
Can I reuse paper muffin liners?
Paper muffin liners should not be reused after baking because absorbed grease, moisture, and baked crumb weaken the paper and reduce hygiene. Reusable silicone cups provide the practical alternative. Wash silicone after each use, dry it completely, and inspect for splits before the next batch.
