

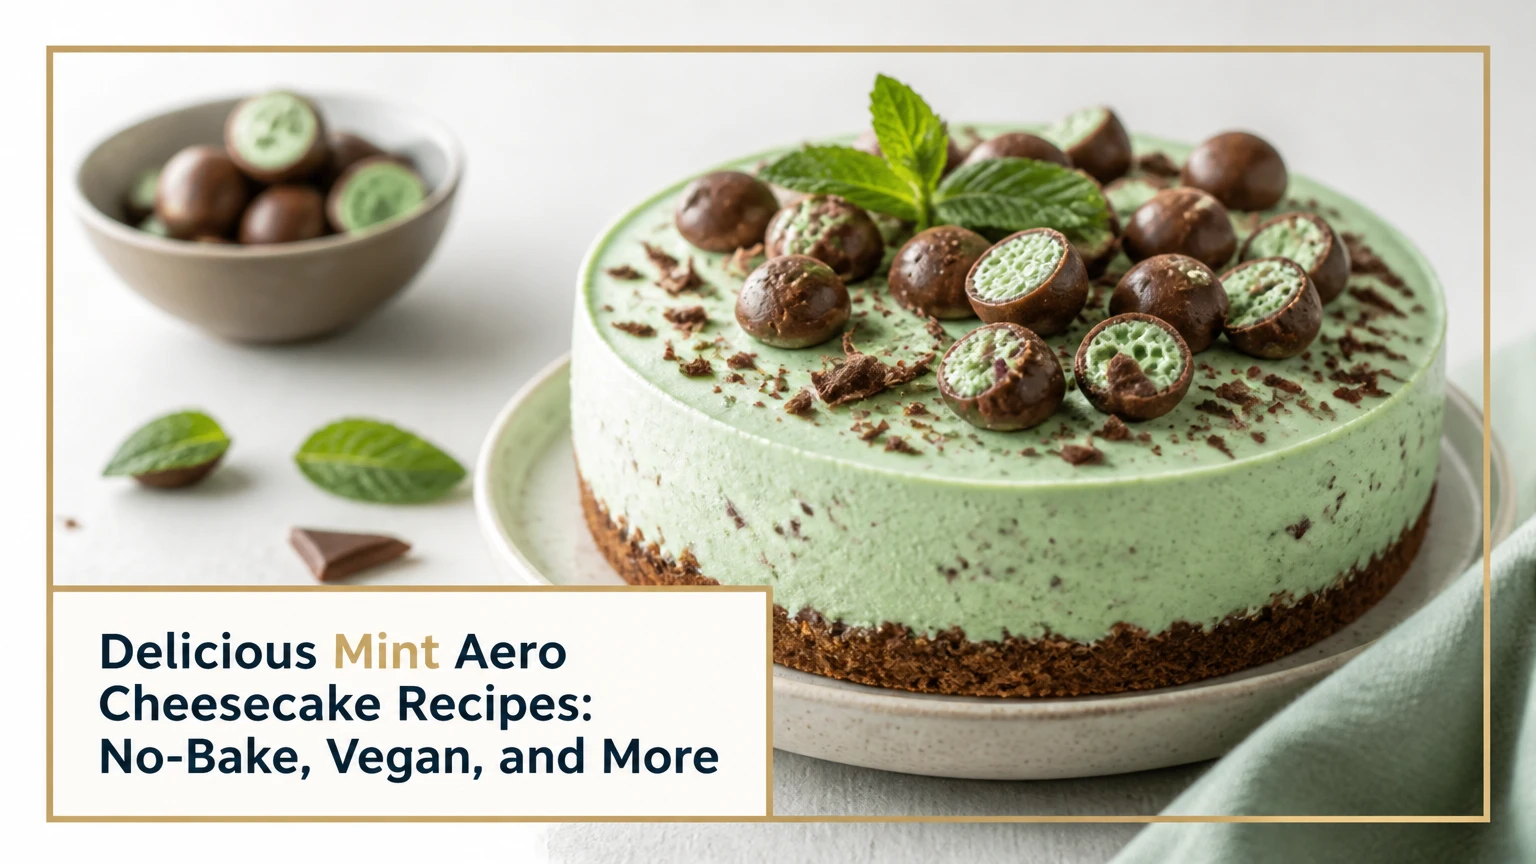
If you’re a fan of the refreshing taste of mint and the creamy texture of cheesecake, you’re in for a treat with this Mint Aero Cheesecake recipe. Combining the beloved flavors of Mint Aero chocolate with the rich, velvety goodness of cheesecake creates a dessert that’s both indulgent and refreshing. It’s perfect for any occasion, from holiday gatherings to a simple weekend treat.
Mint Aero, a popular chocolate bar in the UK known for its bubbly texture and minty flavor, adds a unique twist to the classic cheesecake. The minty chocolate pieces scattered throughout the cheesecake offer a delightful crunch with every bite. Trust me, once you try this recipe, it’ll quickly become a favorite in your dessert repertoire.
Ingredients
This Mint Aero Cheesecake recipe requires a blend of common baking ingredients and the unique Mint Aero chocolate bar. Gather these ingredients to begin crafting your delicious dessert.
For the Base
- 1 1/2 cups of graham cracker crumbs
- 1/4 cup of granulated sugar
- 1/2 cup of unsalted butter, melted
For the Cheesecake Filling
- 24 ounces of cream cheese, softened
- 1 cup of granulated sugar
- 1 teaspoon of vanilla extract
- 1/2 teaspoon of mint extract
- 3 large eggs
- 1 cup of heavy cream
- 6 ounces of Mint Aero chocolate bars, roughly chopped
- 1 cup of heavy cream
- 2 tablespoons of powdered sugar
- 2 ounces of Mint Aero chocolate bars, chopped for garnish
Equipment
Having the right equipment is essential to make the perfect Mint Aero Cheesecake. Below is a list of all the tools you will need:
- Mixing Bowls: You’ll need a few mixing bowls of various sizes for combining ingredients and mixing the cheesecake batter.
- Springform Pan: A 9-inch springform pan is ideal for this cheesecake as it allows easy removal of the cheesecake without damaging it.
- Electric Mixer: An electric hand mixer or a stand mixer will help you achieve a smooth and creamy cheesecake filling.
- Rubber Spatula: Useful for scraping down the sides of bowls and ensuring all ingredients are well-incorporated.
- Measuring Cups and Spoons: Accurate measurements are key to a successful cheesecake, so a set of measuring cups and spoons is necessary.
- Food Processor: A food processor will make quick work of crushing the graham crackers into fine crumbs for the crust.
- Saucepan: For melting butter, which is mixed with the graham cracker crumbs to form the crust.
- Knife: A sharp knife will be necessary for chopping the Mint Aero chocolate bars.
- Parchment Paper: Lining the springform pan with parchment paper will help prevent the crust from sticking to the pan.
- Cooling Rack: Allowing the cheesecake to cool thoroughly before refrigerating ensures it sets properly.
- Plastic Wrap or Aluminum Foil: Covering the cheesecake while it chills will prevent it from absorbing any odors from the fridge.
Having these tools on hand will make your cheesecake preparation smoother and more efficient, ensuring a delightful end result.
Directions
Here’s how to create a Mint Aero Cheesecake that combines minty freshness with creamy cheesecake, and features the unique Mint Aero chocolate bar.
Prep the Base
- Crush Graham Crackers: In a food processor, crush 1 ½ cups of graham crackers until fine.
- Mix with Butter: Melt ½ cup (1 stick) of unsalted butter in a saucepan. Add the crushed graham crackers and mix until you achieve a sandy texture.
- Prepare the Pan: Line the bottom of a 9-inch springform pan with parchment paper. Press the graham cracker mixture firmly into the bottom of the pan, creating an even layer. Set aside.
Make the Cheesecake Filling
- Blend Cream Cheese and Sugar: In a large mixing bowl, use an electric mixer to blend 2 cups (16 oz) of cream cheese and 1 cup of granulated sugar until smooth and creamy.
- Add Extracts and Eggs: Add 1 teaspoon of vanilla extract and 1 teaspoon of peppermint extract to the mixture. Blend again. Add 3 large eggs, one at a time, mixing well after each addition.
- Incorporate Heavy Cream: Gradually mix in ¾ cup of heavy cream until the mixture is fully combined and smooth.
- Fold in Mint Aero Bars: Chop 2 large Mint Aero bars into small pieces. Gently fold the chocolate pieces into the cheesecake filling using a rubber spatula.
Assemble the Cheesecake
- Pour Filling into Crust: Pour the cheesecake filling over the prepared graham cracker crust in the springform pan. Spread the mixture evenly.
- Prepare for Water Bath: Wrap the bottom and sides of the springform pan with aluminum foil to prevent water from seeping in. Place the pan inside a larger roasting pan.
- Add Water: Fill the roasting pan with hot water until it reaches halfway up the sides of the springform pan.
- Bake the Cheesecake: Preheat your oven to 325°F (163°C). Carefully place the roasting pan with the cheesecake into the oven. Bake for 50-60 minutes, or until the edges are set but the center still jiggles slightly.
- Cool Gradually: Turn off the oven. Let the cheesecake cool inside the oven with the door slightly open for 1 hour.
- Chill in Refrigerator: Remove the cheesecake from the oven. Remove the foil and let it cool completely on a cooling rack. Once cooled, cover the pan with plastic wrap and refrigerate for at least 4 hours, or overnight for best results.
- Add Toppings: Before serving, top the cheesecake with whipped cream and additional chopped Mint Aero pieces for garnish.
Tips for Perfect Cheesecake
When making this Mint Aero Cheesecake, there are several essential tips to keep in mind to ensure that it’s both delicious and visually stunning.
Use Room Temperature Ingredients
Ensure all your ingredients are at room temperature before starting. This includes cream cheese, eggs, and heavy cream. Room temperature ingredients blend together more smoothly, creating a lump-free, silky filling.
Patience with The Crust
Press your graham cracker crust firmly into the base of your prepared pan. Use the back of a spoon or a flat-bottomed glass to compact the crumbs evenly. This prevents a crumbly base and gives you a solid foundation for the cheesecake.
Slow and Steady Mixing
When blending the cream cheese and sugar, mix on low to medium speed. Overbeating can incorporate too much air, leading to cracks in your cheesecake. Slow and steady mixing ensures a dense, creamy texture.
Water Bath Mastery
A water bath, also known as a bain-marie, is essential. Wrap the bottom of your springform pan in aluminum foil to avoid leaks. Place the pan inside a larger baking dish and fill with hot water to reach halfway up the sides of the cheesecake pan. This method provides gentle, even heat, preventing cracks and overwhelming browning.
Gradual Cooling
Avoid drastic temperature changes to prevent your cheesecake from cracking. Once baked, turn off the oven and allow the cheesecake to cool inside with the oven door slightly open for about an hour. Then, cool completely on a wire rack before refrigerating.
Perfect Chilling
Refrigerate your cheesecake for at least 4 hours, but preferably overnight. This solidifies the filling and enhances the flavors. It will also make slicing easier and cleaner.
Careful Slicing
Use a hot, dry knife for clean slices. Dip your knife in hot water and dry it thoroughly before each cut. This technique ensures that each piece is neatly presented, showcasing the layers and filling.
Variations
Chocolate Mint Aero Cheesecake
For those chocolate lovers out there, why not try a Chocolate Mint Aero Cheesecake? Just add some melted dark chocolate into the cream cheese mixture for a rich, decadent twist. Substitute half of the graham cracker crust with chocolate graham crackers for an extra chocolatey base. Garnish with dark chocolate curls for an elegant touch.
No-Bake Mint Aero Cheesecake
If you prefer a no-bake option, you can skip the oven entirely. Use gelatin to set the cream cheese mixture instead of baking. Dissolve 2 teaspoons of gelatin in 1/4 cup of hot water and mix it into the cream cheese mixture before folding in the Mint Aero pieces. Allow it to set in the fridge for at least 4 hours. It’s a delightful, fuss-free alternative.
Mint Aero Cheesecake Bars
For a crowd-pleaser, transform the recipe into Mint Aero Cheesecake Bars. Prepare the crust and filling as usual but use a square baking pan. Once baked and cooled, slice into bars rather than servings. It’s perfect for parties where bite-sized desserts are more practical.
Vegan Mint Aero Cheesecake
To accommodate dietary restrictions, you can create a Vegan Mint Aero Cheesecake. Substitute regular cream cheese with vegan cream cheese and use coconut cream instead of heavy cream. Replace eggs with a flaxseed mixture (1 tablespoon flaxseed meal + 3 tablespoons water per egg). Ensure the Mint Aero bars you use are vegan-friendly. It’s a compassionate twist without sacrificing flavor.
Storage Instructions
Once you’ve indulged in a slice of your Mint Aero Cheesecake, it’s important to store any leftovers properly to maintain its delicious flavor and creamy texture. Follow these steps for optimal storage:
Refrigeration
- Cool Down: Allow the cheesecake to cool completely at room temperature before storing it.
- Cover Tightly: Wrap the cheesecake tightly with plastic wrap or aluminum foil. Alternatively, place it in an airtight container.
- Refrigerate: Store the covered cheesecake in the refrigerator for up to 5 days.
Freezing for Longer Storage
- Initial Freeze: If you plan to freeze the cheesecake, first place it uncovered in the freezer for about 1 hour. This step helps firm up the cheesecake.
- Wrap and Seal: Once the cheesecake is slightly frozen, remove it from the freezer. Wrap individual slices or the entire cheesecake in plastic wrap, followed by a layer of aluminum foil to prevent freezer burn.
- Label: Label the wrapped cheesecake with the date so you can keep track of its freshness.
- Freeze: Place the wrapped cheesecake back in the freezer. It can be stored for up to 2 months.
- Slow Thaw: When you’re ready to enjoy the frozen cheesecake, transfer it from the freezer to the refrigerator. Allow it to thaw overnight.
- Room Temperature Serving: For the best texture and flavor, let the thawed cheesecake sit at room temperature for about 30 minutes before serving.
Conclusion
Creating a Mint Aero Cheesecake is a delightful way to indulge in a fusion of minty freshness and creamy goodness. Whether you prefer a classic version or want to explore variations like the no-bake or vegan options there’s something for everyone. With the right preparation and storage tips you can enjoy this delicious treat anytime. So go ahead and try out these recipes to bring a sweet twist to your dessert repertoire.
