

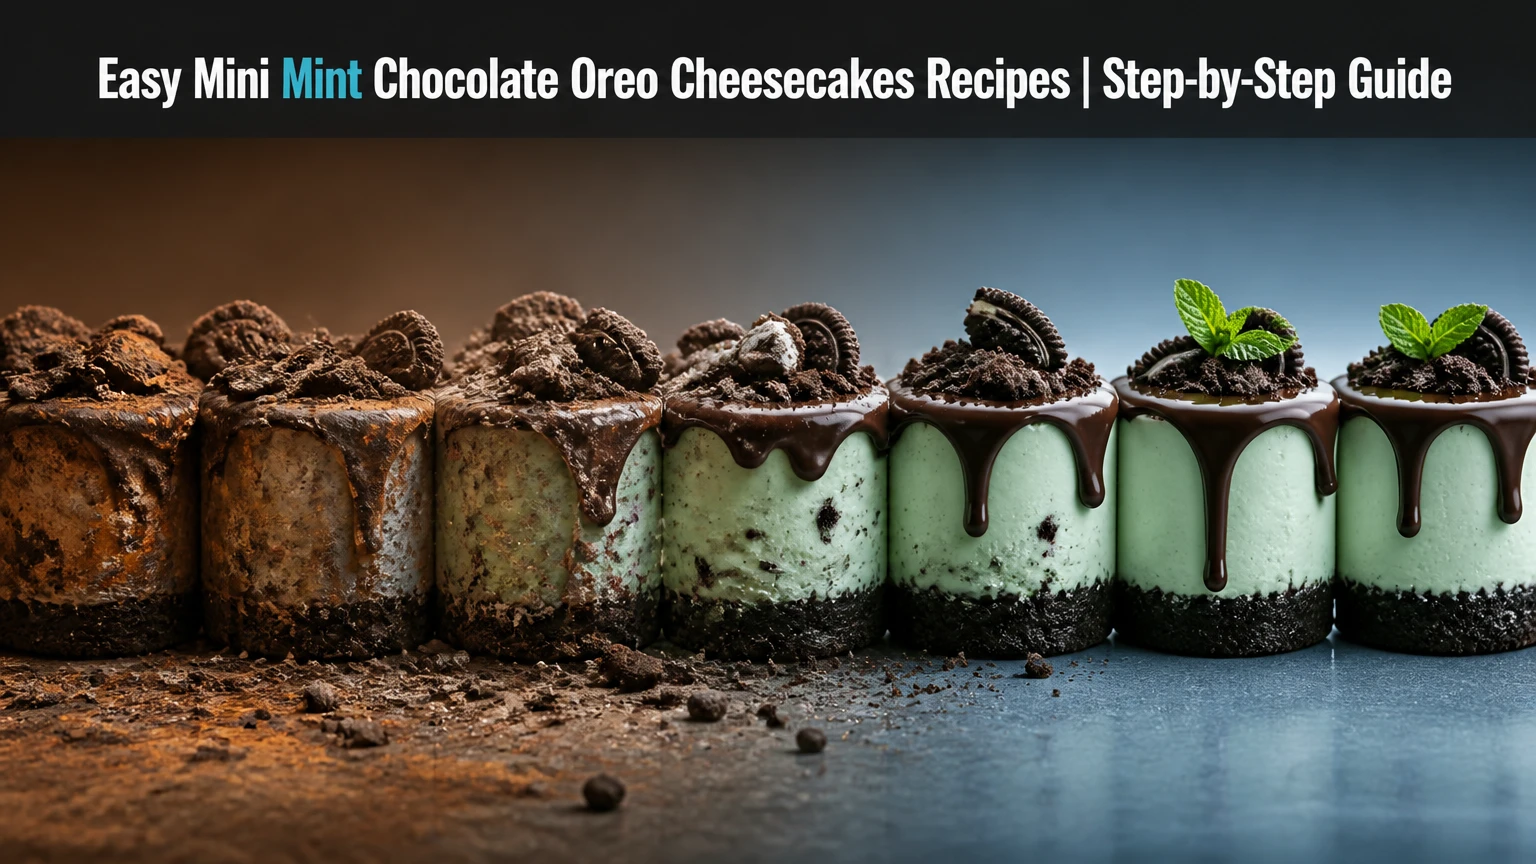
Who can resist the delightful combination of mint, chocolate, and cheesecake? These mini mint chocolate Oreo cheesecakes are bite-sized wonders that bring together the best of all three worlds. Perfect for any occasion, these little treats offer a refreshing twist on the classic cheesecake with the added crunch of Oreo cookies and a hint of minty freshness.
Ingredients
For these delightful mini mint chocolate Oreo cheesecakes, you’ll need specific ingredients for the crust, the cheesecake filling, and the chocolate topping. Gather everything before starting to make the process smooth and enjoyable.
Crust
- 20 Oreo cookies, crushed into fine crumbs
- 5 tablespoons unsalted butter, melted
Cheesecake Filling
- 16 ounces cream cheese, softened
- 1 cup granulated sugar
- 1 teaspoon vanilla extract
- 1/2 teaspoon peppermint extract
- 3 large eggs, room temperature
- 1/2 cup sour cream
- 1/2 cup heavy whipping cream
- 10 Oreo cookies, roughly chopped
- 1 cup semi-sweet chocolate chips
- 1/2 cup heavy whipping cream
- Fresh mint leaves, for garnish (optional)
- Crushed Oreo cookies, for garnish (optional)
Tools You May Need
Mixing Equipment
- Electric Mixer: You will need this to mix the cream cheese filling until it is smooth and creamy. A hand mixer or a stand mixer both work well.
- Large Mixing Bowl: A large bowl is necessary for combining the ingredients of the cheesecake filling.
- Medium Mixing Bowl: Use this for mixing the Oreo crust ingredients.
Baking and Prep Tools
- Muffin Pan: A standard 12-cup muffin pan is the perfect size for these mini cheesecakes.
- Cupcake Liners: Use these liners in the muffin pan to make it easier to remove the mini cheesecakes and for easy serving.
- Measuring Cups and Spoons: Accurate measurements are essential for this recipe. Make sure you have both measuring cups and spoons on hand.
- Rubber Spatula: A rubber spatula is great for scraping down the sides of the bowls and ensuring an even mix.
Crushing and Chopping
- Food Processor: This will come in handy for crushing the Oreo cookies into fine crumbs for the crust. If you don’t have a food processor, you can use a large resealable plastic bag and a rolling pin.
- Sharp Knife: A sharp knife is needed to chop the extra Oreo cookies that will be mixed into the cheesecake filling.
For the Topping
- Small Saucepan: You’ll need this to gently heat the heavy whipping cream for the chocolate topping.
- Heatproof Bowl: A bowl that can safely handle hot liquids is required for combining the hot cream with the chocolate chips.
- Microplane Grater: If you decide to top your mini cheesecakes with mint leaves or crushed Oreo cookies, a grater can be useful for creating fine, decorative shavings.
- Pastry Bag with Tip: For a more professional look, use a pastry bag with a star tip to pipe whipped cream onto the mini cheesecakes.
Having these tools ready before you begin will make the baking process smoother and more enjoyable.
Instructions
Follow these steps to make your mini mint chocolate Oreo cheesecakes. Each section details a part of the process, ensuring an enjoyable and successful baking experience.
Making the Crust
- Prepare the Muffin Pan: Line a 12-cup muffin pan with cupcake liners.
- Crush the Oreos: Place 20 Oreo cookies in a food processor and pulse until they are fine crumbs.
- Combine with Butter: Transfer the crumbs to a bowl and mix with ¼ cup melted butter until well combined.
- Form the Crusts: Distribute the Oreo mixture evenly among the cupcake liners, pressing down firmly with the back of a spoon to form the crust. Chill in the refrigerator while you make the filling.
Preparing the Cheesecake Filling
- Beat the Cream Cheese: In a large mixing bowl, beat 16 oz softened cream cheese with ½ cup granulated sugar using an electric mixer until creamy and smooth.
- Add Extracts and Eggs: Add 1 tsp vanilla extract and 1 tsp mint extract. Beat in 2 large eggs one at a time, mixing well after each addition.
- Incorporate Sour Cream and Heavy Cream: Blend in ½ cup sour cream and ¼ cup heavy whipping cream until smooth.
- Fold in Chopped Oreos: Gently fold in ½ cup chopped Oreo cookies, ensuring they are evenly distributed.
- Fill the Liners: Spoon the cheesecake filling over the chilled crusts, filling each liner nearly to the top.
Adding the Chocolate Topping
- Heat the Cream: In a small saucepan, heat ½ cup heavy whipping cream over medium heat until it starts to simmer.
- Add Chocolate Chips: Remove from heat and add 1 cup semi-sweet chocolate chips. Let sit for 5 minutes.
- Stir Until Smooth: Stir the mixture until the chocolate is fully melted and the ganache is smooth.
- Top the Cheesecakes: Spoon the ganache over each cheesecake, spreading it to the edges with the back of a spoon or a spatula.
- Preheat the Oven: Preheat your oven to 325°F (165°C).
- Bake the Cheesecakes: Bake in the preheated oven for 18-22 minutes, or until the centers are set and slightly jiggly.
- Cool and Chill: Remove the pan from the oven and let the cheesecakes cool to room temperature. Then, refrigerate for at least 3 hours or overnight.
- Garnish and Serve: Before serving, optionally garnish with fresh mint leaves and crushed Oreos for an extra touch.
Tips for Perfect Mini Cheesecakes
Use Room Temperature Ingredients
For the best cheesecake texture, use room temperature cream cheese, eggs, and sour cream. This allows the ingredients to blend smoothly, preventing lumps in your cheesecake batter.
Do Not Overmix
When incorporating the eggs into the cheesecake batter, mix until just combined. Overmixing can incorporate too much air, causing the cheesecakes to crack while baking.
Prep Your Muffin Pan
Line your muffin pan with cupcake liners. This makes removing the mini cheesecakes a breeze, and it keeps them looking neat and professional.
Measure Crust Evenly
Use a tablespoon to evenly measure and distribute the Oreo crust mixture into each cupcake liner. Press it down firmly with the back of the spoon for a consistent base.
Bake With A Water Bath
Place a pan filled with hot water on the bottom rack of your oven while the cheesecakes bake on the middle rack. The steam from the water bath helps prevent cracking by maintaining moisture in the oven.
Check For Doneness Properly
Cheesecakes are done when the edges are set, but the center still jiggles slightly. They will continue to set as they cool. Overbaking can lead to dry and cracked tops.
Cool Gradually
After baking, let the cheesecakes cool in the muffin pan for about 10 minutes. Then transfer them to a wire rack to cool to room temperature. Once cooled, refrigerate them for at least 4 hours or overnight to fully set.
Garnish Before Serving
Add garnishes like finely chopped mint leaves or crushed Oreo cookies just before serving to keep them fresh and visually appealing.
Store Properly
Store your mini cheesecakes in an airtight container in the refrigerator for up to 5 days. For longer storage, freeze cheesecakes individually wrapped in plastic wrap for up to three months. Thaw in the fridge overnight before serving.
Make-Ahead Instructions
Preparing these mini mint chocolate Oreo cheesecakes ahead of time can save you effort on the day you plan to serve them. Here are my detailed make-ahead instructions:
- Prepare the Cheesecake Batter: Follow the recipe instructions to prepare the Oreo crust and the mint chocolate cheesecake batter. After combining all the ingredients, pour the batter over the prepared crust in the muffin pan.
- Bake and Cool: Bake the mini cheesecakes according to the recipe instructions, ensuring they are cooked through but not overdone. Once baked, allow them to cool to room temperature on a cooling rack before moving to the next step.
- Chill Overnight: For optimal flavor and texture, cover the cooled mini cheesecakes with plastic wrap or foil and refrigerate them overnight. This chilling period helps the flavors meld together and ensures a firmer consistency.
- Prepare Toppings in Advance: If you plan to use chocolate ganache or whipped cream for topping, make them a day ahead and store them separately in airtight containers in the refrigerator. This will make assembly quick and easy when you are ready to serve.
- Garnishing Before Serving: On the day of serving, remove the mini cheesecakes from the refrigerator and unwrap them. Add the prepared chocolate ganache, whipped cream, or other preferred toppings. Garnish with fresh mint leaves and any additional crushed Oreo cookies just before serving to maintain the freshness and crunchiness.
- Storage Tips: If you have any leftovers or want to store the pre-made mini cheesecakes, place them in an airtight container and keep them refrigerated. They can be stored for up to five days. For longer storage, wrap individual cheesecakes in plastic wrap and then foil before freezing for up to one month.
By following these make-ahead instructions, you ensure that your mini mint chocolate Oreo cheesecakes are not only delicious but also convenient for serving at any gathering or event.
Storing Mini Cheesecakes
When it comes to storing your mini mint chocolate Oreo cheesecakes, it is essential to maintain their freshness and flavor. Here is a step-by-step guide on how to store them effectively:
Cooling Completely
Before storing the mini cheesecakes, make sure they have cooled completely to room temperature. This prevents condensation, which could make the cheesecakes soggy.
Using an Airtight Container
Place the cooled mini cheesecakes in an airtight container. This helps seal in moisture and keeps the cheesecakes from absorbing any unwanted odors from the fridge.
Refrigeration
Keep the stored cheesecakes in the refrigerator. They can be stored in the fridge for up to 5 days.
Freezing for Longer Storage
If you wish to store the mini cheesecakes for a longer period, follow these steps for freezing:
- Wrap Individually: Wrap each mini cheesecake in plastic wrap to protect it from freezer burn.
- Place in a Freezer-Safe Container: Transfer the wrapped cheesecakes to a freezer-safe container or a heavy-duty freezer bag. Label with the date for tracking.
- Freezing Time: Mini cheesecakes can be frozen for up to 3 months.
Thawing Frozen Cheesecakes
To enjoy the frozen mini cheesecakes, transfer them from the freezer to the refrigerator. Allow them to thaw overnight. This gradual thawing process preserves their texture and taste.
By following these steps, you can ensure that your mini mint chocolate Oreo cheesecakes remain delicious and ready to enjoy whenever you crave a sweet treat.
Conclusion
Making mini mint chocolate Oreo cheesecakes is a delightful and straightforward process. With the right ingredients and tools, you can whip up these treats in no time. The make-ahead tips and storage guidelines ensure you can enjoy these cheesecakes whenever you crave something sweet. Whether you store them in the fridge or freeze them for later, they’ll maintain their deliciousness and freshness. Give this recipe a try and experience the perfect blend of mint, chocolate, and creamy cheesecake.
