

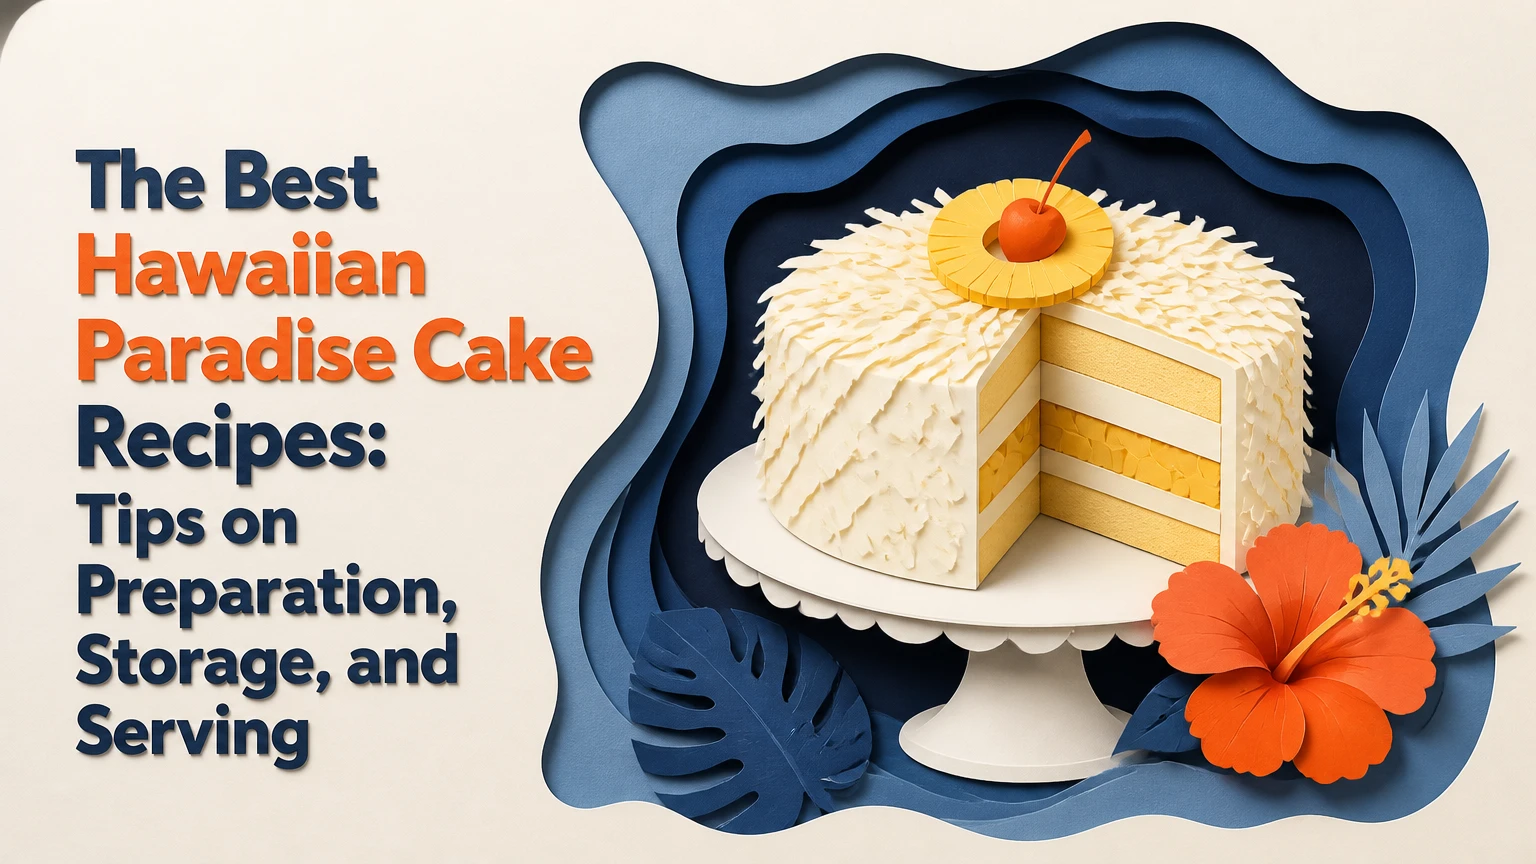
Imagine a cake that whisks you away to an island paradise with every bite. Hawaiian Paradise Cake does just that, combining vibrant layers of tropical flavors like guava, passion fruit, and lime. This cake isn’t just a treat for the taste buds; it’s a visual feast with its bright, colorful layers that mirror the stunning landscapes of Hawaii.
Ingredients
Creating this stunning Hawaiian Paradise Cake requires a variety of flavorful ingredients that will transport your taste buds to the islands. Below is a list of everything you will need to make this vibrant and delicious cake:
For The Cake Layers
- 3 cups of all-purpose flour (sifted)
- 2 1/2 teaspoons of baking powder
- 1/2 teaspoon of salt
- 1 1/2 cups of unsalted butter (softened)
- 2 1/2 cups of granulated sugar
- 5 large eggs
- 1 tablespoon of vanilla extract
- 1 1/4 cups of whole milk
For The Flavor Layers
- 1/3 cup of guava juice (preferably freshly squeezed)
- 1/3 cup of passion fruit juice (fresh or high-quality bottled)
- 1 tablespoon of lime zest
For The Frosting
- 4 cups of powdered sugar
- 1 cup of unsalted butter (room temperature)
- 1/3 cup of heavy cream
- 1 teaspoon of vanilla extract
- Food coloring (pink, yellow, and green)
- Fresh guava slices
- Passion fruit pulp
- Lime wedges
- Edible flowers (for a touch of Hawaiian décor)
Each component plays a crucial role in bringing together the tropical flavors and vibrant colors that make this cake so special. Make sure to gather all the ingredients before starting your baking adventure.
Equipment and Tools
To create the Hawaiian Paradise Cake, equipped with the right tools ensures a smooth baking process and the best results. Here’s a comprehensive list of the equipment and tools you will need:
- Mixing Bowls: Multiple sizes for mixing cake batter, frosting, and separate flavor layers.
- Electric Mixer: Essential for achieving a smooth batter and fluffy frosting. A stand mixer with a paddle attachment is ideal.
- Measuring Cups and Spoons: Accurate measurements are crucial for the perfect balance of flavors.
- Sifter: For sifting dry ingredients like flour to ensure a light, airy batter.
- Rubber Spatula: Handy for scraping down the sides of bowls and folding ingredients together.
- Cake Pans: Three 8-inch round cake pans to bake the vibrant layers evenly.
- Parchment Paper: To line cake pans, preventing sticking and ensuring easy removal.
- Cooling Racks: Ensures cakes cool evenly without becoming soggy.
- Offset Spatula: Perfect for spreading frosting smoothly on the cake layers.
- Cake Turntable: Makes frosting and decorating easier and more precise.
- Pastry Brush: Useful for brushing syrup or glaze onto cake layers, if desired.
- Knife or Cake Leveler: For leveling cake layers to ensure even stacking.
- Piping Bags and Tips: For adding detailed decorations with frosting.
- Serving Plates or Cake Stands: To present your Hawaiian Paradise Cake beautifully.
Having these tools at your fingertips will make the baking process more efficient and enjoyable, helping you create a cake that is not only delicious but also a feast for the eyes.
Directions
Follow these step-by-step directions to create your Hawaiian Paradise Cake. This will guide you through preparation, baking, and assembling stages for a stunning tropical dessert.
Preparation
- Preheat Oven: Preheat your oven to 350°F (175°C).
- Prepare Pans: Grease and flour three 8-inch cake pans and set aside.
- Mix Dry Ingredients: In a large bowl, combine 3 cups of all-purpose flour, 2 ½ teaspoons of baking powder, and ½ teaspoon of salt. Set aside.
- Cream Butter and Sugar: In a separate bowl, beat 1 ½ cups of unsalted butter until smooth. Gradually add 2 cups of granulated sugar and beat until light and fluffy.
- Add Eggs: Beat in 4 large eggs, one at a time, ensuring each is fully incorporated before adding the next.
- Incorporate Dry Ingredients: Gradually mix in the dry ingredients, alternating with 1 cup of whole milk, starting and ending with the flour mixture.
- Divide Batter: Divide the batter evenly into three bowls. Tint one portion with 2 tablespoons of guava nectar and pink food coloring, the second with 2 tablespoons of passion fruit juice and yellow food coloring, and the third with 2 tablespoons of lime juice and light green food coloring.
Baking
- Pour Batter into Pans: Pour each colored batter into the prepared cake pans, spreading it evenly with a spatula.
- Bake Cakes: Place the pans in the preheated oven and bake for 25-30 minutes or until a toothpick inserted in the center comes out clean.
- Rotate Pans: Rotate the pans halfway through the baking time for even baking.
- Cool Cakes: Remove the cakes from the oven and allow them to cool in the pans for 10 minutes. Then transfer them to a wire rack to cool completely.
- Level Cake Layers: Once the cakes are completely cooled, use a serrated knife to level the tops if necessary.
- Prepare Frosting: Prepare your favorite frosting or a tropical-themed buttercream frosting by beating 1 cup of unsalted butter until smooth and creamy. Gradually add 4 cups of powdered sugar, 2 tablespoons of heavy cream, and 1 teaspoon of vanilla extract. Beat until light and fluffy.
- Assemble Cake: Place the lime-flavored layer on a cake board or plate. Spread a layer of frosting on top. Place the passion fruit-flavored layer on top of the frosting and repeat the process. Finally, add the guava-flavored layer.
- Frost and Decorate: Frost the top and sides of the cake with the remaining frosting. Use piping bags for decorative edges if desired. Garnish with guava slices and edible flowers for an authentic Hawaiian touch.
- Chill Before Serving: Refrigerate the assembled cake for at least 30 minutes before serving to set the frosting.
Decorating Tips
Decorating the Hawaiian Paradise Cake is where creativity meets flavor. Follow these tips to make your cake a tropical masterpiece.
Use Vibrant Colors
To make your cake visually striking, use natural food colorings. Guava, passion fruit, and lime naturally lend bright hues that can be enhanced with a touch of gel food coloring.
Smooth Frosting
For a professional look, ensure your frosting is smooth. After applying the frosting, use an offset spatula to create an even layer. Chill the cake briefly; then, apply a second layer to perfect the finish.
Piping Techniques
Utilize a piping bag with different nozzles to add decorative details. I recommend the star and round nozzles for creating borders or accents. Fill the bag with extra frosting to ensure consistency while piping.
Fresh Tropical Fruit
Decorating with fresh fruit not only enhances the appearance but adds another layer of flavor. I like to use thinly sliced guava, pineapple, and kiwi. Arrange them on top carefully for a burst of colors.
Edible Flowers
Edible flowers such as hibiscus, orchids, and nasturtiums elevate the cake’s tropical theme. Place them strategically on top and around the base to bring a touch of elegance and natural beauty.
Coconut Flakes
For added texture and visual appeal, sprinkle toasted coconut flakes around the sides of the cake. Gently press the flakes onto the frosting for an even distribution.
Themed Toppers
Consider using themed toppers like mini umbrellas or palm trees to reinforce the Hawaiian aesthetic. These small items can create a fun and festive look.
Clean Edges
Once the decorations are complete, make sure to clean up any stray frosting or crumbs from the cake board. A clean presentation always makes the cake look more professional.
These decorating tips will help you craft a Hawaiian Paradise Cake that’s as delightful to look at as it is to eat, perfect for any tropical celebration.
Make-Ahead Instructions
Making a Hawaiian Paradise Cake in advance can save you time and stress, especially when preparing for a special occasion. Here are my detailed make-ahead instructions to ensure your cake remains fresh and delicious:
- Bake the Cake Layers:
- Prepare and bake the guava, passion fruit, and lime layers as detailed in the recipe.
- Once baked, allow the layers to cool completely on wire racks. This prevents condensation from making the cakes soggy.
- Wrap each layer tightly in plastic wrap to keep moisture locked in. Then, place them into airtight containers or resealable plastic bags.
- Store the wrapped layers at room temperature for up to 2 days or freeze them for up to 1 month. If freezing, ensure they are in a single layer to prevent damage.
- Prepare Flavor Layers:
- Mix the guava, passion fruit, and lime flavors.
- Store each flavor mixture in separate airtight containers and refrigerate.
- These can be made up to 2 days in advance. Give them a good stir before using to ensure an even consistency.
- Frosting:
- Prepare the frosting according to the recipe instructions.
- Transfer the frosting to an airtight container and refrigerate it. Frosting can be made up to 3 days in advance.
- When ready to use, let the frosting come to room temperature and give it a quick whip to bring back its smoothness.
- Assembly:
- If your cake layers were frozen, thaw them in the refrigerator overnight.
- Assemble and decorate the cake as per the instructions, ensuring each layer is spread with a flavor mixture and frosted.
- Once assembled, the cake can be stored in the refrigerator for up to 2 days. Cover it with a cake dome or wrap loosely with plastic wrap to prevent the frosting from drying out.
- Final Touches:
- Add any fresh fruit, edible flowers, or other decorations just before serving to ensure they remain fresh and vibrant.
By following these make-ahead instructions, you can enjoy a stress-free, beautifully layered Hawaiian Paradise Cake that’s ready to impress your guests.
How to Store
Proper storage is crucial to maintain the freshness and flavor of your Hawaiian Paradise Cake. Follow these simple steps to ensure your cake stays delicious:
- Cooling the Cake: Before storing, allow the cake layers to cool completely at room temperature. Storing a warm cake can cause condensation, leading to sogginess.
- Wrapping the Layers: Once cooled, wrap each cake layer individually in plastic wrap. This helps prevent the cake from drying out and protects it from absorbing fridge odors.
- Storing Unfrosted Layers: Place the wrapped layers in an airtight container or a zip-top bag. Store them in the refrigerator for up to 3 days or the freezer for up to 2 months.
- Thawing Frozen Layers: When ready to use, thaw frozen cake layers in the refrigerator overnight. Ensure they are completely thawed before assembling the cake.
- Storing the Frosted Cake: After frosting and decorating the cake, cover it loosely with plastic wrap or store it in a cake carrier. Keep it in the refrigerator for up to 3 days. If you have used perishable fillings or frosting, this step is especially important.
- Serving After Storage: For the best taste, bring the stored cake to room temperature before serving. This usually takes about 1-2 hours depending on the size of the cake.
By following these storage tips, you’ll ensure that your Hawaiian Paradise Cake remains fresh and delicious until it’s time to enjoy.
Conclusion
Creating a Hawaiian Paradise Cake is a delightful journey that brings the tropical flavors of guava, passion fruit, and lime to your kitchen. By following the detailed instructions on preparation and assembly, you’ll craft a dessert that’s both visually stunning and delicious. Proper storage is crucial to maintain its freshness and vibrant taste. Cooling, wrapping, and storing the layers correctly ensures your cake stays perfect until it’s time to serve. With these tips, you can confidently prepare and enjoy a Hawaiian Paradise Cake that captures the essence of a tropical paradise.
