There’s something incredibly satisfying about a dessert that you can whip up in just a few minutes, especially when it involves everyone’s favorite cookie—Oreos. The Oreo Mug Cake is a delightful treat that combines the rich, chocolatey goodness of Oreos with the convenience of a microwave mug cake. Whether you’re craving a late-night snack or a quick dessert fix, this mug cake is sure to hit the spot.
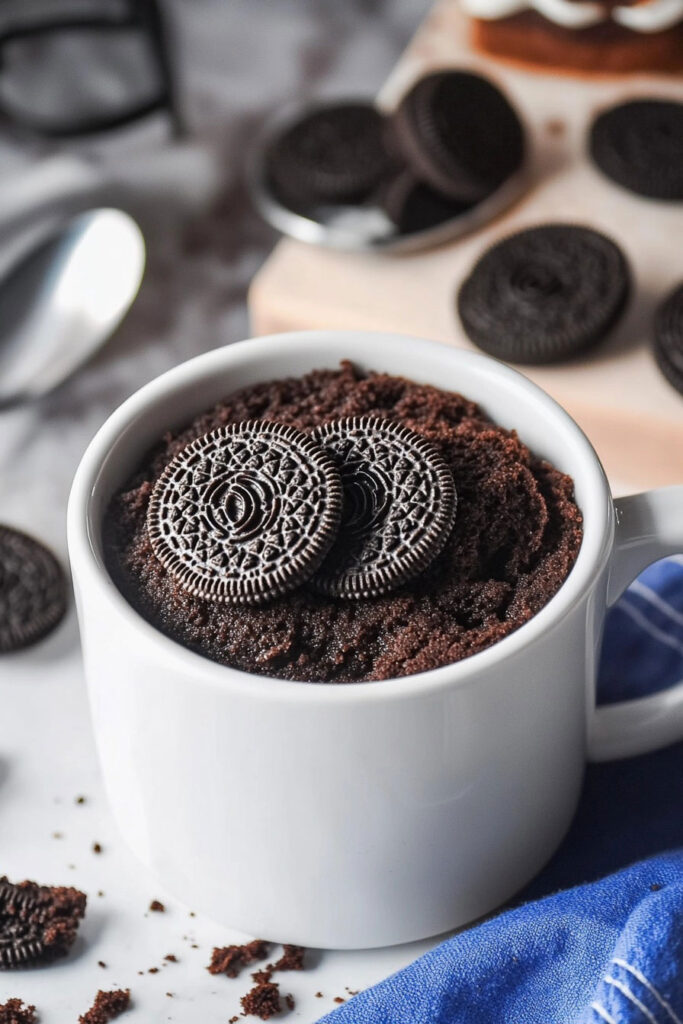
Why You’ll Love This Recipe
The Oreo Mug Cake is perfect for those moments when you need a sweet treat but don’t want to spend too much time in the kitchen. Here are a few reasons why this recipe is a must-try:
- Quick and Easy: With just a handful of ingredients and a microwave, you can have a warm, gooey cake ready in under five minutes.
- Minimal Ingredients: You only need Oreos, milk, sugar, flour, baking powder, and cocoa powder.
- Customizable: Feel free to experiment with different Oreo flavors or add-ins like chocolate chips or nuts for extra texture and flavor.
Ingredients You’ll Need
To make this delightful Oreo Mug Cake, you’ll need the following ingredients:
- Oreos: The star of the show. Classic Oreos work best, but you can try other varieties if you like.
- Milk: Regular milk or any non-dairy alternative such as soy milk.
- Caster Sugar: For sweetness. Granulated sugar works too but may result in a denser cake.
- All-Purpose Flour: Helps to give structure to the cake.
- Baking Powder: Ensures the cake rises nicely.
- Cocoa Powder: Adds an extra chocolatey kick.
How to Make the Perfect Oreo Mug Cake
Creating an Oreo Mug Cake is as simple as it gets, yet the results are incredibly satisfying. Follow these straightforward steps to enjoy a delicious cake in minutes.
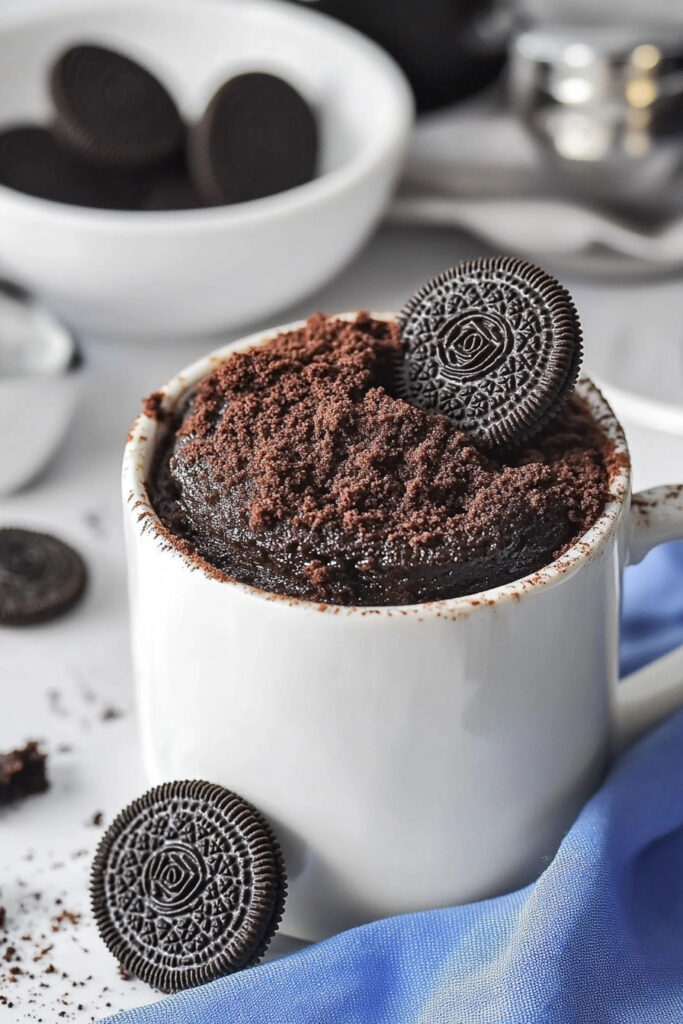
Step-by-Step Instructions
1. Prepare Your Mug and Ingredients
Start by selecting a large microwave-safe mug with at least a 350 mL (12.5 oz) capacity. This ensures that the cake has enough room to rise without overflowing.
2. Mash the Oreos
- Place four Oreos into the mug.
- Pour in ¼ cup of milk.
- Use a fork to mash the Oreos into the milk until they are mostly dissolved. This should take about a minute of stirring to ensure a smooth batter.
3. Add Dry Ingredients
- Add 1 tablespoon of caster sugar.
- Stir in 1 tablespoon of all-purpose flour.
- Include ½ teaspoon of baking powder.
- Mix in 1 teaspoon of unsweetened cocoa powder.
Stir all the ingredients together until you have a well-combined batter with no visible lumps.
4. Insert the Extra Oreo
Press the remaining Oreo into the center of your batter, ensuring it’s covered by the mixture. This will create a delightful surprise when you dig into your cake.
5. Microwave Your Cake
Place your mug in the microwave and cook on full power for about one minute. This timing is based on an 1100-watt microwave, so you might need to adjust slightly depending on your appliance’s power.
6. Check and Enjoy
Once cooked, check to make sure there’s no raw batter visible. If needed, microwave for an additional 10 seconds at a time until done. Let it cool slightly before diving in with a spoon.
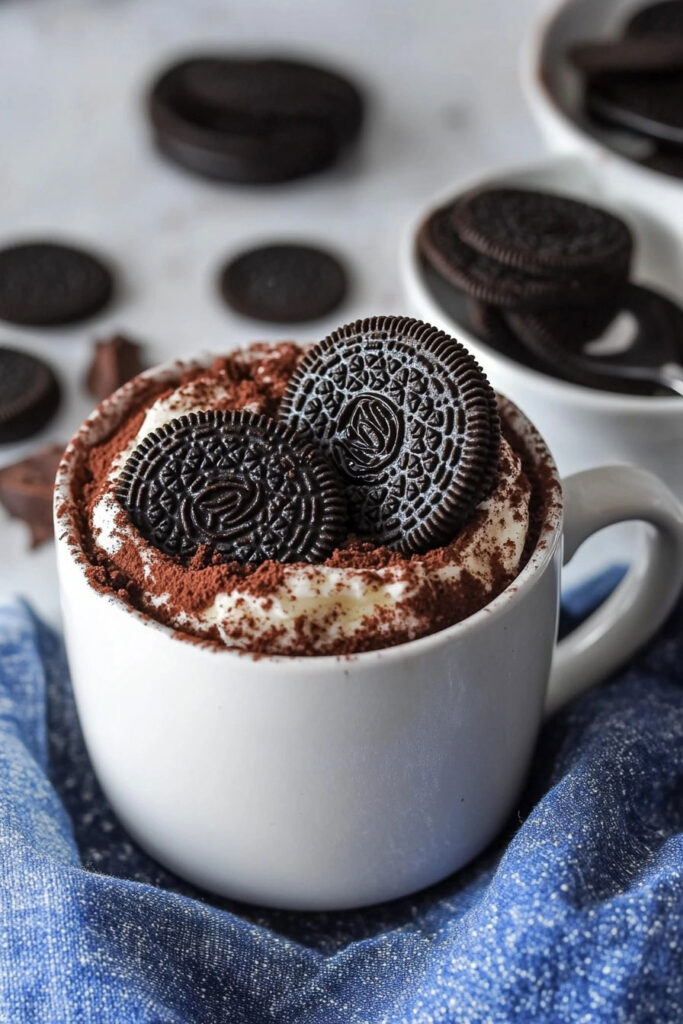
Tips for Success
- Mix Thoroughly: Ensure that the Oreos and milk are well combined to avoid a rubbery texture.
- Microwave Power: Adjust cooking time based on your microwave’s wattage to prevent overcooking.
- Experiment with Flavors: Try adding chocolate chips or a splash of vanilla extract for extra flavor.
Substitutions and Variations
- Milk Alternatives: Use soy milk or any other non-dairy milk if preferred.
- Sugar Options: Granulated sugar can replace caster sugar if necessary, though it may alter the cake’s texture slightly.
- Flour Adjustments: If you don’t have baking powder, use self-raising flour instead of all-purpose flour.
Troubleshooting and Enhancements for Your Oreo Mug Cake
Even the simplest recipes can sometimes go awry, but with a few tips and tricks, you can ensure your Oreo Mug Cake turns out perfectly every time. Additionally, there are plenty of ways to enhance this basic recipe to suit your tastes.
Common Issues and Solutions
1. Cake is Too Dense or Rubbery
- Solution: Ensure you thoroughly mix the Oreos and milk until smooth before adding other ingredients. Overcooking can also cause a rubbery texture, so adjust the microwave time if necessary.
2. Cake Overflows in the Microwave
- Solution: Use a larger mug to provide ample space for the cake to rise. If your mug is smaller, consider halving the recipe.
3. Uneven Cooking
- Solution: Stir the batter well to ensure even distribution of ingredients. If the cake is still undercooked in some areas, microwave in short bursts (10 seconds) until fully cooked.
Enhancing Your Oreo Mug Cake
1. Add a Topping
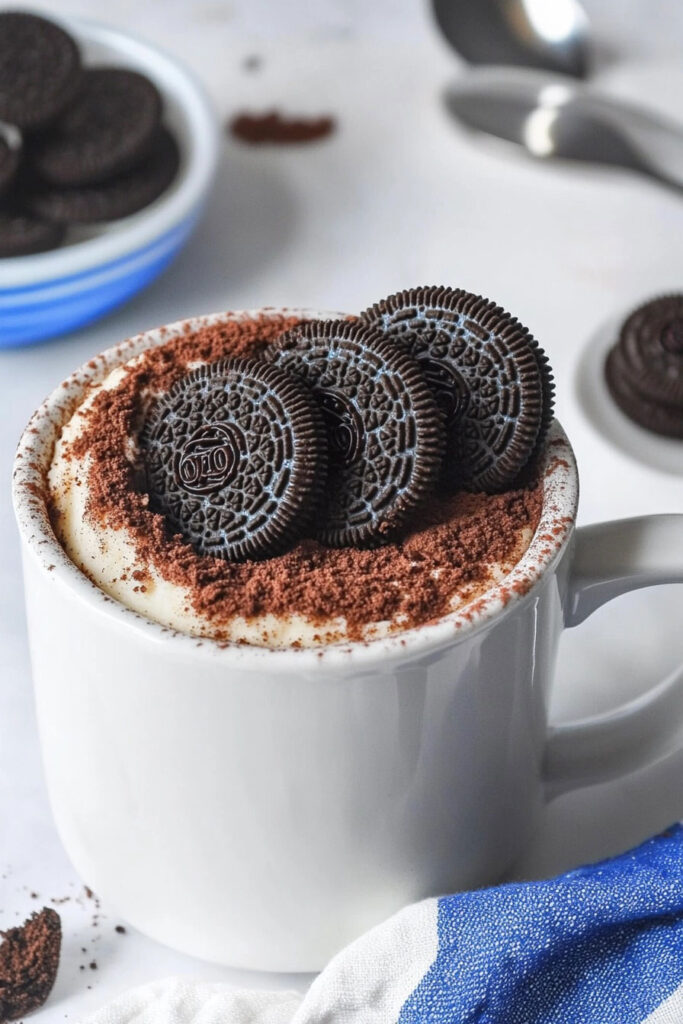
- Whipped Cream: Add a dollop of whipped cream on top for a creamy finish.
- Ice Cream: Serve with a scoop of vanilla or chocolate ice cream for an indulgent treat.
2. Mix-In Ideas
- Chocolate Chips: Stir in a handful of chocolate chips for extra gooeyness.
- Nutella or Peanut Butter: Swirl in a spoonful of Nutella or peanut butter before microwaving for added flavor.
3. Flavor Variations
- Mint Oreos: Use mint-flavored Oreos for a refreshing twist.
- Golden Oreos: Try using Golden Oreos for a vanilla-flavored mug cake.
Serving and Storing Your Oreo Mug Cake
The beauty of an Oreo Mug Cake is not just in its simplicity and speed but also in how versatile it can be when it comes to serving. Here, I’ll share some delightful serving suggestions and essential tips for storing your mug cake, ensuring you enjoy every bite.
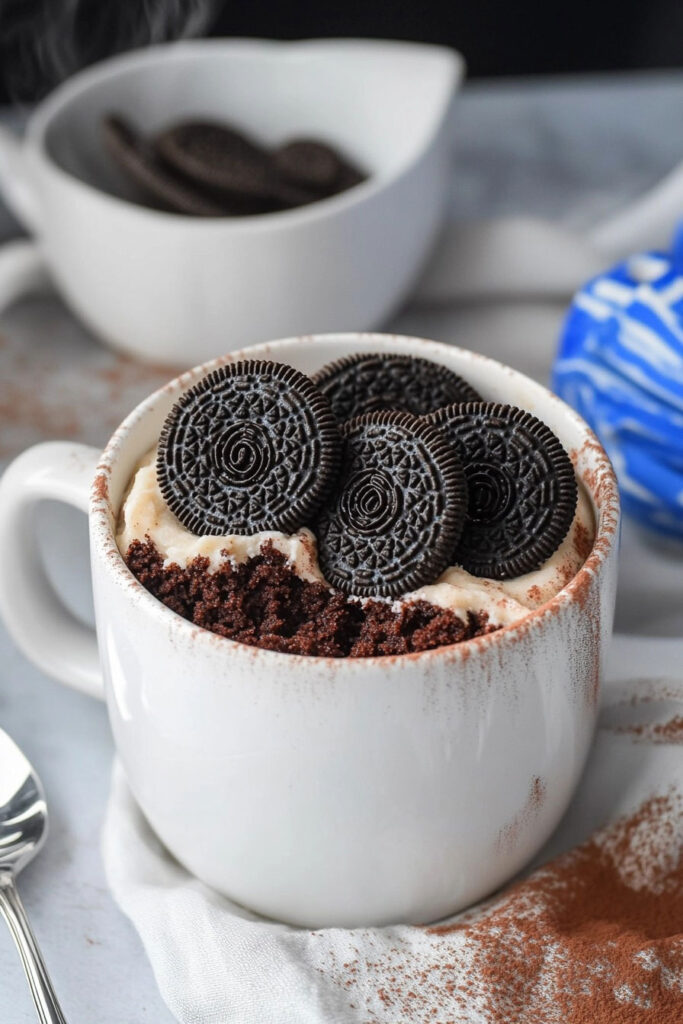
Delicious Serving Suggestions
1. Toppings to Elevate Your Cake
- Ice Cream: A scoop of vanilla or cookies and cream ice cream adds a creamy contrast to the warm cake.
- Whipped Cream: A dollop of whipped cream can add a light, airy texture.
- Syrups: Drizzle chocolate, caramel, or strawberry syrup over the top for added sweetness and flavor.
- Crushed Oreos: Sprinkle additional crushed Oreos on top for extra crunch and that iconic Oreo flavor.
2. Pairings for a Complete Dessert Experience
- Coffee or Hot Chocolate: Enjoy your mug cake with a warm beverage for a cozy treat.
- Fresh Berries: Add a handful of fresh raspberries or strawberries for a burst of freshness.
Storage Tips
While the Oreo Mug Cake is best enjoyed fresh, there are times you might want to store it. Here’s how to do it properly:
1. Short-Term Storage
- If you have leftovers, cover the mug tightly with plastic wrap or transfer the cake to an airtight container.
- Store in the refrigerator for up to 2 days. Be aware that refrigeration may slightly alter the texture, making it denser.
2. Reheating Guidelines
- To reheat, let the mug cake sit at room temperature for about 5 minutes.
- Microwave for 20-30 seconds until warm. Be cautious not to overheat as this can make the cake rubbery.
3. Long-Term Storage
- Freezing is not recommended as it can affect the texture significantly. It’s best to enjoy this dessert fresh or within a day or two of making it.
Frequently Asked Questions
Can I make this mug cake without cocoa powder?
Yes, you can omit the cocoa powder if you prefer a less chocolatey flavor. Consider adding a bit of vanilla extract for a different taste profile.
Is it possible to bake this mug cake instead of microwaving?
Absolutely! Preheat your oven to 375°F (190°C) and bake in an oven-safe dish for about 15 minutes until a toothpick inserted in the center comes out clean.
Can I make this mug cake vegan?
Yes, simply use plant-based milk and ensure your Oreos are vegan-friendly (most original Oreos are).
What’s the best way to serve this mug cake?
Enjoy it warm directly from the mug with your favorite toppings like ice cream or whipped cream.
Can I prepare this in advance?
This cake is best enjoyed fresh, but you can mix the dry ingredients ahead of time to save on prep time.
Conclusion:
Creating an Oreo Mug Cake is a delightful experience that combines simplicity with indulgence. This quick and easy recipe is perfect for those moments when you need a sweet treat without the fuss of traditional baking. With just a few ingredients and a microwave, you can enjoy a warm, chocolatey dessert in minutes.
