If you’re a fan of rich, chocolatey desserts with a twist, the Oreo Cookie Poke Cake is sure to become a favorite in your baking repertoire. This cake is not just about the taste; it’s an experience that combines the moistness of chocolate cake, the creaminess of vanilla pudding, and the crunch of Oreo cookies. Whether you’re preparing it for a family gathering or a casual weekend treat, this cake promises to deliver on flavor and satisfaction.
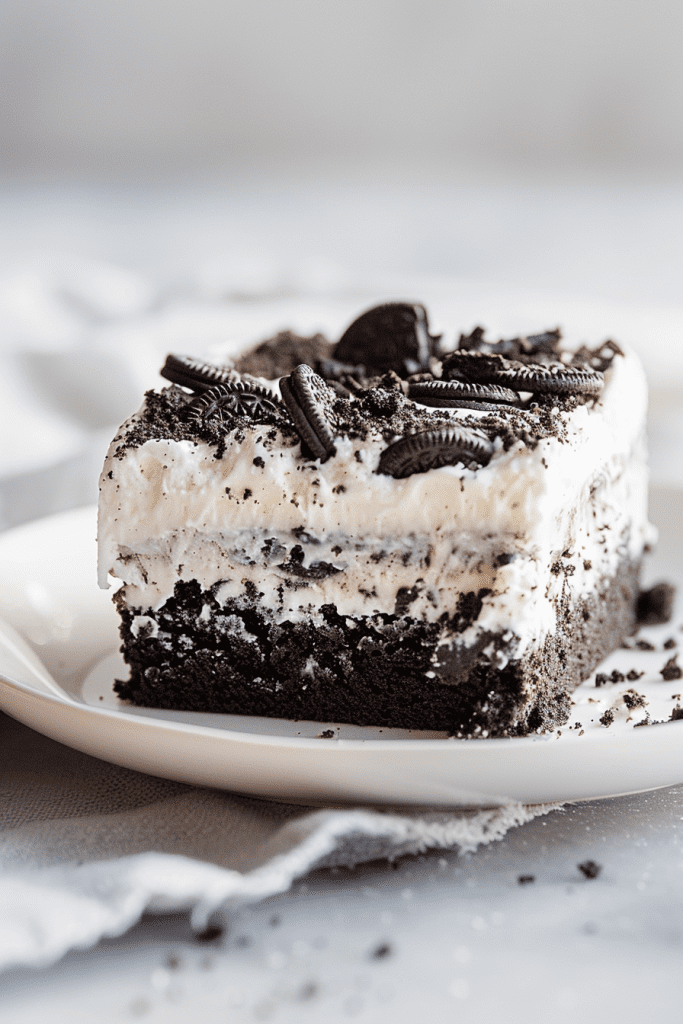
Ingredients List
To create this delightful Oreo Cookie Poke Cake, you’ll need the following ingredients:
Cake Base:
- 1 package of chocolate cake mix
- 1 cup water
- ⅓ cup vegetable oil
- 2 large eggs
Pudding Layer:
- 3.4-ounce box of instant vanilla pudding
- 2 cups cold milk
Topping:
- 12 oz carton of Cool Whip
- 25 Oreo cookies
These ingredients come together to create a dessert that is both simple to make and impressive in taste.
Required Kitchen Tools
Having the right tools can make your baking process smoother:
- Mixing Bowls: For combining cake batter and pudding mixture.
- Hand Mixer or Stand Mixer: To ensure smooth batter consistency.
- 13×9-inch Baking Dish: Ideal size for baking the cake.
- Wooden Spoon: Useful for poking holes in the cake.
- Plastic Zip Bag: For crushing Oreos.
With these tools at hand, you’re ready to embark on your Oreo Cookie Poke Cake journey.
Cake Preparation
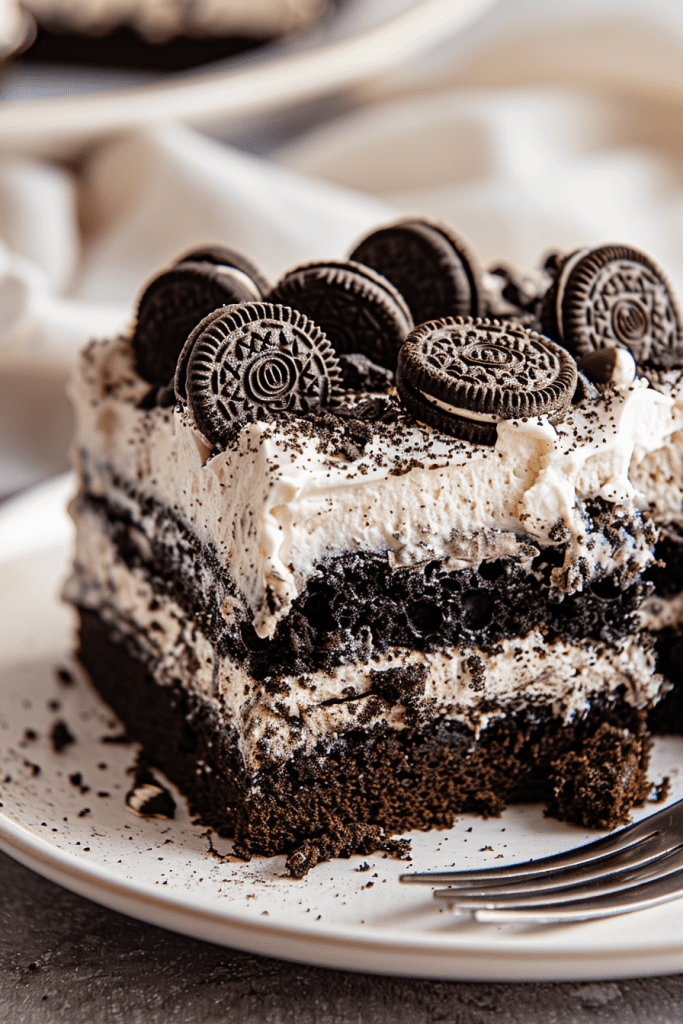
Step-by-Step Instructions:
- Preheat and Prepare: Preheat your oven to 350°F (175°C) and spray a 13×9-inch baking dish with cooking spray.
- Mix the Batter: In a large bowl, mix the chocolate cake mix with water, vegetable oil, and eggs according to package directions.
- Bake: Pour the batter into the prepared pan and bake as per package instructions until a toothpick inserted in the center comes out clean.
- Poke Holes: Once baked, remove from oven and let it cool slightly before using the handle of a wooden spoon to poke holes throughout the cake.
The key to this cake’s unique texture lies in these holes, which will soon be filled with creamy pudding.
Pudding Preparation:
While your cake is baking:
- In a medium bowl, whisk together the instant vanilla pudding mix and cold milk until smooth.
- As soon as the cake is out of the oven and holes are poked, pour this mixture over the top of the cake, ensuring it seeps into every hole.
This step ensures that each bite is filled with creamy goodness.
Once you’ve completed these steps, place your cake in the refrigerator for at least an hour to allow the pudding to set properly.
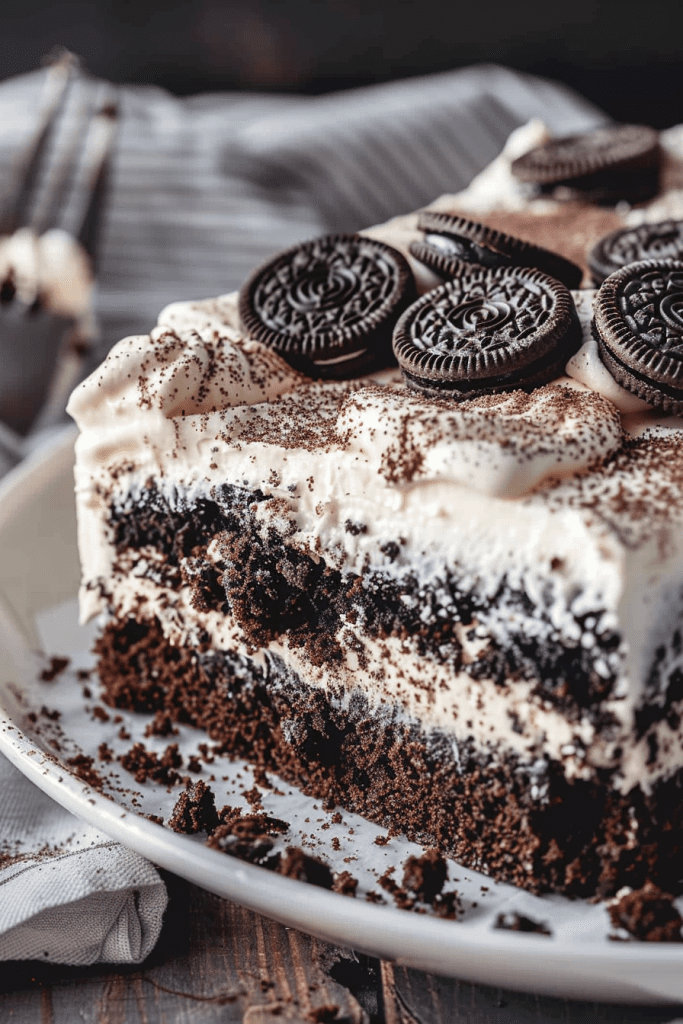
Topping and Decoration
The topping of the Oreo Cookie Poke Cake is where the magic truly happens. This layer not only adds flavor but also brings a delightful texture contrast to the soft cake and creamy pudding.
Cool Whip and Oreo Topping:
- Crush the Oreos: Place 6-7 Oreo cookies in a plastic zip bag and crush them into fine crumbs using a rolling pin or your hands. This will be mixed into the Cool Whip.
- Mix with Cool Whip: In a large bowl, gently fold the crushed Oreo crumbs into the Cool Whip until well combined. This mixture will serve as the luscious topping for your cake.
- Spread Evenly: Remove the cake from the refrigerator and spread the Oreo-infused Cool Whip evenly over the entire surface of the cake.
This step gives the cake its signature look and taste, combining the smoothness of whipped topping with the crunch of Oreos.
Final Touches:
- Additional Crushed Oreos: Crush more Oreo cookies and sprinkle them generously over the top of the cake for added crunch and visual appeal.
- Optional Garnish: For an extra touch of decadence, drizzle chocolate syrup over the top before serving.
Once you’ve completed these steps, return the cake to the refrigerator for an additional 30 minutes to ensure everything sets perfectly.
Serving Suggestions
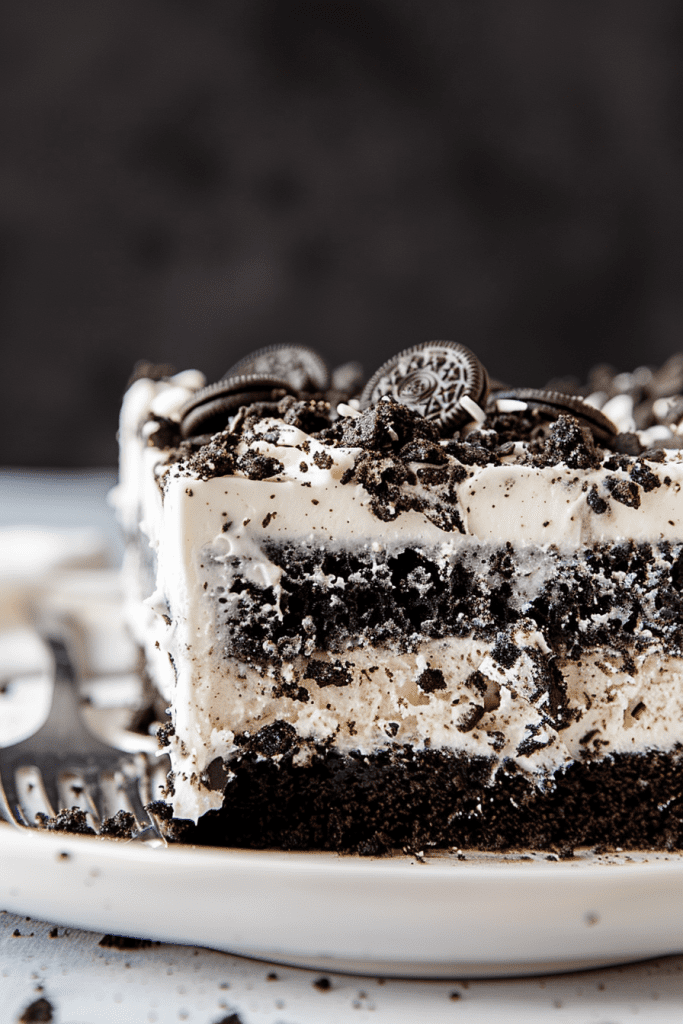
The Oreo Cookie Poke Cake is best served chilled, allowing all its flavors to meld together beautifully. Here are some tips for serving:
- Slice with Care: Use a sharp knife to cut through the layers cleanly, ensuring each piece has a bit of every component.
- Pairing Options: This cake pairs wonderfully with a scoop of vanilla ice cream or a dollop of whipped cream for an extra indulgent treat.
- Presentation: Serve on a decorative plate to highlight its layers and textures, making it as pleasing to the eyes as it is to the palate.
Whether you’re serving this cake at a party or enjoying it as a family dessert, its rich flavors and textures are sure to impress.
Variations and Tips
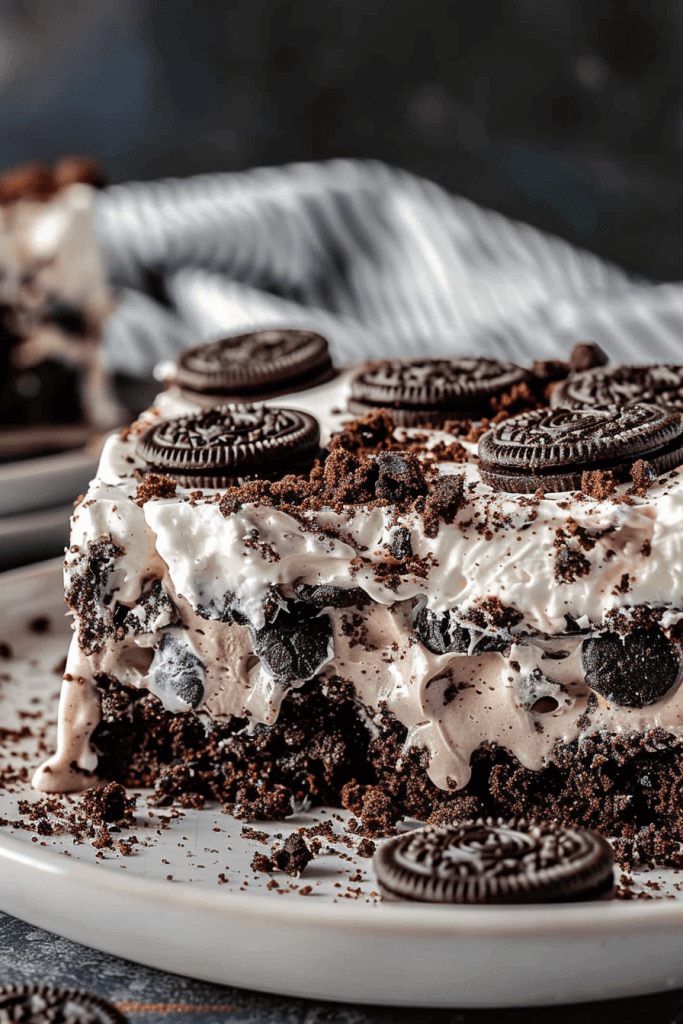
The beauty of the Oreo Cookie Poke Cake lies in its versatility. Here are some variations and tips to customize your cake to suit different tastes and dietary needs:
Flavor Variations:
- Pudding Alternatives: Swap the vanilla pudding for white chocolate or even chocolate pudding for a richer flavor profile.
- Oreo Flavors: Experiment with different Oreo varieties, such as mint or peanut butter, to add a unique twist.
- Add-ins: Consider adding a layer of caramel or peanut butter sauce between the cake and Cool Whip for an extra layer of flavor.
Dietary Adjustments:
- Sugar-Free Options: Use sugar-free pudding mix and light Cool Whip to make a lower-calorie version of this cake.
- Gluten-Free: Substitute a gluten-free chocolate cake mix to accommodate dietary restrictions without sacrificing taste.
Baking Tips:
- Even Holes: Ensure the holes you poke in the cake are evenly spaced to allow the pudding to distribute uniformly.
- Chill Time: Allowing the cake to chill sufficiently is crucial for the flavors to meld and for easy slicing.
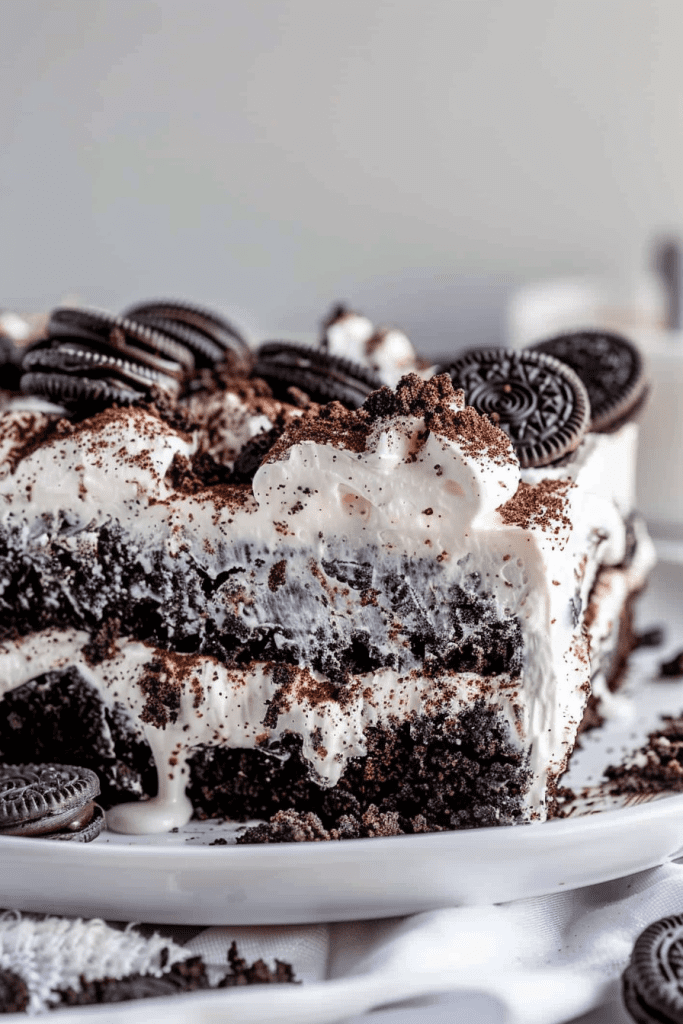
These variations and tips can help you tailor the Oreo Cookie Poke Cake to meet your preferences, making it a versatile dessert option for any occasion.
Frequently Asked Questions
Q: Can I make this cake ahead of time?
A: Yes, the Oreo Cookie Poke Cake can be made a day in advance. In fact, it often tastes better after sitting in the refrigerator overnight, allowing all the flavors to meld together.
Q: How should I store leftovers?
A: Store any leftover cake in an airtight container in the refrigerator for up to 3 days. This will keep the cake moist and fresh.
Q: Can I freeze this cake?
A: While it’s possible to freeze, it’s not recommended because the texture of the Cool Whip might change upon thawing. However, if you must freeze it, do so before adding the Cool Whip topping.
Q: What if I don’t have a wooden spoon for poking holes?
A: You can use any utensil with a round handle, such as a chopstick or straw, to poke holes in the cake.
Conclusion
The Oreo Cookie Poke Cake is more than just a dessert; it’s an experience that combines various textures and flavors into one delightful bite. Perfect for any occasion, this cake is sure to be a hit with both kids and adults alike. By following these detailed instructions and tips, you’ll be able to create a dessert that’s as visually appealing as it is delicious. Whether you stick with the classic recipe or try out some variations, this cake is bound to become a staple in your baking repertoire.
PrintOreo Cookie Poke Cake
This Oreo Cookie Poke Cake is a rich, creamy, and indulgent dessert perfect for any occasion. A moist chocolate cake is filled with vanilla pudding, topped with Oreo-infused Cool Whip, and finished with a generous sprinkle of crushed Oreos. It’s a simple yet show-stopping treat that Oreo lovers will adore!
- Prep Time: 15 minutes
- Cook Time: 30 minutes
- Total Time: ~2 hours (Chill Time: 1.5 hours)
- Yield: 12–16 slices 1x
- Category: Dessert
- Cuisine: American
Ingredients
Cake Base
- 1 package chocolate cake mix (15.25 oz)
- 1 cup water
- ⅓ cup vegetable oil
- 2 large eggs
Pudding Layer
- 3.4 oz box instant vanilla pudding mix
- 2 cups cold milk
Topping
- 12 oz carton Cool Whip (thawed)
- 25 Oreo cookies (divided: ~7 for Cool Whip, remaining for topping)
Instructions
Step 1: Bake the Cake
- Preheat your oven to 350°F (175°C) and grease a 9×13-inch baking dish with cooking spray.
- In a large bowl, combine the chocolate cake mix, water, vegetable oil, and eggs. Mix until smooth according to the package instructions.
- Pour the batter into the prepared pan and bake as directed (typically 28–30 minutes) or until a toothpick inserted in the center comes out clean.
Step 2: Poke and Fill
- Let the cake cool for about 10 minutes. Using the handle of a wooden spoon or a similar utensil, poke holes evenly across the cake surface (~1 inch apart).
- In a medium bowl, whisk together the pudding mix and cold milk until smooth. Immediately pour the pudding over the warm cake, ensuring it fills all the holes evenly. Spread any excess pudding on top with a spatula.
Step 3: Add Topping
- Refrigerate the cake for at least 1 hour to allow the pudding to set.
- Crush ~7 Oreos into fine crumbs using a zip bag and rolling pin or food processor. Gently fold these crumbs into the thawed Cool Whip until well combined. Spread this mixture evenly over the chilled cake.
Step 4: Final Touch
- Crush the remaining Oreos and sprinkle them generously over the top of the Cool Whip layer for added crunch and decoration.
- For an extra indulgent touch, drizzle chocolate syrup on top if desired.
Notes
Serving Suggestions
- Serve chilled for best flavor and texture. Pair with vanilla ice cream or coffee for an extra treat.
Tips & Tricks
- Ensure even spacing when poking holes to distribute pudding uniformly throughout the cake.
- For smoother spreading, let Cool Whip fully thaw before mixing with crushed Oreos.
- Chill overnight for enhanced flavor absorption.
Storage & Reheating
- Store leftovers in an airtight container in the refrigerator for up to 3 days.
- Freezing is not recommended as it may alter the texture of the topping.

