
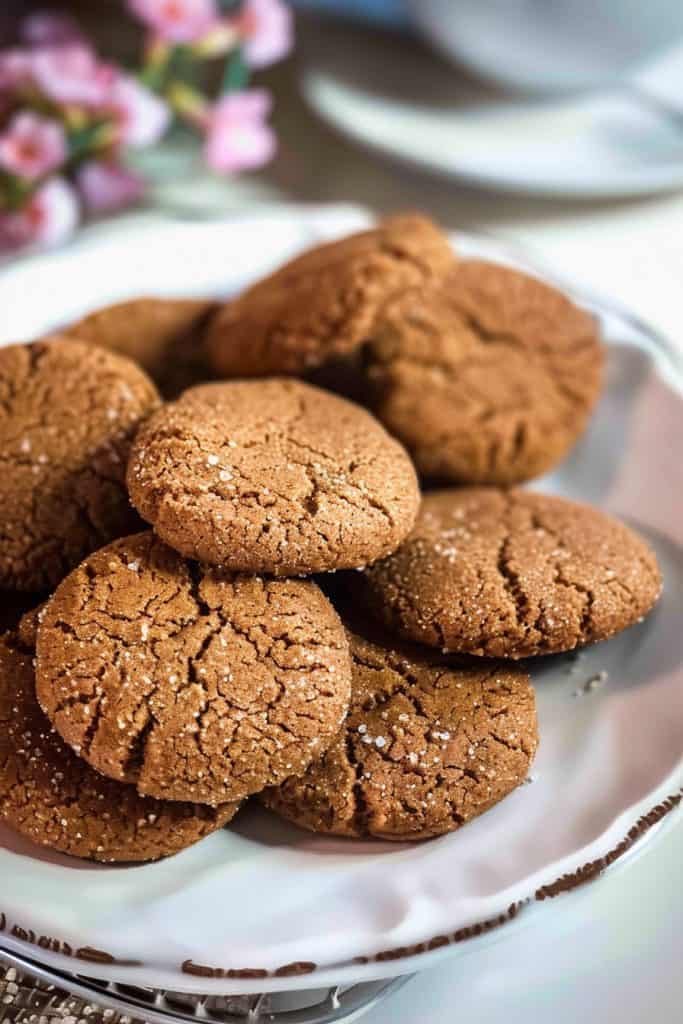
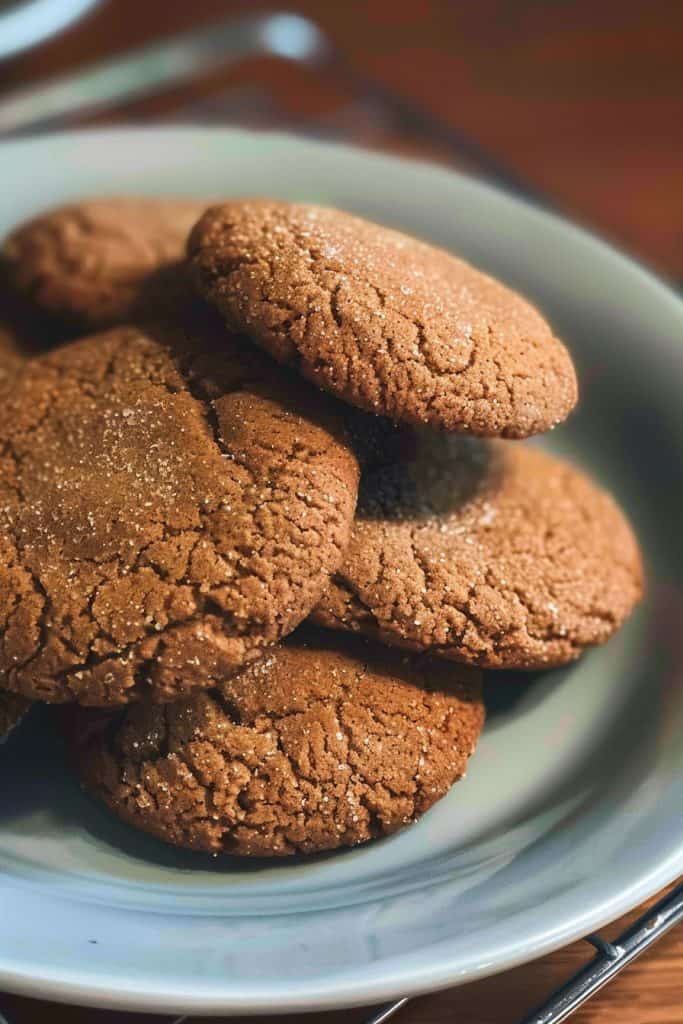
There’s something magical about ginger snaps that transports me straight to cozy holiday gatherings and warm kitchens filled with the scent of spices. These classic cookies, with their perfect balance of sweetness and spice, have been a beloved treat for generations. Originating from Europe, ginger snaps have found a special place in many hearts and homes around the world.
I love how the crisp texture and the zesty ginger flavor come together in each bite. Whether you’re dunking them in a cup of tea or enjoying them on their own, ginger snaps bring a delightful crunch that’s hard to resist. Let’s dive into this timeless recipe that promises to fill your home with warmth and joy.
Ingredients
To create delectable ginger snaps with a perfect balance of sweet and spice, you’ll need a precise combination of carefully measured ingredients.
For the Cookies
- 2 cups all-purpose flour
- 1 tablespoon ground ginger
- 2 teaspoons baking soda
- 1 teaspoon ground cinnamon
- 1/2 teaspoon ground cloves
- 1/2 teaspoon salt
- 3/4 cup (1 1/2 sticks) unsalted butter, softened
- 1 cup granulated sugar
- 1 large egg
- 1/4 cup molasses
- 2 tablespoons granulated sugar (for sprinkling)
- 1/4 cup granulated sugar
Tools and Equipment
Creating the perfect ginger snaps cookies requires some essential tools and equipment to ensure the process runs smoothly. Here’s what you’ll need:
Measuring Tools
- Measuring Cups and Spoons: Accurate measurements are crucial for consistent results.
- Kitchen Scale: Ideal for measuring ingredients like flour if precision is needed.
Preparation Tools
- Medium Mixing Bowls: You’ll need separate bowls for wet and dry ingredients.
- Whisk: To thoroughly blend dry ingredients.
- Rubber Spatula: For scraping down the sides of the mixing bowls.
- Electric Mixer: A handheld or stand mixer works well for creaming the butter and sugar.
Baking Tools
- Baking Sheets: Use heavy-duty sheets to prevent warping and ensure even baking.
- Parchment Paper: For lining the baking sheets, making cleanup easier and preventing sticking.
- Cookie Scoop: For evenly sized cookies that bake consistently.
- Cooling Racks: Allows the cookies to cool evenly and prevents them from becoming soggy.
- Rolling Pin: Optional; can be used if you prefer flatter cookies.
Make sure to have these on hand to create the best ginger snaps and enjoy the process seamlessly.
Directions
Follow these straightforward steps to bake the perfect ginger snaps cookies. Get ready to fill your kitchen with the warm, spicy aroma of these classic treats.
Prep
- Preheat your oven to 350°F (175°C).
- Line two baking sheets with parchment paper.
- In a medium bowl, whisk together:
- 2 cups all-purpose flour
- 1 1/2 teaspoons ground ginger
- 1 teaspoon baking soda
- 3/4 teaspoon ground cinnamon
- 1/2 teaspoon ground cloves
- 1/4 teaspoon salt
- In a large bowl, beat together with an electric mixer on medium speed:
- 3/4 cup unsalted butter, softened
- 1 cup granulated sugar
- Add and blend until smooth:
- 1 egg
- 1/4 cup molasses
- Gradually add the dry ingredients to the wet mixture, mixing on low speed until well combined.
Cook
- Use a tablespoon to scoop dough and roll it into balls.
- Roll each dough ball in:
- 1/4 cup granulated sugar
- Place the dough balls about 2 inches apart on prepared baking sheets.
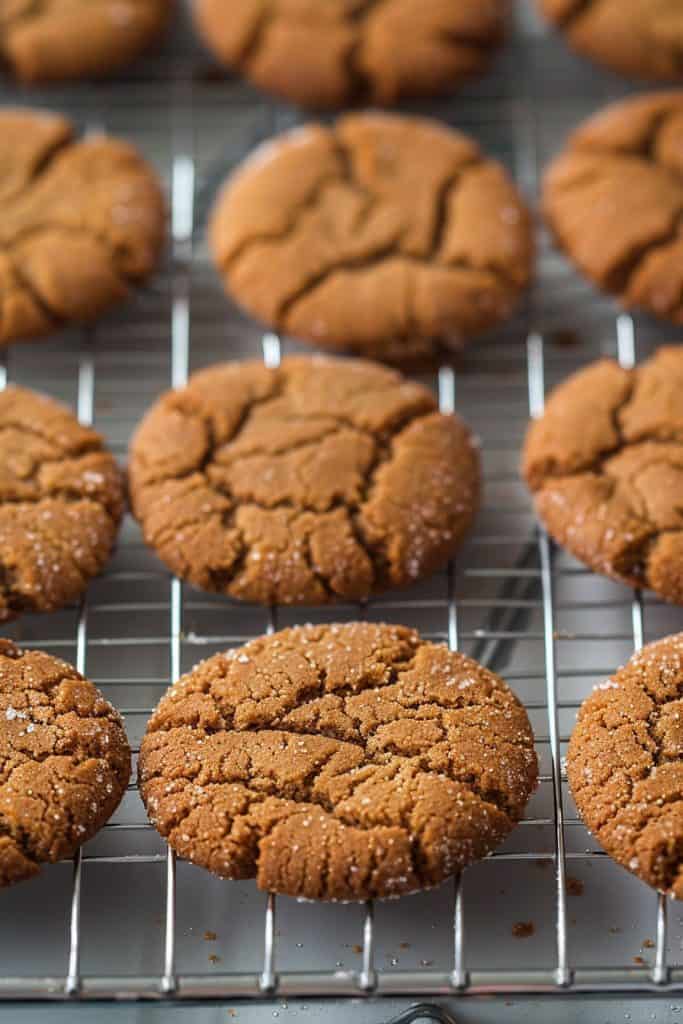
- Bake in the preheated oven for 10-12 minutes, or until cookies are set and tops are cracked.
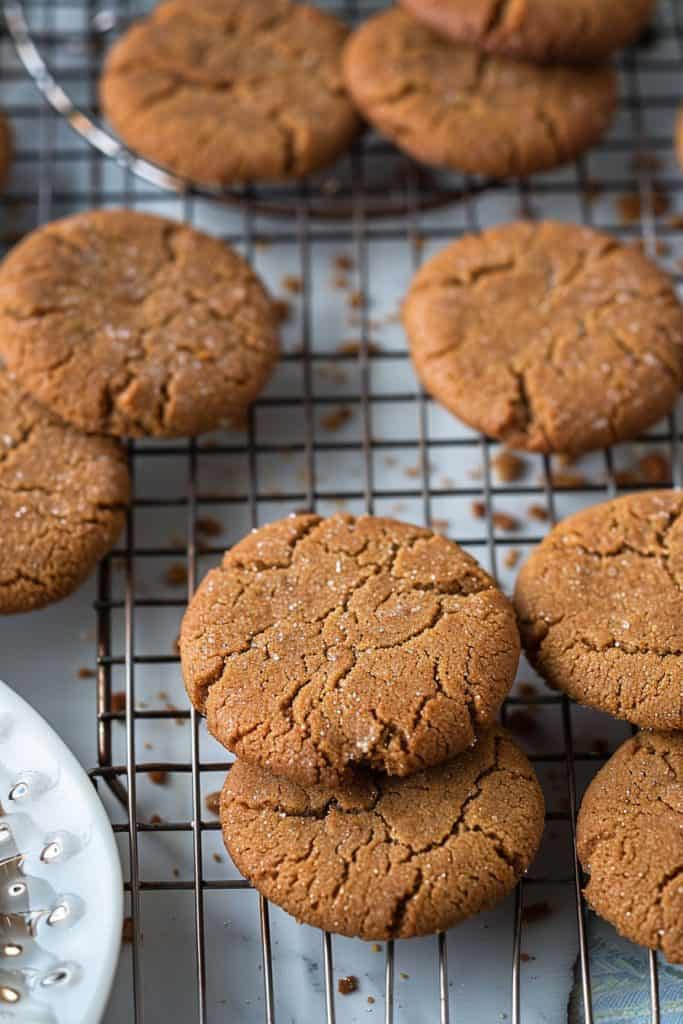
- Remove the baking sheets from the oven and let the cookies cool on the sheets for 5 minutes.
- Transfer the cookies to wire racks to cool completely.
- Once cooled, store the ginger snaps in an airtight container at room temperature. They can remain fresh for up to 1 week.
Make Ahead and Freezing Instructions
Making ginger snaps ahead of time can be a huge time-saver, especially during the busy holiday season.
Make Ahead
- Prepare Dough In Advance: Follow the recipe steps to make the dough. Once mixed, shape it into a log, wrap it tightly in plastic wrap, and refrigerate for up to 3 days.
- Baking Pre-Made Dough: When ready to bake, simply slice the dough into 1/4-inch thick rounds, place on a baking sheet, and bake according to the recipe instructions.
Freezing Dough
- Freezing Unbaked Dough: Place the wrapped dough in a freezer-safe bag or container. Label with the date, and freeze for up to 3 months.
- Baking From Frozen Dough: Thaw the dough in the refrigerator overnight before slicing and baking as directed.
- Cooling Completely: Ensure cookies are completely cooled before freezing to avoid moisture buildup.
- Layering For Storage: Place cookies in a single layer on a baking sheet and freeze until solid. Transfer to a freezer-safe container, separating layers with parchment paper.
- Storage Time: Freeze cookies for up to 2 months. For best results, double-wrap in plastic wrap and foil for extra protection.
- Thawing Baked Cookies: Thaw cookies at room temperature for a couple of hours before serving. Enjoy them as they are or warm them in a preheated oven at 300°F for 5-10 minutes to refresh their crispiness.
By following these make-ahead and freezing tips, you can always have delicious ginger snaps ready for any occasion, ensuring you never run out of these beloved treats.
Pro Tips for Perfect Ginger Snaps
To ensure your ginger snaps come out perfect every time, I have gathered some invaluable tips that will elevate your baking game. Follow these insights, and you’ll be savoring the best ginger snaps you’ve ever made.
Use Fresh Spices
Fresh spices make a world of difference in the flavor of your ginger snaps. Ensure that your ground ginger, cinnamon, and cloves are not past their prime. Check the expiration dates and give them a quick sniff—if the aroma isn’t strong, it’s time for new spices.
Measure Ingredients Accurately
Precision is key in baking. Use dry measuring cups for dry ingredients and liquid measuring cups for wet ingredients. Level off the dry ingredients with a straight edge to make sure you aren’t adding too much or too little.
Chill the Dough
Chilling the dough is essential for controlling the spread of the cookies. After mixing the dough, cover it with plastic wrap and refrigerate for at least one hour. This step ensures the cookies bake up thick and chewy instead of thin and crispy.
Roll in Sugar
For that classic ginger snap crunch and delightful sparkle, roll each dough ball in granulated sugar before baking. This extra step adds a wonderful texture and a bit of sweetness to every bite.
Use Parchment Paper
Line your baking sheets with parchment paper. This not only prevents the cookies from sticking but also makes for easy cleanup. Plus, it helps the cookies bake more evenly.
Rotate the Baking Sheets
Halfway through baking, rotate the baking sheets between the top and bottom racks of your oven. This ensures even baking and prevents cookies from burning or becoming too brown on one side.
Know Your Bake Time
Timing is everything. Bake the cookies until they are just starting to crack on the surface, typically 10-12 minutes. They will continue to firm up as they cool, so avoid overbaking which can make them too hard.
Store Properly
Cool the cookies completely on a wire rack before storing them in an airtight container. This keeps them fresh and maintains their crispy texture. You can also add a slice of bread to the container to absorb any excess moisture.

Conclusion
Baking ginger snaps is a delightful experience that brings warmth and nostalgia to any kitchen. By following the detailed instructions and pro tips, you can achieve perfectly crispy and flavorful cookies every time. Remember to use fresh spices and measure ingredients accurately for the best results. Chilling the dough and proper storage will ensure your ginger snaps remain fresh and delicious. So go ahead and enjoy the process of baking these classic treats. Happy baking!