
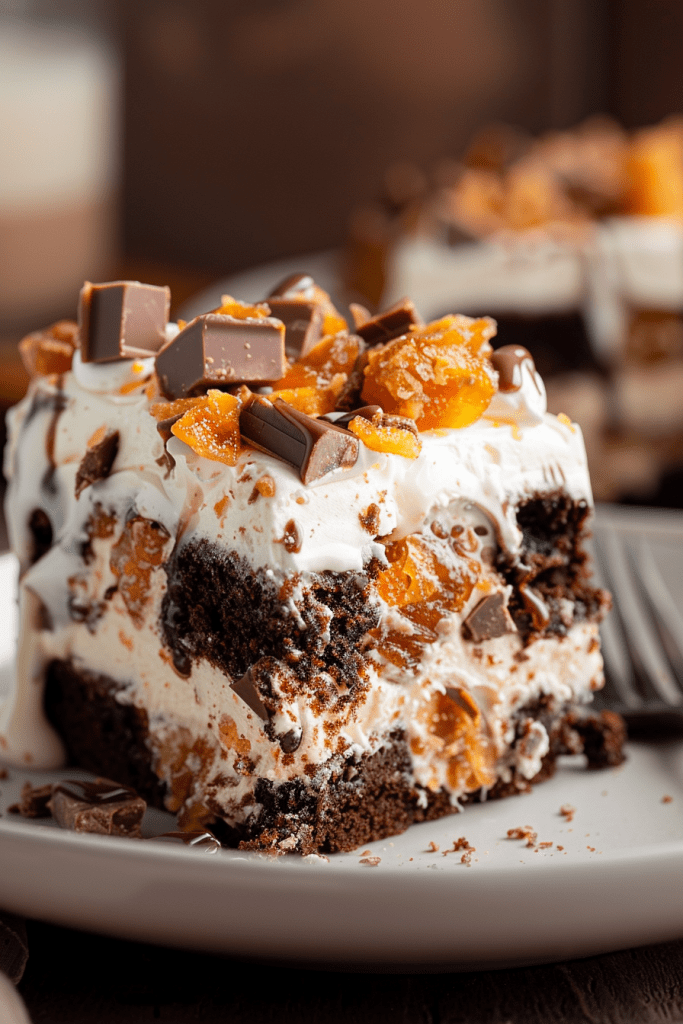
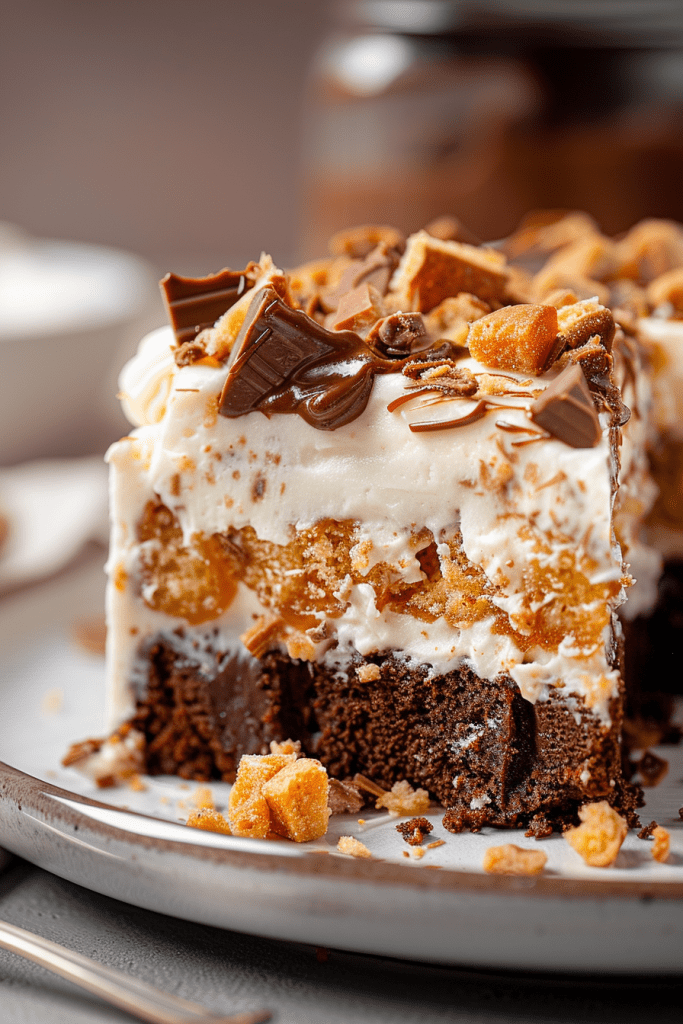
Craving a decadent dessert that’s both simple and addictive? Look no further than the Butterfinger Poke Cake. This mouthwatering treat is a delightful twist on the classic poke cake recipe. With just a few key ingredients like yellow cake mix, caramel syrup, and crushed Butterfingers, this dessert is a guaranteed crowd-pleaser.
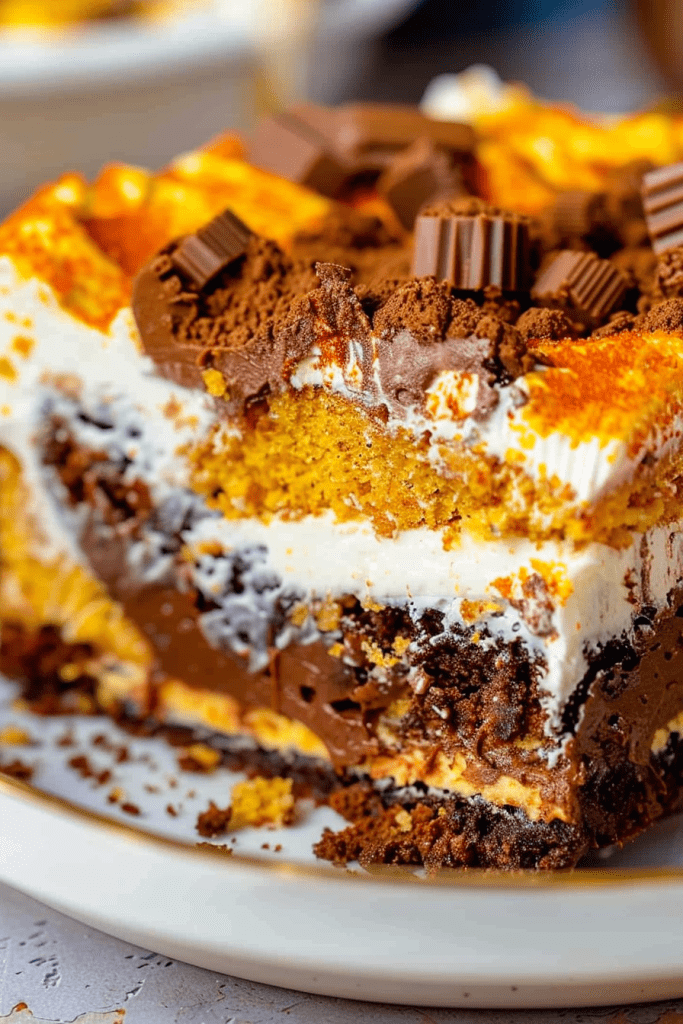
Poke cakes are known for their moist and flavorful nature, and this Butterfinger version is no exception. The combination of buttery cake, sweet caramel, and crunchy candy creates a symphony of flavors that will leave you craving more. Whether you’re preparing for a potluck or simply satisfying your sweet tooth, this Butterfinger Poke Cake is sure to impress.
Discover the magic of this semihomemade dessert that strikes the perfect balance between simplicity and indulgence. Stay tuned for the full recipe to learn how to create this irresistible Butterfinger Poke Cake that’s bound to become a new favorite in your dessert repertoire.
Recipe Overview
Prep Time: 15 minutes
Bake Time: 25 minutes
Chilling Time: 2 hours
Total Time: 2 hours 40 minutes
Servings: 12 servings
Ingredients
▢ 1 box yellow cake mix¹
▢ 1 (14 ounce) can sweetened condensed milk
▢ 12 ounces salted caramel sauce²
▢ 8 ounces heavy whipping cream³
▢ 2 Tablespoons granulated sugar³
▢ 1 and ½ teaspoons vanilla extract³
▢ 12 fun sized Butterfinger candy bars⁴ coarsely chopped
¹ Use ingredients called for on the cake mix box (typically eggs, oil, water).
² Homemade or store-bought.
³ For homemade whipped cream. Alternatively, use 8-12 ounces of thawed Cool Whip.
⁴ Used for topping.
Equipment Needed
To make this scrumptious Butterfinger poke cake, you’ll need a few essential pieces of equipment to ensure everything comes together perfectly. Here’s what you’ll need:
Baking Equipment:
- 9×13 baking pan
- Wooden spoon or spatula handle for poking holes in the cake
- Non-stick cooking spray or homemade cake release
Mixing Equipment:
- Medium-sized bowl or large glass measuring cup with a spout for mixing the sweetened condensed milk and caramel sauce
- Mixing spoon or whisk for blending the sweetened condensed milk and caramel sauce
- Mixer (if making homemade whipped cream)
- Spatula for spreading the whipped topping over the cake
- Knife for chopping the Butterfinger candy bars
Having these tools on hand will make the process of creating this delightful Butterfinger poke cake a breeze.
Instructions
Preparing the Cake Base
- Spray a 9″ x 13″ baking dish with non-stick spray (or use homemade cake release). Set it aside.
- Prepare the cake batter as per the instructions and ingredients¹ on the box. Pour it into the prepared pan and bake as directed.
Creating Holes and Adding Filling
- While the cake is baking, pour the sweetened condensed milk and caramel sauce² into a medium size bowl or large glass measuring cup with a spout. Stir until the color is uniform and there are no more streaks. Set aside.
- Remove the cake from the oven and, while it is still hot, use the handle of a wooden spoon or spatula (you’re looking for something a little larger than the size of an eraser) to poke holes in the cake. They do not have to be perfect or in any particular pattern, but try to space them out about ¼” to ½” between each poke.
- Slowly pour the prepared sweetened condensed milk and caramel mixture evenly over the hot cake, covering all of the holes and pouring to the edges. Allow the cake to cool completely at room temperature.
- When the cake is completely cool, sprinkle half of the chopped Butterfinger bars⁴ evenly on top of the cake. Cover and chill the cake in the refrigerator for at least 2 hours or up to overnight before topping.
Topping and Serving
- When you are ready to top the cake: If making homemade whipped cream, pour the heavy cream³, sugar³, and vanilla extract³ into a bowl. Turn the mixer to medium-high speed and whip until medium peaks form (about 4-5 minutes). Alternatively, use thawed Cool Whip³.
- Spread the whipped cream (or Cool Whip³) evenly over the top of the chilled cake, then sprinkle with the remaining chopped Butterfinger bars⁴.
- Serve right away or chill again in the fridge until ready to serve. Enjoy the decadent Butterfinger poke cake!
Make-Ahead Tips
To ensure the best results for your Butterfinger poke cake, I recommend following these helpful make-ahead tips:
- Advance Preparation: You can bake the cake base a day ahead to save time on the day you plan to serve the dessert. Let it cool completely before proceeding with the filling.
- Required Chilling: After adding the sweetened condensed milk and caramel sauce mixture and half the Butterfingers to the cooled cake, cover it tightly and refrigerate for at least 2 hours or overnight. This chilling period is essential for the cake to set properly.
- Whipped Cream Preparation: If you are using homemade whipped cream instead of store-bought Cool Whip, you can whip the cream just before serving, or carefully store it covered in the refrigerator for a short time.
- Butterfinger Topping: For the Butterfinger candy bar topping, you can chop the candy bars in advance and store them in an airtight container. This step saves time when assembling the cake later.
By following these make-ahead tips, you can streamline the preparation process and enhance the flavors and texture of your Butterfinger poke cake.
Serving and Presentation
After you have prepared and chilled your delicious Butterfinger Poke Cake, it’s time to serve and present this delightful dessert to impress your guests. Here are a few simple steps to ensure a beautiful presentation and a memorable dining experience.
Step 1: Add Final Toppings
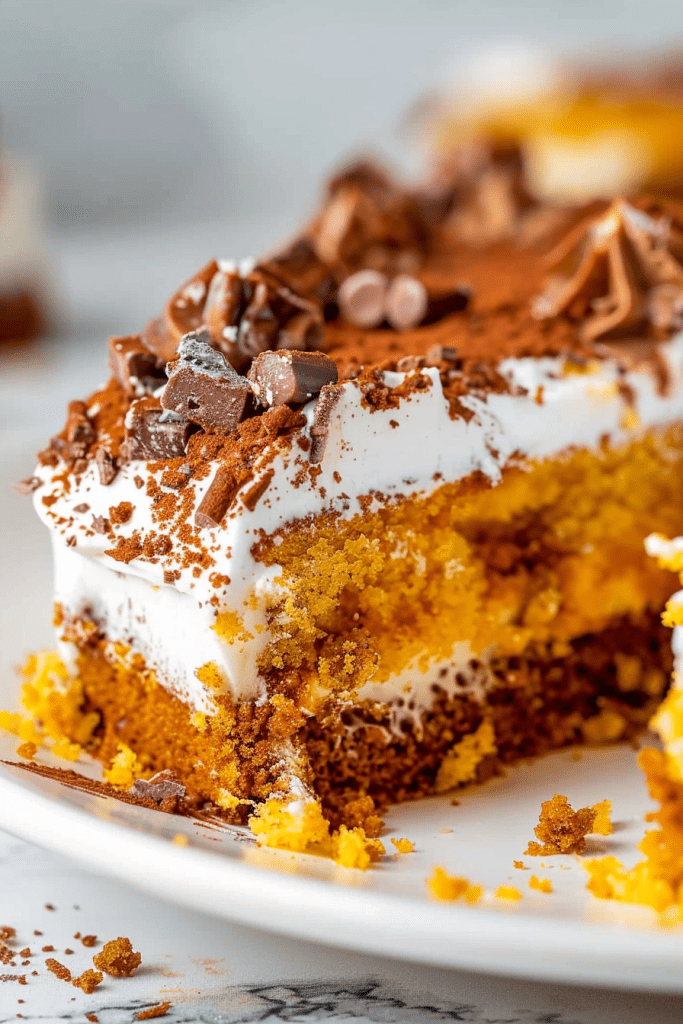
Just before serving (or after adding the whipped topping), sprinkle the remaining coarsely chopped Butterfinger candy bars⁴ over the whipped cream. This will add a satisfying crunch and a burst of flavor that complements the creamy texture of the cake. The colorful specks of Butterfinger will also enhance the visual appeal of your dessert.
Step 2: Slice and Serve
Using a sharp knife, carefully slice the cake into neat squares or rectangles, depending on your preference. Make sure to clean the knife between each slice to maintain clean edges. Arrange the pieces on a serving platter or individual dessert plates for a sophisticated presentation.
Step 3: Garnish and Enjoy
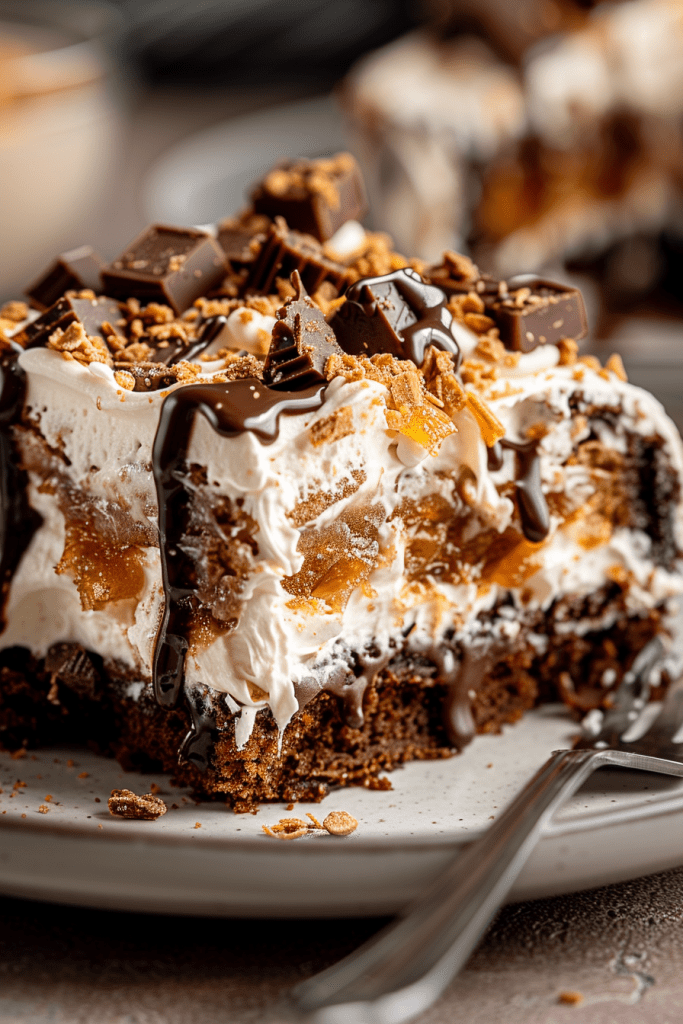
For an extra touch of elegance, you can garnish each slice of Butterfinger Poke Cake with an additional dollop of whipped cream or a drizzle of caramel sauce. This additional decoration will elevate the dessert’s appearance and provide a luxurious finishing touch. Serve the cake chilled and encourage your guests to enjoy every bite of this delectable treat.
By following these simple steps, you can serve your Butterfinger Poke Cake with style and flair, delighting everyone who gathers around your table. Enjoy the combination of moist cake, creamy caramel, and crunchy Butterfinger as you savor each mouthful of this irresistible dessert.
Storage Instructions
After indulging in the delightful Butterfinger Poke Cake, it’s essential to store any leftovers properly to maintain freshness and flavor. Here are some simple storage instructions:
- Refrigeration: Once the Butterfinger Poke Cake has been served, any remaining portions should be covered tightly with plastic wrap or stored in an airtight container. Place the container in the refrigerator. Store leftovers covered in the refrigerator for up to 4 days. Note that the Butterfinger pieces will start to soften and lose their crunch over time, which is totally fine and safe to eat.
- Freezing: This cake freezes well for up to 3 months. For best results, freeze the cake after adding the caramel/condensed milk layer but before adding the whipped topping and Butterfinger pieces. Wrap the cake tightly in plastic wrap and then in aluminum foil to prevent freezer burn. Label with the date.
- Thawing: When ready to eat the frozen Butterfinger Poke Cake, remove it from the freezer and let it thaw covered in the refrigerator overnight. Add the whipped topping and chopped Butterfingers just before serving.
By following these storage instructions, you can savor the deliciousness of your Butterfinger Poke Cake for longer periods.
Conclusion
Creating Butterfinger Poke Cake is a delightful experience that brings together the perfect blend of flavors and textures in each bite. With its easy preparation and versatile serving options, this dessert is sure to be a hit at any gathering. By following the storage guidelines provided, you can enjoy the Butterfinger Poke Cake for days (or months, if freezing!), maintaining its freshness and delicious taste.
Whether you’re a seasoned baker or a novice in the kitchen, this recipe offers a satisfying treat that will leave everyone craving for more. Try making this irresistible Butterfinger Poke Cake today and indulge in a dessert that is both simple to make and incredibly satisfying to eat.
PrintButterfinger Poke Cake
Whip up this incredibly easy and decadent Butterfinger Poke Cake! It’s a guaranteed crowd-pleaser featuring moist yellow cake soaked in rich caramel goodness, topped with fluffy whipped cream and irresistible crunchy Butterfinger bits. Perfect for potlucks or satisfying that sweet tooth!
- Prep Time: 15 mins
- Cook Time: 25 mins
- Total Time: 2 hrs 40 mins (Included Chill Time)
- Yield: 12 servings 1x
- Category: Dessert
- Cuisine: American
Ingredients
- 1 box yellow cake mix (plus ingredients listed on box – typically eggs, oil, water)
- 1 (14 oz) can sweetened condensed milk
- 12 oz salted caramel sauce (store-bought or homemade)
- 8 oz heavy whipping cream
- 2 Tbsp granulated sugar
- 1 ½ tsp vanilla extract
- (Or use 8-12 oz thawed Cool Whip instead of homemade whipped cream)
- 12 fun-sized Butterfinger candy bars, coarsely chopped
Instructions
- Prep & Bake: Preheat oven according to cake mix directions. Grease and flour a 9×13 inch baking pan. Prepare cake batter following box instructions, pour into the pan, and bake as directed.
- Mix Filling: While the cake bakes, stir together the sweetened condensed milk and caramel sauce in a bowl or large measuring cup until smooth and uniform in color.
- Poke & Pour: As soon as the cake comes out of the oven, while still hot, poke holes all over the top using the handle of a wooden spoon (about ½ inch apart). Slowly and evenly pour the caramel mixture over the hot cake, making sure it seeps into the holes.
- Cool & First Chill: Let the cake cool completely at room temperature. Once cool, sprinkle half of the chopped Butterfingers over the cake. Cover and refrigerate for at least 2 hours, or overnight.
- Make Whipped Topping: Just before serving, whip the heavy cream, sugar, and vanilla extract on medium-high speed until medium peaks form (about 4-5 mins). (Alternatively, use thawed Cool Whip).
- Assemble & Serve: Spread the whipped topping evenly over the chilled cake. Sprinkle the remaining chopped Butterfingers on top. Slice and serve immediately, or return to the fridge until ready.
Notes
- Serving: Delicious served chilled! For extra flair, add a drizzle of caramel sauce or an extra dollop of whipped cream to individual slices.
- Tips & Tricks: Use the round handle of a wooden spoon for nice, big holes the filling can soak into. Pouring the filling while the cake is hot helps it absorb better, but ensure the cake is fully cool before adding the whipped topping.
- Storage: Keep leftovers tightly covered in the refrigerator for up to 4 days. The Butterfinger pieces will soften over time but are still tasty!
- Freezing: Freeze the cake after adding the caramel filling but before adding whipped topping or candy. Wrap well and freeze for up to 3 months. Thaw overnight in the refrigerator, then add whipped topping and remaining Butterfingers just before serving.