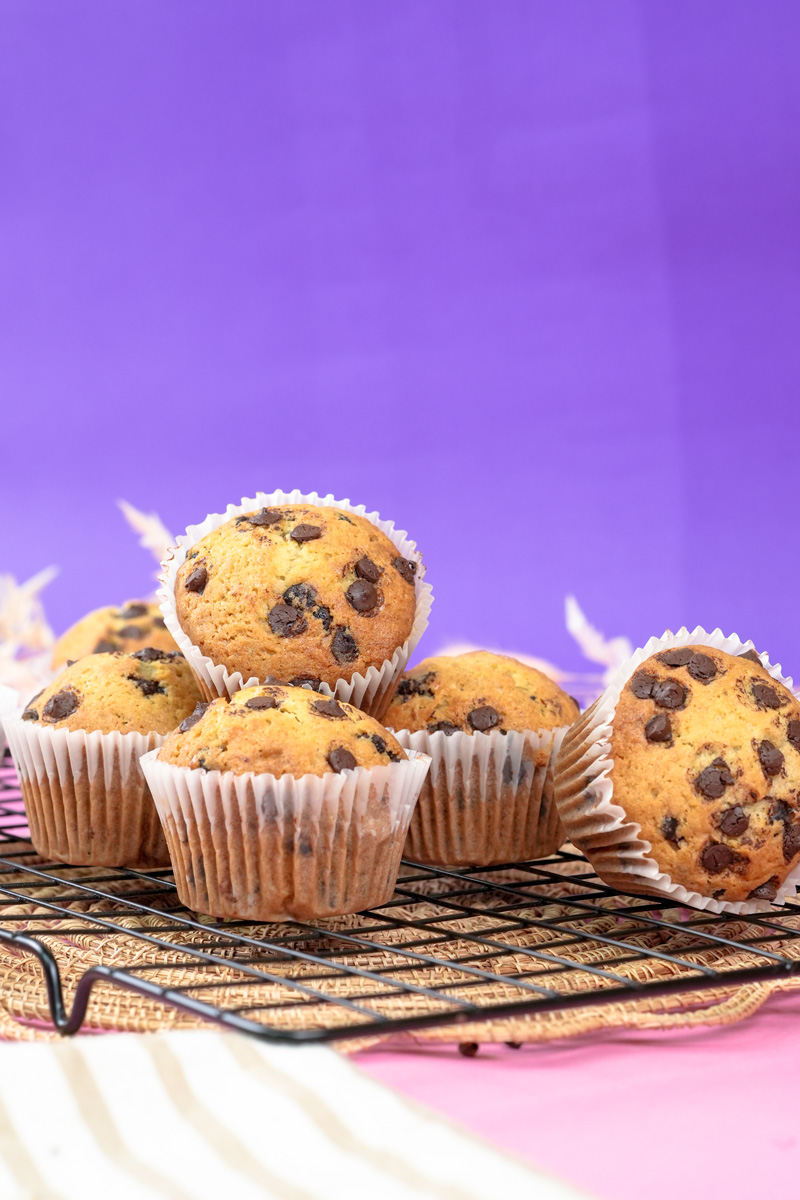
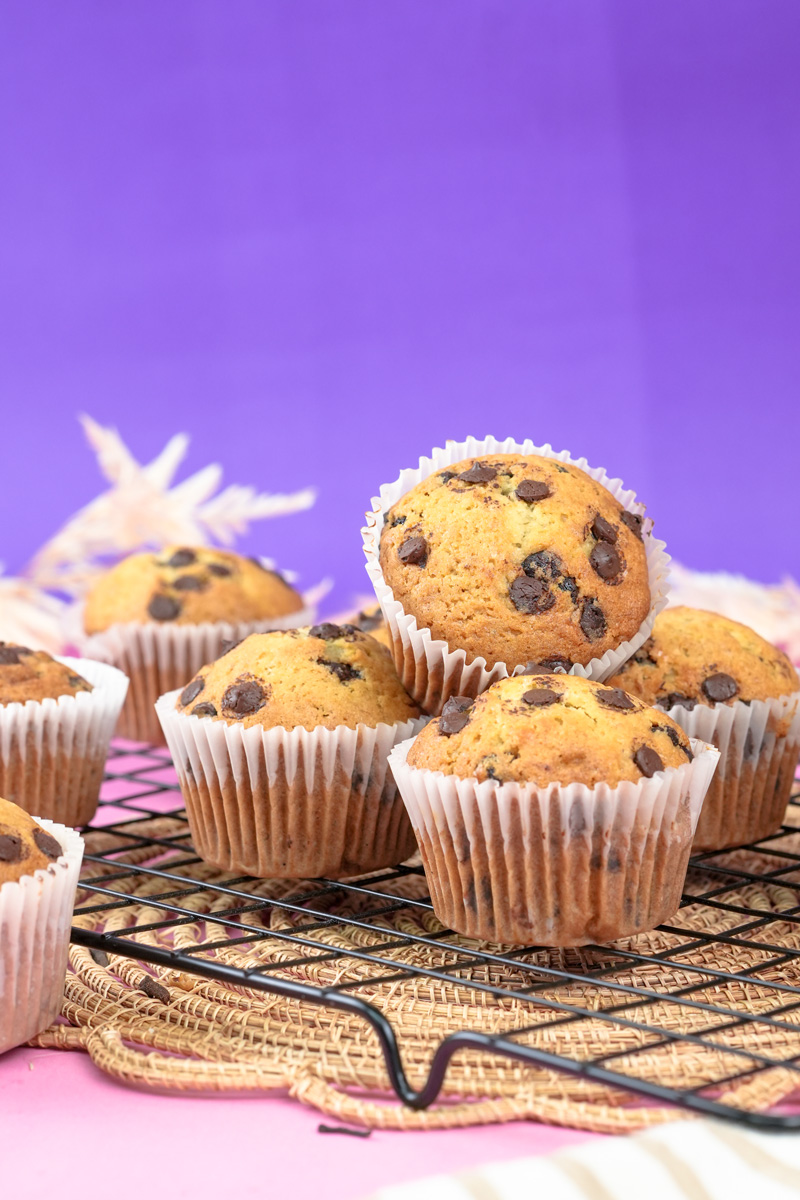
Hey there, fellow food lovers! I’m so excited to share a recipe with you today that I think you’re going to adore. We’re making Banana Protein Muffins! These aren’t just good for you; they taste absolutely amazing. Seriously. If you’re like me, you’re always trying to find ways to get a little extra goodness into your day without giving up on yummy flavors. And guess what? These muffins? They totally deliver.
Think about that incredible smell of banana bread baking in the oven. Got it? Now, imagine that, but with an extra protein punch to keep you going strong. That’s what we’re whipping up! This recipe is a fresh take on an old favorite. It came about because I really wanted a healthy snack I could just grab and go, but it had to be delicious. These are perfect for busy mornings, a treat after a workout, or just something yummy with your afternoon coffee that you don’t have to feel guilty about. We’re taking the good old banana muffin and giving it a seriously tasty, powerful boost. Get ready to bake some “little bites of sunshine and strength,” as I like to call them!

Your Muffin Adventure: What to Expect
Before we jump in and get our hands all floury (well, almond and oat floury in this case!), let’s take a quick peek at what’s ahead. Knowing the game plan always makes things smoother, right? And way more fun!
Prep, Cook, and Total Time: Fast & Fabulous!
You know what’s awesome about these Easy banana protein muffins? They’re super quick to make. No, really!
- Prep Time: Just 10 minutes! You can practically preheat your oven and pick a good song to bake to in that time.
- Cook Time: About 18-24 minutes. That’s just enough time to clean up a bit, make a cup of tea, and let that amazing smell fill your kitchen. The waiting is the hardest part!
- Total Time: You’re looking at roughly 30-35 minutes from “Hmm, I want muffins” to “Wow, fresh muffins!” Pretty cool, huh?
Servings and How to Make More (or Less!)
This recipe makes a good 10-12 muffins. Perfect for grabbing one for a snack all week, or for sharing with friends (if you’re feeling generous!).
Want to change the batch size? Easy peasy!
- Double Batch (20-24 muffins): Just double all the ingredients. You’ll probably need two muffin tins, or bake them one after another. Baking time should be about the same, but always do the toothpick check.
- Half Batch (5-6 muffins): Cut all the ingredients in half. Great if you’re just baking for yourself or a couple of people.
- Mini Muffins: For tiny treats, you’ll get around 30-36 mini muffins. Bake them for less time, maybe 10-15 minutes. Keep a close eye on those little guys!
- Jumbo Muffins: If you want big, bakery-style muffins, you’ll get 5-6. They’ll need longer to bake, about 25-30 minutes.
Here’s a quick guide if you want to double it:
| Ingredient | Original (10-12 muffins) | Doubled (20-24 muffins) |
|---|---|---|
| Banana Puree | 1 cup | 2 cups |
| Eggs | 2 | 4 |
| Honey | ¼ cup | ½ cup |
| Vanilla Extract | 1 teaspoon | 2 teaspoons |
| Blanched Almond Flour | ½ cup | 1 cup |
| Oat Flour | ½ cup | 1 cup |
| Vanilla Protein Powder | ½ cup | 1 cup |
| Baking Powder | 2 teaspoons | 4 teaspoons (or 1 Tbsp + 1 tsp) |
| Cinnamon | ½ teaspoon | 1 teaspoon |
| Salt | ¼ teaspoon | ½ teaspoon |
| Chocolate Chips/Nuts | ½ cup | 1 cup |
Difficulty Level: You Can Totally Do This!
I’d say this recipe is Easy / Great for Beginners. Seriously, if you can mash a banana and stir stuff in a bowl, you’ve got this. No fancy cooking tricks needed, just simple steps to deliciousness.
What You’ll Need (Plus Some Easy Swaps!)
You don’t need a chef’s kitchen to make these beauties. Here’s your basic gear:
- Muffin Tin: A regular 12-cup muffin tin is your best friend here.
- Don’t have one? Silicone muffin cups on a baking sheet work too. Or, you could even use small ramekins for a sort of “baked oatmeal” vibe (just watch the baking time).
- Muffin Liners: Paper or silicone – your choice!
- Large Mixing Bowl: For mixing the wet stuff, then everything all together.
- Separate Medium Bowl (Optional, but I like it): Good for whisking the dry ingredients together first. It just helps make sure everything is mixed evenly.
- Whisk: For getting everything nice and smooth.
- No whisk? A fork will get the job done for most of it.
- Spatula or Wooden Spoon: For folding in your yummy extras and scraping down the bowl. You don’t want to waste any batter!
- Measuring Cups and Spoons: Baking is a bit like science – measuring helps!
- Ice Cream Scoop or Spoon: For putting the batter into the liners. An ice cream scoop with one of those trigger releases? Chef’s kiss! It’s my little secret for making all the muffins the same size.
- Wire Cooling Rack: Super important for letting your muffins cool down properly.
Perfect for Meal Prep!
These Healthy banana protein muffins are amazing for planning ahead.
- Bake on Sunday: And boom! You’ve got snacks or a quick breakfast bit for days.
- Built-in Portions: They’re already in perfect single servings.
- Freeze Like a Dream: Yep, they freeze really well! We’ll talk more about that later.
The Awesome Ingredients: What Goes In
Okay, let’s chat about what makes these muffins so good. Using decent ingredients really does make a difference. It’s what turns a simple recipe into something special!
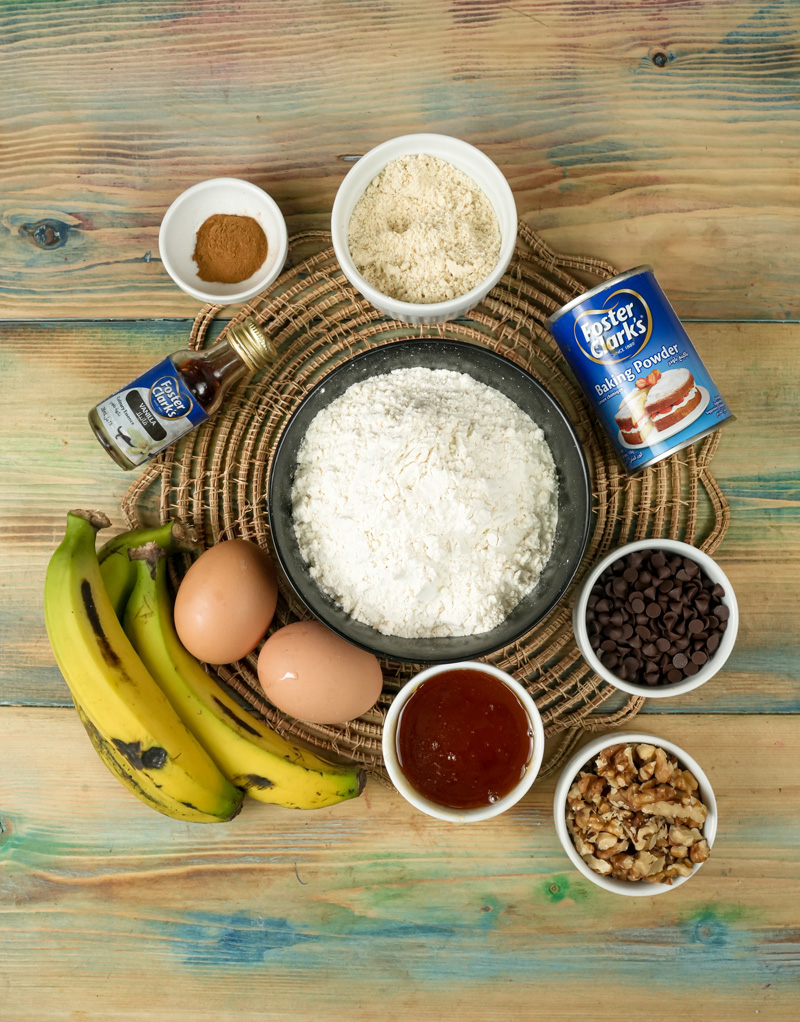
Your Shopping List:
Here’s what you’ll need to grab. These are the rockstars of our muffins:
- Wet Ingredients (The Flavor Crew):
- 1 cup Banana Puree: This is our main star! You’ll need about 2-3 medium, very ripe bananas. The ones with lots of brown spots? Perfect! They’re sweeter and have more banana flavor. Just mash them up with a fork. A few little lumps are totally fine; they add character!
- 2 Large Eggs: These guys hold everything together and make the muffins rich. It’s best if they’re at room temperature. Just pull them out of the fridge about 30 minutes before you start. Easy peasy.
- ¼ cup Honey: For a touch of natural sweetness. It adds a nice warm flavor.
- Can I use something else? Totally! Maple syrup works great as a 1-to-1 swap if you like that flavor or want to keep it vegan. Agave would work too. If you’re watching sugar, you could try a liquid sugar-free sweetener, but you might need to play around with how much you use.
- 1 teaspoon Vanilla Extract: Ah, vanilla. It’s like the secret ingredient in almost every baked good that just makes everything else taste better. Pure vanilla extract is the way to go if you can.
- Dry Ingredients (The Structure Squad):
- ½ cup Blanched Almond Flour: This stuff gives a super tender muffin and a little protein kick. “Blanched” just means the skins are off, so the flour is finer.
- What if I don’t have almond flour? You could try a fine all-purpose gluten-free flour, but the texture might be a bit different. More oat flour is also an option, but it’ll make the muffins a bit denser.
- ½ cup Oat Flour: You can buy this, or make it yourself! Just blend rolled oats in a blender until they’re like flour. If you need these to be 100% gluten-free, make sure you use certified gluten-free oats. Oat flour gives a lovely, slightly hearty feel.
- ½ cup Vanilla Protein Powder: This is where the “protein” in our muffins comes in! Vanilla flavor goes so well with banana.
- A quick note on protein powder: The kind you use (like whey, casein, or plant-based) can change the texture a bit because some soak up more liquid. This recipe is pretty forgiving, but whey usually bakes up nicely. If you use a plant-based one, the batter might seem a little thicker – don’t panic! Pick a powder you actually like the taste of, because you will taste it. Also, some powders are sweeter than others, so you might want to use a little less honey if yours is super sweet. I once used a chalky protein powder and, well, let’s just say those muffins weren’t my finest work!
- 2 teaspoons Baking Powder: This makes our muffins rise and get all fluffy. Make sure yours is fresh for the best puff!
- ½ teaspoon Cinnamon: Oh, cinnamon and banana. They’re like best friends! Feel free to add a little more or less if you want.
- ¼ teaspoon Salt: This balances out the sweetness and makes all the flavors pop. Don’t skip it!
- ½ cup Blanched Almond Flour: This stuff gives a super tender muffin and a little protein kick. “Blanched” just means the skins are off, so the flour is finer.
- Optional Fun Stuff (The Mix-Ins!):
- ½ cup Chocolate Chips or Chopped Walnuts: This is where you can get creative!
- Chocolate Chips: Milk, semi-sweet, dark, or even sugar-free ones all work great for those classic chocolate chip banana protein muffins.
- Chopped Walnuts: Add a nice crunch and nutty taste. Pecans would be yummy too.
- Other ideas? Go for it! Chopped pecans, shredded unsweetened coconut, or even a little swirl of peanut butter in each muffin before baking? Yes, please!
- ½ cup Chocolate Chips or Chopped Walnuts: This is where you can get creative!
Getting Your Ingredients Ready: A Little Prep Goes a Long Way
- Bananas: Mash ’em up! Remember, the riper, the better.
- Eggs: Room temp is best.
- Nuts (if you’re using them): Give them a quick, rough chop.
- Measure Everything Out: This makes the mixing part so much smoother. No more “Oops, did I add the baking powder?” moments. We’ve all been there!
Let’s Bake! Your Step-by-Step Guide to Muffin Magic
Step 1: Get Your Oven Hot and Your Pan Ready – Setting the Stage!
Alright, first things first! Let’s get that oven working. Go ahead and preheat it to 350 degrees Fahrenheit (that’s 175 degrees Celsius). Giving your oven plenty of time to get to the right temperature is super important. It’s like a warm welcome for your muffins, helping them rise right away and bake evenly.
While the oven is heating up, let’s get our muffin tin ready. You’ll want a standard 12-cup tin. Carefully line 10 to 12 of those cups with paper liners. You know how sometimes those paper cups just don’t want to sit flat? A little trick: you can put another empty muffin tin on top for a second to press them down, or just gently poke them into place.
Now, here’s a little tip, especially since we’re using protein powder: lightly spray the inside of each paper liner with a tiny bit of cooking oil spray. Coconut oil spray, avocado oil spray, whatever you have is fine. Why? Well, protein powder can sometimes make things a bit sticky. This little step helps make sure your muffins pop right out. No sad, stuck muffins here! Once your tin is all set, put it aside where you can reach it easily.
Step 2: Mix the Wet Ingredients – Building That Flavor Base!
Grab your large mixing bowl. This is where the magic starts! It’s time for the liquid ingredients that bring all that moisture and flavor. Add your 1 cup of banana puree. Remember, the spottier those bananas, the sweeter and more banana-y your muffins will be! Mash them with a fork until they’re mostly smooth. A few little lumps? Totally fine, adds character!
To the bananas, add your 2 large eggs. If you remembered to take them out of the fridge earlier, awesome! Room temperature eggs mix in much better. Next, drizzle in that delicious ¼ cup of honey (or maple syrup, if that’s your jam) for sweetness. And finally, pour in 1 teaspoon of pure vanilla extract – that amazing stuff that makes everything taste even better.
Now, grab your whisk and mix these wet ingredients together really well. You want it all combined and looking pretty liquidy. You should start to smell that wonderful, comforting mix of sweet bananas and vanilla. Isn’t that just the best? Take a second to enjoy it!

Step 3: Add the Dry Goodness – For Structure and Spice!
Okay, let’s deal with the dry ingredients. If you have a separate medium bowl, this is its moment to shine. Put in your ½ cup of blanched almond flour, the ½ cup of oat flour (so good and wholesome!), the ½ cup of vanilla protein powder (our protein star!), those super important 2 teaspoons of baking powder (for fluffy muffins!), the warm ½ teaspoon of cinnamon, and the must-have ¼ teaspoon of salt (it really does make everything taste better!).
Use your whisk to mix these dry ingredients together really well. You want to make sure the baking powder, salt, and cinnamon are spread out evenly through the flours and protein powder. This little step is a secret to making sure all your muffins turn out great – nobody wants one super cinnamon-y muffin and another that’s a bit flat!
If you don’t have an extra bowl, no worries. You can carefully add the dry ingredients right on top of the wet stuff, but make sure to sprinkle them evenly over the surface before you start mixing. Once your dry ingredients look like a nice, speckled mix, it’s time for them to meet the wet ingredients. Gently add this dry mixture to the wet ingredients in your large bowl.
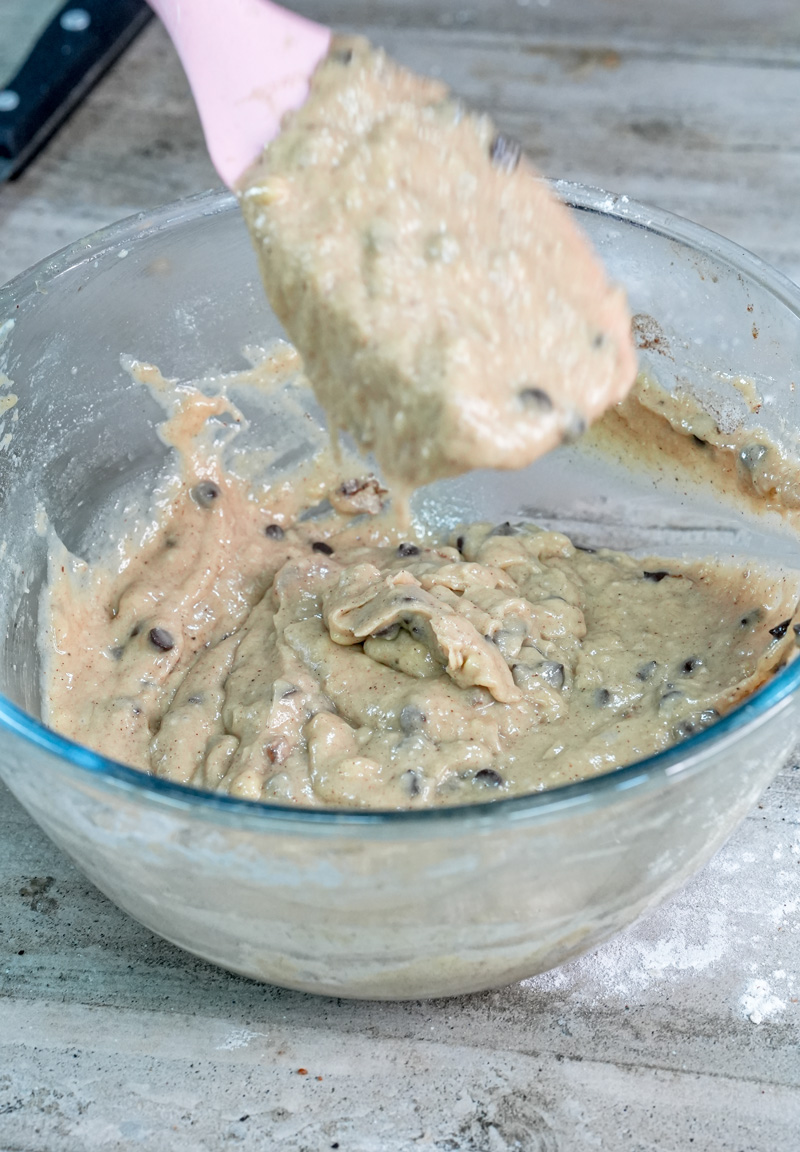
Step 4: The Gentle Fold – This is Key for Tender Muffins!
This next part is where being a little gentle really pays off. Put down your whisk for a sec and grab a spatula or a wooden spoon. We’re going to gently fold or stir the dry ingredients into the wet ingredients until they are just combined. What does “just combined” mean? It means you don’t see big streaks of dry flour anymore, but the batter isn’t perfectly smooth. A few small lumps are totally okay, even good! They’re like little future pockets of tenderness.
- Heads Up! The Overmixing Danger Zone! It’s so tempting to keep stirring until everything is perfectly smooth, but please, please resist! Overmixing is the number one reason muffins get tough and dense. I remember the first time I baked muffins from scratch, I thought I was being so thorough by mixing and mixing. They came out like little hockey pucks! Seriously. When you overmix, you make the gluten work too hard (even the small bits in gluten-free flours or from protein powder binders), and that makes for chewy muffins instead of soft, fluffy ones. So, think gentle. Think minimal. As soon as the dry stuff is mostly wet, stop!
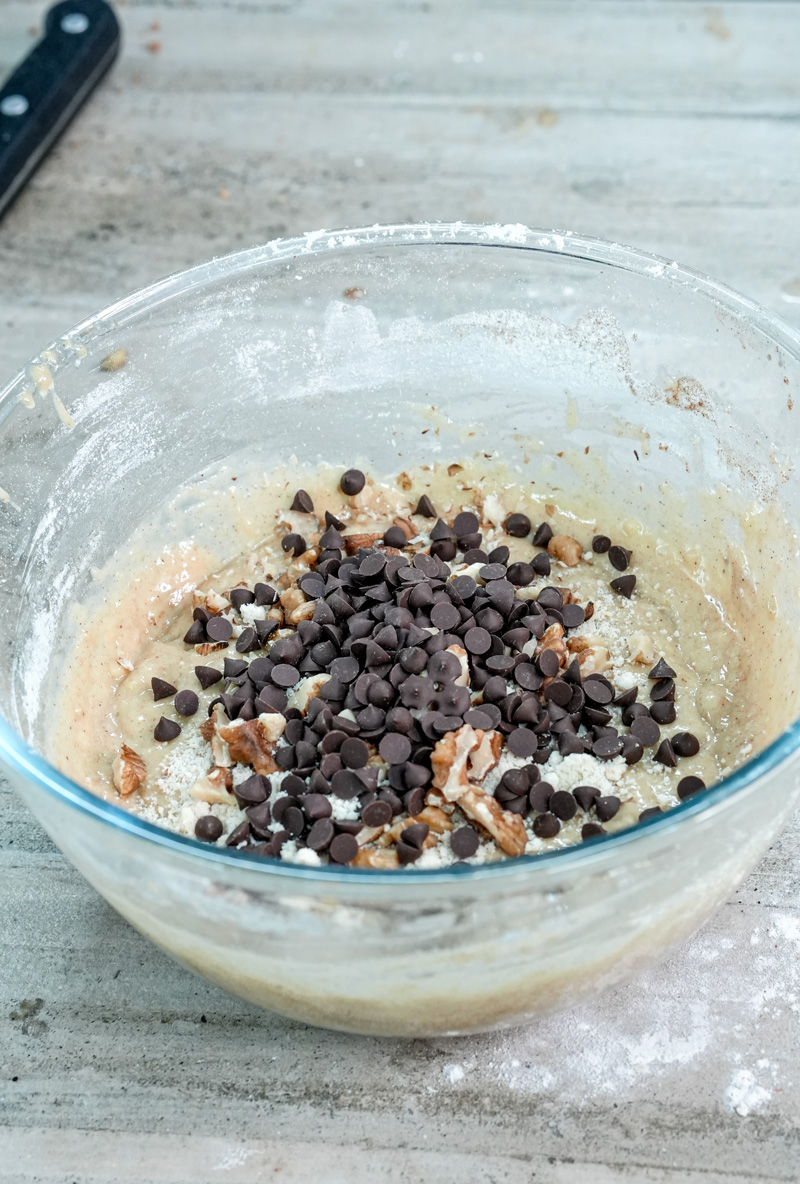
Step 5: Add Your Flavor Bursts – Time for the Fun Extras!
If you’re adding some yummy mix-ins – and I totally think you should! – now’s their time to shine. Whether you picked the classic ½ cup of chocolate chips (hello, awesome chocolate chip banana protein muffins!) or the crunchy goodness of ½ cup of chopped walnuts, or maybe you’re going wild with both, it’s time to gently fold them into the batter. Use your spatula and just a few gentle stirs to spread them out. You want a little surprise in every bite!
- Quick Tip – Stop Your Mix-Ins from Sinking! Ever made muffins and all your chocolate chips or nuts end up at the bottom? So frustrating! A super easy trick is to toss them with a tablespoon of your dry flour mixture before adding them to the wet batter. Since we already mixed our dry stuff, you can still do something similar by lightly dusting your mix-ins with a tiny bit of extra oat or almond flour before folding them in. This light coating helps them float in the batter while they bake. Pretty neat, huh?
Step 6: Fill ‘Em Up! – Even Muffins are Happy Muffins!
Your batter is ready! It should look beautifully lumpy and maybe even studded with chocolate. Time to fill those muffin liners you prepped. An ice cream scoop with one of those spring-release triggers is my absolute favorite tool for this. It helps you put the same amount of batter in each cup, which means your muffins will all bake evenly and look like perfect little twins. If you don’t have one, no biggie! Two spoons – one to scoop and one to scrape – work just fine too.
You’ll want to fill each liner about ¾ of the way full. This is the sweet spot. It gives your muffins enough room to rise and get those nice domed tops without spilling over and making a muffin volcano (though, sometimes those are tasty too!). If you don’t fill them enough, you’ll get smaller, flatter muffins. Too much, and they might overflow. You should have just enough batter for your 10 to 12 muffins. If you have a tiny bit extra, you can make one or two slightly bigger, or just try not to overfill the others!
Step 7: Bake to Golden Perfection – Watch the Magic Happen!
The moment we’ve all been waiting for! Carefully place your filled muffin tin into the center of your preheated 350°F (175°C) oven. Now, we let the oven do its thing.
Set your timer for 18 minutes to start. The full baking time will probably be between 18 and 24 minutes. Ovens can be a bit quirky and have their own personalities, so keep an eye on things, especially if it’s your first time making this recipe in your oven.
- What to look for while they bake: As they bake, you’ll see them start to puff up and rise. So cool! The color will slowly change from pale to a beautiful golden brown on top. And your kitchen? It’s going to smell incredible – sweet banana, warm cinnamon, rich vanilla, and maybe a hint of chocolate. Pure happiness!
- How to know they’re done: Around the 18-minute mark, take a peek. The tops should look set and be a light golden color. A good test is to gently press the top of a muffin; it should spring back lightly. The edges of the muffins might also start to look like they’re just pulling away from the paper liners.
- The Trusty Toothpick Test: This is your best friend for checking if they’re done. Carefully open the oven, pull the rack out a little, and stick a wooden toothpick (or a thin skewer) into the center of one or two muffins in the middle of the tin. If the toothpick comes out clean, or with just a few moist crumbs stuck to it, they’re ready! If you see wet, gooey batter on the toothpick, they need a bit more time. Pop them back in for another 2-3 minutes and then test again.
Step 8: The Cool Down – Be Patient, Deliciousness is Coming!
You did it! Once your muffins pass the toothpick test and are looking all golden and amazing, carefully take the muffin tin out of the oven. Place the whole tin on a wire cooling rack for about 5 to 10 minutes. This little rest in the pan lets the muffins set up a bit more, so they’re less fragile and easier to handle.
After those few minutes, it’s time for their next move. Gently take each muffin out of the tin and put it directly onto the wire cooling rack to cool completely. Why the move? Cooling them right on the rack lets air get all around them. This is super important to stop them from getting soggy bottoms. Nobody wants a soggy bottom!
I know, I know, it’s so tempting to grab one right away – they smell too good! But try to wait just a little bit. Letting them cool completely not only makes them easier to handle and stops them from falling apart, but it also lets all those yummy flavors really settle in and get even better. Trust me, that first bite of a perfectly cooled (or maybe just slightly warm, if you really can’t wait any longer!) muffin will be your delicious reward.
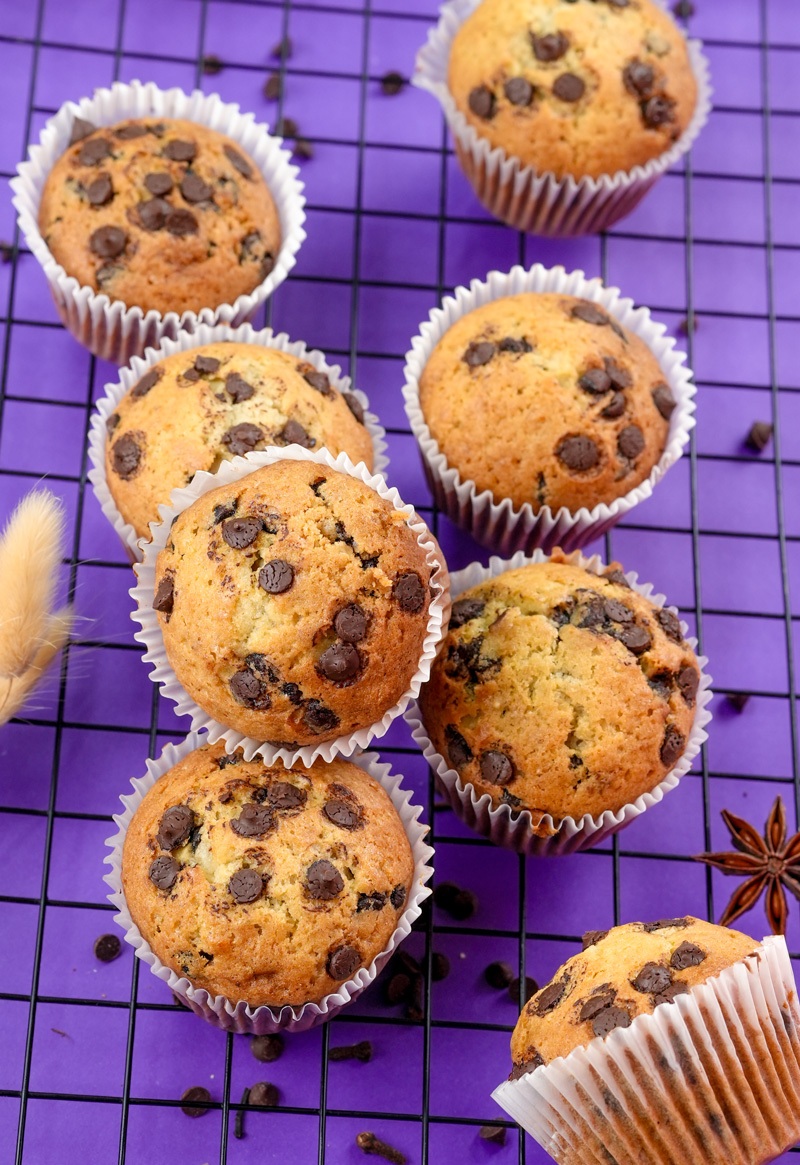
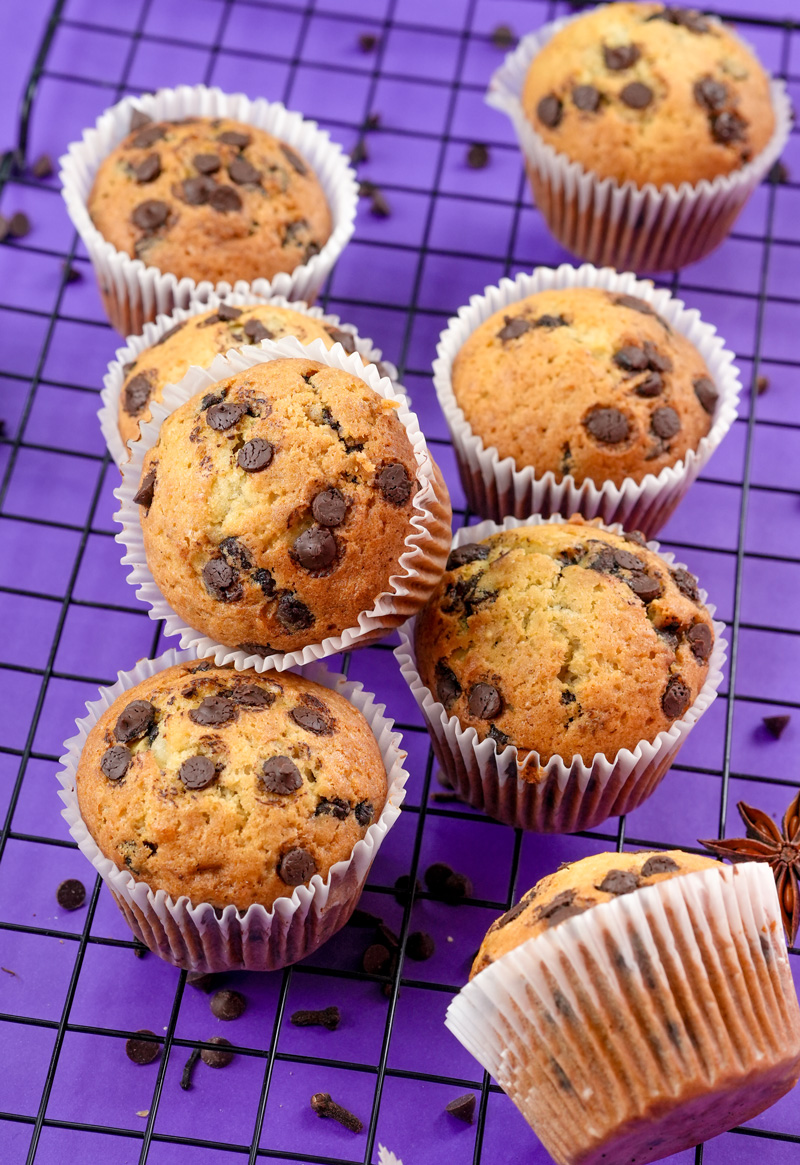
And there you have it – a batch of absolutely amazing homemade Banana Protein Muffins! You rocked it!
Mix It Up: Fun Twists & Ways to Make Them Your Own!
One of the best parts about baking is playing around with a recipe and making it yours! These banana protein muffins are like a blank canvas for your tasty ideas. Let’s check out some fun ways to change them up.
Making Them Work for Different Diets: Muffins for Everyone!
- Gluten-Free: Good news! This recipe is already gluten-free because we use almond and oat flour. Just make super sure your oat flour (or oats, if you’re making your own flour) and your protein powder are certified gluten-free. This is really important if you or someone you’re baking for has Celiac disease or is very sensitive to gluten.
- Vegan-Friendly:
- Eggs: Instead of 2 eggs, use 2 “flax eggs.” To make one, just mix 1 tablespoon of ground flaxseed with 3 tablespoons of water. Let it sit for 5-10 minutes until it gets thick and gel-like.
- Honey: Swap the honey for the same amount of maple syrup or agave nectar.
- Protein Powder: Use your favorite plant-based vanilla protein powder (like pea, soy, brown rice, or a mix).
- Chocolate Chips: Make sure you grab dairy-free chocolate chips.
- Lower Sugar/No Added Sugar:
- Let those super ripe bananas do the sweetening! You might be able to use less honey, or even skip it, especially if your protein powder is already sweet.
- Use sugar-free chocolate chips.
- You could try a sugar-free sweetener like erythritol or a monk fruit blend. Add it to your taste, starting with a little bit, because some can be way sweeter than sugar or honey.
- Dairy-Free: This recipe is already dairy-free if you use a dairy-free protein powder and dairy-free chocolate chips! Easy!
Spice Things Up (Or Keep It Classic!)
Cinnamon is a classic with banana, but don’t be afraid to try other warm spices:
- Nutmeg: Add ¼ teaspoon for that cozy, traditional banana bread taste.
- Cardamom: Just a pinch (⅛ to ¼ teaspoon) adds a really nice, slightly exotic smell and taste.
- Allspice or Pumpkin Pie Spice: ½ teaspoon can give a lovely, complex warmth. Super nice in the fall!
- Ginger: A ¼ teaspoon of ground ginger can add a fun little zing.
Everyday Muffins vs. Fancy Muffins
- Everyday Yum: The recipe just as it is, maybe with chocolate chips or walnuts, is perfect for any day.
- Feeling a Little Fancy?
- Streusel Topping: Before baking, sprinkle on a simple streusel. Just mix some oats, a little flour (almond or oat works), coconut sugar or brown sugar, a tiny bit of coconut oil or butter, and a pinch of cinnamon. Yum!
- Glaze: Once they’re cool, drizzle them with a simple glaze. Mix powdered sugar (or a sugar-free kind) with a tiny bit of milk (any kind) or lemon juice.
- Gourmet Goodies: Use fancy chopped dark chocolate, toasted pecans, or even put a little swirl of almond butter in the middle of each muffin before baking. Ooh la la!
Seasonal Twists: Bake with What’s in Season!
- Autumn Feels: Add ½ cup of pumpkin puree (use a little less banana puree then) along with 1 teaspoon of pumpkin pie spice for a yummy fall version.
- Summer Berry Fun: Gently fold in ½ cup of fresh or frozen blueberries or raspberries. If you use frozen berries, don’t thaw them first!
- Tropical Escape: Add ¼ cup of shredded unsweetened coconut and maybe some finely chopped dried pineapple for a taste of the tropics.
Serving, Storing, and Enjoying Your Muffins
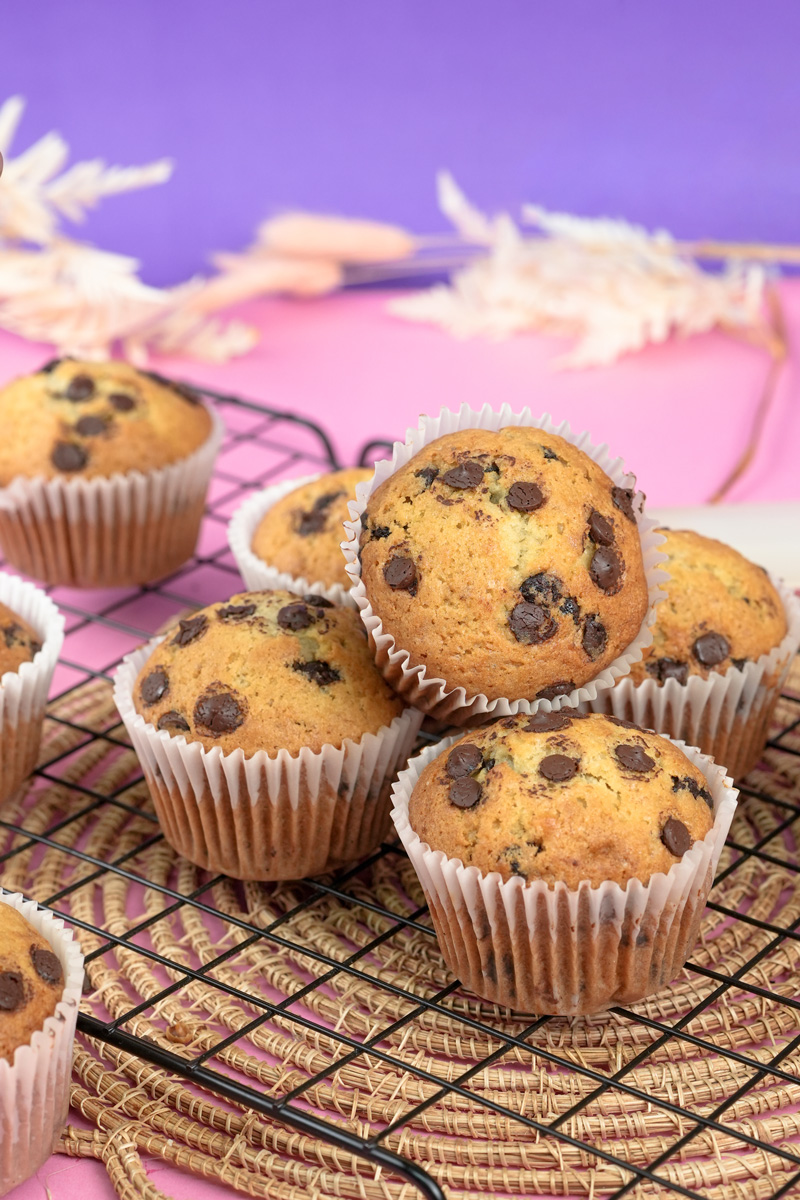
You’ve baked an amazing batch of chocolate chip banana protein muffins (or your own special version!). Now, let’s talk about the best ways to eat them and keep them fresh.
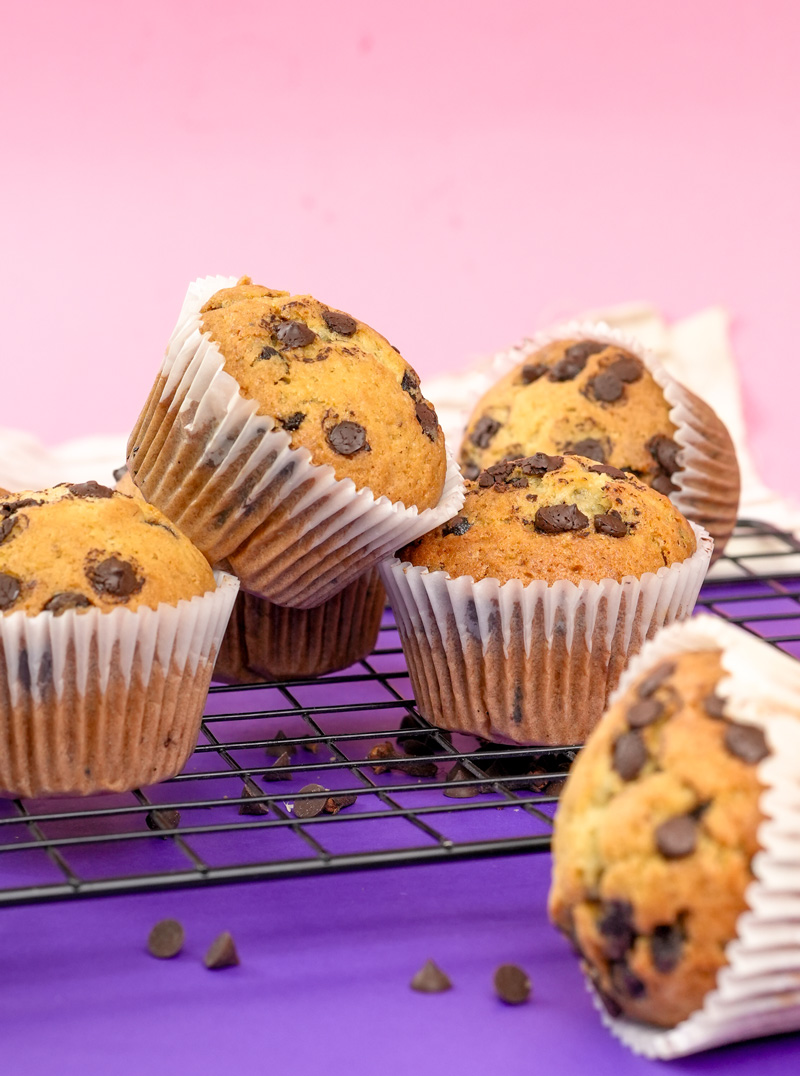
Making Them Look Good: Simple is Best
Honestly, these muffins look pretty great all on their own!
- Simple & Sweet: Enjoy one warm, right off the cooling rack (once it’s cool enough to touch, of course!). That first bite is the best.
- With a Drink: They’re perfect with a cup of coffee, tea, or a cold glass of milk.
- Breakfast Boost: Have a muffin with a spoonful of Greek yogurt (or dairy-free yogurt) and some fresh berries. That’s a pretty awesome breakfast!
- For Guests: Put them on a nice plate or in a basket lined with a pretty cloth. So welcoming!
What Goes Well With Them?
- Drinks: Coffee, tea (black, green, herbal – you pick!), milk (dairy or plant-based), or even a smoothie.
- For a Bigger Meal: Serve them with a fruit salad, a small yogurt parfait, or some scrambled eggs.
- Spreads (If you’re feeling a bit extra!): A thin layer of almond butter, peanut butter, or even a light cream cheese can be really good.
Storing Your Muffins: Keeping Them Fresh
- Room Temperature: Once they’re cool, store your muffins in an airtight container at room temperature. They should be good for up to 3-4 days. Putting a paper towel in the container can help soak up any extra moisture and keep them from getting sticky.
- Refrigerator: If you want them to last a bit longer (up to a week), you can keep them in an airtight container in the fridge. Just know that sometimes the fridge can make baked goods a little drier.
Reheating for That “Just Baked” Vibe
While they’re great at room temp, a warm muffin is extra cozy!
- Microwave: Pop a muffin in the microwave for 10-20 seconds until it’s just warmed through. Quick and easy!
- Oven/Toaster Oven: For a slightly crispy top (my favorite!), reheat it in a 300°F (150°C) oven or toaster oven for 5-7 minutes.
Freezing Like a Pro: Make-Ahead Master!
These muffins are total freezer champs! It’s so great to have a stash ready to go.
- How to Freeze:
- Make sure the muffins are completely cool. This is super important to stop ice crystals from forming.
- Wrap each muffin by itself in plastic wrap. Then, put them all into a freezer-safe zip-top bag or an airtight container.
- Don’t forget to label the bag or container with the date and what kind of muffin it is! You’ll thank yourself later.
- They’ll stay good in the freezer for up to 3 months.
- How to Thaw:
- Room Temperature: Unwrap a muffin and let it thaw on the counter for a few hours, or even overnight.
- Microwave: Unwrap it and microwave in 20-30 second bursts until it’s thawed and warm.
- Oven: Unwrap it, wrap it loosely in foil, and warm it in a 300°F (150°C) oven for about 10-15 minutes if it’s frozen.
And there you have it! Everything you need to bake, customize, and enjoy these totally delightful Easy banana protein muffins. I really hope you have as much fun baking (and eating!) them as I do. Happy baking, everyone!
PrintBanana Protein Muffins

Whip up a batch of these delicious and healthy Banana Protein Muffins! They’re super easy to make, packed with banana goodness and protein to keep you going. Perfect for a quick breakfast or a guilt-free snack. Your kitchen will smell amazing!
- Prep Time: Just 10 minutes
- Cook Time: 18-24 minutes
- Total Time: About 30-35 minutes
- Yield: 10–12 muffins 1x
- Category: Breakfast, Snacks, Healthy Treats
- Cuisine: Modern Healthy Baking
Ingredients
Wet Stuff:
- 1 cup Banana Puree (that’s about 2-3 very ripe bananas, mashed well)
- 2 Large Eggs (room temp is best!)
- ¼ cup Honey (or maple syrup)
- 1 teaspoon Vanilla Extract
Dry Stuff:
- ½ cup Blanched Almond Flour
- ½ cup Oat Flour (use certified GF oats if needed)
- ½ cup Vanilla Protein Powder (one you like the taste of!)
- 2 teaspoons Baking Powder (check it’s fresh!)
- ½ teaspoon Cinnamon
- ¼ teaspoon Salt
Fun Extras (Optional):
- ½ cup Chocolate Chips (any kind!)
- OR ½ cup Chopped Walnuts (or pecans)
Instructions
- Get Ready: Preheat your oven to 350°F (175°C). Line a 12-cup muffin tin with 10-12 paper liners. Little tip: Lightly spray inside the liners with cooking oil – helps protein muffins pop right out!
- Mix Wet Ingredients: In a large bowl, whisk together the banana puree, eggs, honey, and vanilla until nice and smooth.
- Combine Dry Ingredients: In a separate bowl (or carefully on top of the wet), whisk together the almond flour, oat flour, protein powder, baking powder, cinnamon, and salt. Make sure it’s all mixed up evenly!
- Gently Combine: Add the dry ingredients to the wet ingredients. Stir gently with a spatula until just combined. Seriously, don’t overmix! A few lumps are totally okay – they mean tender muffins.
- Add Extras (If Using): Gently fold in your chocolate chips or nuts.
- Fill Liners: Spoon the batter evenly into the prepared muffin liners, filling each about ¾ full. An ice cream scoop works great for this!
- Bake ‘Em Up: Bake for 18-24 minutes. They’re done when a toothpick poked into the center of a muffin comes out clean or with a few moist crumbs. Tops should be golden and spring back when lightly touched.
- Cool Down: Let the muffins cool in the tin for 5-10 minutes. Then, carefully move them to a wire rack to cool completely. This stops soggy bottoms!
Notes
- Serving Ideas: Enjoy warm on their own, with a cup of coffee, or alongside some yogurt and berries for a bigger breakfast. A little smear of nut butter is yummy too!
- Pro Tips & Tricks:
- Use really ripe bananas (the spottier, the better!) for the best flavor and sweetness.
- Remember, don’t overmix the batter. It’s the secret to soft, fluffy muffins!
- Lightly spraying your muffin liners helps with any potential sticking from the protein powder.
- Storing Your Muffins:
- Room Temp: Keep cooled muffins in an airtight container for up to 3-4 days.
- Fridge: For up to a week, store them in an airtight container in the fridge.
- Freezer: These freeze perfectly! Wrap individually once cool, then pop into a freezer bag for up to 3 months.
- Reheating:
- Microwave: 10-20 seconds for a quick warm-up.
- Oven/Toaster Oven: 5-7 minutes at 300°F (150°C) to get the tops a little crispy. From frozen, about 10-15 minutes in foil.