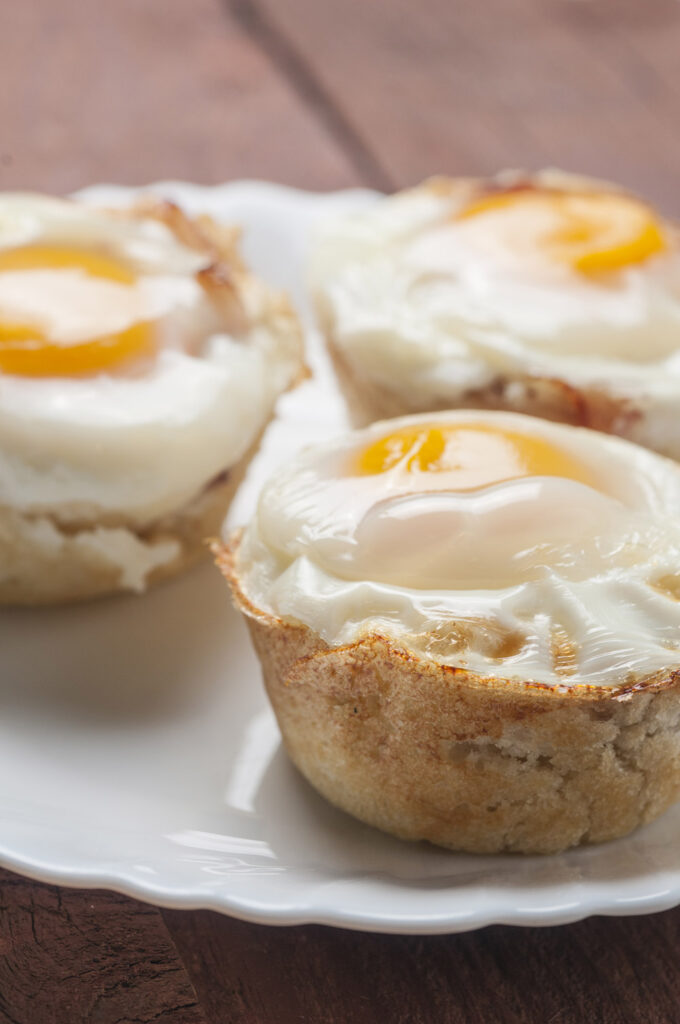
There’s something magical about starting your day with a breakfast that’s as satisfying to look at as it is to eat. And these Baked Egg Muffin Cups? They’re the perfect combination of crispy bread, silky eggs, and just the right amount of seasoning.
Think of them as breakfast’s answer to cupcakes—easy, portable, and completely customizable. Whether you’re rushing out the door or planning a lazy weekend brunch, these little cups deliver big on flavor and presentation.
The best part? They’re ridiculously easy to make. Trust me, once you try this, you’ll keep coming back to it. Let me walk you through the process step by step, like we’re cooking together in the kitchen.
What Are Baked Egg Muffin Cups?
Imagine this: a soft, golden bread base that crisps up beautifully, cradling a perfectly baked egg with a glossy yolk on top. Add a sprinkle of cheese, some salt and pepper, and maybe a pinch of paprika for flair. That’s it. Simple, comforting, and oh-so-satisfying.
These little beauties are great for:
- Breakfast parties (because who doesn’t love individual servings?)
- Busy weekday mornings (prep them ahead of time and reheat!)
- Brunch spreads (they look fancy but take barely any effort).
And if you’re into meal prep, you’re in luck. They store well and are easy to reheat. So, let’s break it down.
Recipe at a Glance
Quick Details:
- Prep Time: 10 minutes
- Cook Time: 15 minutes
- Total Time: 25 minutes
- Servings: Makes 6 muffin cups (perfect for about 4 people).
What You’ll Need:
Here are the basics:
- 6 slices of bread (white, wheat, or your go-to sandwich bread).
- 6 eggs (room temperature works best).
- Shredded cheese (think cheddar, mozzarella, or whatever’s in the fridge).
- Seasonings: Salt, pepper, and maybe a little paprika or chili flakes.
Let’s Get Cooking!
Step 1: Preheat and Prepare Your Pan
First things first—preheat your oven to 375°F (190°C). While that’s heating up, grab a muffin tin. Don’t have one? No problem. You can use small ramekins instead. Just be sure to grease everything with melted butter so those bread cups don’t stick.
Step 2: Make the Bread Cups
Here’s the fun part. Take your bread slices and cut out circles big enough to line the muffin tin. Don’t have a cookie cutter? Just press a drinking glass into the bread and cut around it.
Flatten each circle slightly with a rolling pin so they’re easier to work with. Then gently press them into the muffin tin until they form little bowls. Don’t worry if they look rustic—this is all part of the charm!
Pro Tip: If you want extra-crispy edges, lightly toast the bread circles in the oven for a couple of minutes before adding the eggs.
Step 3: Add the Good Stuff
Sprinkle a little shredded cheese into the bottom of each bread cup. This not only adds flavor but keeps the eggs from soaking into the bread. Win-win.
Now, crack an egg into each cup. Be careful not to break the yolk unless you’re a fan of scrambled-style eggs.
Step 4: Season Like a Pro
A pinch of salt here. A dash of pepper there. For a little extra pizzazz, sprinkle on some paprika or chili flakes. Don’t hold back—this is where the flavor happens.
Step 5: Bake and Wait (Patiently!)
Pop the muffin tin into the oven and bake for about 12–15 minutes. Want your yolks runny? Keep an eye on them around the 12-minute mark. Like them fully set? Go for 15-17 minutes.
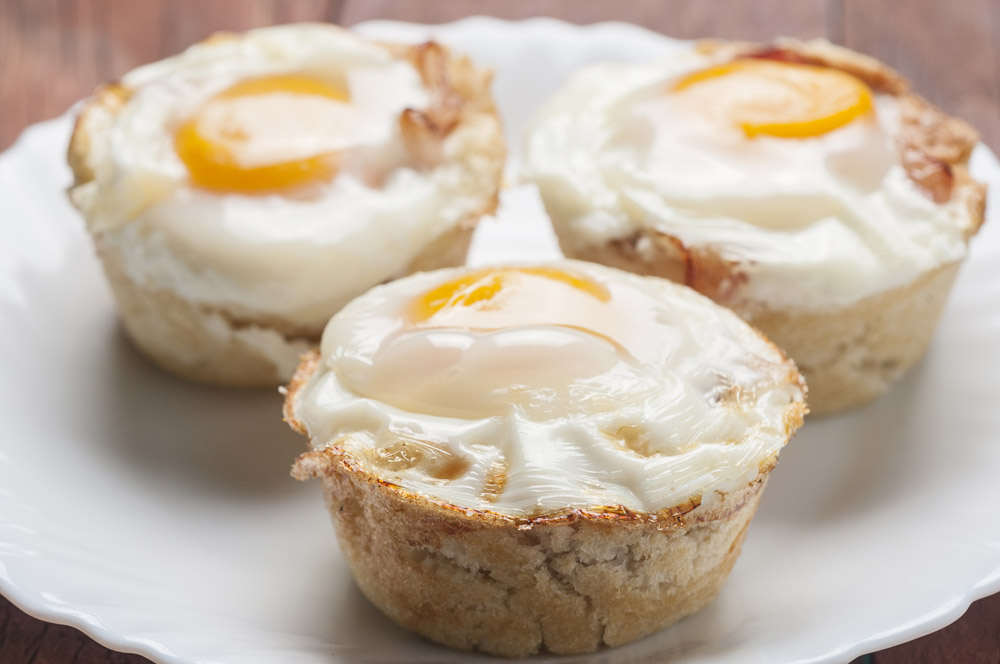
How do you know they’re ready? The whites should be firm but still glisten a bit. The yolks? Soft and golden.
Step 6: Cool, Release, and Enjoy
Here’s the moment of truth. Let the muffin tin cool for about 2–3 minutes. Then, carefully run a butter knife around the edges to loosen each muffin cup. Lift them out and place them on a plate.
Variations Worth Trying

The beauty of this recipe? It’s flexible. Here’s how you can mix things up:
Veggie Boost:
- Add sautéed spinach, diced bell peppers, or even cooked mushrooms under the egg for a pop of color and extra nutrients.
Protein Packed:
- Layer in some shredded, cooked chicken or turkey slices for a more filling option.
Dairy-Free?
- Skip the cheese or use a plant-based alternative like vegan mozzarella.
Spicy Kick:
- Mix in a little hot sauce or add jalapeño slices for a fiery twist.
Seasonal Flair:
- In fall, try adding a sprinkle of pumpkin spice seasoning to the bread before baking for a fun seasonal take.
How to Serve and Store
Plating Ideas
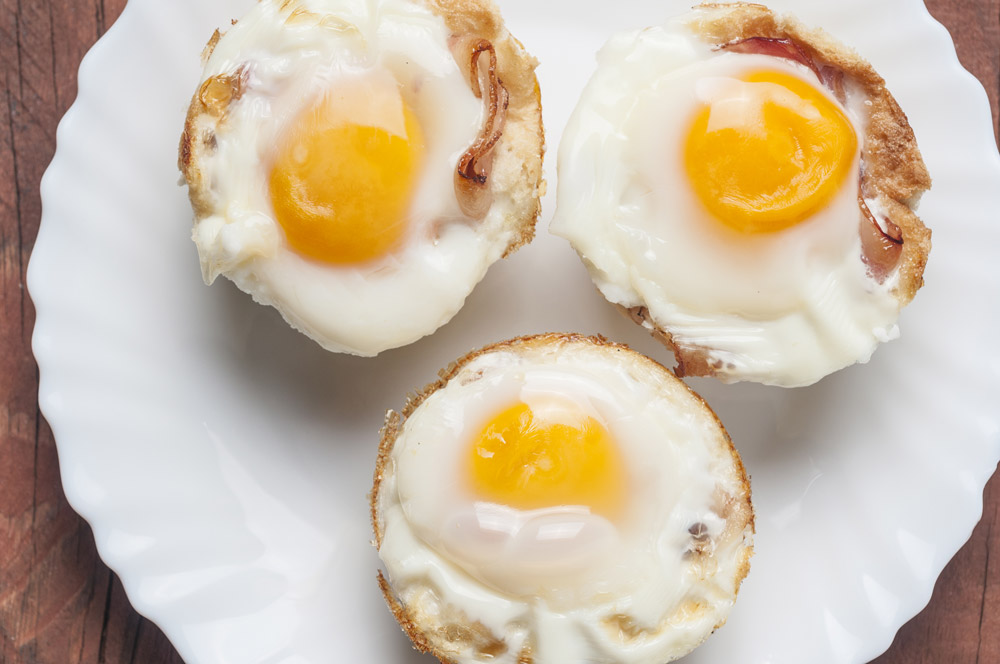
Serve these beauties warm on a white plate to highlight those golden yolks. Garnish with chopped fresh herbs like parsley, scallions, or even a dusting of Parmesan for extra flair. Pair them with:
- A fresh fruit salad
- A simple green salad
- A slice of avocado toast
Storage Tips
Leftovers? Not a problem. Store your baked egg muffin cups in an airtight container in the fridge for up to 2 days.
When it’s time to reheat:
- Use the oven at 350°F (175°C) for 5–7 minutes to restore their crispiness.
- Or use the microwave on low for 20–30 seconds for a softer, quicker fix.
Why I Love This Recipe
I remember the first time I made Baked Egg Muffin Cups for a family brunch. I had no idea how much people would love them! They disappeared in minutes, and folks kept asking for the recipe.
The simplicity, the flavors, the presentation—it all comes together in a way that feels effortless yet impressive. And the best part? You can make them your own.
So go ahead—give these a shot. They might just become your new breakfast favorite, too.
PrintBaked Egg Muffin Cups
A quick and satisfying breakfast recipe featuring warm, crispy bread cups filled with perfectly baked eggs. This customizable dish is ideal for busy mornings, brunches, or meal prep. Easy, elegant, and endlessly versatile!
- Prep Time: 10 minutes
- Cook Time: 15 minutes
- Total Time: 25 minutes
- Yield: 6 muffin cups (serves 4) 1x
- Category: Breakfast
- Cuisine: American
Ingredients
- 6 slices of bread (white or wheat)
- 6 large eggs (room temperature)
- 1 tbsp butter, melted (for greasing)
- 2 tbsp shredded cheese (cheddar or mozzarella)
- Salt and pepper, to taste
- Paprika or chili flakes (optional, for garnish)
Instructions
1. Prep Your Oven and Pan
- Preheat oven to 375°F (190°C).
- Grease a 6-cup muffin tin with melted butter to prevent sticking.
2. Make the Bread Cups
- Cut circles out of the bread using a cookie cutter or glass (around 3–4 inches wide).
- Gently flatten circles with a rolling pin and press them into each muffin cup, shaping them into bowls.
3. Assemble the Cups
- Sprinkle a layer of shredded cheese at the bottom of each bread cup.
- Crack an egg into each cup, keeping the yolk intact or whisking beforehand for scrambled-style.
- Add a pinch of salt, pepper, and paprika/chili flakes for seasoning.
4. Bake to Perfection
- Bake for 12–15 minutes, depending on your preferred egg doneness.
- Look for set whites and slightly runny yolks, or bake a little longer for firm yolks.
5. Cool and Serve
- Let the muffin cups cool for 2–3 minutes.
- Use a butter knife to gently release and lift them out of the tin.
Notes
Serving Suggestions
- Garnish with fresh herbs like parsley or chives for extra color and flavor.
- Pair with fresh fruit, a salad, or avocado toast for a balanced meal.
Tips & Tricks
- Want extra crispy bread? Toast the bread circles lightly before pressing them into the tin.
- Experiment with add-ins like chopped vegetables under the egg for a heartier option.
Storage & Reheating
- Refrigerate: Store in an airtight container for up to 2 days.
- Reheat: In the oven at 350°F (175°C) for 5–7 minutes or in the microwave for 20 seconds on low power.

