
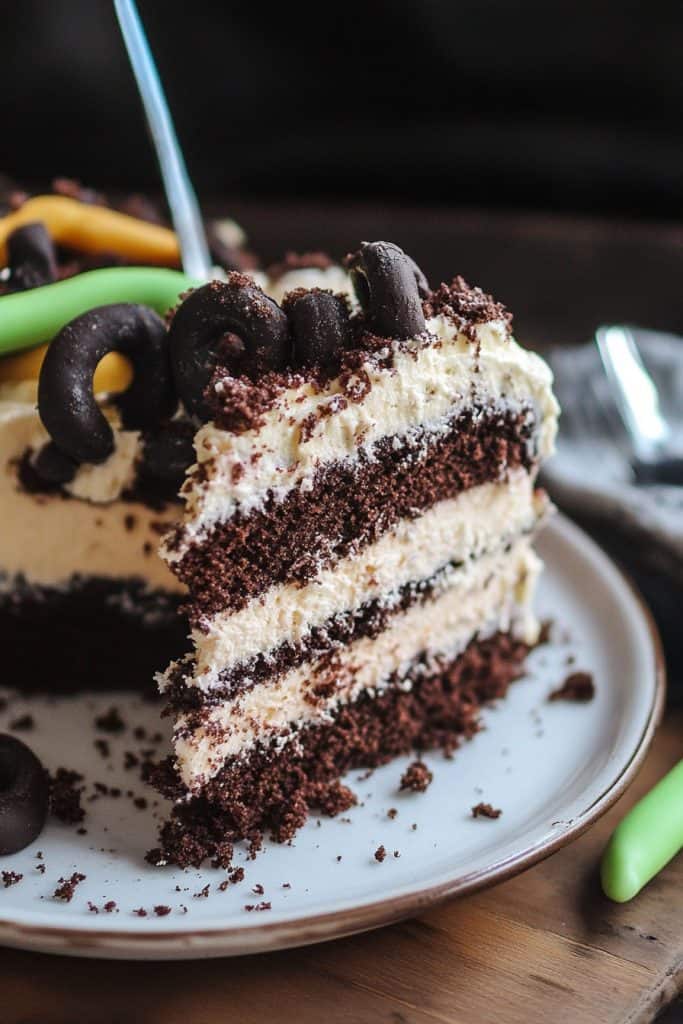
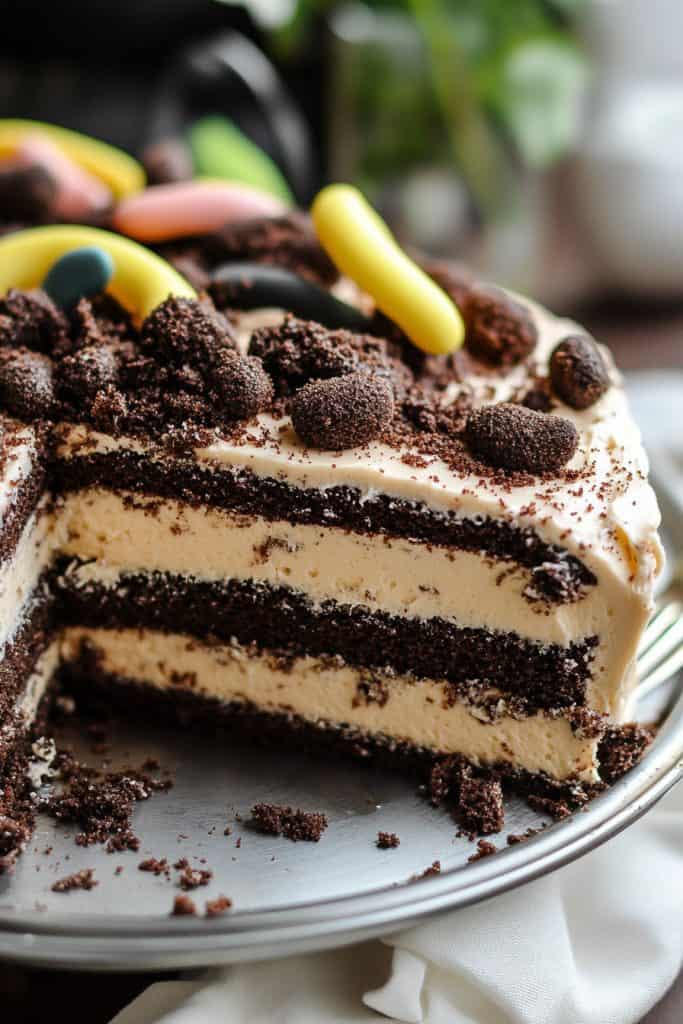
There’s something irresistibly fun about dirt cake. It’s a nostalgic treat that takes many of us back to childhood birthday parties and family gatherings. With layers of creamy pudding, crushed cookies, and gummy worms, it looks like a mini garden scene straight out of a storybook.
Originating as a playful twist on traditional cake, dirt cake is perfect for themed parties or a whimsical dessert option. The best part? It’s incredibly easy to make and requires no baking. Whether you’re crafting it for kids or indulging your own inner child, this dessert is sure to bring smiles and satisfy sweet cravings.
Dirt Cake Ingredients
Crafting the delightful dirt cake requires just a handful of essential ingredients. Each component contributes to the unique texture and flavor that makes this dessert a nostalgic favorite.
- 1 package (14.3 oz) of Oreo cookies: These will be crumbled to create the “dirt” layer. Make sure to remove the filling to keep the texture consistent.
- 1 package (8 oz) of cream cheese, softened: This adds a rich and creamy layer, blending perfectly with the pudding.
- 1 cup of powdered sugar: This sweetens the cream cheese mixture without making it too overpowering.
- 1/2 cup (1 stick) of unsalted butter, softened: This combines with the cream cheese to form a smooth and luscious base.
- 2 packages (3.4 oz each) of instant vanilla pudding mix: This gives the creamy pudding layer its structure and flavor.
- 3 1/2 cups of milk: Make sure it’s cold, as this helps the pudding set properly.
- 1 teaspoon of vanilla extract: This enhances the flavor of the cream mixture, making it more aromatic and inviting.
- 1 container (12 oz) of frozen whipped topping, thawed: This lightens the texture of the final mixture.
- Gummy worms (optional): To add a fun, whimsical touch, place these on top to mimic worms crawling through dirt.
These ingredients combine harmoniously to create the playful yet delicious dirt cake, guaranteed to bring joy to any event.
Tools & Equipment Needed
Creating a dirt cake is a straightforward process, but having the right tools and equipment on hand ensures a smooth and enjoyable experience. Here’s what you’ll need:
Mixing Bowls
You’ll need at least two large mixing bowls. One bowl is for combining the pudding mix and milk, and the other is for the cream cheese mixture. Make sure these bowls are big enough to hold multiple ingredients without spilling.
Electric Mixer
An electric mixer is essential for achieving a smooth and creamy texture in both the pudding and cream cheese mixtures. A hand mixer or stand mixer will do the job perfectly.
Rubber Spatula
A rubber spatula is ideal for folding and mixing ingredients. It’s also useful for scraping down the sides of the bowls to ensure everything is well combined.
Food Processor or Blender
A food processor or blender will quickly crush the Oreo cookies into fine crumbs, which form the “dirt” layer of the cake. If you don’t have either, placing the cookies in a zip-top bag and crushing them with a rolling pin works as well.
Measuring Cups and Spoons
Accurate measurements are crucial for this recipe. You’ll need both dry and liquid measuring cups, as well as measuring spoons to measure out the ingredients precisely.
Serving Dish
You’ll need a serving dish to assemble the dirt cake. A 9×13 inch baking dish works well, but you can also use a large trifle bowl for a fancier presentation. Clear containers are preferred to show off the dirt cake’s layers.
Plastic Wrap
Plastic wrap will be handy if you need to cover the cake while it sets in the refrigerator. This helps to keep it fresh and prevents it from absorbing other odors from the fridge.
Decorative Items
Don’t forget the gummy worms and any other decorations you want to use. Having them on hand will make it easier when it’s time to assemble and decorate your dirt cake.
Spoons and Spatulas for Serving
Having a good set of spoons and spatulas ready for serving will make dishing out your dirt cake a breeze. Aim for utensils that can easily scoop generous portions without disturbing the decorative layers.
With these tools and equipment, you’ll be all set to create a delightful and playful dirt cake that will impress both kids and adults at any gathering.
How to Make Dirt Cake
Dirt cake is a fun and easy dessert that brings out the kid in all of us. Follow these steps to create your own delicious dirt cake.
Step 1: Prepare the Pudding
- In a large mixing bowl, combine 2 packs (3.4 oz each) of instant vanilla pudding mix.
- Add 4 cups of cold milk to the pudding mix.
- Use an electric mixer to beat the mixture on medium speed for about 2 minutes until it thickens.
- Set the pudding aside to thicken further while you prepare the other ingredients.
Step 2: Crush the Cookies
- Place 24 Oreo cookies in a food processor.
- Pulse until the cookies are finely crushed and resemble dirt. Alternatively, you can place the cookies in a ziplock bag and crush them with a rolling pin.
- Set the crushed cookies aside for layering.
Step 3: Make the Pudding Mixture
- In another large mixing bowl, beat 8 oz of softened cream cheese and 1 cup of powdered sugar with an electric mixer until smooth.
- Gently fold in 12 oz of whipped topping (Cool Whip) until fully combined.
- Gradually fold in the prepared pudding to the cream cheese mixture until well mixed.
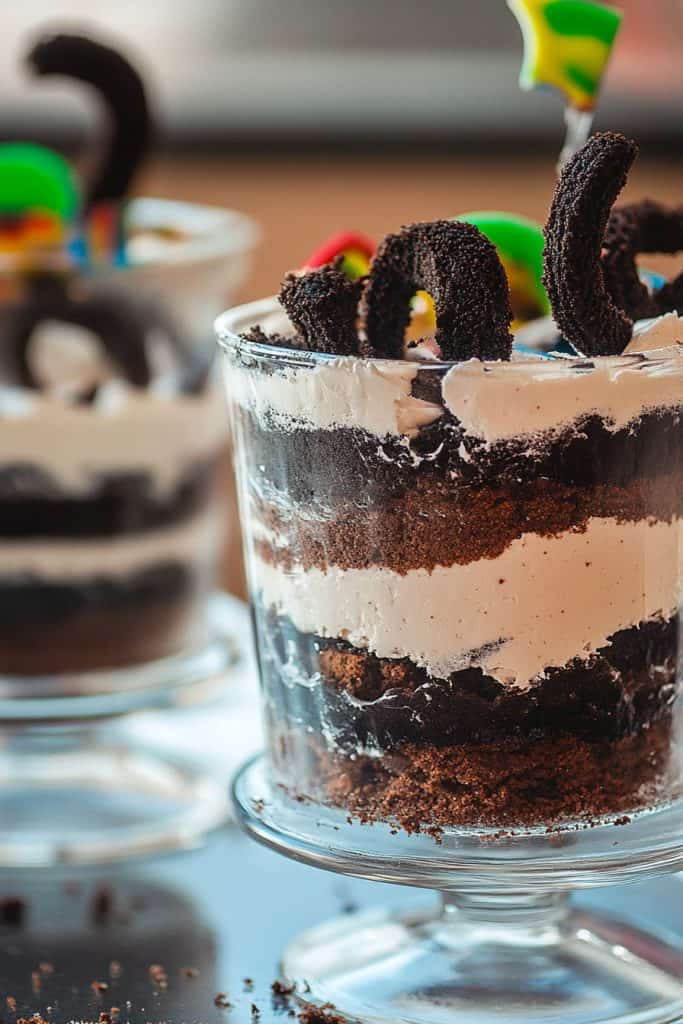
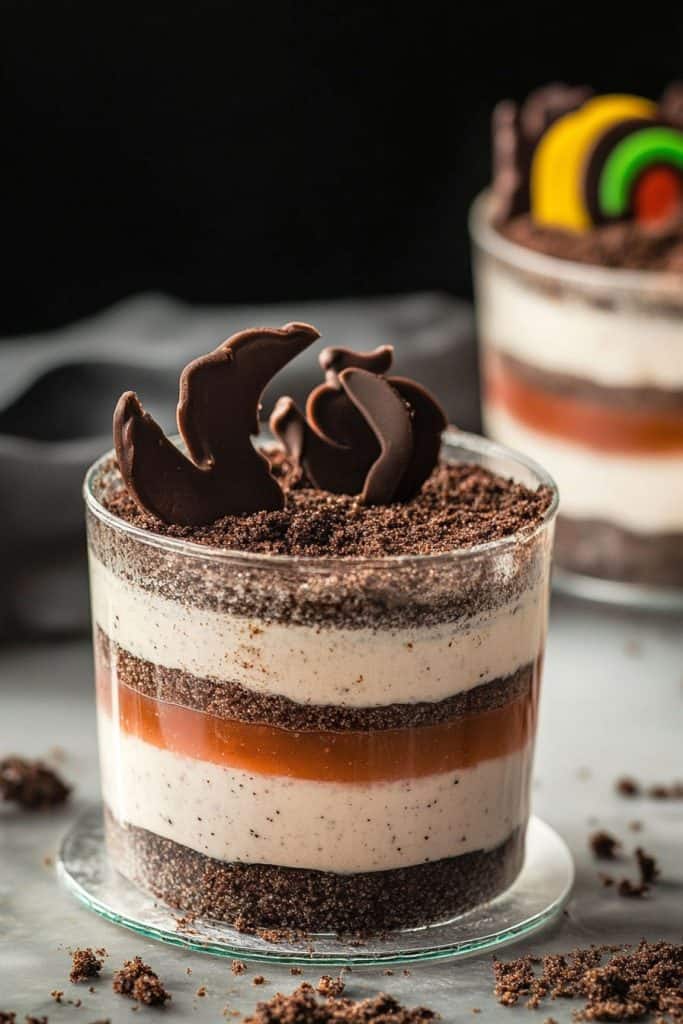
Step 4: Layer the Cookies & Pudding Mixture
- In a large serving dish or individual cups, begin by spreading a layer of the cookie crumbs at the bottom.
- Spoon a layer of the pudding mixture on top of the cookie crumbs.
- Continue to alternate layers of cookie crumbs and pudding mixture, ending with a final layer of cookie crumbs on top.
Step 5: Add Gummy Worms (Optional)
- For a fun and decorative touch, place gummy worms on top of the final layer of cookie crumbs.
- You can also partially bury some of the gummy worms in the layers to mimic real worms in dirt for added whimsy.
- Cover the dirt cake with plastic wrap.
- Place it in the refrigerator to chill for at least 4 hours or preferably overnight. This allows the flavors to meld together and the texture to set.
- When ready to serve, uncover and enjoy your homemade dirt cake!
How to Decorate Dirt Cake
Decorating dirt cake is the most fun part of making this delightful dessert! Here are step-by-step instructions to make your dirt cake look amazing:
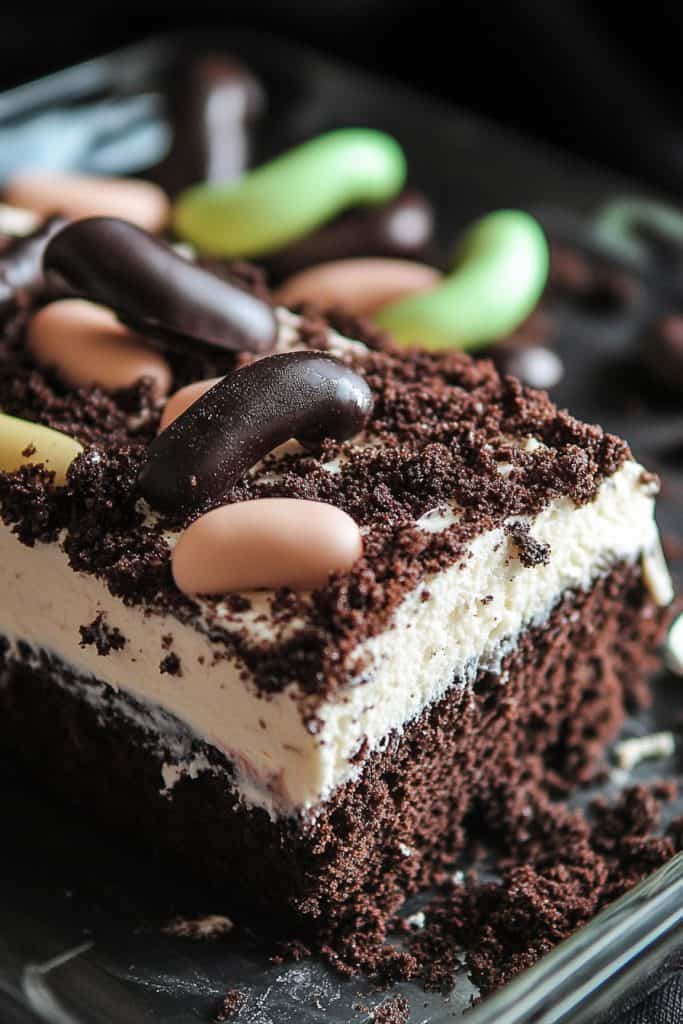
- Sprinkle Crushed Cookies:
- After the final layer of the pudding mixture, sprinkle a generous layer of crushed Oreo cookies evenly across the top. This creates the “dirt” appearance.
- Add Gummy Worms:
- Place gummy worms on top of the crushed cookies. You can make them look more natural by having some hang over the edge or slightly burying others. This gives a playful and lifelike appearance.
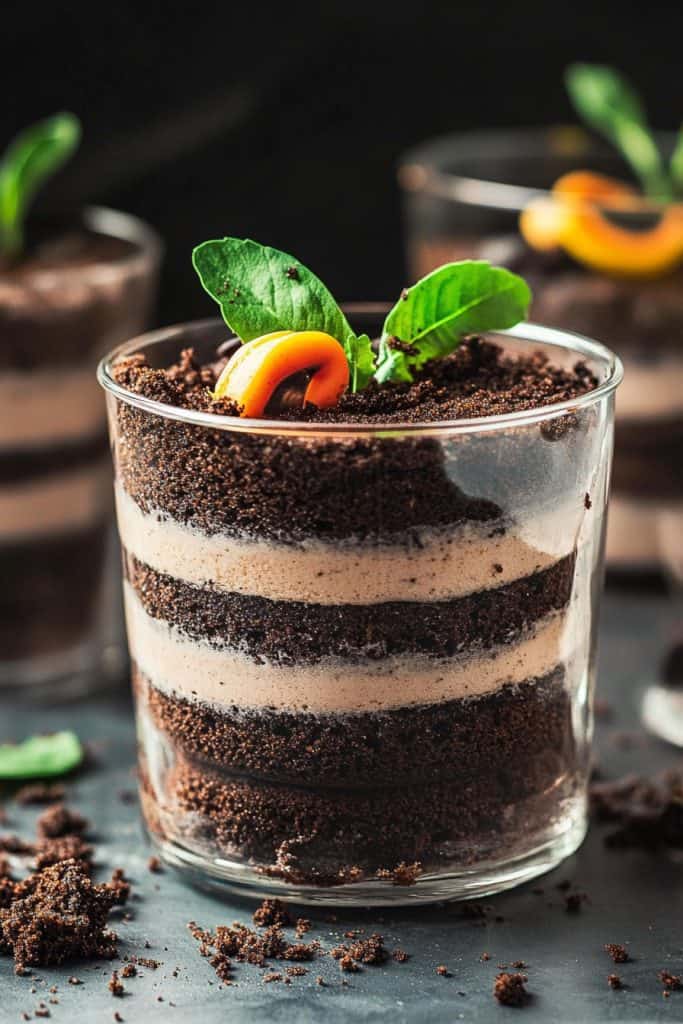
- Use Edible Flowers and Plants:
- Optionally, you can add edible flowers or mint leaves to give the cake a little pop of color and mimic tiny plants growing out of the dirt.
- Create a Garden Scene:
- For themed parties, consider adding edible decorations like candy rocks or chocolate pebbles. Arrange them to create a mini garden scene on the cake.
- Write Messages with Piping Gel:
- Using a piping gel, write fun messages or draw simple designs on top of the “dirt.” This personal touch can make the dessert extra special for the occasion.
- Use a Small Shovel for Serving:
- For an added touch of fun, serve the dirt cake using a small, clean plastic shovel. Kids and adults alike will enjoy this playful presentation.
Variations of Dirt Cake
Exploring different variations of dirt cake allows for a delightful twist on the traditional recipe. Each variation retains the iconic look of a layered “dirt” dessert but incorporates unique flavors and ingredients, offering a versatile dessert experience.
Chocolate Lover’s Dirt Cake
For those who crave chocolate, this version is a must-try.
Ingredients:
- 24 oz chocolate sandwich cookies, crushed
- 8 oz cream cheese, softened
- 1 cup powdered sugar
- 2 packages (3.9 oz each) chocolate instant pudding mix
- 3 cups milk
- 12 oz whipped topping, thawed
Instructions:
- Crush the chocolate sandwich cookies until they resemble fine dirt.
- In a large bowl, beat softened cream cheese and powdered sugar until smooth.
- Prepare the chocolate pudding mix with milk, following package instructions.
- Fold the whipped topping into the cream cheese mixture.
- Layer alternating between the cookie crumbs and chocolate mixture in a trifle bowl.
- Chill for 2 hours before serving.
Peanut Butter Dirt Cake
Adding peanut butter to your dirt cake gives it a rich, nutty flavor that complements the sweetness.
Ingredients:
- 24 oz peanut butter cookies, crushed
- 8 oz cream cheese, softened
- 1 cup powdered sugar
- 1 cup peanut butter
- 2 packages (3.4 oz each) vanilla instant pudding mix
- 3 cups milk
- 12 oz whipped topping, thawed
Instructions:
- Crush the peanut butter cookies to fine crumbs.
- Beat cream cheese, powdered sugar, and peanut butter until well combined.
- Prepare vanilla pudding mix with milk as directed.
- Fold whipped topping into the cream cheese mixture.
- Alternate layers of crushed cookies and peanut butter mixture in a serving dish.
- Let it chill for 2 hours before enjoying.
Mint Chocolate Chip Dirt Cake
Perfect for mint lovers, this variation pairs the freshness of mint with the richness of chocolate.
Ingredients:
- 24 oz chocolate mint cookies, crushed
- 8 oz cream cheese, softened
- 1 cup powdered sugar
- 1 tsp mint extract
- 2 packages (3.4 oz each) vanilla instant pudding mix
- 3 cups milk
- Green food coloring
- 12 oz whipped topping, thawed
- Chocolate chips for garnish
Instructions:
- Finely crush chocolate mint cookies.
- Beat cream cheese, powdered sugar, and mint extract until smooth.
- Prepare pudding with milk and add green food coloring to desired tint.
- Fold whipped topping and chocolate chips into the cream cheese mixture.
- Layer crushed cookies and mint cream mixture in a trifle bowl.
- Garnish with additional chocolate chips and chill for 2 hours before serving.
Tropical Dirt Cake
Infuse your dirt cake with tropical flavors for a refreshing twist.
Ingredients:
- 24 oz coconut cookies, crushed
- 8 oz cream cheese, softened
- 1 cup powdered sugar
- 1 cup crushed pineapple, drained
- 2 packages (3.4 oz each) coconut cream instant pudding mix
- 3 cups milk
- 12 oz whipped topping, thawed
- Shredded coconut for garnish
Instructions:
- Crush coconut cookies until fine.
- Blend cream cheese, powdered sugar, and crushed pineapple until smooth.
- Prepare coconut cream pudding mix with milk as instructed.
- Fold whipped topping into the pineapple mixture.
- Alternate layers of cookie crumbs and pineapple mix in a serving dish.
- Top with shredded coconut and chill for 2 hours before serving.
Vegan Dirt Cake
A dairy-free and vegan-friendly option for dirt cake lovers.
Ingredients:
- 24 oz vegan chocolate cookies, crushed
- 8 oz dairy-free cream cheese
- 1 cup powdered sugar
- 2 packages (3.9 oz each) instant chocolate pudding mix
- 3 cups almond milk
- 12 oz coconut whipped topping
- Crush vegan chocolate cookies.
- Beat dairy-free cream cheese and powdered sugar until smooth.
- Make instant pudding with almond milk following package directions.
- Gently fold the coconut whipped topping into the cream cheese mixture.
- Layer the mixture and cookie crumbs in a bowl or serving dish.
- Chill for 2 hours before serving.
Each variation of dirt cake offers a unique flavor profile while retaining the beloved layered presentation and whimsy of the classic dessert.
How to Store Dirt Cake
Storing your dirt cake properly is essential to maintain its taste and texture. Here are the steps to ensure your dessert stays fresh:
Refrigerator Storage
- Cover the Cake: Use plastic wrap or aluminum foil to cover the dirt cake tightly. This prevents it from absorbing odors from other foods in the refrigerator.
- Use an Airtight Container: If you prefer, transfer the dirt cake into an airtight container. This also helps in maintaining freshness and preventing odor absorption.
- Refrigerate Promptly: Place the covered cake or container in the fridge as soon as possible after preparing it. Dirt cake contains dairy ingredients, so it must be kept cold.
- Shelf Life: The dirt cake can typically be refrigerated for up to 3 days. After this period, the texture of the cookies may become too soggy and the flavor might not be as optimal.
- Use Freezer-Safe Containers: For longer storage, transfer the dirt cake to a freezer-safe, airtight container to prevent freezer burn.
- Wrap and Label: Wrap the container in an additional layer of plastic wrap or aluminum foil, and label it with the date.
- Freezing Time: Dirt cake can be frozen for up to one month. Beyond this time, the texture and flavors may degrade.
- Thawing Instructions: When ready to enjoy, thaw the dirt cake in the refrigerator overnight. Check that it is fully thawed before serving to ensure the best texture and taste.
Following these storage tips will help keep your dirt cake delicious whether you’re saving leftovers or preparing it in advance for an event.
Conclusion
Dirt cake is more than just a dessert; it’s a nostalgic treat that brings joy to any occasion. With its simple preparation and endless variations, there’s a dirt cake for everyone. Remember to store it properly to keep it fresh and delicious, whether you’re enjoying leftovers or prepping for a big event. Dive into the world of dirt cake and let your creativity shine!