
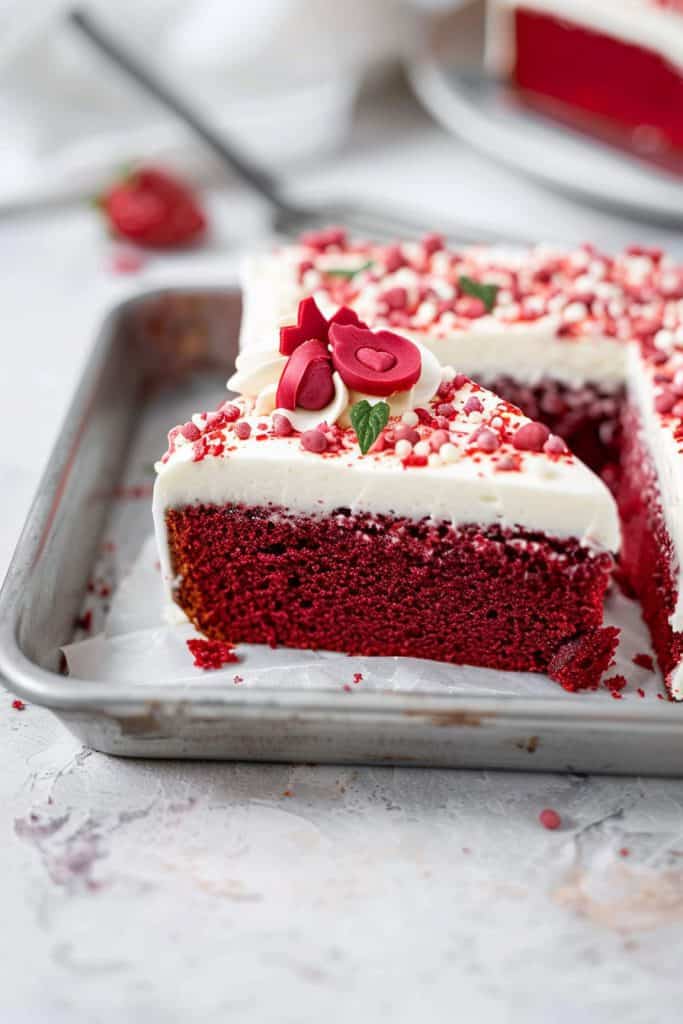
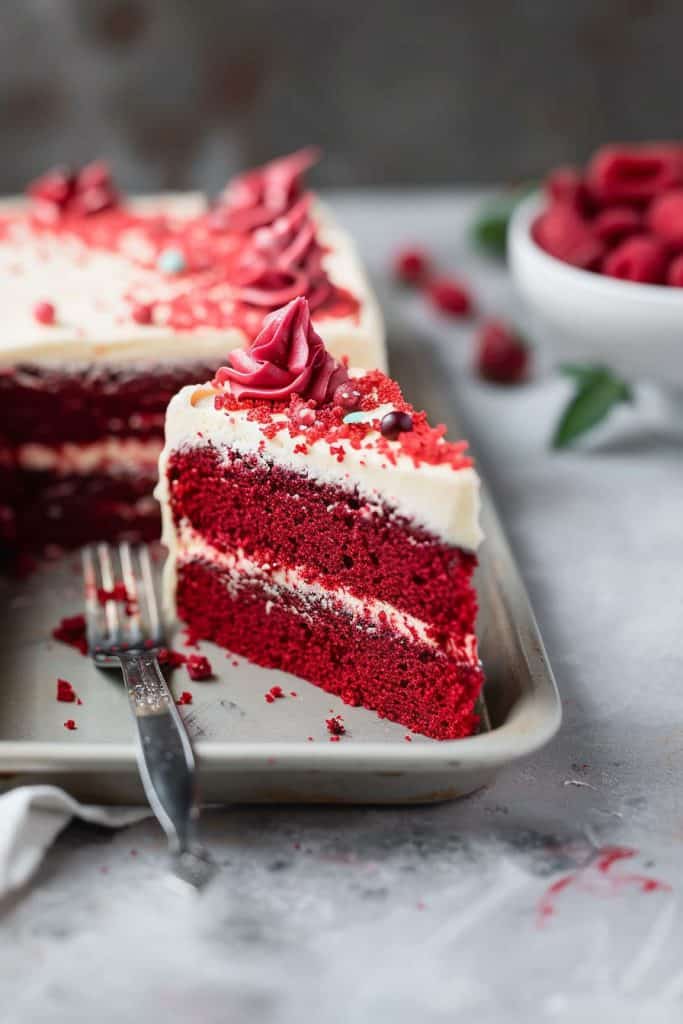
Craving a decadent treat that’s easy to whip up? Dive into the world of easy red velvet sheet cake recipes with me. This classic dessert is a crowd-pleaser, perfect for gatherings or a sweet indulgence at home. Originating from the South, red velvet cake’s vibrant color and subtle cocoa flavor make it a beloved choice for any occasion.
Ingredients
Creating the perfect red velvet sheet cake requires the right ingredients to achieve that delicious and indulgent taste. Below are the ingredients needed for both the cake and the cream cheese frosting.
For the Cake
- 2 1/2 cups of all-purpose flour
- 1 1/2 cups of granulated sugar
- 1 teaspoon of baking soda
- 1 teaspoon of salt
- 1 teaspoon of cocoa powder
- 1 1/2 cups of vegetable oil
- 1 cup of buttermilk, room temperature
- 2 large eggs, room temperature
- 2 tablespoons of red food coloring
- 1 teaspoon of vanilla extract
- 1 teaspoon of white distilled vinegar
- 16 oz of cream cheese, softened
- 1 cup of unsalted butter, softened
- 4 cups of powdered sugar
- 1 teaspoon of vanilla extract
Required Tools and Equipment
When creating the perfect red velvet sheet cake, having the right tools and equipment is essential to ensure a successful baking experience. Here are the tools you will need to make this delicious dessert:
Baking Sheet:
I recommend using a standard 9×13 inch baking sheet to bake your red velvet cake. This size allows for an even bake and perfect thickness for a sheet cake.
Mixing Bowls:
Having a few mixing bowls of varying sizes will be useful for preparing different components of the cake, such as the dry ingredients, wet ingredients, and the cream cheese frosting.
Electric Mixer:
An electric mixer, either a stand mixer or a hand mixer, will make the process of mixing the cake batter and frosting much easier and ensure a smooth consistency.
Whisk or Spatula:
A whisk or spatula will come in handy for blending the ingredients together smoothly, especially when mixing the red food coloring into the batter for that vibrant red hue.
Parchment Paper:
To prevent the cake from sticking to the baking sheet, lining it with parchment paper is recommended. This will make it easier to remove the cake once it’s baked.
Cooling Rack:
After baking the red velvet sheet cake, allow it to cool properly on a cooling rack. This will help prevent the cake from becoming soggy on the bottom due to trapped steam.
Having these essential tools and equipment on hand will make the process of baking a red velvet sheet cake much more manageable and enjoyable.
Preparations
Before diving into baking this delightful red velvet sheet cake, it’s essential to prep your kitchen and equipment for a seamless experience. From preheating the oven to preparing the pans and mixing the dry ingredients, these initial steps set the foundation for a successful baking session.
Preheat Oven and Prep Pans
To kickstart the baking process, preheat your oven to the specified temperature (usually 350°F or as indicated in your recipe). While the oven heats up, it’s time to prepare your sheet pans by greasing and lining them with parchment paper. This preparation ensures that your red velvet sheet cake bakes evenly and doesn’t stick to the pans.
Mix Dry Ingredients
In a medium-sized bowl, combine the dry ingredients required for the red velvet sheet cake, typically including flour, cocoa powder, baking soda, and salt. Use a whisk to ensure that the ingredients are well incorporated and free of any lumps. This step is crucial to evenly distribute the leavening agents and cocoa powder, resulting in a perfectly textured and flavored red velvet cake.
Directions
In this section, I will guide you through the step-by-step process of creating a delightful red velvet sheet cake with luscious cream cheese frosting.
Make the Cake Batter
- Preheat your oven to 350°F (175°C) and grease a baking sheet or line it with parchment paper for easy removal.
- In a large mixing bowl, cream together sugar and butter until light and fluffy.
- Add eggs one at a time, beating well after each addition, then mix in vanilla extract and red food coloring for that classic red velvet hue.
- In a separate bowl, sift together flour, cocoa powder, baking soda, and salt.
- Gradually add the dry ingredients to the wet mixture while alternating with buttermilk, starting and ending with the flour mixture.
- Stir in vinegar and baking soda mixture – be prepared for a bubbly reaction!
- Pour the batter onto the prepared baking sheet, spreading it evenly to ensure a uniform thickness.
Bake the Cake
- Place the baking sheet in the preheated oven and bake for about 20-25 minutes, or until a toothpick inserted into the center comes out clean.
- Once baked, let the cake cool in the pan for a few minutes before transferring it to a wire rack to cool completely.
- In a clean mixing bowl, beat softened cream cheese and butter until smooth and creamy.
- Add powdered sugar and vanilla extract, then beat until well combined and smooth.
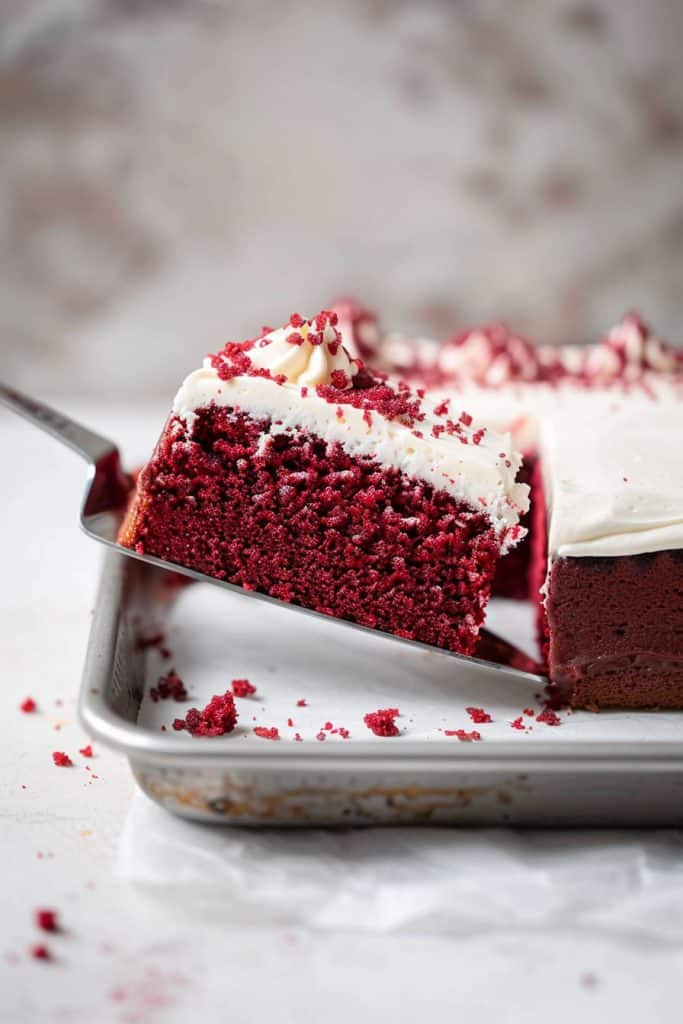
- Once the cake has cooled completely, evenly spread the cream cheese frosting over the top.
- For a decorative touch, you can sprinkle some red velvet cake crumbs or chopped nuts over the frosting.
- Slice and serve this delectable red velvet sheet cake, perfect for any celebration or sweet craving. Enjoy!
Assembling the Cake
To assemble the red velvet sheet cake, follow these simple steps to bring all the delicious components together in a delightful treat.
Step 1: Cooling the Cake
- After baking the red velvet sheet cake, allow it to cool completely in the baking sheet. This will ensure that the cake sets and is easier to work with when assembling.
Step 2: Preparing the Cream Cheese Frosting
- Once the cake has cooled, spread a generous layer of the prepared cream cheese frosting evenly over the top of the cake using an offset spatula. The smooth frosting will add a creamy and tangy contrast to the rich red velvet cake.
Step 3: Rolling Up the Cake
- Starting from one of the shorter ends of the cake, gently roll the cake and frosting into a tight spiral. The spiral shape will create beautiful swirls of red velvet and cream cheese frosting in every slice.
Step 4: Final Touches
- Place the rolled cake seam side down on a serving platter. Optionally, dust the top with a sprinkle of cocoa powder or garnish with fresh berries for a pop of color and flavor.
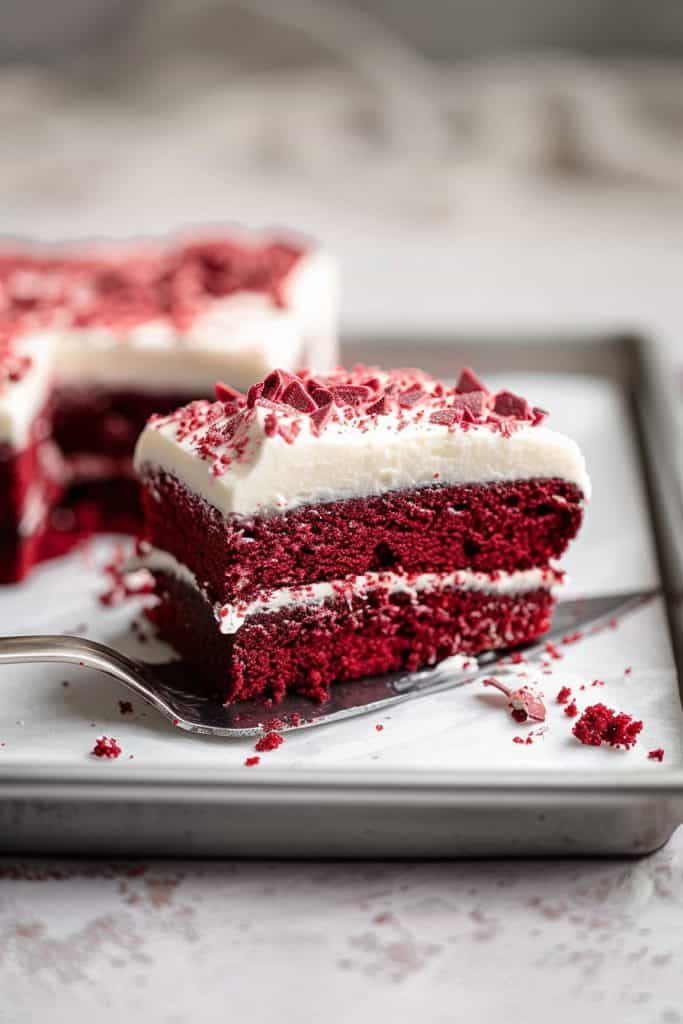
- Chill the assembled red velvet sheet cake in the refrigerator for at least 30 minutes to allow the frosting to set and the flavors to meld together. Slice the cake into portions and serve chilled for a refreshing and indulgent treat.
Enjoy the decadent and visually stunning red velvet sheet cake that is sure to impress your guests and satisfy any sweet cravings.
Decorating Tips
When it comes to decorating a red velvet sheet cake, there are various creative ways to make it visually appealing and even more delicious. Here are some tips to elevate the presentation of your red velvet sheet cake:
1. Cream Cheese Frosting Design:
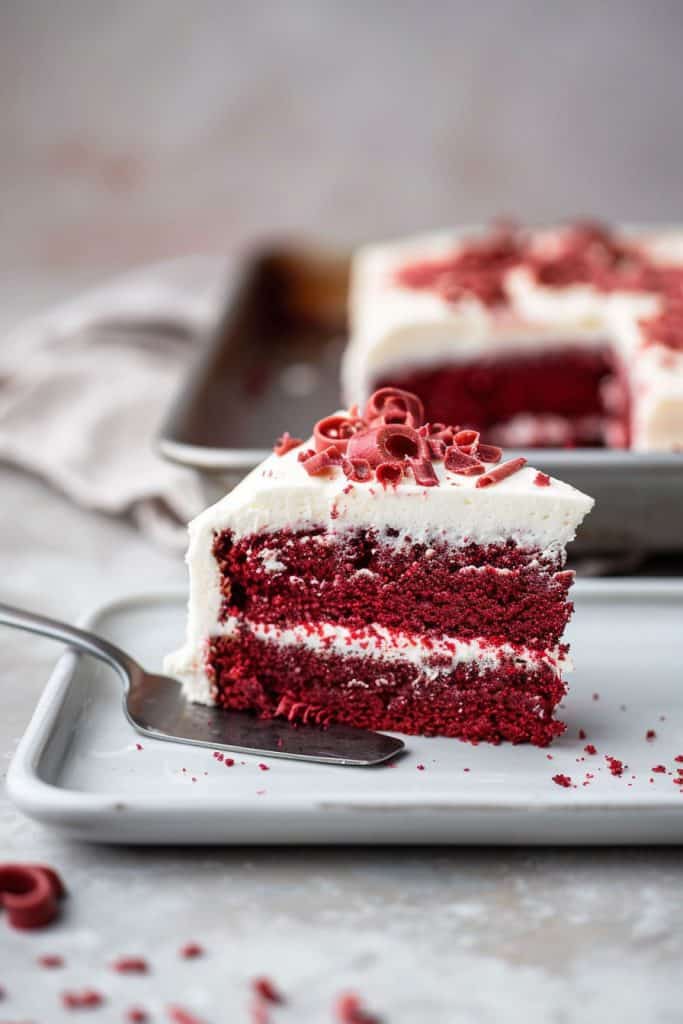
I like to use a piping bag with a star tip to create beautiful swirls of cream cheese frosting on top of the cake. This not only adds a decorative element but also allows for a generous layer of frosting that complements the rich red velvet flavor.
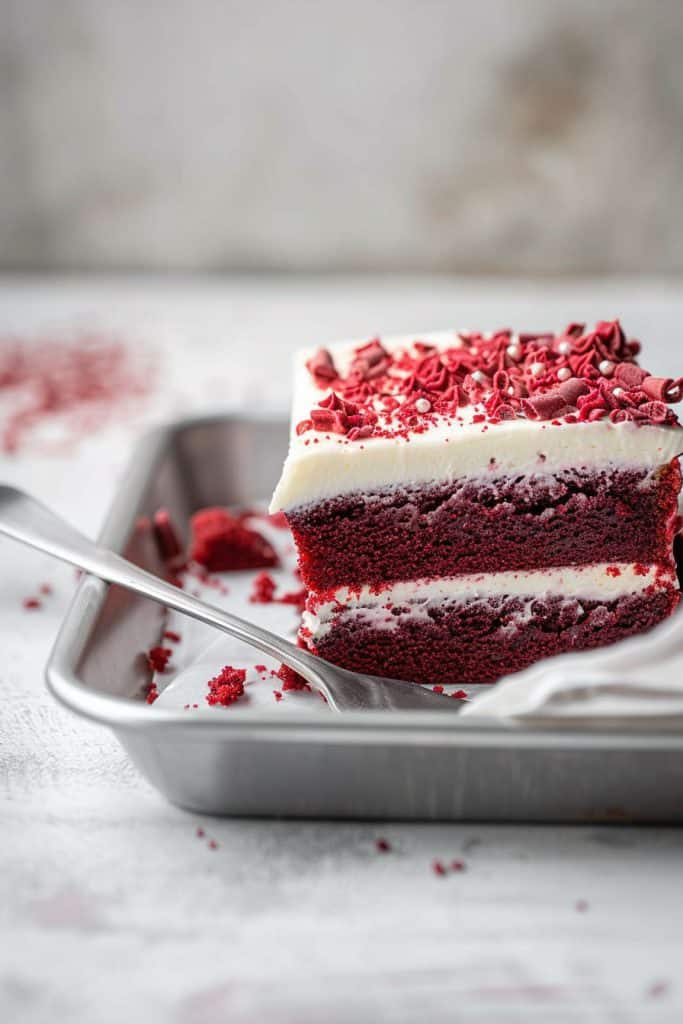
2. Chocolate Shavings or Sprinkles:
For a touch of elegance and an additional burst of chocolate flavor, I recommend sprinkling chocolate shavings or chocolate sprinkles on top of the cream cheese frosting. This adds texture and a contrasting color that enhances the overall look of the cake.
3. Fresh Berries Arrangement:
To add a fresh and fruity element to your red velvet sheet cake, consider arranging fresh berries like raspberries or strawberries on top of the cake. The vibrant colors of the berries contrast beautifully with the red cake, creating a visually stunning presentation.
4. Dusting of Cocoa Powder:
A simple yet effective way to elevate the appearance of your cake is by dusting a light layer of cocoa powder over the cream cheese frosting. This adds a touch of sophistication and enhances the cocoa undertones of the red velvet cake.
5. Edible Flowers for a Decorative Touch:
For a striking and elegant finish, consider decorating the cake with edible flowers such as pansies or roses. The bright colors of the flowers against the red cake create a visually stunning contrast that is perfect for special occasions.
6. Personalized Messages or Designs:
Get creative and personalize your red velvet sheet cake by piping messages or designs using colored frosting. This adds a unique and thoughtful touch to the cake, making it perfect for birthdays, anniversaries, or any special celebration.
By incorporating these decorating tips, you can take your red velvet sheet cake to the next level and impress your guests with both its visual appeal and delectable taste.
Storage and Serving Suggestions
When it comes to storing your delectable red velvet sheet cake, it’s essential to keep it fresh and moist for the best taste experience. Here are some easy tips on how to store and serve your red velvet creation:
Storage Tips:
- Cooling: Allow the red velvet sheet cake to cool completely before storing to prevent condensation, which can make the cake soggy.
- Refrigeration: Store the cake in an airtight container or cover it tightly with plastic wrap. Refrigeration helps maintain the freshness and the creamy texture of the cream cheese frosting.
- Avoid Odors: Ensure the cake is stored away from strongly scented foods in the refrigerator to prevent absorption of unwanted flavors.
- Freezing: Red velvet sheet cake can also be frozen for future enjoyment. Wrap the cake tightly in plastic wrap and then in aluminum foil before placing it in the freezer. To defrost, transfer the cake to the refrigerator overnight.
- Room Temperature: For the best taste and texture, allow the chilled red velvet sheet cake to sit at room temperature for about 30 minutes before serving.
- Garnishes: Elevate the presentation of your cake by adding fresh berries, chocolate shavings, or a dusting of cocoa powder just before serving.
- Serve with Style: Get creative with serving by adding a dollop of whipped cream, a scoop of vanilla ice cream, or a drizzle of raspberry sauce alongside each slice.
- Personalization: Make each serving special by adding a sprinkle of edible flowers or a personalized message using decorative writing gel.
By following this storage and serving suggestions, you can ensure that your red velvet sheet cake remains fresh, visually appealing, and delightfully delicious for all your upcoming celebrations and gatherings.
Conclusion
Red velvet sheet cake recipes are a delightful choice for any occasion, offering a perfect balance of flavor and visual appeal. By following the detailed guidance provided in this article, you can easily create a stunning red velvet sheet cake that will impress your guests. Remember, the key to success lies in using the right ingredients, tools, and techniques to achieve the desired results. Whether you’re a baking enthusiast or a novice in the kitchen, this versatile recipe is sure to become a favorite. With creative decorating tips and storage suggestions, you can elevate your red velvet sheet cake to a whole new level. So, next time you’re planning a celebration or gathering, consider making a red velvet sheet cake to add a touch of elegance and sweetness to the occasion.