
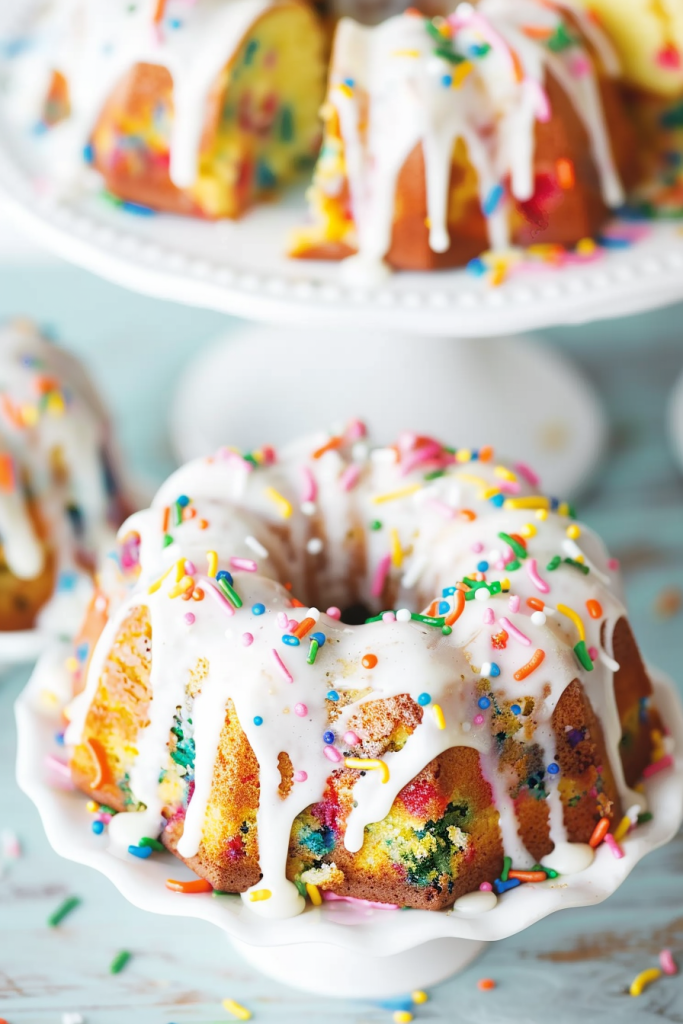
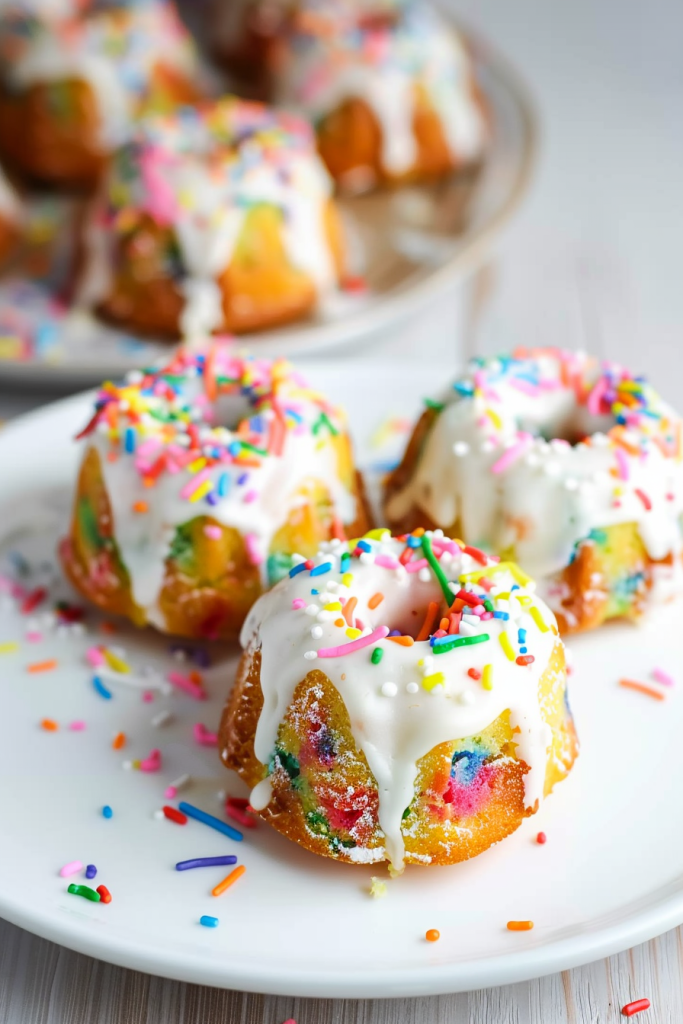
Celebrating milestones calls for something special, and these homemade Funfetti Mini Bundt Cakes are the perfect treat for any occasion. Baked with simple ingredients and a generous amount of colorful sprinkles, these delightful mini cakes are a sure way to add a touch of joy to your festivities. In approximately 1 hour and 10 minutes, you can have these fun and easy-to-make cakes ready to impress your guests.
As I reflect on 8 years of sharing my culinary journey on The Bitter Side of Sweet, these mini bundt cakes hold a special place in commemorating this milestone. Through the ups and downs of blogging, photography, and cooking, creating and sharing amazing recipes like these has been a true delight. So, whether you’re celebrating a blog anniversary or simply craving a sweet treat, these Funfetti Mini Bundt Cakes are a delightful choice to brighten up any occasion.
Ingredients
Creating these delicious Funfetti Mini Bundt Cakes requires simple yet vibrant ingredients. From the cake batter to the glaze, here’s everything you’ll need for 6 to 8 mini bundt cakes:
For the Cake
- 1 cup (125g) all-purpose flour (spooned & leveled)
- 1 teaspoon baking powder
- ¼ teaspoon baking soda
- ½ cup (100g) granulated sugar
- ¼ teaspoon salt
- 1 large egg, at room temperature
- ½ cup (120g) plain non-fat Greek yogurt, at room temperature
- 1 tablespoon milk
- 2 tablespoons (28g) unsalted butter, melted
- 1 teaspoon pure vanilla extract
- ¼ cup (40g) rainbow sprinkles
For the Glaze:
- ½ cup (60g) confectioners’ sugar
- 1 tablespoon milk (plus more as needed)
- ¼ teaspoon vanilla extract
- Extra rainbow sprinkles for garnish
Equipment Needed
To make these fun and festive Funfetti Mini Bundt Cakes, you’ll need some essential equipment to ensure everything turns out perfectly. Here’s a list of the items you’ll need:
- Mini Bundt cake pan: This special pan gives the cakes their iconic shape. Make sure to grease the pan thoroughly before pouring in the batter.
- Mixing bowls: Have a few mixing bowls on hand to prepare the cake batter and the glaze.
- Electric mixer: An electric mixer makes it easy to cream the butter and sugar together until light and fluffy.
- Measuring cups and spoons: Accurate measurements are key in baking, so have your measuring cups and spoons ready.
- Cooling rack: After baking, you’ll need a cooling rack to let the mini bundt cakes cool down before decorating.
- Funnel or piping bag: To drizzle the glaze neatly over the cakes, a funnel or piping bag works best.
- Rainbow sprinkles and nonpareils: These colorful decorations are what make these mini bundt cakes so fun and vibrant.
- Sparkler candles (optional): For an extra celebratory touch, consider using sparkler candles to decorate your cakes.
Preparation
Before diving into the exciting baking process, it’s absolutely essential to prepare both the cake batter and the bundt pan meticulously to ensure your Funfetti Mini Bundt Cakes turn out perfectly.
Preparing the Cake Batter
Begin by preheating your oven to a steady 350°F (177°C), ensuring it’s perfectly ready and at the correct temperature when you finish preparing the cake batter.
Carefully gather all your necessary ingredients, making sure everything is measured accurately. This includes your flour, granulated sugar, the large egg (preferably at room temperature), plain non-fat Greek yogurt, milk, pure vanilla extract, and of course, those wonderfully colorful rainbow sprinkles that give these cakes their signature look.
Using an electric mixer for ease and efficiency, thoroughly beat together the wet ingredients – specifically the egg, Greek yogurt, milk, melted unsalted butter, and pure vanilla extract – until the mixture is completely smooth, well combined, and homogenous.
In a separate, suitably sized medium bowl, diligently whisk together all the dry ingredients: the all-purpose flour, baking powder, baking soda, granulated sugar, and salt. Ensure they are evenly distributed to guarantee a consistent bake.
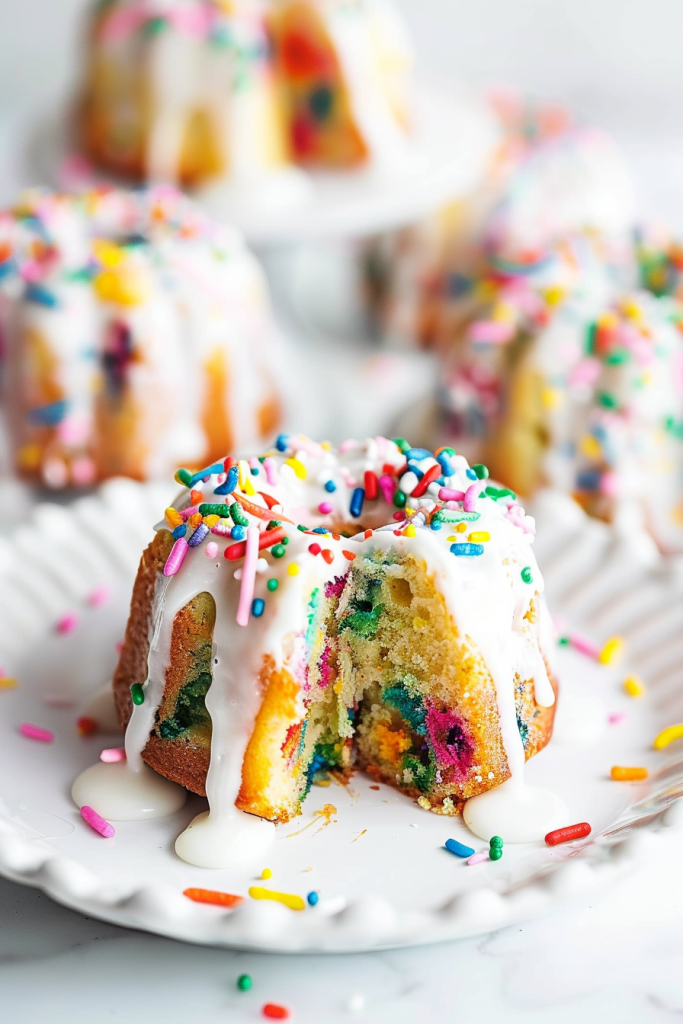
Gently create a well in the center of the combined dry ingredients. Then, carefully pour the prepared wet mixture into this well. Using a spatula or wooden spoon, gently stir everything together until just combined. It’s important to be mindful not to overmix at this stage, as overmixing can lead to tougher cakes. Finally, tenderly fold in the vibrant rainbow sprinkles, distributing them evenly throughout the batter, taking care to prevent their beautiful colors from smearing or spreading prematurely.
Thoroughly grease your mini bundt pans with nonstick cooking spray or softened butter, ensuring every nook and cranny is well-coated to prevent any frustrating sticking later on.
Carefully spoon the prepared, sprinkle-laden batter into each individual mini bundt cavity, filling each one about two-thirds full. This will allow ample room for the cakes to rise beautifully during baking.
Once the bundt pan is properly prepared and evenly filled with batter, you’re all set to move on to the exciting baking process.
Baking
After diligently preparing the Funfetti Mini Bundt Cake batter, it’s absolutely crucial to bake them correctly to achieve that wonderfully moist, tender, and fluffy texture, beautifully infused with those joyful, colorful sprinkles. Follow these important steps meticulously to ensure your mini bundt cakes are baked to absolute perfection.
- To check for doneness, gently insert a clean toothpick or a thin skewer into the very center of one of the cakes. It should come out completely clean, or with just a few moist crumbs clinging to it, but definitely no wet or gooey batter residue.
- Also, visually ensure that the center of each cake appears fully set and springs back lightly when touched, and is not at all jiggly, which clearly indicates it’s thoroughly baked all the way through.
- You will bake these little delights for approximately 15–20 minutes. However, oven temperatures can vary, so keep an eye on them, especially towards the end of the baking time, until that trusty toothpick inserted in the center comes out perfectly clean.
- Allow the freshly baked cakes to cool completely in the pan on a wire rack for about 5 important minutes. This initial cooling period helps them to set and makes them easier to handle before carefully transferring them to the wire rack for further, thorough cooling.
Once the mini bundt cakes are completely and thoroughly cooled to room temperature, they are perfectly ready to be frosted and delightfully decorated with even more festive sprinkles for that extra fun and celebratory touch.
Making the Glaze
To complete these absolutely delightful Funfetti Mini Bundt Cakes, a lusciously delicious glaze is the perfect, crowning finishing touch. This glaze not only adds an extra layer of irresistible sweetness and welcome moisture to the cakes but also makes them even more visually stunning and utterly irresistible. Here’s how I effortlessly make this simple yet truly scrumptious glaze:
- Prepare the Ingredients: In a suitable small bowl, carefully whisk together the confectioners’ sugar (sifting it first can help prevent lumps), the milk, and the pure vanilla extract until the mixture is wonderfully smooth and creamy.
- Whisk to Perfection: Skillfully adjust the glaze’s consistency to your liking. You can do this by adding a little more confectioners’ sugar, a teaspoon at a time, for a thicker, more opaque glaze, or a touch more milk, a half-teaspoon at a time, for a thinner, more translucent one, as needed. The final consistency should be just perfectly right for elegantly drizzling over the cooled cakes, coating them beautifully.
- Add a Pop of Color (Optional): For an extra fun and vibrant touch that truly enhances their celebratory feel, consider beautifully tinting the glaze with a few drops of your favorite food coloring. Just a few drops can magically transform the simple white glaze into a stunningly vibrant addition to your already charming mini bundt cakes, coordinating with your party theme if desired.
- Drizzle and Decorate: Once the luscious glaze is perfectly ready and at your desired consistency, it’s time to artfully drizzle it over each of the completely cooled mini bundt cakes. Allow the glaze to gracefully cascade down the sides, naturally creating an appealing,dripped effect and adding a truly beautiful finishing touch. For an added festive flair and a delightful crunch, generously top the freshly glazed cakes with even more colorful rainbow sprinkles immediately after glazing, before the glaze has a chance to set.
By following these simple, detailed steps, you can elevate your Funfetti Mini Bundt Cakes to a whole new level of delightful sweetness and captivating visual appeal. The glaze not only enhances the overall flavor profile but also creates a stunning presentation that will undoubtedly impress your family and friends.
Assembly
Assembling the Funfetti Mini Bundt Cakes is the delightful final step in creating these utterly charming and festive treats. Follow these straightforward steps to expertly demold the cakes from their pan and apply a wonderfully delicious glaze for that absolutely perfect finishing touch.
Demolding the Cakes
- First, after removing them from the oven, allow the freshly baked cakes to cool undisturbed in the mini bundt pan, placed on a wire rack, for about 5 crucial minutes. This short cooling time allows the cakes to firm up slightly, making them less fragile.
- Then, very carefully and gently run a thin, flexible butter knife or a small offset spatula around the outer and inner edges of each individual mini bundt cake. This action helps to loosen it from the pan’s intricate indentations and ensures a clean release.
- Next, place a sturdy wire cooling rack on top of the mini bundt pan. With oven mitts if the pan is still warm, carefully and confidently invert the entire pan and the rack together. Gently tap the bottom of the pan a few times; this often encourages the cakes to release onto the rack.
- Gracefully lift the pan off the cakes. If any cakes seem to be sticking slightly, a little more gentle coaxing around the edges should do the trick. Let them cool completely and thoroughly on the wire rack before proceeding to glaze them. This complete cooling is vital, as a warm cake will cause the glaze to melt and slide off.
Once the cakes are fully cooled, in a separate mixing bowl, whisk together the milk, sifted confectioners’ sugar, and pure vanilla extract until the glaze is perfectly smooth and reaches your desired drizzling consistency.
If desired, now is the time to add a few drops of food coloring to the glaze for an extra pop of color, mixing well to incorporate.
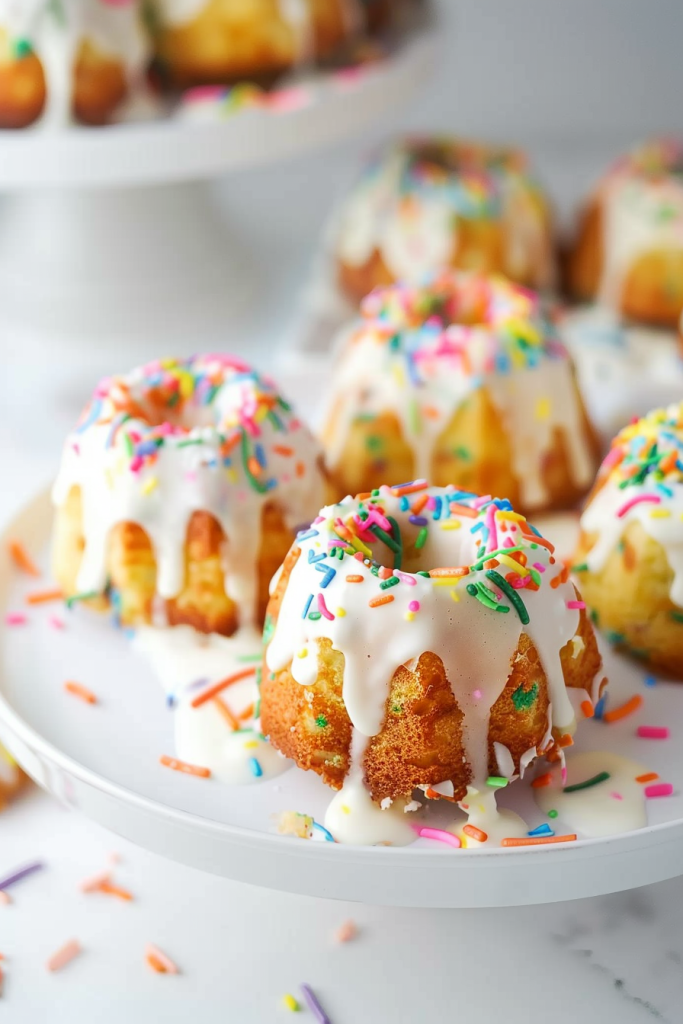
Artfully drizzle the prepared glaze over the cooled cakes, allowing it to flow naturally down the sides, creating an attractive, inviting look.
For that signature Funfetti charm, sprinkle extra rainbow sprinkles generously on top immediately after glazing, while the glaze is still wet, so they adhere properly.
Finally, allow the glaze to set completely, which might take about 15-30 minutes depending on the glaze thickness and room humidity, before serving these delightful Funfetti Mini Bundt Cakes to your eagerly awaiting guests.
Serving and Storage
Best Practices for Serving
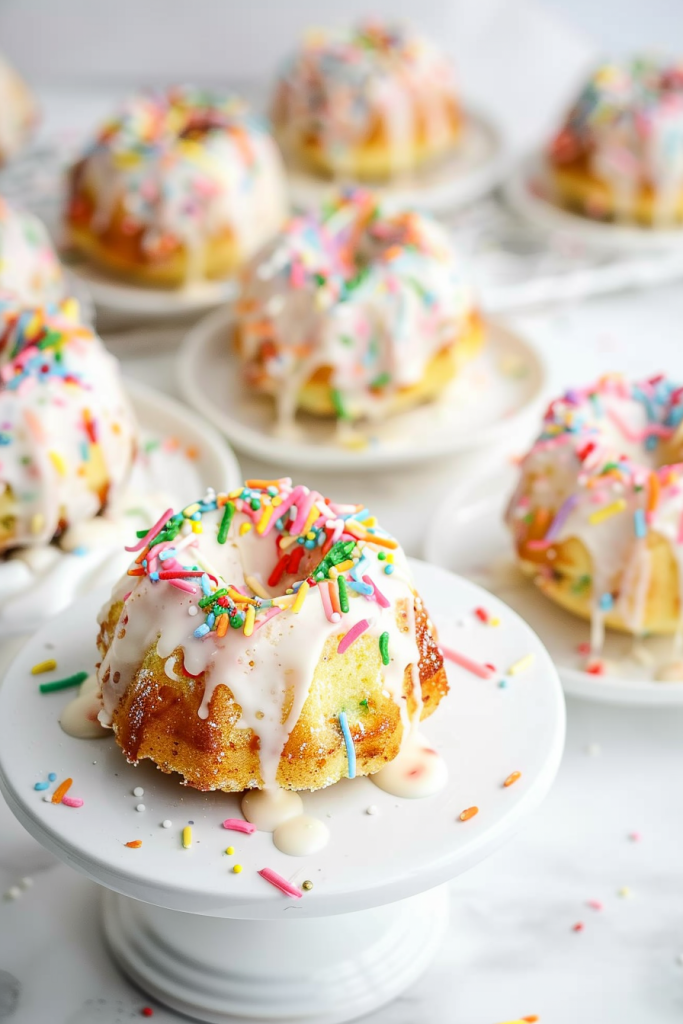
To best serve these delightful Funfetti Mini Bundt Cakes, ensure they are at room temperature for optimal taste and texture. The enjoyable experience of these cakes is heightened when served with a dollop of whipped cream or a scoop of vanilla ice cream. The burst of colors from the sprinkles makes these cakes a visually appealing treat for any celebration.
How to Store
Proper storage is key to preserving the freshness of your Funfetti Mini Bundt Cakes. You can store these cakes at room temperature in an airtight container for up to 5 days. Alternatively, if you prefer, you can refrigerate them for longer freshness, up to 6 months. When storing frosted cakes, it’s advisable to keep them airtight in the fridge. Whether you choose to savor them fresh or save for later, these Funfetti Mini Bundt Cakes will continue to delight your taste buds.
Conclusion
Creating Funfetti Mini Bundt Cakes is a delightful way to elevate any special occasion. These colorful treats, with their simple yet vibrant ingredients, are sure to bring joy to any celebration. By following the easy preparation steps and baking tips shared in this article, you can enjoy these mini cakes with a delicious glaze that adds the perfect finishing touch.
Remember to serve them at room temperature for the best taste and texture, either on their own or paired with whipped cream or ice cream. With proper storage, you can savor these Funfetti Mini Bundt Cakes for days to come, ensuring a burst of flavor and visual appeal whenever you indulge. Embrace the culinary adventure and share these mini delights with your loved ones to create lasting memories filled with sweetness and fun.
PrintFunfetti Mini Bundt Cake
Whip up these adorable and delicious Funfetti Mini Bundt Cakes! Perfect for birthdays, milestones, or just a sweet pick-me-up, these colorful little treats are surprisingly easy to make and guaranteed to bring a smile to everyone’s face. Get ready for a burst of joy and sprinkles!
- Prep Time: 30 minutes
- Cook Time: 20 minutes
- Total Time: 50 minutes
- Yield: 6–8 mini bundt cakes 1x
- Category: Dessert
- Cuisine: American
Ingredients
For the Mini Cakes:
- 1 cup (125g) all-purpose flour, spooned & leveled
- 1 teaspoon baking powder
- ¼ teaspoon baking soda
- ½ cup (100g) granulated sugar
- ¼ teaspoon salt
- 1 large egg, at room temperature
- ½ cup (120g) plain non-fat Greek yogurt, at room temperature
- 1 tablespoon milk
- 2 tablespoons (28g) unsalted butter, melted
- 1 teaspoon pure vanilla extract
- ¼ cup (40g) rainbow sprinkles
For the Sweet Glaze:
- ½ cup (60g) confectioners’ sugar
- 1 tablespoon milk (plus a touch more, if needed)
- ¼ teaspoon vanilla extract
- Extra rainbow sprinkles, for that final flourish!
Instructions
- Get Ready: Preheat your oven to 350°F (177°C). Generously grease your mini bundt cake pan – every nook and cranny!
- Dry Mix Magic: In a medium bowl, whisk together the flour, baking powder, baking soda, sugar, and salt.
- Wet Ingredient Whisk: In a separate bowl, whisk the egg, Greek yogurt, milk, melted butter, and vanilla extract until everything is smooth and happy together.
- Combine & Sprinkle: Gently pour the wet ingredients into the dry ingredients. Stir until just combined (don’t overdo it!). Carefully fold in those cheerful rainbow sprinkles.
- Fill & Bake: Spoon the batter evenly into your prepared mini bundt cavities, filling each about two-thirds full. Bake for 15-20 minutes, or until a toothpick inserted into the center comes out clean.
- Cool Down: Let the mini cakes cool in the pan for 5 minutes. Then, carefully invert them onto a wire rack to cool completely. Patience here is key for perfect glazing!
- Whip Up the Glaze: In a small bowl, whisk together the confectioners’ sugar, milk, and vanilla extract until smooth. If it’s too thick, add a tiny bit more milk; too thin, a bit more sugar.
- Drizzle & Decorate: Once the cakes are cool, drizzle that lovely glaze all over them. Immediately shower with extra rainbow sprinkles. Let the glaze set before serving.
Notes
- Serving Ideas: These mini cakes are delightful on their own! For an extra treat, serve with a dollop of whipped cream, a scoop of vanilla ice cream, or alongside a cup of coffee or tea.
- Baker’s Tips & Tricks:
- Room temperature egg and yogurt make for a smoother batter.
- For tender cakes, mix the batter until just combined. Overmixing can make them tough.
- Spoon your flour into the measuring cup and level it off for the most accurate measurement.
- Storage: Keep your Funfetti Mini Bundt Cakes in an airtight container at room temperature for up to 3-5 days. You can also refrigerate them to extend their freshness.