
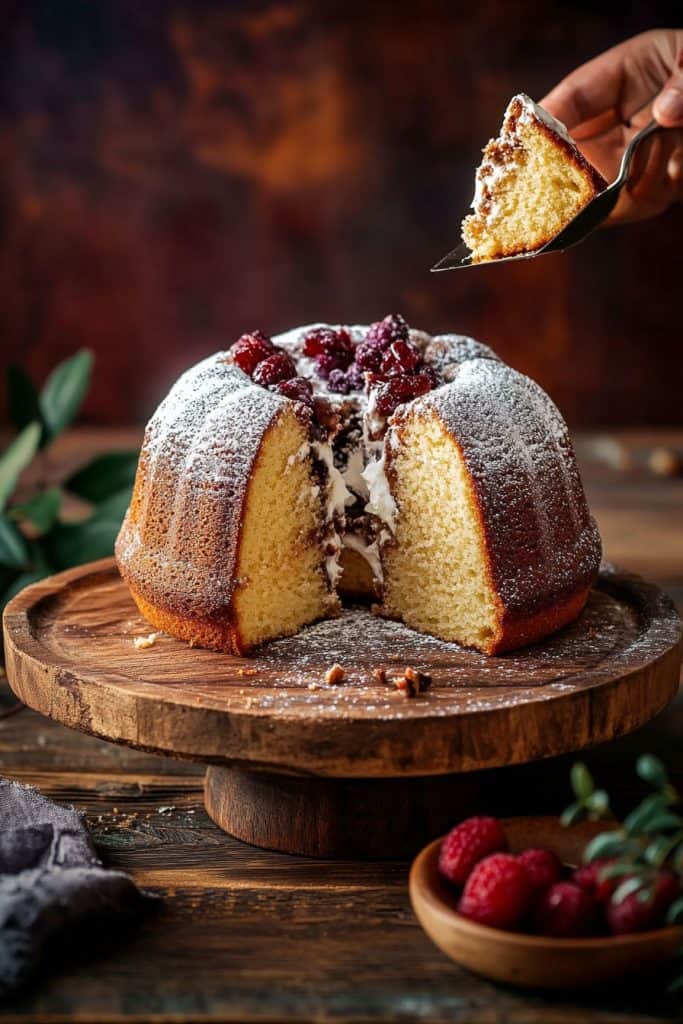
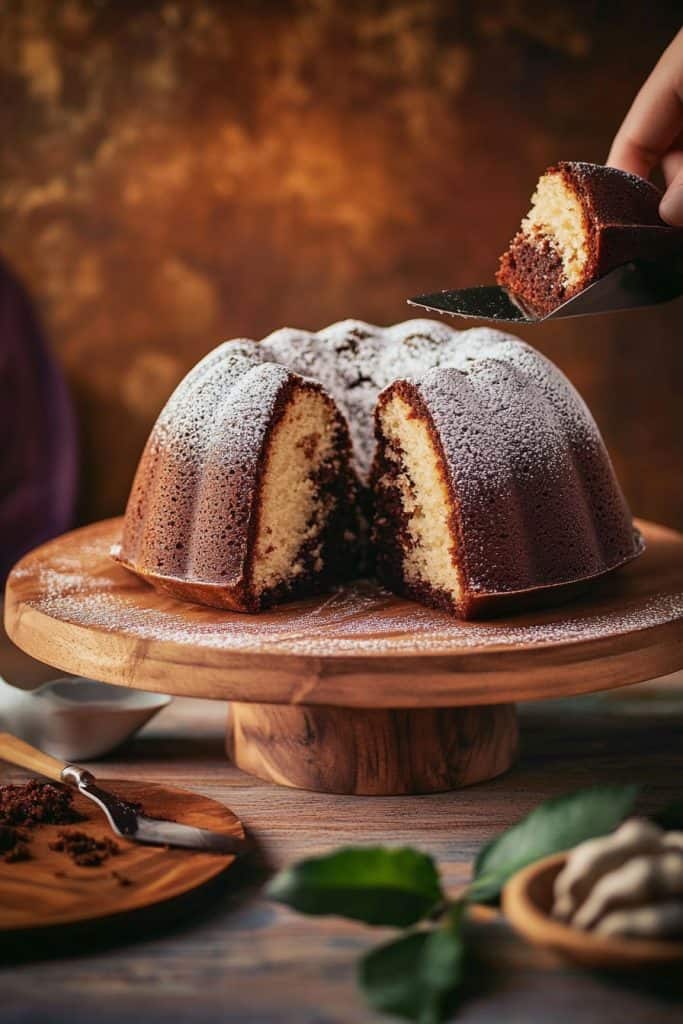
Imagine slicing into a dessert that looks like a dome-shaped marvel and reveals layers of creamy, chocolatey goodness. That’s the magic of zuccotto, an Italian masterpiece originating from Florence. Inspired by the shape of the Duomo, this semi-frozen dessert combines sponge cake, liqueur, and a luscious filling that brings a touch of elegance to any table.
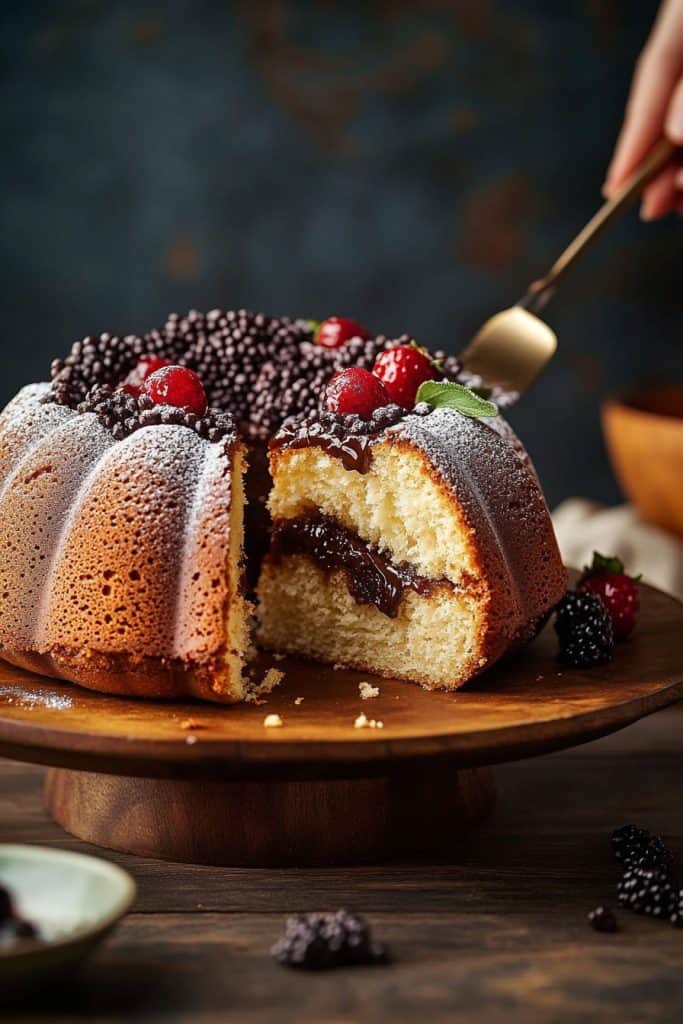
I love how zuccotto offers a perfect blend of textures and flavors. The outer layer of sponge cake soaks up the rich liqueur, while the inside bursts with creamy ricotta, chocolate chips, and sometimes even nuts or candied fruit. It’s a dessert that not only tastes divine but also looks stunning, making it a showstopper for special occasions. Let’s dive into crafting this delightful treat that promises to impress and satisfy your sweet tooth.
What is Zuccotto?
Zuccotto is a captivating and traditional Italian dessert that boasts a distinctive dome shape. Its design is inspired by the magnificent Duomo in Florence, which brings a touch of architectural elegance to the table. This dessert artfully combines layers of sponge cake, often infused with liqueur, and a sumptuous creamy filling that features ricotta cheese, chocolate chips, and, at times, nuts or candied fruit.
One of the charms of zuccotto is its harmonious blend of textures and flavors. The sponge cake provides a delicate structure, while the creamy filling gives a rich contrast. The liqueur adds a sophisticated note, balancing the sweetness and enhancing the overall flavor profile.
Zuccotto is not just about taste—it is also a visual delight. The dome shape, when sliced, reveals the beautiful layers and filling within, making it a standout piece for any occasion. Whether you are hosting a special event or indulging in a personal treat, zuccotto brings an element of surprise and delight, promising to impress and satisfy.
Ingredients
Let’s gather everything we need to create this delicious zuccotto. Here are the ingredients divided into specific parts.
For the Sponge Cake
- 4 large eggs, at room temperature
- 1 cup granulated sugar
- 1 cup all-purpose flour, sifted
- 1 tsp baking powder
- 1/2 tsp salt
- 1/4 cup whole milk
- 1 tsp vanilla extract
For the Filling
- 2 cups ricotta cheese, drained
- 1 cup heavy cream
- 1/2 cup powdered sugar
- 1 cup mini chocolate chips
- 1/2 cup candied fruit, chopped (optional)
- 1/4 cup toasted nuts, finely chopped (optional)
- 1/4 cup dark rum or coffee liqueur
- 2 tbsp cocoa powder
- 1 cup heavy cream
- 3 tbsp powdered sugar
- 1 tsp vanilla extract
- Cocoa powder, for dusting
- Fresh berries, for garnish (optional)
- Chocolate shavings, for garnish (optional)
Tools Needed
- Mixing Bowls: Use at least two, one for the dry ingredients and another for the wet ingredients.
- Electric Mixer: Essential for beating eggs, sugar and heavy cream to achieve the right consistency.
- Spatula: Ideal for folding ingredients gently to maintain the airy texture of your sponge cake and filling.
- 8-inch Round Cake Pan: To bake the sponge cake layer. Make sure it’s greased and lined with parchment paper for easy release.
- 10-inch Bowl or Mold: This creates the signature dome shape of the zuccotto. Use a bowl with gentle slopes to help easily shape the dessert.
- Plastic Wrap: Line your mold with plastic wrap to make demolding easier and keep the flavors sealed in while the dessert sets.
- Pastry Brush: Helpful for soaking the sponge cake with liqueur evenly.
- Chef’s Knife: A sharp knife ensures cleanly cut layers without tearing the cake.
- Serrated Knife: Perfect for slicing the sponge cake and trimming it to fit the mold.
- Fine Sieve: Used to dust powdered sugar or cocoa over the finished zuccotto for a professional touch.
Directions
Follow these steps to create a stunning and delicious zuccotto. Each step is designed to ensure your dessert turns out perfectly.
Prepare the Sponge Cake
- Preheat Oven: Preheat the oven to 350°F (175°C).
- Mix Wet Ingredients: In a large mixing bowl, beat 4 eggs using an electric mixer until they are light and frothy. Gradually add 1 cup of sugar and continue beating until the mixture is thick and pale.
- Combine Dry Ingredients: Sift together 1 cup of all-purpose flour and a pinch of salt in another bowl. Slowly fold the dry ingredients into the wet mixture, ensuring no lumps.
- Bake: Pour the batter into a greased 9-inch round cake pan. Bake for 20-25 minutes or until a toothpick inserted in the center comes out clean. Allow the cake to cool completely.
Make the Filling
- Ricotta Mixture: In a large bowl, combine 1 ½ cups of ricotta cheese and 1 cup of powdered sugar. Mix until smooth.
- Whip Cream: In another bowl, whip 1 cup of heavy cream until stiff peaks form. Gently fold the whipped cream into the ricotta mixture.
- Add Flavorings: Stir in 1 teaspoon of vanilla extract, 1 cup of mini chocolate chips, and ½ cup of chopped nuts or candied fruit, if desired.
Assemble the Zuccotto
- Line the Mold: Line a dome-shaped bowl or mold with plastic wrap, ensuring there is enough overhang to cover the top later.
- Cut the Cake: Slice the cooled sponge cake into ¼-inch thick strips. Line the bottom and sides of the mold with the strips, pressing them gently to fit.
- Soak the Cake: Using a pastry brush, generously soak the cake with your choice of liqueur (such as Grand Marnier or rum) or a simple syrup made from equal parts water and sugar.
- Add the Filling: Spoon the ricotta filling into the cake-lined mold, pressing it down gently to avoid air pockets. Cover the top with more cake strips.
- Wrap and Chill: Fold the overhanging plastic wrap over the top and press down slightly. Refrigerate the assembled zuccotto for at least 4 hours or overnight to set.
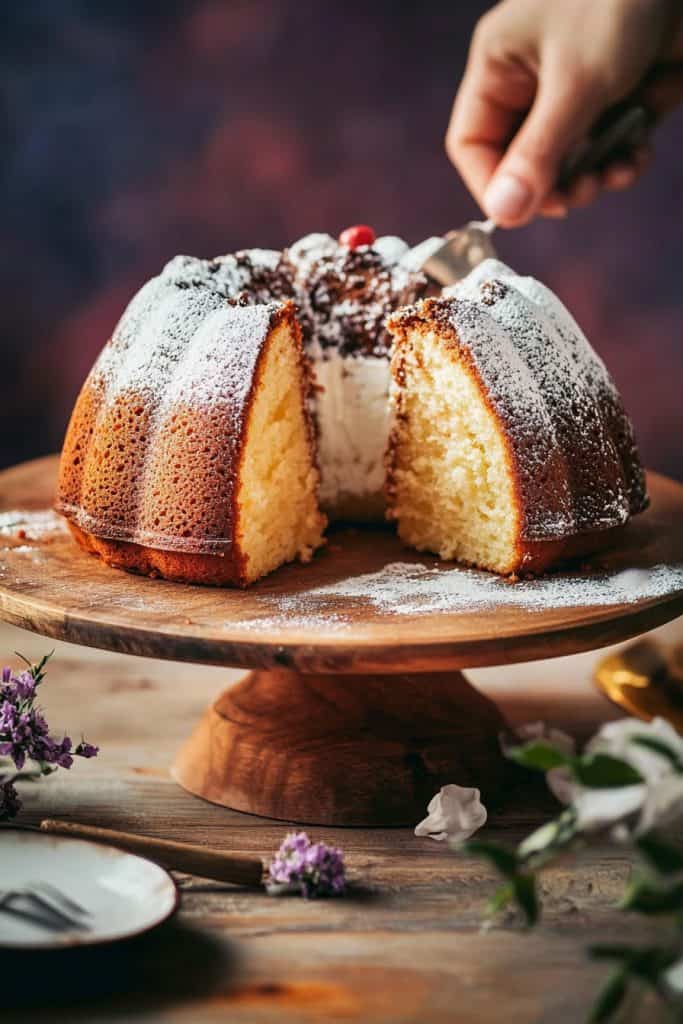
- Unmold the Cake: Carefully unwrap the plastic wrap from the top of the cake. Place a serving plate over the mold and invert it to release the zuccotto. Gently lift off the mold and remove the plastic wrap.
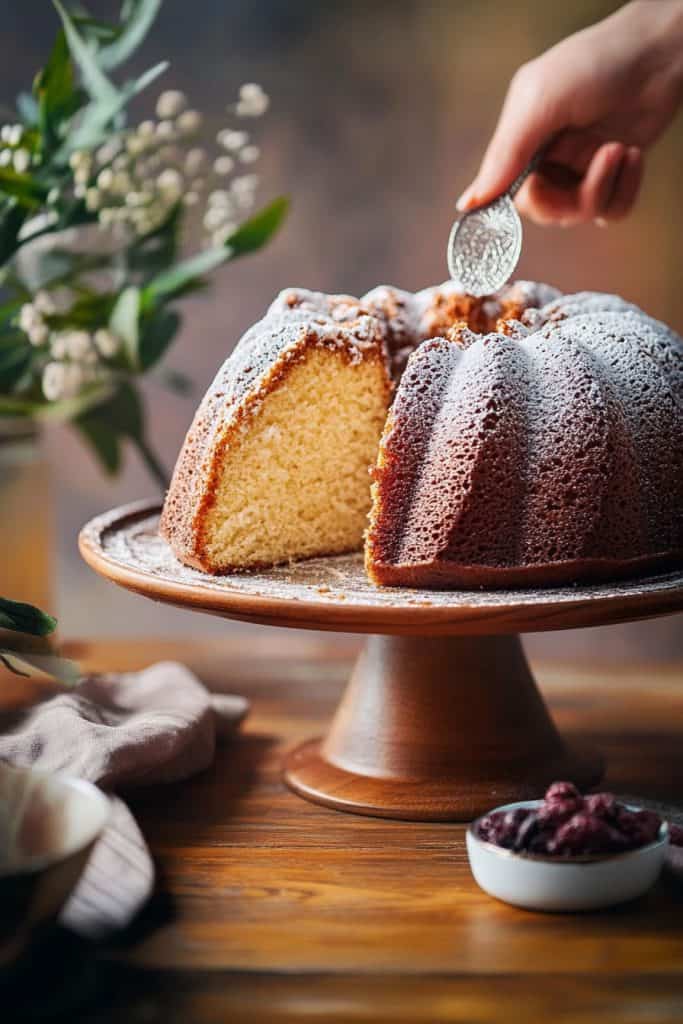
- Dust with Powdered Sugar or Cocoa: Use a sieve to dust the zuccotto with powdered sugar or cocoa powder for a professional finish.
- Serve: Slice the zuccotto to showcase its beautiful layers. Enjoy each piece as the creamy filling and the soaked sponge cake create a delightful symphony of flavors and textures.
Expert Tips for Zuccotto
Choose the Right Mold
Selecting the right mold is crucial for achieving the classic dome shape of zuccotto. I recommend using a deep, round bowl about 8 inches in diameter. Line the inside with plastic wrap, leaving plenty overhanging the edges. This makes it easy to unmold the dessert later.
Perfect Your Sponge Cake
For the best zuccotto, make sure your sponge cake is flexible and thin enough to line the mold smoothly without breaking. Slice the cake into long, thin strips. This allows for better fitting and reduces any lumps or gaps when assembling the cake.
Use Quality Liqueur
The choice of liqueur can significantly impact the final taste. I prefer using traditional Italian liqueurs like Marsala or Amaretto for a rich, authentic flavor. Lightly brush the cake strips with the liqueur to give them a pleasant, soaked texture without making them soggy.
Layer the Filling Evenly
When adding the ricotta filling, ensure you spread it evenly inside the mold. Use a spatula to press down the filling gently but firmly. This step helps maintain the structural integrity of the zuccotto and ensures that you get a balanced bite of filling and cake in every slice.
Chill Thoroughly
Chilling the assembled zuccotto is essential for setting it properly. I recommend placing it in the refrigerator for at least 4 hours, though overnight chilling yields the best results. This ensures the flavors meld beautifully and the dessert holds its shape when sliced.
Unmold with Care
When unmolding the zuccotto, the overhanging plastic wrap will be your best friend. Gently lift the dessert out using the wrap, and invert it onto your serving plate. Slowly peel away the plastic wrap to reveal a smooth, dome-shaped dessert.
Finishing Touches
For a beautiful presentation, dust the zuccotto with powdered sugar or cocoa powder just before serving. You can also add some grated chocolate or chopped nuts on top for extra texture and visual appeal.
Slice with Precision
Use a sharp, serrated knife to slice the zuccotto. Clean the knife between cuts to keep each slice looking neat and to prevent the layers from smearing. This way, you’ll showcase the vibrant layers inside.
These expert tips will help you create an exquisite zuccotto that not only tastes delicious but also looks stunning on the plate.
Variations to Try
Exploring new variations of zuccotto can be a delightful culinary adventure. Over the years, I have experimented with several flavors and ingredients to put a creative twist on the classic recipe. Here are some of my favorite variations to try at home:
Chocolate Hazelnut Zuccotto
For those who adore the rich combination of chocolate and hazelnut, this variation is a must-try.
Ingredients:
- 1 chocolate sponge cake (prepared as per the basic recipe but with cocoa powder)
- 1 cup strong brewed coffee or espresso
- 2 tablespoons hazelnut liqueur
- 1 cup ricotta cheese
- 1 cup mascarpone cheese
- 1/2 cup powdered sugar
- 1/2 cup crushed hazelnuts
- 1/2 cup mini chocolate chips
- Cocoa powder for dusting
Instructions:
- Prepare The Cake: Bake a chocolate sponge cake. Cool it completely before slicing into strips.
- Soak The Cake: Combine the coffee and hazelnut liqueur. Brush the cake strips with the mixture.
- Line The Mold: Arrange the soaked cake strips in the mold.
- Mix The Filling: In a bowl, mix ricotta and mascarpone cheeses with powdered sugar. Fold in crushed hazelnuts and chocolate chips.
- Assemble The Zuccotto: Layer the cheese mixture evenly within the mold, covering it with more cake strips.
- Chill And Serve: Refrigerate for at least 4 hours. Unmold carefully and dust with cocoa powder before serving.
Fresh Berry Zuccotto
This variation showcases the fresh and vibrant flavors of seasonal berries.
Ingredients:
- 1 vanilla sponge cake (prepared as per the basic recipe)
- 1/2 cup orange juice
- 1/2 cup raspberry liqueur
- 1 cup ricotta cheese
- 1 cup whipped cream
- 1/2 cup powdered sugar
- 1 cup mixed fresh berries (strawberries, blueberries, raspberries)
- Extra berries for garnish
Instructions:
- Bake The Cake: Prepare and cool a vanilla sponge cake. Slice into strips.
- Soak The Cake: Mix orange juice and raspberry liqueur. Brush the cake strips with the mixture.
- Layer The Mold: Line the mold with soaked cake strips.
- Prepare The Filling: Blend ricotta cheese, whipped cream, and powdered sugar until smooth. Gently fold in mixed berries.
- Assemble The Dessert: Spread the berry mixture evenly within the lined mold, then top with more cake strips.
- Refrigerate And Garnish: Chill for a minimum of 4 hours. Serve topped with fresh berries.
Tiramisu Zuccotto
This tiramisu-inspired zuccotto combines the beloved flavors of coffee and cream.
Ingredients:
- 1 coffee sponge cake (prepared by adding instant coffee to the basic recipe)
- 1 cup brewed espresso
- 2 tablespoons coffee liqueur
- 1 cup mascarpone cheese
- 1 cup ricotta cheese
- 1/2 cup powdered sugar
- Cocoa powder for dusting
- Dark chocolate shavings for garnish
- Prepare The Cake: Bake and cool a coffee sponge cake before slicing into strips.
- Soak The Cake: Mix brewed espresso with coffee liqueur. Brush the cake strips with this blend.
- Line The Mold: Place the soaked cake strips in the mold.
- Make The Filling: Combine mascarpone and ricotta cheeses with powdered sugar until smooth.
- Assemble The Layers: Fill the mold with the cheese mixture and cover with additional cake strips.
- Chill And Decorate: Refrigerate for 4 hours. Dust with cocoa powder and garnish with dark chocolate shavings before serving.
Storage Instructions
Properly storing zuccotto is crucial to maintain its flavor and texture. Here’s how you can store your zuccotto to ensure it stays fresh and delicious:
- Refrigeration: After assembling the zuccotto, cover it tightly with plastic wrap. Ensure the wrap is snug to prevent air from entering and drying out the dessert. Place the covered zuccotto in the coldest part of your refrigerator. It can be stored this way for up to 3 days.
- Freezing: If you need to store the zuccotto for longer periods, freezing is an excellent option. First, wrap the zuccotto firmly with plastic wrap, then cover it with a layer of aluminum foil for additional protection. This dual wrapping helps prevent freezer burn. Store the zuccotto in the freezer for up to 1 month.
- Thawing: When ready to serve a frozen zuccotto, transfer it from the freezer to the refrigerator. Let it thaw slowly in the refrigerator for 24 hours. Avoid thawing at room temperature as this can cause the dessert to become too soft and lose its structure.
- Serving: Before serving, remove the plastic wrap and let the zuccotto sit at room temperature for about 10-15 minutes. This allows the dessert to soften slightly for optimal texture and flavor.
By following these storage instructions, you can enjoy your zuccotto at its best, whether you’ve made the classic version or one of the delightful variations like Chocolate Hazelnut, Fresh Berry, or Tiramisu.
Conclusion
Creating zuccotto at home is a rewarding experience that brings a touch of Italian elegance to your table. By following the detailed steps and expert tips provided, you’ll achieve a stunning and delicious dessert. Remember to store it properly to maintain its delightful flavor and texture. Whether you stick to the classic version or explore variations like Chocolate Hazelnut, Fresh Berry, or Tiramisu, zuccotto offers a versatile and impressive treat for any occasion. Enjoy experimenting with different flavors and ingredients to make this dessert your own. Happy baking!