
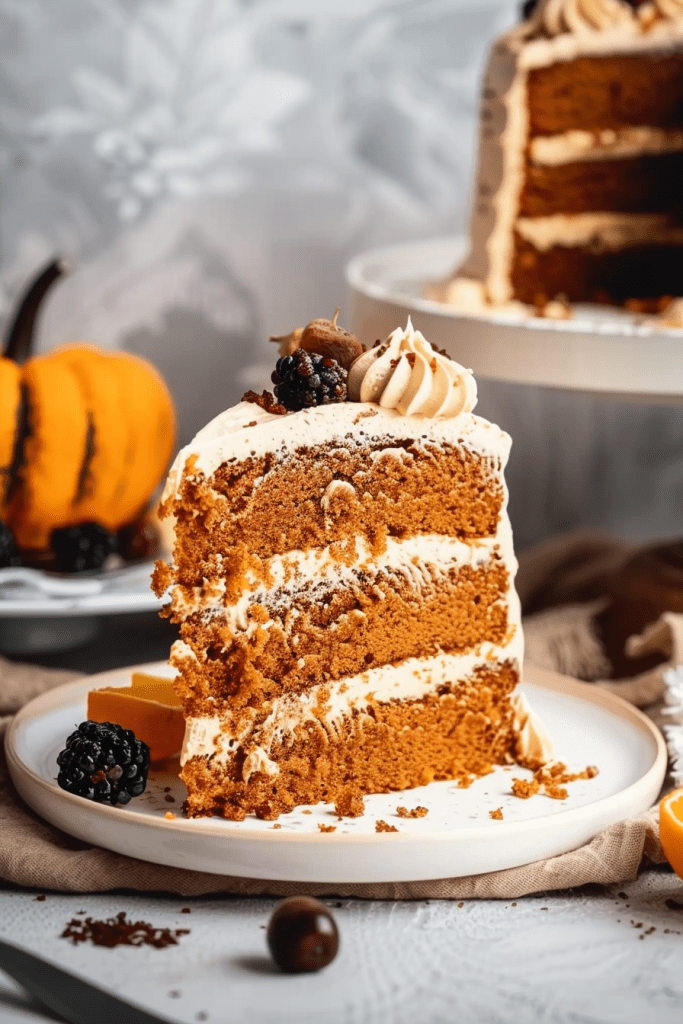
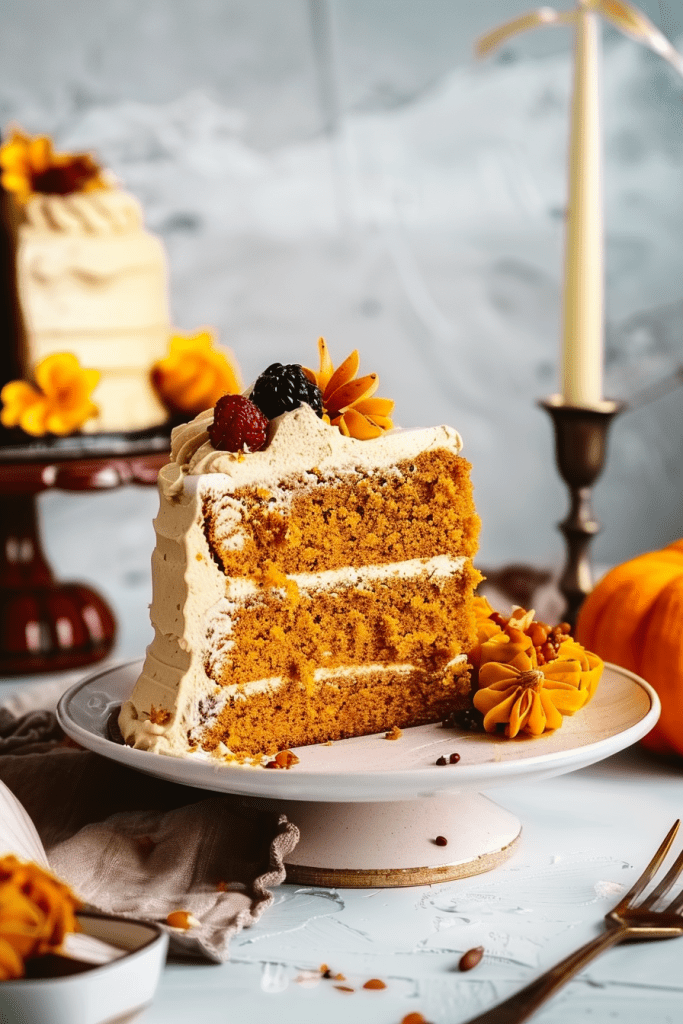
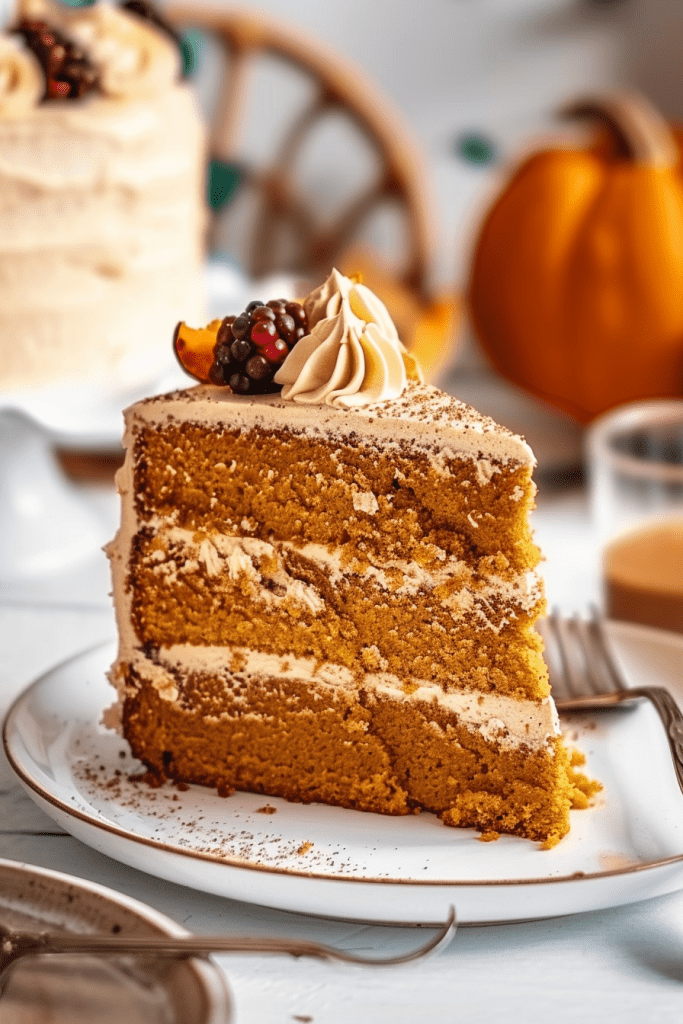
I’ve perfected my best pumpkin cake recipe, and let me tell you, it’s a game-changer. While many recipes opt for canned pumpkin puree, I take a different route by using freshly grated pumpkin. The result? A moist, flavorful cake that truly stands out. It’s pumpkin season, and what better way to celebrate than with a cake that captures the essence of this festive time?
Forget the ordinary – my pumpkin cake recipe elevates the classic by embracing the natural sweetness and texture of fresh pumpkin. I’ll guide you through creating two delightful versions: a snacking cake with a simple cream cheese frosting and a traditional pumpkin bread. Get ready to indulge in a moist, spiced delight that will have you reaching for seconds.
Ingredients for Pumpkin Cake
Creating a delicious pumpkin cake requires a careful selection of ingredients. Below, I’ve listed the main ingredients you’ll need for this recipe, as well as some optional add-ins to enhance the flavor and texture of your cake.
Main Cake Ingredients
- 1 15-ounce can pumpkin puree
- 1 ¾ cups brown sugar
- ½ cup plain Greek yogurt
- ½ cup vegetable oil
- 4 large eggs
- 2 teaspoons vanilla extract
- 2 cups all-purpose flour
- 2 teaspoons baking soda
- 1 ¼ teaspoons ground cinnamon
- ½ teaspoon salt
- ¼ teaspoon freshly grated nutmeg
- For those who enjoy a bit more spice, feel free to add the following optional ingredients:
- Additional pumpkin spice or allspice
- Chopped walnuts or pecans for added crunch and flavor
Necessary Equipment
When preparing a delicious pumpkin cake, having the right equipment can make the process much smoother. Here are the essential items you’ll need to bake this pumpkin dream cake:
- Mixing Bowls: Have a set of various-sized mixing bowls to combine and whisk ingredients.
- Whisk or Electric Mixer: A whisk or an electric mixer will help you thoroughly blend the wet and dry ingredients.
- 9×13 inch Baking Dish: You’ll need a baking dish of this size to bake the cake perfectly.
- Measuring Cups and Spoons: Accurately measure all the ingredients for the cake.
- Spatula: A spatula will come in handy for scraping down the sides of the mixing bowl.
- Cake Pans: If you’re making a layer cake, have three 8-inch cake pans ready.
- Non-Stick Baking Spray: To ensure your cake doesn’t stick to the pan, use a non-stick baking spray.
- Oven: Preheat your oven to the required temperature before starting the baking process.
Preparing Pumpkin Puree
To ensure a rich and flavorful pumpkin cake, preparing the pumpkin puree correctly is crucial. Whether you opt for fresh pumpkin puree or the convenience of canned pumpkin, here’s how to get it ready for your baking adventures.
Fresh Pumpkin Puree
Using freshly grated pumpkin elevates the taste and texture of your pumpkin cake. Follow these simple steps to make your own fresh pumpkin puree:
- Start by washing and cutting a small sugar pumpkin.
- Remove the seeds and stringy pulp.
- Cut the pumpkin into smaller pieces for easier handling.
- Steam the pumpkin pieces until they are fork-tender.
- Allow the steamed pumpkin to cool before blending it into a smooth puree.
- Use a blender or food processor to achieve a silky texture.
Canned Pumpkin Puree Options
If you prefer the convenience of canned pumpkin puree, ensure you choose 100% pure pumpkin puree without any added sugar or spices. Here are some tips for using canned pumpkin puree:
- Select a reputable brand of canned pumpkin for quality and consistency.
- Check the label to make sure it contains pure pumpkin and not pumpkin pie filling.
- Adjust the amount of sugar and spices in your recipe based on whether the canned pumpkin is sweetened or spiced.
By following these steps for preparing either fresh or canned pumpkin puree, you’ll set the stage for a delicious and moist pumpkin cake that captures the essence of the season.
Cake Batter Preparation
Preparing the cake batter is an essential step to ensure a delicious and moist pumpkin cake. Here are the detailed instructions for mixing the dry and wet ingredients:
Mixing Dry Ingredients
- In a medium bowl, whisk together the following dry ingredients:
- 2 cups all-purpose flour
- 1 1/2 teaspoons baking soda
- 1 teaspoon baking powder
- 1/2 teaspoon salt
- 1/2 teaspoon ground cloves
- 1 teaspoon ground cinnamon
- 1/2 teaspoon ground nutmeg
Combine them thoroughly and set the bowl aside.
- In a separate large bowl, beat together the following wet ingredients until well combined:
- 1 cup melted butter
- 1 cup granulated sugar
- 1 cup packed brown sugar
- 3 large eggs, added one at a time
- 2 cups pumpkin puree
- 1 teaspoon vanilla extract
Mix the wet ingredients thoroughly.
- Add the dry ingredient mixture gradually to the wet ingredients, stirring until everything is well combined.
- Once the batter is smooth and uniform, pour it into a greased 9×13-inch baking pan or glass dish for baking.
Baking the Pumpkin Cake
Baking the pumpkin cake is a delightful process that brings out the rich flavors of the pumpkin and spices. Prepping the oven, preparing the pan, and monitoring the bake time and temperature are essential steps to ensure a perfectly moist and flavorful pumpkin cake.
Preheat Oven Settings
- Preheat the oven to 350°F (175°C) and position the oven rack in the middle.
- Ensure the oven is thoroughly preheated to the specified temperature to allow for even baking of the pumpkin cake.
Pan Preparation
- Grease and flour three 8-inch cake pans or a 9×13-inch baking dish.
- Properly greasing and flouring the pans ensures easy cake release and prevents sticking, resulting in beautifully shaped pumpkin cakes.
- Bake the cake for 25-30 minutes in the preheated oven until a toothpick inserted into the center comes out clean.
- Monitor the bake time closely to avoid over or under baking, ensuring a perfectly moist and tender pumpkin cake.
By following these baking instructions diligently, you will create a scrumptious pumpkin cake that captures the essence of the season.
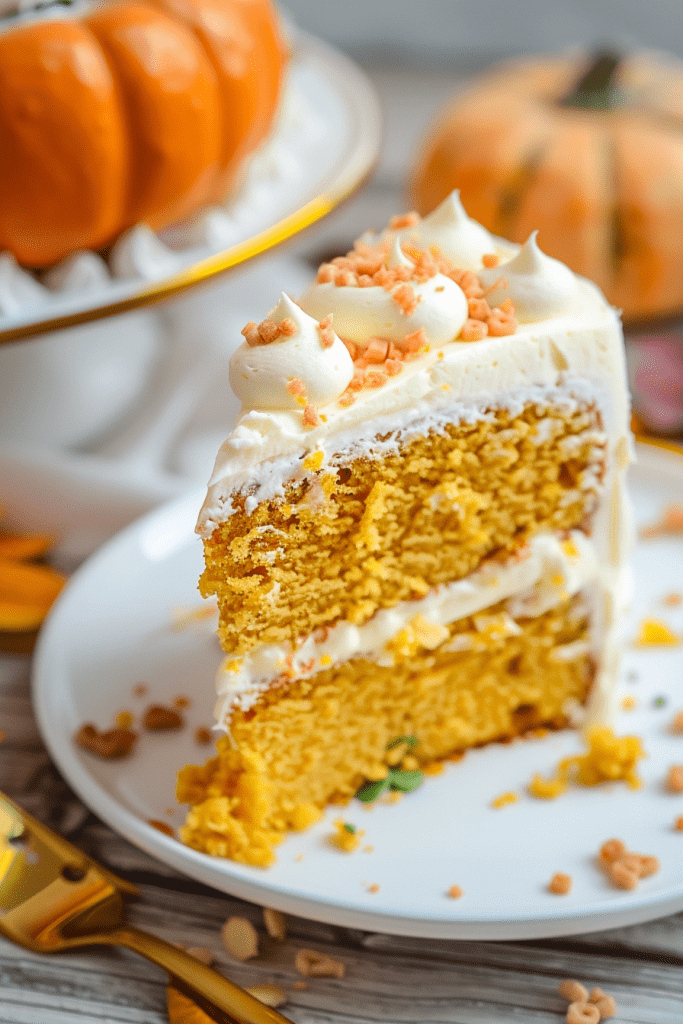
Cream Cheese Frosting
I love cream cheese frosting—it’s creamy, tangy, and pairs perfectly with the warm spices in the pumpkin cake. This homemade frosting takes this pumpkin cake to the next level.
Ingredients
- 16 oz cream cheese, softened
- 1 cup unsalted butter, softened
- 4 cups powdered sugar
- 1 tsp vanilla extract
- Pinch of salt
- Using a stand mixer with the paddle attachment, beat the cream cheese and butter on medium speed until smooth.
- Gradually add the powdered sugar, mixing on low speed until well combined.
- Add the vanilla extract and salt, then beat on medium-high speed until fluffy and smooth.
- Spread the frosting generously over the cooled pumpkin cake.
Assembling the Pumpkin Cake
Now that we have our delicious pumpkin cake baked and ready, it’s time to assemble it into a mouthwatering treat. Follow these simple steps to put together your pumpkin cake with cream cheese frosting:
Step 1: Cooling the Cake
- Allow the freshly baked pumpkin cake to cool completely in the pan on a wire rack. This step is crucial as it ensures that the cake sets properly and is easier to handle during frosting.
Step 2: Preparing the Cream Cheese Frosting
- While the cake is cooling, prepare the tangy cream cheese frosting. Follow the homemade cream cheese frosting recipe provided in the article. Be sure to beat the cream cheese and butter until smooth and gradually add powdered sugar, vanilla extract, and a pinch of salt for that perfect balance of sweetness and tanginess.
Step 3: Frosting the Cake
- Once the cake has completely cooled, carefully remove it from the pan onto a serving plate.
- Generously spread the prepared cream cheese frosting over the top of the pumpkin cake using a spatula or a frosting knife. You can add decorative swirls or patterns to make it visually appealing.
- Slice the assembled pumpkin cake into desired portions using a sharp knife. The creamy frosting and moist cake layers will make each bite a delightful experience.
- Serve the pumpkin cake with cream cheese frosting on a festive platter or dessert plates. Your guests will be eager to dig into this irresistible autumn treat.
By following these assembly steps, you’ll have a beautifully frosted pumpkin cake that not only looks inviting but also tastes like a slice of pumpkin-spiced heaven. Enjoy the delightful combination of flavors and textures in every scrumptious bite.
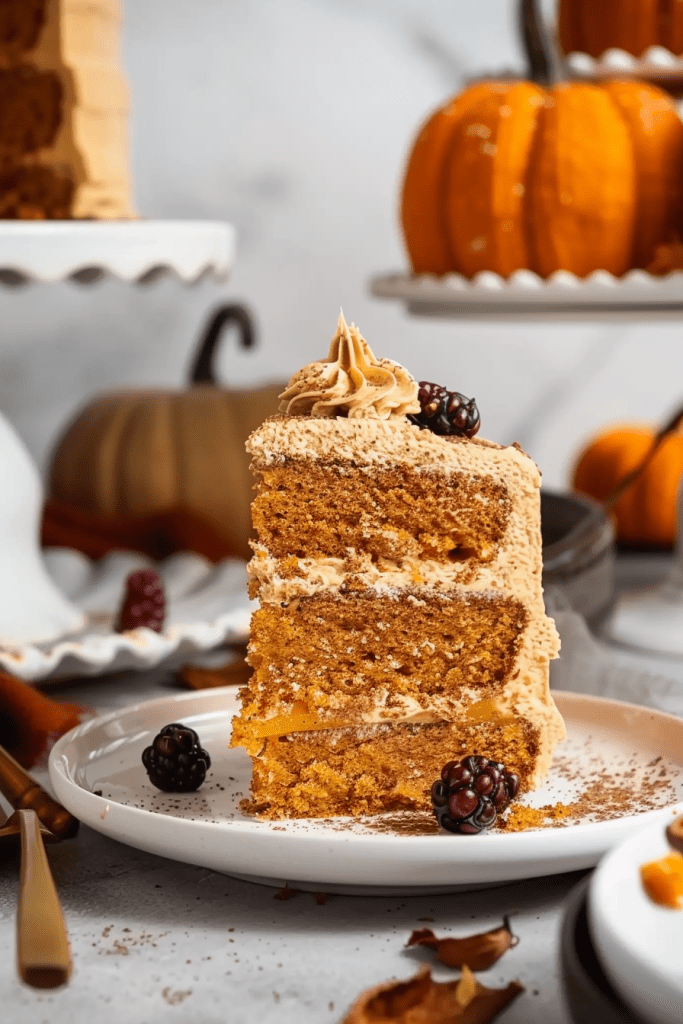
Decorating Tips
Decorating a pumpkin cake can be as delightful as baking it! Here are some simple garnishing ideas and advanced decorating techniques to elevate the presentation and make your pumpkin cake a feast for the eyes.
Simple Garnishing Ideas
- Dusting of Cinnamon: A light dusting of ground cinnamon on top of the cream cheese frosting not only adds a pop of color but also enhances the warm flavors of the pumpkin cake.
- Toasted Walnuts: Gently toast some walnuts and sprinkle them on top of the frosted cake for added texture and a nutty crunch.
- Orange Zest: A sprinkle of fresh orange zest over the frosting brightens up the cake and provides a refreshing citrusy aroma.
- Piping Techniques: Experiment with different piping tips to create intricate designs on the cake. You can pipe a decorative border around the edges or create floral patterns on top.
- Chocolate Drizzle: Drizzle melted chocolate over the frosted cake in a crisscross pattern for a professional-looking finish. The combination of chocolate and pumpkin is always a crowd-pleaser.
- Edible Flowers: Garnish the cake with edible flowers for an elegant touch. Choose flowers that complement the color palette of the cake for a visually stunning presentation.
Make-Ahead and Storage Tips
Planning ahead and knowing how to store your pumpkin cake properly can ensure its freshness and deliciousness for longer periods. Here are some tips for refrigerating and freezing your pumpkin cake:
Refrigeration Details
After making your pumpkin cake, you can store it in the refrigerator to maintain its moistness and flavor. Cover the cake tightly with aluminum foil or plastic wrap to prevent it from drying out. When ready to serve, allow the cake to come to room temperature before enjoying it. Properly stored, your pumpkin cake can last in the refrigerator for up to 4 days.
Freezing Instructions
If you want to enjoy your pumpkin cake at a later time, you can freeze it for future indulgence. To freeze your pumpkin cake, tightly wrap it in plastic wrap or aluminum foil to prevent freezer burn. Alternatively, you can use airtight containers or freezer bags for storage. When ready to consume, thaw the frozen cake in the refrigerator overnight. Once thawed, bring the cake to room temperature before serving to enjoy its full flavor and texture. Frozen pumpkin cake can stay fresh in the freezer for up to 3 months.
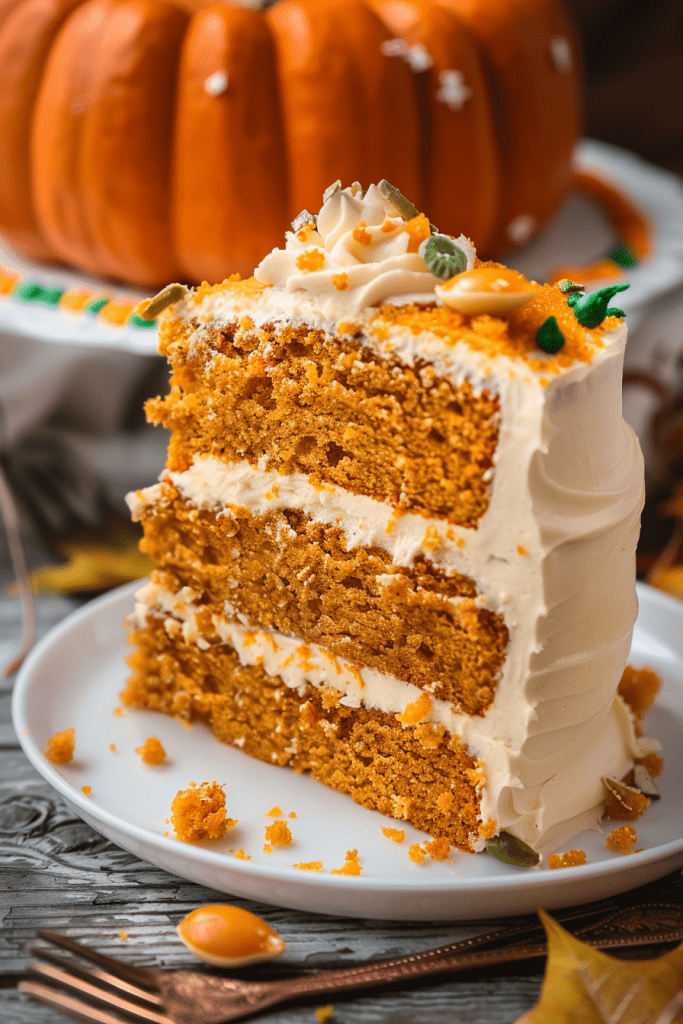
Conclusion
I’ve shared a delightful pumpkin cake recipe that’s sure to impress your taste buds. From the rich flavors to the creamy cream cheese frosting, this recipe offers a perfect balance of sweetness and spice. Whether you’re a novice baker or a seasoned pro, this pumpkin cake is a must-try for any occasion. Remember to follow the storage tips to enjoy this delicious treat for days to come. Get ready to indulge in a slice of pumpkin perfection!