
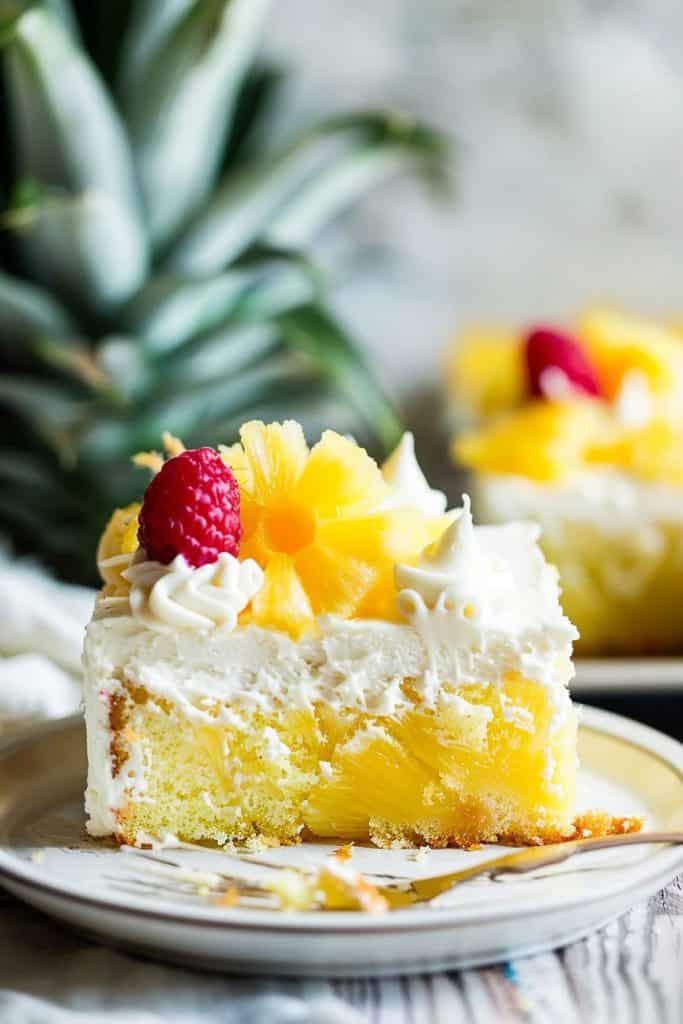
There’s something about the tropical sweetness of pineapple that instantly transports me to a sunny paradise. Pineapple Sunshine Cake does just that, combining a moist, fluffy cake with the tangy brightness of pineapple. It’s a dessert that not only tastes like a vacation but also brings a burst of cheer to any table.

Ingredients
To create a Pineapple Sunshine Cake, you’ll need a combination of fresh and pantry staple ingredients to ensure the cake is moist and bursting with tropical flavor.
For the Cake
- 1 box yellow cake mix (15.25 ounces)
- 1/2 cup vegetable oil
- 4 large eggs
- 1 can crushed pineapple (20 ounces, undrained)
- 1 package instant vanilla pudding mix (3.4 ounces)
- 1 can crushed pineapple (8 ounces, undrained)
- 1 container frozen whipped topping (8 ounces, thawed)
Making sure you have these items prepped will streamline the baking process and ensure your Pineapple Sunshine Cake turns out perfectly every time.
Tools and Equipment
For achieving a flawless Pineapple Sunshine Cake, having the right tools and equipment is crucial. Here’s a list of everything you’ll need, ensuring you’re prepared for every step of the baking process:
- Mixing Bowls: I use at least two large mixing bowls – one for the dry ingredients and one for the wet ingredients. Ensure they have enough capacity to allow thorough mixing without spills.
- Hand Mixer or Stand Mixer: A hand mixer or stand mixer makes blending the ingredients until smooth a breeze. If you’re using a hand mixer, make sure you have a sturdy bowl to prevent slipping.
- Measuring Cups and Spoons: Accurate measurements are the key to baking success. I rely on both dry and liquid measuring cups, alongside a set of measuring spoons for added precision.
- Spatula: A flexible silicone spatula is perfect for scraping down the sides of the bowl and ensuring every bit of batter is used.
- 9×13-inch Baking Pan: This size works best for this cake. I prefer using a non-stick pan to make the removal of the cake simpler.
- Cooking Spray or Parchment Paper: To prevent the cake from sticking to the pan, use cooking spray or line the pan with parchment paper.
- Cooling Rack: After baking, I transfer the cake onto a cooling rack to ensure even cooling and prevent moisture buildup at the bottom.
- Can Opener: Since we’ll be using canned crushed pineapple, having a can opener at the ready is essential.
- Mixing Spoons: Wooden or sturdy plastic mixing spoons work well for combining ingredients manually when needed.
- Knife and Cutting Board: For finely chopping any additional decorative pineapple slices, a sharp knife and a stable cutting board are indispensable.
With these tools and equipment set up, you’re ready to dive into baking the perfect Pineapple Sunshine Cake, ensuring each step of the process is smooth and efficient.
Directions
Follow these steps to create your delightful Pineapple Sunshine Cake with ease.
Prep
- Preheat the Oven: Preheat your oven to 350°F (175°C).
- Prepare the Pan: Grease a 9×13-inch baking pan with cooking spray or line it with parchment paper.
- Mix Dry Ingredients: In a medium bowl, whisk together 2 cups of all-purpose flour, 2 teaspoons of baking powder, and 1/2 teaspoon of salt.
- Prepare Pineapple: Open a 20-ounce can of crushed pineapple and drain, reserving the juice in a separate small bowl.
Bake
- Combine Wet and Dry Ingredients: In a large mixing bowl, beat together 1 cup of granulated sugar, 1/2 cup of vegetable oil, 4 large eggs, and 1 teaspoon of vanilla extract until smooth. Add the dry ingredients and mix until just combined. Fold in the drained crushed pineapple.
- Transfer to Pan: Pour the batter into the prepared baking pan and spread it evenly with a spatula.
- Bake the Cake: Place the pan in the preheated oven and bake for 30-35 minutes, or until a toothpick inserted into the center comes out clean.
- Cool the Cake: Remove the cake from the oven and allow it to cool in the pan on a cooling rack.
Make the Frosting
- Whip Cream Cheese: In a mixing bowl, beat 8 ounces of softened cream cheese until light and fluffy.
- Add Pineapple Juice: Gradually add 1/2 cup of reserved pineapple juice and 1 teaspoon of vanilla extract, beating until smooth.
- Incorporate Powdered Sugar: Slowly add 3 cups of powdered sugar, 1 cup at a time, beating on low speed until fully combined and smooth.
- Frost the Cake: Once the cake has completely cooled, spread the cream cheese frosting evenly over the top using a spatula.
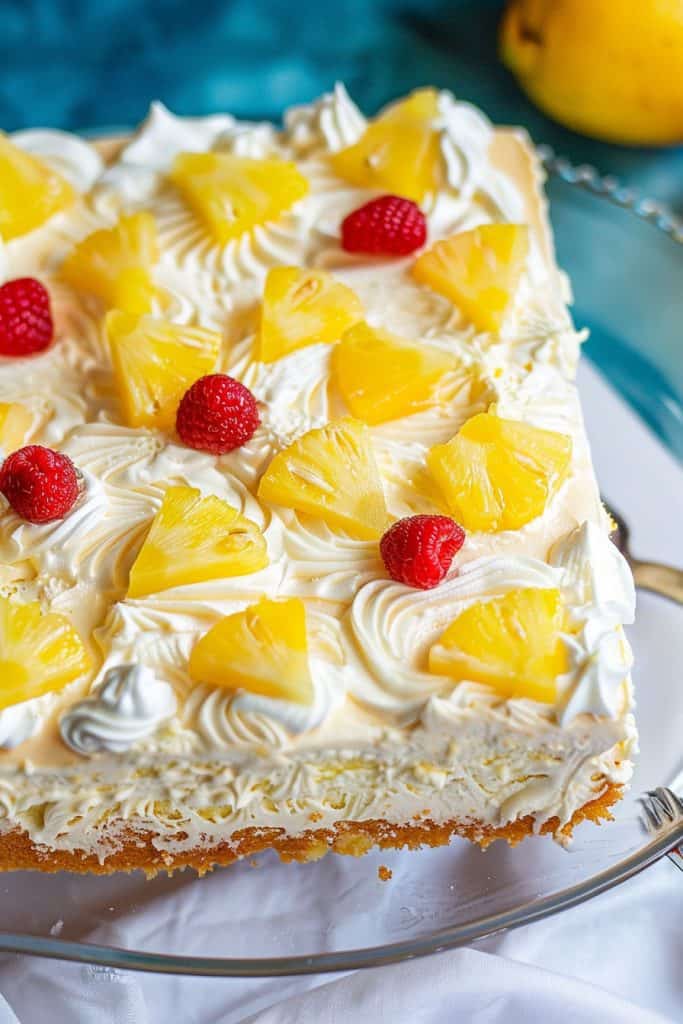
- Garnish: Optionally, top with toasted coconut flakes or extra crushed pineapple for added flavor and texture.
- Serve: Slice into squares and serve your Pineapple Sunshine Cake with a smile.
Serving Tips
When serving Pineapple Sunshine Cake, presentation and pairing can enhance the enjoyment of this dessert. Here are my top tips for serving this delightful cake:
- Chilled or Room Temperature: This cake tastes amazing whether served chilled from the refrigerator or at room temperature. Chilling the cake slightly firms up the frosting and makes for a refreshing contrast, especially on warm days.
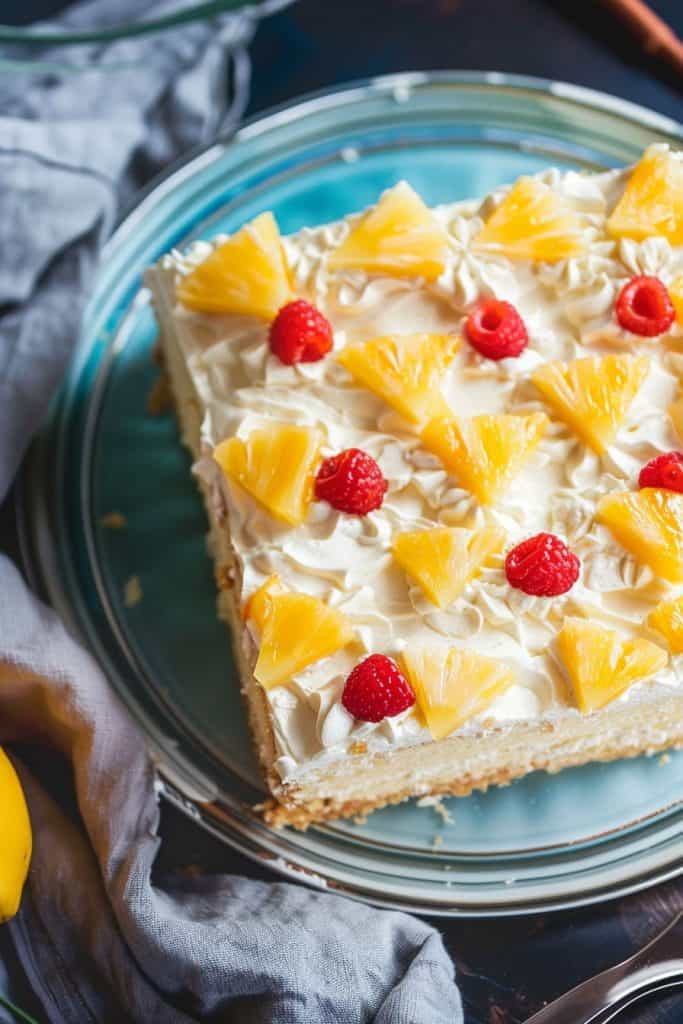
- Garnish Options: Before presenting the cake, consider additional garnishes:
- Fresh Pineapple Slices: For an extra burst of fresh pineapple flavor.
- Toasted Coconut Flakes: Add a tropical crunch.
- Mint Leaves: For a pop of color and freshness.
- Portion Size: Use a sharp knife to cleanly slice the cake. Consider:
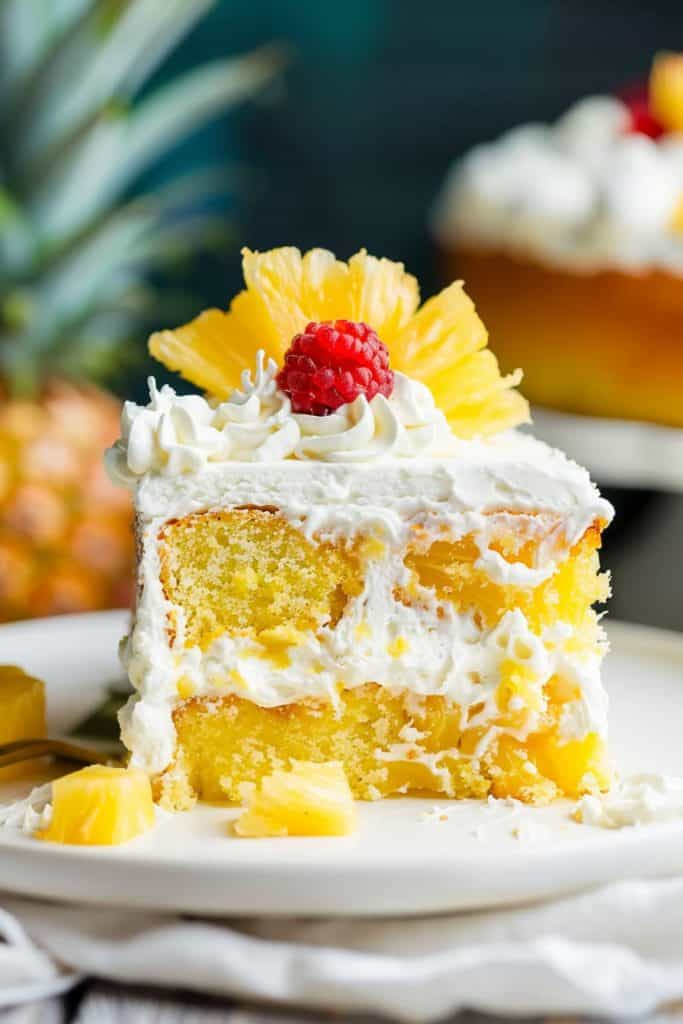
- Small Portions: Ideal for smaller gatherings or alongside other desserts.
- Generous Slices: Perfect for indulging guests and showcasing the cake’s layers.
- Plating: Elevate your presentation by adorning individual plates with a drizzle of pineapple juice or a dollop of whipped cream beside each slice.
- Storage: If you have leftovers, store the cake in an airtight container in the refrigerator. It stays fresh for up to 3 days, maintaining its delectable flavors and textures.
Make-Ahead and Storage Tips
When planning ahead, you might wonder how best to prepare and store your Pineapple Sunshine Cake to ensure it remains delicious and fresh. Here are my best tips:
1. Preparing Components in Advance:
- Cake Layers: Bake the cake layers up to two days in advance. Once baked and cooled, wrap them tightly in plastic wrap and store them at room temperature. This will save you time on the big day.
- Frosting: You can prepare the cream cheese frosting up to three days in advance. Store it in an airtight container in the refrigerator. Before use, give it a good stir to restore its creamy consistency.
2. Assembling the Cake:
- Day Of Assembly: Assemble the cake on the day you plan to serve it. This ensures that the cake remains moist and the frosting fresh. Spread the frosting evenly between the layers and across the top and sides of the cake.
- Refrigeration: Store leftover Pineapple Sunshine Cake in an airtight container and refrigerate for up to three days. This keeps the cake from drying out while preserving its flavors.
- Freezing: If you need to store the cake for a longer period, you can freeze it. Slice the cake into individual portions, wrap each piece tightly in plastic wrap, and place them in a freezer-safe container. The cake can be frozen for up to three months. To serve, thaw the slices in the refrigerator for several hours or overnight.
Quick Tip: For best results, bring refrigerated cake to room temperature before enjoying. This enhances the flavors and gives you a soft, moist texture that’s simply irresistible.
Conclusion
Creating a Pineapple Sunshine Cake is a delightful experience that brings a burst of tropical flavor to any occasion. By using fresh ingredients and following the detailed steps, you’ll achieve a cake that’s both visually appealing and delicious. Remember to store any leftovers properly and bring the cake to room temperature before serving to enjoy its full flavor and texture. Whether you’re a seasoned baker or a beginner, this recipe is sure to become a favorite in your dessert repertoire. Happy baking!