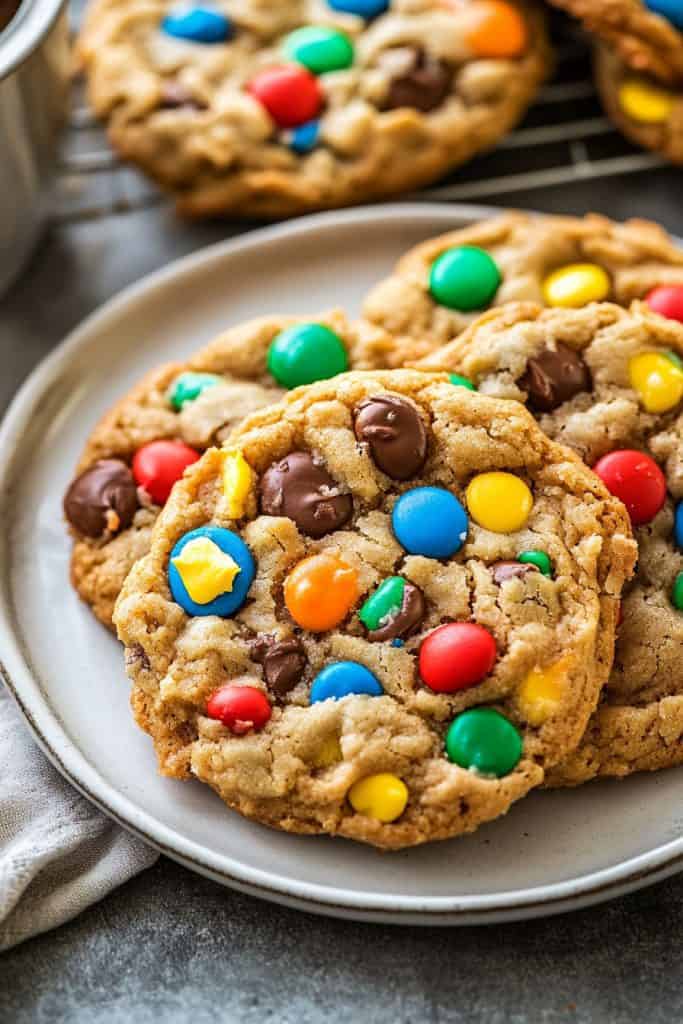
If you’re a fan of indulgent treats that pack a punch of flavor and texture, then peanut butter monster cookies are about to become your new favorite. These cookies are a delightful mash-up of creamy peanut butter, hearty oats, and a medley of colorful candies and chocolate chips. They offer a perfect balance of sweet and salty, chewy and crunchy, making them a hit for all ages.
Ingredients
Here’s everything you need to make these delicious peanut butter monster cookies:
- 1 cup creamy peanut butter
- 1 cup granulated sugar
- 1 cup packed brown sugar
- 1 cup unsalted butter, softened
- 3 large eggs
- 1 tablespoon vanilla extract
- 2 teaspoons baking soda
- 4 1/2 cups old-fashioned rolled oats
- 1/2 teaspoon salt
- 1 cup semi-sweet chocolate chips
- 1 cup colorful candy-coated chocolates (such as M&M’s)
- 1/2 cup chopped nuts (optional, such as walnuts or pecans)
Optional Ingredient Substitutions
Feel free to customize your cookies with these substitutions:
- For a nut-free version, swap creamy peanut butter with sunflower seed butter.
- Replace the unsalted butter with coconut oil for a dairy-free option.
- Use gluten-free oats to make the cookies gluten-free.
- Substitute the candy-coated chocolates with dark chocolate chunks or raisins for a different flavor profile.
- For a lower sugar option, use a sugar substitute like erythritol or stevia in place of granulated and brown sugar.
Incorporating these ingredients and variations ensures these cookies suit a variety of dietary preferences and tastes.
Tools and Equipment
To ensure you make the most delicious peanut butter monster cookies, you’ll need the right tools and equipment. Here’s a detailed list to help you get started:
Mixing Tools
- Large Mixing Bowl: A spacious bowl is essential to combine all your ingredients thoroughly.
- Wooden Spoon or Silicone Spatula: Useful for mixing the dense cookie dough with ease.
- Measuring Cups and Spoons: Accurate ingredient measurements are crucial for perfect cookies.
Baking Tools
- Baking Sheet: A flat, sturdy baking sheet will help your cookies bake evenly.
- Parchment Paper or Silicone Baking Mat: These prevent the cookies from sticking to the baking sheet and make cleanup a breeze.
Portioning Tools
- Ice Cream Scoop or Cookie Scoop: This ensures your cookies are uniform in size, which results in even baking.
- Cooling Rack: Allows your cookies to cool properly without becoming soggy on the bottom.
- Electric Mixer (Optional): If you prefer using an electric appliance instead of hand mixing, this tool can make the process faster, especially when creaming the peanut butter with sugars.
- Rubber Spatula: Perfect for scraping down the sides of the bowl to make sure all ingredients are well incorporated.
Having these tools and equipment on hand will streamline your baking process and help you whip up a batch of chewy, crunchy peanut butter monster cookies with ease.

Directions
Follow these steps to create delectable peanut butter monster cookies that are sure to delight everyone. I’ll guide you through each stage, ensuring the perfect batch every time.
Prep
- Preheat the Oven: Set your oven to 350°F (175°C) to ensure it reaches the right temperature by the time your dough is ready.
- Line the Baking Sheets: Place parchment paper on your baking sheets to prevent the cookies from sticking and for easy cleanup.
- Measure Ingredients: Measure all your ingredients accurately using measuring cups and spoons for precise baking.
Mix
- Cream the Butter and Sugars: In a large mixing bowl, cream 1 cup of unsalted butter, softened, with 1 cup of granulated sugar and 1 cup of brown sugar until smooth and fluffy.
- Add Peanut Butter and Eggs: Mix in 1 cup of creamy peanut butter and 2 large eggs one at a time, beating well after each addition.
- Incorporate Dry Ingredients: In a separate bowl, whisk together 2 cups of all-purpose flour, 1 teaspoon of baking soda, and 1/2 teaspoon of salt. Gradually add this dry mixture to the wet mixture, blending until just combined.
- Mix in Oats and Goodies: Stir in 2 cups of old-fashioned oats, 1 cup of semisweet chocolate chips, 1 cup of M&Ms, and 1 cup of chopped peanuts or almonds (optional) until evenly distributed.
- Scoop Dough: Use an ice cream scoop to portion the dough, placing it evenly spaced on the prepared baking sheets.
- Flatten Cookies: Gently press down each dough ball slightly with the back of the scoop or your hand to form a flatter shape.
- Bake Cookies: Bake the cookies in the preheated oven for 10-12 minutes or until the edges are golden brown.
- Cool on Rack: Allow the cookies to cool on the baking sheets for 5 minutes before transferring them to a wire rack to cool completely.
Expert Tips
Use Leftover Halloween Candy
Got leftover Halloween candy? Chop up those fun-sized bars and toss them into the cookie dough. Mixing in candy pieces like Snickers, Twix, or Reese’s Cups can add delightful bursts of flavor and texture. This method also helps reduce waste and adds a fun twist to your peanut butter monster cookies.
Add Some Candies To The Top Before Baking
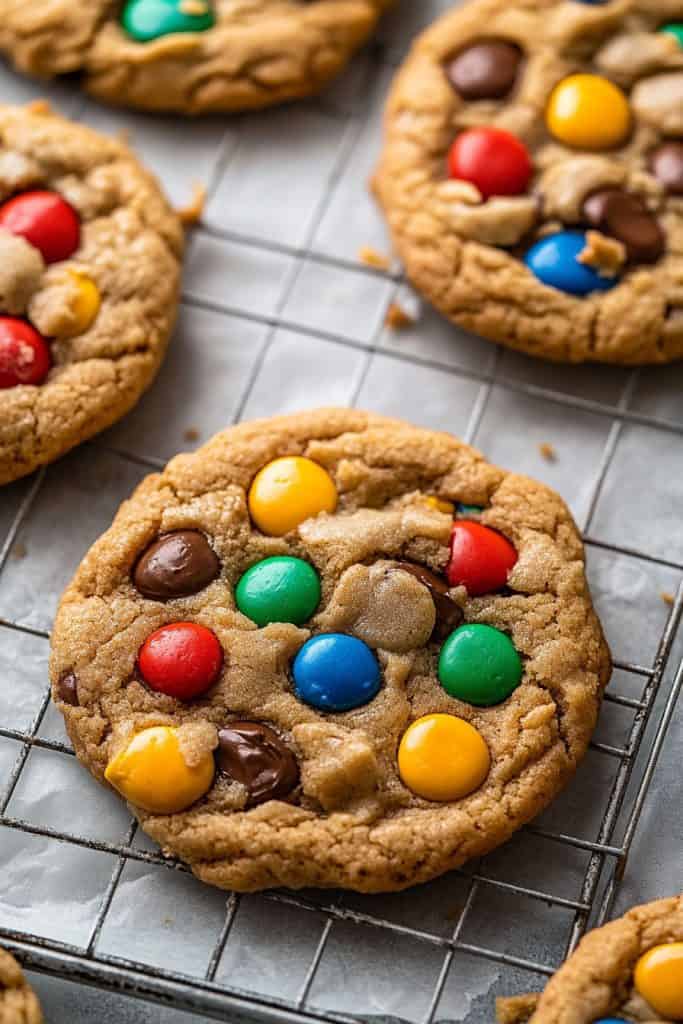
To make the cookies extra appealing, press a few candy-coated chocolates, such as M&M’s or Reese’s Pieces, onto the tops of the dough balls right before baking. This not only makes the cookies look more colorful and festive but also ensures you get that delightful candy crunch in every bite.
Want Perfectly Round Cookie Edges?
If you prefer cookies with perfectly round edges, here’s a trick: right after baking, use a round cookie cutter or the rim of a glass slightly larger than your cookies to gently nudge them into shape while they’re still warm and pliable. Simply place the cutter around the cookie and swirl it around gently. This ensures even and aesthetically pleasing cookies every time.
Storing and Freezing Instructions
Once you’ve baked your delicious peanut butter monster cookies, it’s essential to store them properly to maintain their freshness and flavor. Here’s how I store and freeze my cookies to ensure they stay scrumptious.
Storing Peanut Butter Monster Cookies
- Cool Completely: Allow the cookies to cool completely on a wire rack before storing. This prevents moisture buildup and ensures they remain chewy and crunchy.
- Airtight Container: Place the cooled cookies in an airtight container. Layer them with parchment paper to avoid sticking and maintain their shape.
- Room Temperature: Store the container at room temperature. Cookies will stay fresh for up to one week.
Freezing Peanut Butter Monster Cookies
- Flash Freeze: Lay the cookies in a single layer on a baking sheet and freeze for an hour. This prevents them from sticking together.
- Storage Method: Transfer the frozen cookies to a freezer-safe bag or airtight container. Label with the date to keep track of their freshness.
- Freezer Duration: Cookies can be frozen for up to three months without losing their delightful taste and texture.
- Room Temperature: Remove the desired number of cookies from the freezer and let them thaw at room temperature for about 30 minutes.
- Microwave Option: For a quicker option, microwave the cookies for 10-15 seconds. This not only thaws them but also gives a freshly baked feel.
By following these storing and freezing instructions, you can enjoy your homemade peanut butter monster cookies anytime. Whether you need a snack for your kids or a sweet treat for yourself, these cookies will always be ready to satisfy your cravings.

Conclusion
Peanut butter monster cookies are a delightful treat that combines sweet and salty flavors with a perfect chewy and crunchy texture. With the right ingredients and a few expert tips, you can create cookies that are not only delicious but also visually appealing. Remember to cool them completely before storing in an airtight container and follow freezing instructions to keep them fresh longer. Whether you’re using leftover Halloween candy or adding your favorite mix-ins, these cookies are sure to become a favorite in your household. Happy baking!
