Craving a delightful dessert without the hassle of turning on the oven? Dive into the world of no-bake lemon cheesecake squares! These fluffy treats, featuring a tangy lemon twist, are a refreshing delight for any occasion. The smooth lemon no-bake cheesecake filling perched on a classic graham cracker crust is a surefire way to keep your taste buds singing while keeping your kitchen cool.
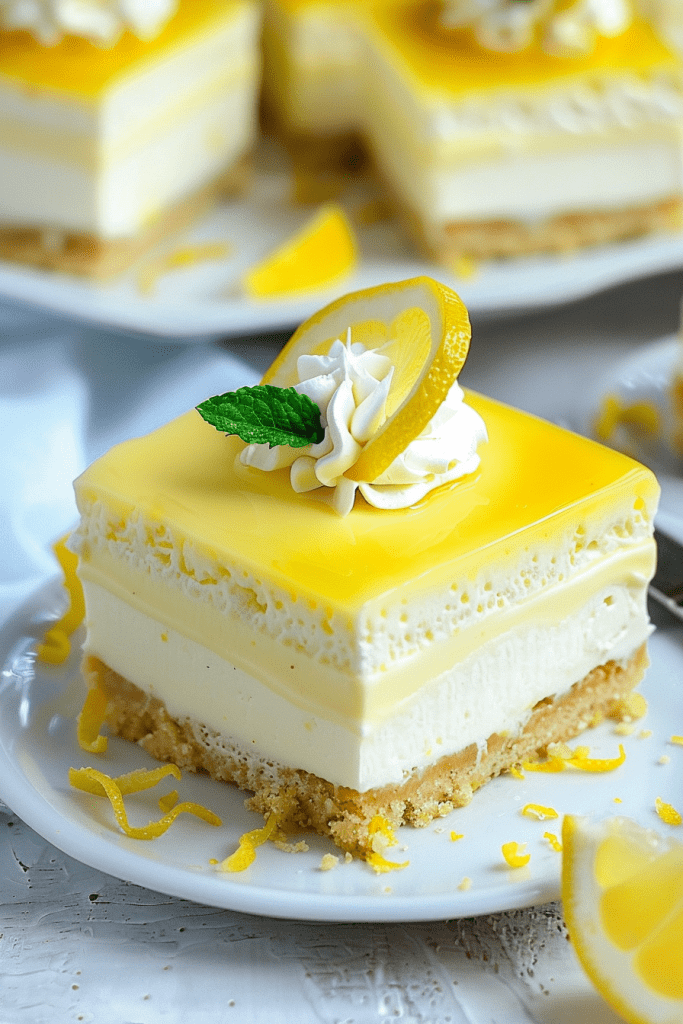
Ingredients
Here are the ingredients needed to create these delicious no-bake lemon cheesecake squares.
Graham Cracker Crust
- 1 sleeve graham crackers
- ¼ cup sugar
- 6 tablespoons unsalted butter
Lemon Cheesecake Filling
- 12 ounces cream cheese, softened
- ¾ cup powdered sugar
- ½ cup greek yogurt
- ¼ cup lemon juice
- 1 teaspoon vanilla extract
- 1 3 oz lemon flavored gelatin
- ½ cup boiling water
Equipment Needed
When preparing these delectable no-bake lemon cheesecake squares, having the right equipment is essential to ensure a smooth and hassle-free cooking process. Here are the tools you will need:
1. Food Processor
Having a food processor on hand is crucial for creating the perfect graham cracker crumb crust. This tool will help you achieve the ideal texture for the base of your lemon cheesecake squares.
2. Square Baking Dish
You will need an 8-inch square baking dish to assemble and set your lemon cheesecake squares. Make sure to line the dish with parchment paper for easy removal once the squares are set.
3. Mixing Bowls
Having a few mixing bowls in different sizes will come in handy for preparing the cheesecake filling, whipped cream, and any other components of the recipe. It’s always helpful to have bowls of various sizes for different mixing tasks.
4. Hand Mixer or Stand Mixer
To whip up the creamy and smooth cheesecake filling and the luscious whipped cream topping, a hand mixer or stand mixer will make the process quick and efficient. These tools will ensure that your filling is perfectly smooth and well combined.
5. Spatula
A good quality spatula is essential for folding in ingredients gently, spreading layers evenly, and smoothing out the top of your lemon cheesecake squares. Make sure to have a spatula on hand to ensure your final product looks as good as it tastes.
6. Lemon Zester
For adding a burst of fresh lemon flavor and a pop of color to your dessert, a lemon zester is a must-have tool. This will allow you to easily zest your lemons for both the filling and optional garnish.
With these essential tools in your kitchen arsenal, you’ll be well-equipped to create these delightful no-bake lemon cheesecake squares with ease and finesse.
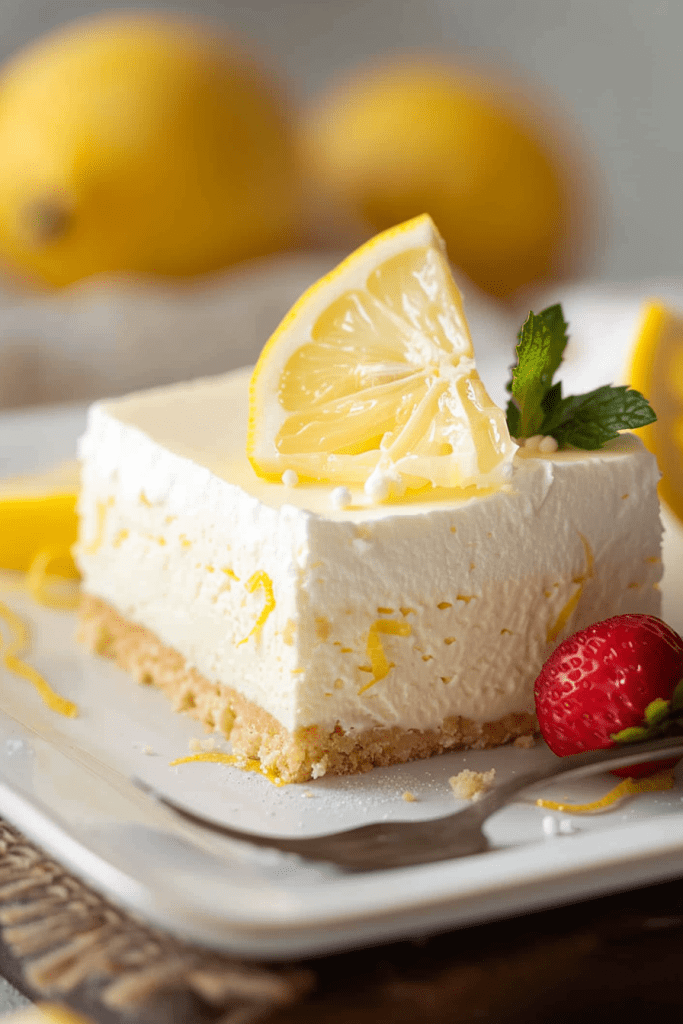
Graham Cracker Crust Preparation
Creating the perfect graham cracker crust is essential for the foundation of these delightful no-bake lemon cheesecake squares. Let’s ensure a crisp and flavorful base with easy-to-follow steps.
Mixing Ingredients
To start, break up graham crackers and place them in a food processor. Pulse until crumbly, then add sugar and pulse until combined. Next, melt butter in short intervals in the microwave until fully melted. Add the melted butter to the graham cracker crumbs and pulse until well combined.
Setting the Base
Once the crumbs are thoroughly mixed, pour them into an 8-inch square baking dish lined with parchment paper. Press the mixture down firmly to form the crust. For a crispier crust option, you can bake it for a few minutes. However, chilling the crust in the refrigerator is also a great way to set it. This step ensures a sturdy and delicious base that complements the creamy lemon cheesecake filling perfectly.
Lemon Cheesecake Filling Preparation
Creating the luscious lemon cheesecake filling is a key step in making these delectable no-bake lemon cheesecake squares.
Blending Ingredients
To start, blend cream cheese, powdered sugar, greek yogurt, lemon juice, and vanilla extract until smooth in a food processor or mixing bowl. Add the lemon zest for that refreshing lemony kick.
Pouring and Smoothing Filling
Once the filling is creamy and well-mixed, pour it over the chilled graham cracker crust in the baking dish. Use a spatula to smooth the filling evenly to the edges, ensuring a perfect finish for your lemon cheesecake squares.
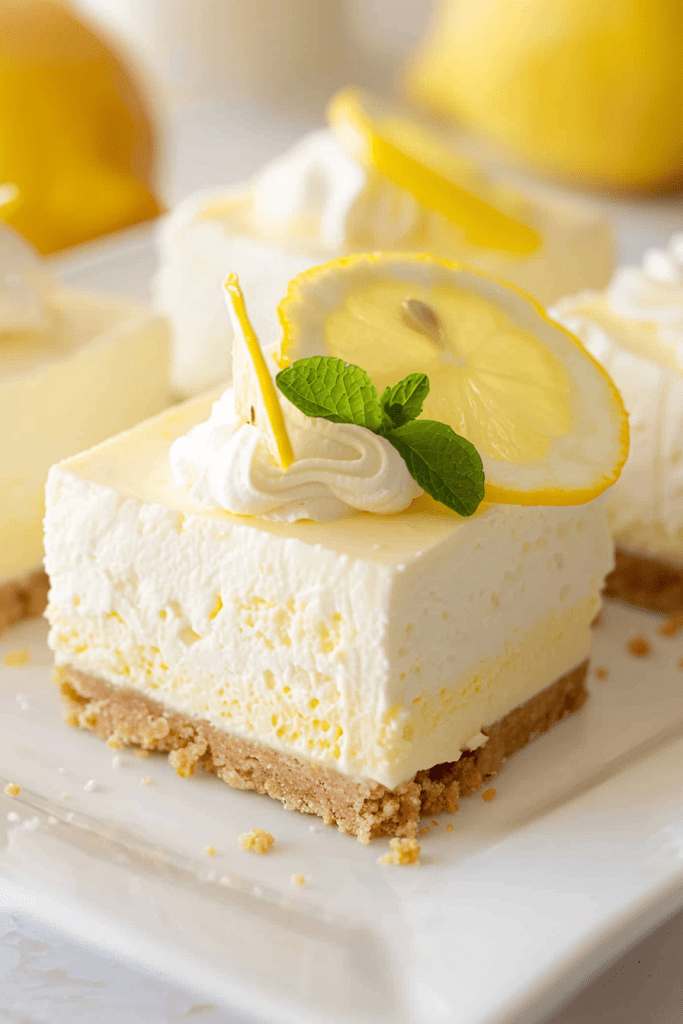
Lemon Curd Topping Preparation
Cooking the Curd
For the lemon curd topping preparation, start by blooming gelatin in water. Simmer sugar, lemon zest, cornstarch, and water in a saucepan, add lemon juice, then combine with egg yolks before thickening further. Ensure the mixture cools to room temperature before swirling into the cheesecake layer.
Layering on Cheesecake
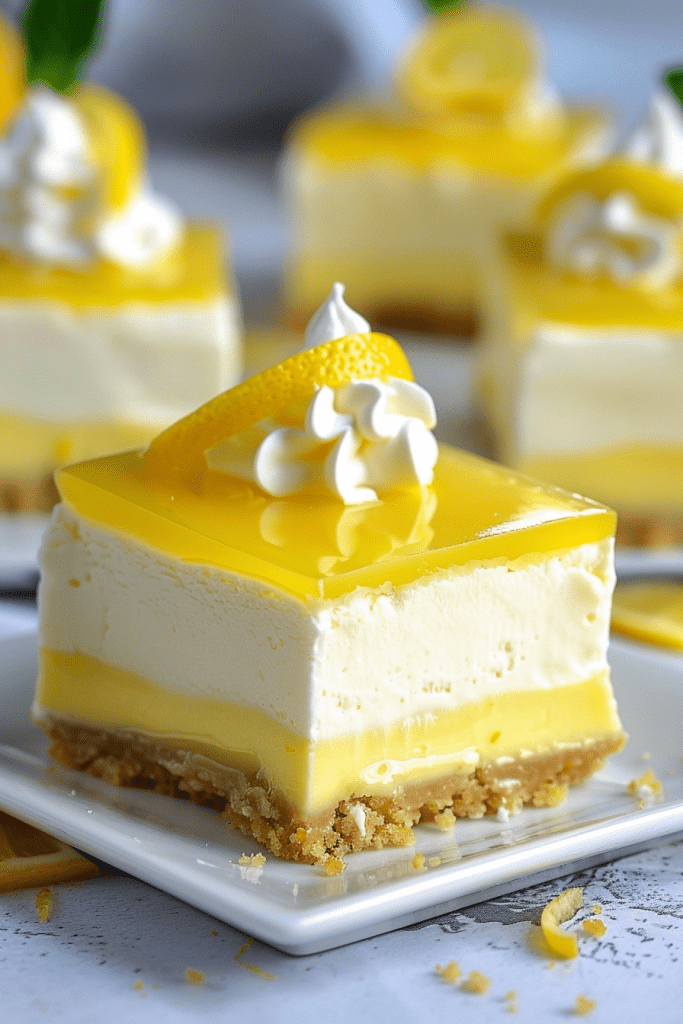
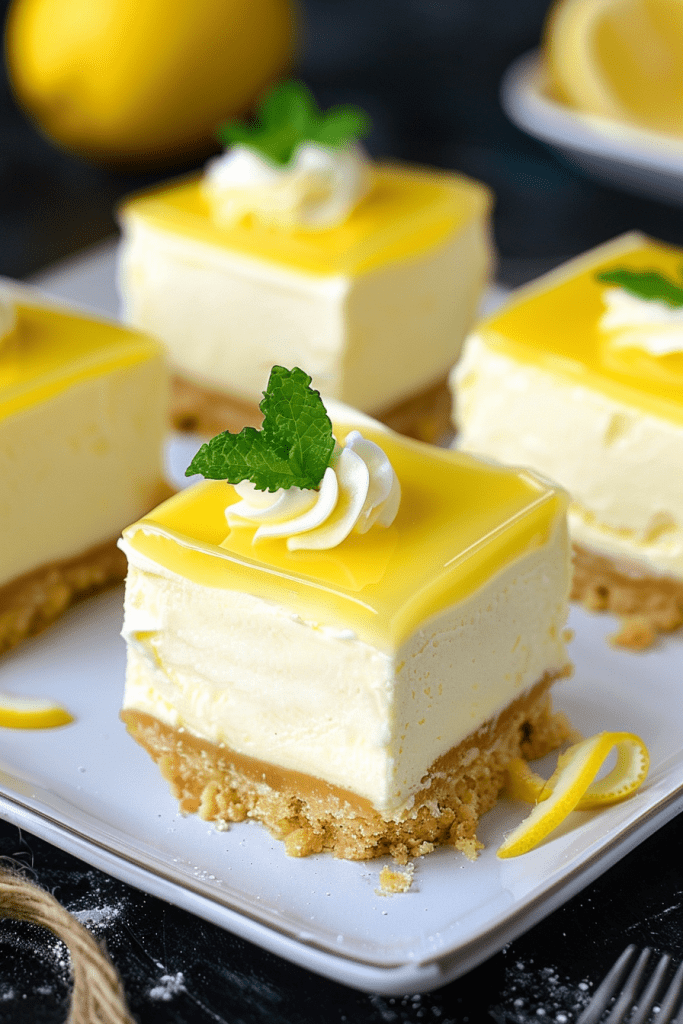
Once the cheesecake layer is smoothed over the crust, whisk the cooled lemon curd topping, ensuring it’s not hot, to avoid melting the cheesecake layer. Pour the lemon curd over the cheesecake, create swirls on the surface using a knife, and refrigerate for at least 6 hours or overnight for the layers to set. After setting, cut into squares or bars for serving.
Chilling the Cheesecake
- After assembling the lemon cheesecake squares, the next crucial step is to chill the dessert properly. This chilling process is essential to set the cheesecake filling and allow the flavors to meld together for the perfect texture and taste.
- Cover the prepared cheesecake with a lid or plastic wrap to prevent any other flavors from being absorbed in the refrigerator.
- Place the cheesecake in the freezer and let it chill for a minimum of 4 hours. This extended chilling time ensures that the cheesecake sets well and holds its shape when sliced into squares.
- Once the chilling time is complete, use the parchment paper to gently lift the cheesecake from the pan. The parchment paper helps in easy removal without damaging the delicate dessert.
- Take a warm knife and carefully cut the chilled cheesecake into 9 even squares. For smaller portions, cut the cheesecake into more bars according to your preference.
- Before serving, transfer the lemon cheesecake squares to the refrigerator for about 30 minutes. This short resting period allows the flavors to develop further and ensures the dessert is served at the ideal temperature.
Tips for Perfect Cheesecake Squares
Creating flawless no-bake lemon cheesecake squares requires attention to detail. Here are some tips to ensure your cheesecake squares turn out perfectly:
Achieving Clean Cuts
When it comes to serving your no-bake lemon cheesecake squares, it’s essential to achieve clean cuts for an aesthetically pleasing presentation. To achieve clean cuts, make sure to use a sharp knife and wipe it clean between each cut. This will help you get neat and tidy squares without any crumbling or sticking.
Optional Garnishes
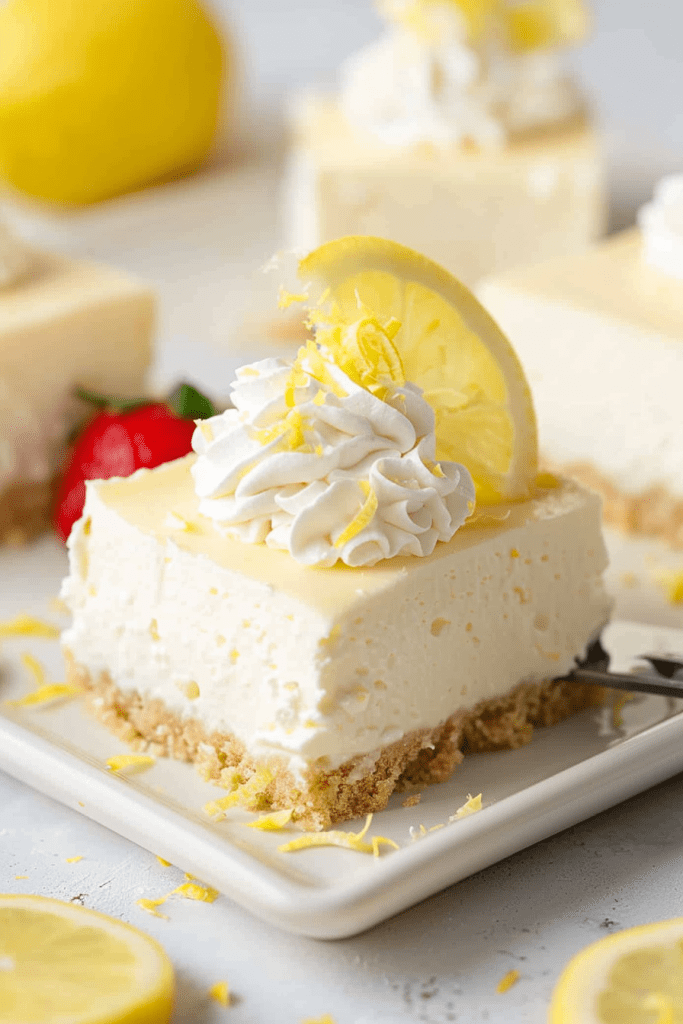
To elevate the presentation and flavor of your no-bake lemon cheesecake squares, consider adding optional garnishes. Fresh berries, whipped cream, or a sprinkle of lemon zest can add a pop of color and freshness to your dessert. Get creative with your garnishes to tailor the flavor profile to your liking and impress your guests with a visually appealing treat.
Storing and Serving
When it comes to storing and serving your delightful no-bake lemon cheesecake squares, proper handling is key to maintaining their freshness and deliciousness.
Refrigeration Time
After preparing your lemon cheesecake squares, refrigerate them for at least 4-6 hours to allow the filling to set properly. For best results, leaving them overnight in the fridge will enhance the flavors and ensure a perfect texture when serving.
Freezing Options
If you prefer a firmer texture or want to store the cheesecake squares for a longer period, you can opt to freeze them for 4-6 hours. Freezing also helps in achieving clean cuts for serving. Ensure they are adequately covered to prevent freezer burn and maintain their fresh taste.
Conclusion
I’ve shared all you need to know about crafting delectable no-bake lemon cheesecake squares. From mastering the creamy filling to perfecting the zesty lemon curd topping, each step plays a crucial role in achieving a mouthwatering dessert. Remember, patience is key when it comes to chilling for that impeccable texture and flavor. Don’t forget to adorn your squares with fresh berries and a dollop of whipped cream for that extra flair. Whether you opt for a quick chill or a longer freeze, proper storage is key to preserving these treats. With these tips in mind, you’re all set to impress with these irresistible lemony delights.

