
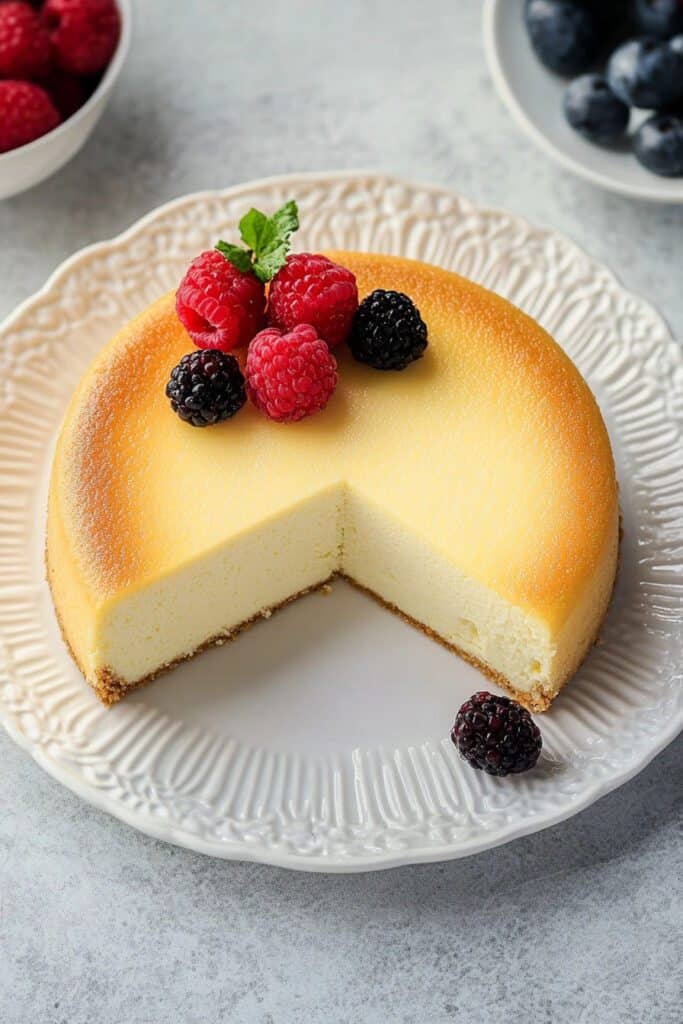
Craving a uniquely delicious dessert? Let me introduce you to Japanese Cheesecake , also known as Cotton Cheesecake . This light and fluffy Japanese creation blends the best qualities of a traditional cheesecake with a souffle-like texture that melts in your mouth. Unlike its American counterpart, which can be dense and rich, Japanese cheesecake is airy, subtly sweet, and has an ethereal texture you’ll absolutely love.
The secret to getting that signature fluffiness lies in its key ingredients and baking method, which includes whipping egg whites to soft peaks and baking the cake in a water bath. Perfect for those who want a refined alternative to a traditional cheesecake, Japanese Cotton Cheesecake pairs well with fresh fruits, fruit purees, or a light dusting of powdered sugar.
What I love about this cheesecake is that it’s versatile yet elegant, making it the perfect dessert for celebrations, tea time, or simply when you’re in the mood for something sweet but not overly indulgent. I’ll walk you through the process, ensuring you end up with a delicious, light masterpiece.
Ingredients for Japanese Cheesecake:
Let’s first gather all the essential ingredients:
- 5 large eggs , at room temperature
- 1/4 tsp cream of tartar (to stabilize the egg whites)
- 1/2 cup sugar , divided
- 8 oz cream cheese , at room temperature (for creaminess)
- 1/2 cup low-fat milk (adds moisture)
- 1/4 cup unsalted butter , at room temperature
- 1 Tbsp lemon juice (for a refreshing tang)
- 1/4 cup all-purpose flour
- 2 Tbsp cornstarch (for extra lightness)
Equipment You’ll Need:
- 8-inch round springform pan or cake pan
- Baking parchment paper (to line the pan)
- Stand or hand mixer (this ensures your batter is perfectly whipped)
- Large roasting pan for the water bath
Are you ready to start baking? Let’s get into the details, step by step!
Preparing the Perfect Japanese Cheesecake Batter
Prepping Your Springform Pan and Oven
Before we dive into mixing, let’s set everything up for smooth sailing:
- Line the Springform Pan : You’ll want to line both the bottom and sides of your 8-inch round springform pan with parchment paper. This will prevent the cake from sticking and make it easier to remove after baking.
- Waterproof Your Pan : Since we’ll be using a water bath (or bain-marie), ensure that no water seeps into your cheesecake by wrapping the bottom and sides of the springform pan with several layers of aluminum foil. Trust me on this—it makes all the difference in ensuring your cheesecake stays dry as it bakes.
- Prepare the Water Bath : Fill a large baking or roasting pan halfway with hot water and place it on the lowest rack of your oven. The steam improves the cake’s moist and delicate texture. After setting up, preheat the oven to 315°F (157°C) .
Separating the Eggs
To get that signature light and airy texture, you’ll need to separate your egg yolks from the egg whites. Carefully place the egg whites into a clean, dry mixing bowl and the yolks in a measuring cup or small bowl. Make sure the bowl for the egg whites is free from any yolk or grease, as this will affect how well they whip up.
Whipping Egg Whites to Soft Peaks
This is the key step for getting your cheesecake ultra-fluffy:
- Using your stand mixer (or hand mixer), beat the egg whites on Low speed for about 30 seconds , then increase to Medium Low speed for another 30 seconds until they start getting frothy.
- Add 1/4 tsp of cream of tartar , which helps stabilize the egg whites and give them structure.
- Slowly add in ¼ cup of sugar , and continue whipping on Medium-High speed until soft peaks form. This process typically takes around 3 minutes when using a stand mixer.Pro Tip : Soft peaks mean the egg whites should form gentle peaks that hang loosely when you lift the beater—perfect for folding into the batter without deflating it.
Now that the egg whites are beautifully whipped, let’s move on to creating the cheesecake mixture!
Making the Cheesecake Mixture
- In another bowl, combine 8 oz of softened cream cheese with 1/2 cup of milk . Use your mixer on Low speed and blend until the mixture becomes smooth and creamy (this should take about 2-3 minutes ).
- Next, add 1/4 cup of butter , the remaining 1/4 cup of sugar , and 1 Tbsp of lemon juice . Continue mixing for about 1 minute , just enough so that the ingredients are well-incorporated.
- Sift in the ¼ cup of all-purpose flour and 2 Tbsp of cornstarch to avoid lumps. Mix for 1 more minute until the batter is smooth.
- Finally, lightly beat the egg yolks (the ones you set aside earlier) and add them to the mixture. Blend together for an additional 1 minute until well-combined and silky.
Make sure to strain the batter through a sieve to catch any lumps and ensure your final cake has a dreamy, smooth texture.
Now we’re ready to combine this creamy mixture with the fluffy egg whites!
Folding, Baking, and Cooling the Japanese Cheesecake
Folding the Egg Whites Into the Batter
This part is where we combine the delicate egg whites with the cream cheese mixture without losing the air we’ve whipped into them. Here’s how to do it:
- Add 1/3 of the Egg Whites to the cream cheese batter. Using a spatula, gently fold the egg whites into the batter. Approach this step lightly: scoop from under the batter and fold it over the egg whites to avoid deflating them. It’s okay if the first addition isn’t fully smooth yet—this step is about light incorporation.
- Repeat the Folding : Add the next third of the egg whites and fold again, mixing gradually but gently. This step will start producing a smoother mixture.
- Finally, fold in the remaining egg whites until the batter is light and fluffy. Be careful not to over-mix, as doing so will knock out the air, resulting in a denser cake.
Pouring and Smoothing the Batter
Once everything is well incorporated, pour the batter into the lined and wrapped springform pan. Use the back of a spatula to gently smooth out the top , ensuring the batter is evenly distributed.
To remove any large air bubbles that may have formed during the folding process, gently lift and drop the springform pan onto your counter about 6 times . You don’t need to overdo it, but this little trick helps prevent unsightly holes or uneven texture in the final cake.
Baking the Cheesecake
Now comes the all-important baking process. Carefully place the springform pan into the roasting pan filled with water, creating a water bath . This slow, moist heat is what gives the cheesecake its heavenly, light texture.
- Set the cheesecake in the oven on the middle rack , just above the water-filled roasting pan.
- Bake for 1 hour and 10 minutes at 315°F (157°C). Avoid opening the oven during the first part of baking as this can interrupt the heat distribution.
- Check for Doneness : After the initial baking time, insert a toothpick into the center of the cheesecake. If it comes out clean, you’re on the right track. To get that beautiful, signature golden top , continue baking the cheesecake for an extra 10-15 minutes .
Cooling Down
Your cheesecake is almost ready, but resist the urge to take it out of the oven just yet! This gentle cake benefits from cooling down gradually to prevent it from collapsing or cracking.
- Turn off the oven but leave the cheesecake inside with the door open 2-3 inches . Let the cheesecake rest in the oven for 1 additional hour . This slow cooling step helps the cake set properly while maintaining its airy texture.
- After an hour, carefully remove the cheesecake from the water bath. Remove the foil-wrapped springform pan and gently run a knife around the edges of the cheesecake to loosen it from the pan. It’s best not to open the pan yet; that will happen after chilling in the fridge.
Now, you’ve made it through the hardest part! Time to chill and set the cake.
Chilling, Serving, and Storing Your Japanese Cheesecake
Chilling the Cheesecake to Perfection
After the cheesecake has cooled down in the oven for an hour, it’s time to chill it further to allow the flavors to develop, and the texture to reach that amazing balance between light and creamy.
- Refrigerate the Cheesecake : Once out of the oven, carefully place the cheesecake (while still in the springform pan) into the fridge. Let it chill for at least 4 hours , but overnight is even better. This will give you that perfect, melt-in-the-mouth experience when you serve it.
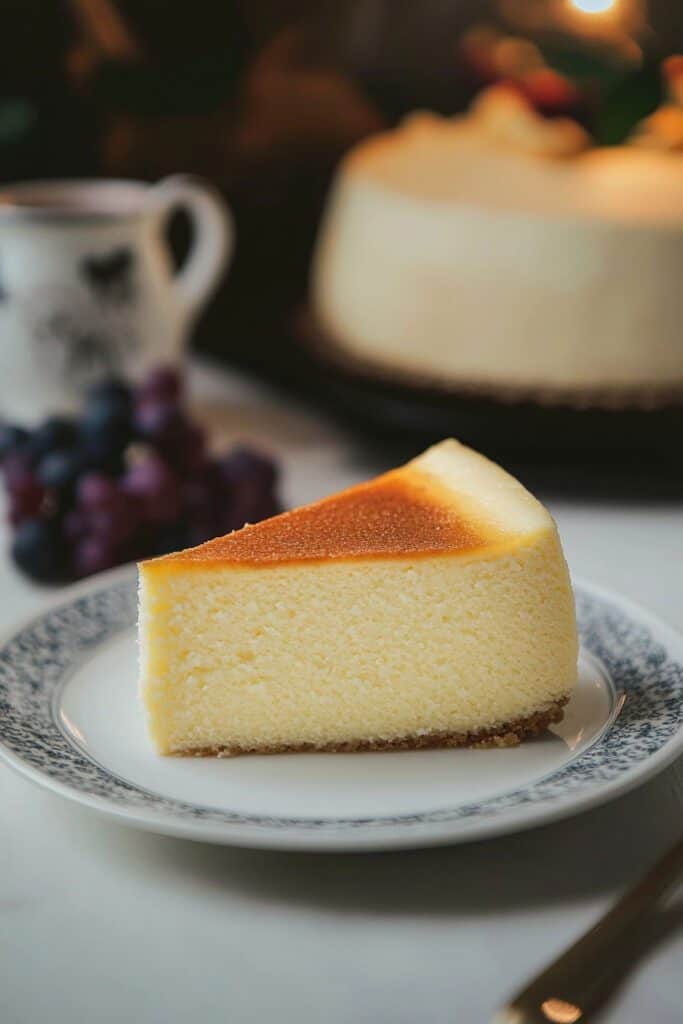
- After it’s fully chilled, release the springform pan and gently peel away the parchment paper. You should have a beautifully smooth and golden-topped cheesecake that’s ready to shine at the table!
Serving Your Masterpiece
Now it’s time for the fun part: serving your delicious Japanese cheesecake! This delicate dessert pairs wonderfully with a variety of toppings and accompaniments:
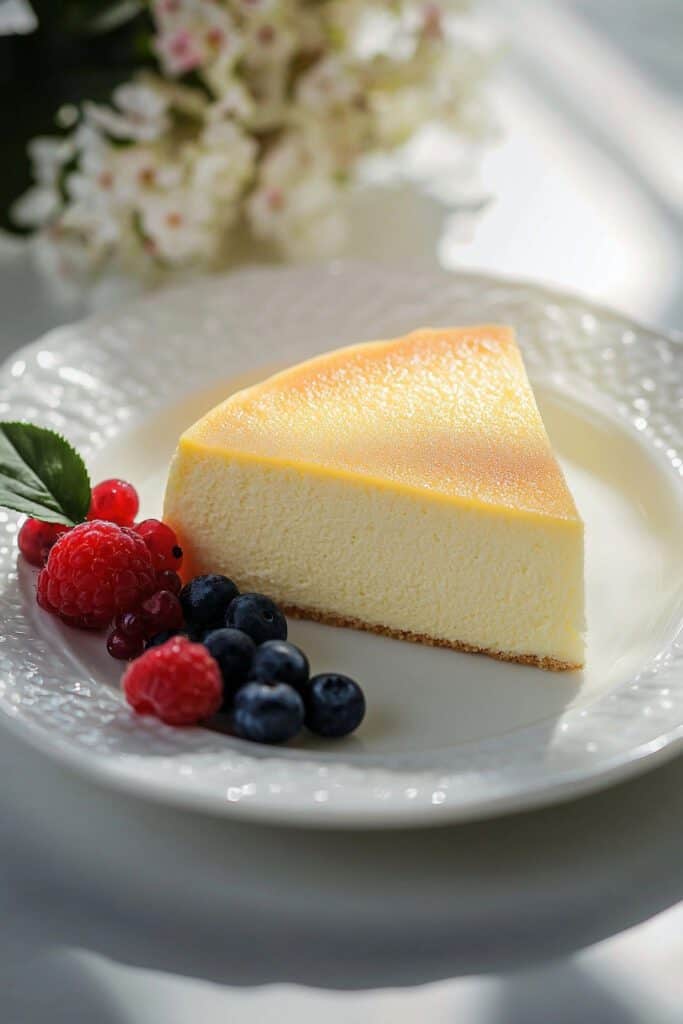
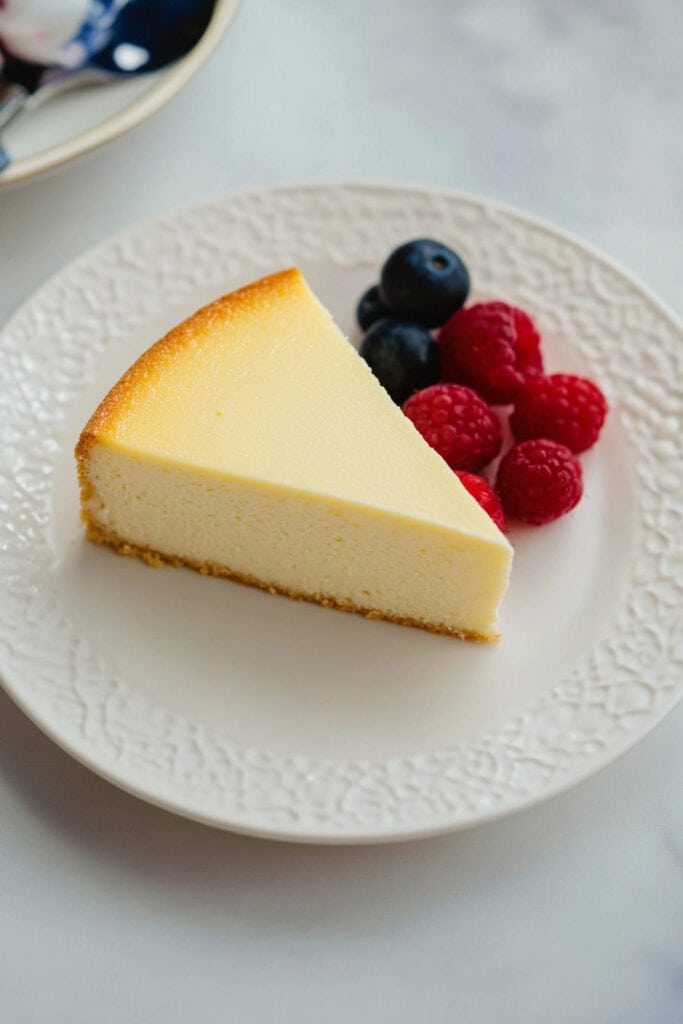
- Fresh Fruit: Serve with berries such as strawberries, raspberries, or blueberries for a fresh and tangy contrast to the light sweetness of the cake.
- Fruit Puree or Coulis: A drizzle of raspberry or strawberry sauce can take this cake from simple to elegant.
- Whipped Cream: For an extra level of indulgence, consider adding a dollop of light, sweetened whipped cream.
- Chocolate Sauce: If you’re craving something richer, a light drizzle of chocolate sauce can be the perfect complement to the cheesecake’s subtle sweetness.
- Dusting of Powdered Sugar: Keep it simple and classic with a light dusting of powdered sugar across the top just before serving.
Storing Your Japanese Cheesecake
If you have any leftovers (trust me, they disappear quickly!), here are some tips to store your Japanese cheesecake to keep it fresh:
- In the Refrigerator : You can store leftover cheesecake in an airtight container in the refrigerator for up to one week . Be sure to cover it with plastic wrap or place it in a cake container to prevent it from drying out.
- Freezing for Later : If you’re thinking of saving your Japanese cheesecake for a later occasion, it’s easy to freeze! Wrap the cheesecake (whole or in slices) tightly in plastic wrap, then cover it with foil or place it in a freezer-safe container. It’ll last up to one month in the freezer. When you’re ready to eat, simply thaw it in the fridge for several hours or overnight.
Final Thoughts
And just like that, you’ve mastered the art of making an authentic Japanese Cotton Cheesecake ! With its fluffy, airy texture, and the subtle tang from the lemon juice paired with the rich cream cheese flavor, this cake is sure to become one of your go-to desserts for any occasion.
What makes this cheesecake so special is its versatility and the way it gives you a unique alternative to the classic cheesecake we’re all familiar with. Whether you’re serving it after dinner, or as a treat with tea or coffee, there’s no doubt your family and friends will be impressed with the incredible lightness and flavor of your creation.
So, dive into that first bite and savor the magic. Enjoy your beautiful, homemade Japanese Cheesecake , and don’t forget to try out different toppings or pairings to find your ultimate combination!
Enjoy every soft and creamy bite, and happy baking! ????