
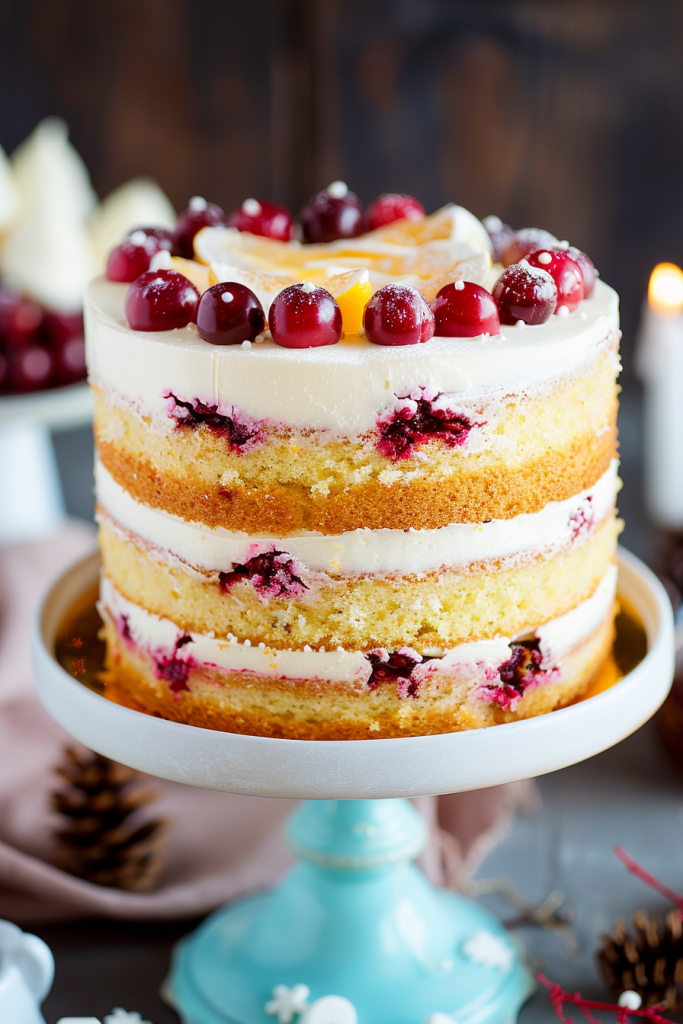
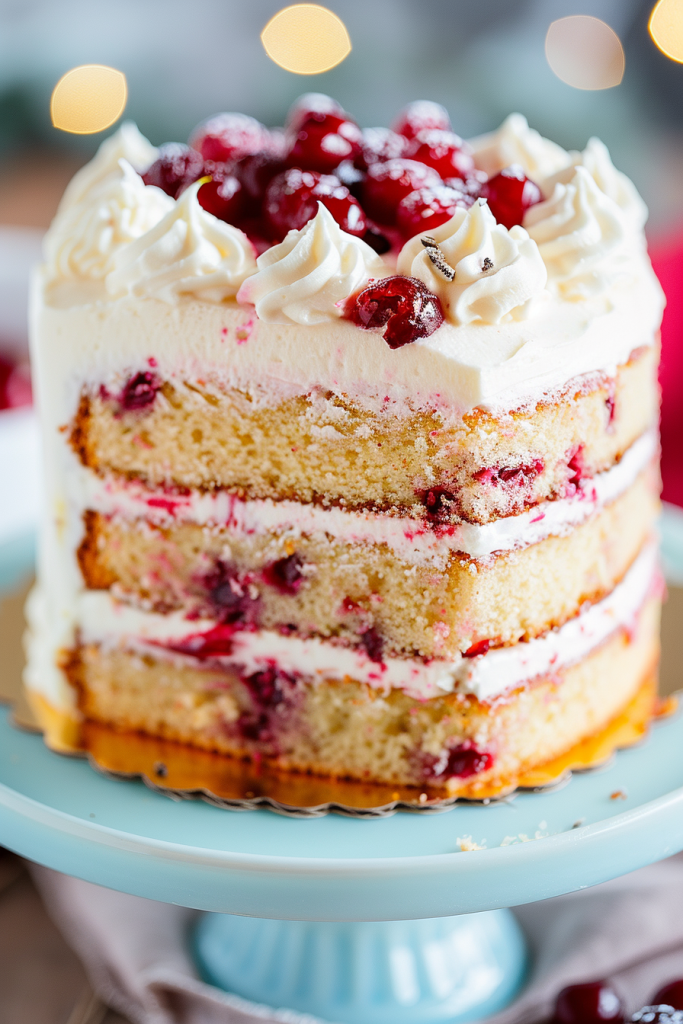
Indulge in the festive flavors of a moist and fluffy cranberry orange cake, the perfect holiday treat that will dazzle your taste buds. This delightful dessert combines the zesty essence of oranges with the burst of juicy cranberries, creating a harmonious blend of sweet and tangy notes. Whether you’re celebrating Christmas or simply craving a slice of something special, this cranberry orange cake is a must-try for any occasion.
Elevate your baking game with this homemade cranberry orange cake recipe that is a beloved favorite among families. Topped with a luscious orange cream cheese frosting, every bite is a decadent delight. Get ready to impress your loved ones with a dessert that not only looks stunning but also tastes absolutely divine. Embrace the holiday spirit with this irresistible cranberry orange cake that’s sure to become a staple in your festive repertoire.
Ingredients for Cranberry Orange Cake
A scrumptious cranberry orange cake demands a handful of key ingredients that come together harmoniously to create a flavorsome delight. Let’s delve into the main components required to whip up this festive treat.
Main Cake Ingredients
- 3 cups Flour
- 2 cups White Sugar
- Oil (neutral vegetable oil)
- Eggs
- ⅔ cup Orange Juice (fresh or store-bought)
- Zest of 1 Orange
- 1 ½ tsp Baking Powder
- Vanilla Extract
- Pinch of Salt
- Fresh Cranberries
For the Orange Cream Cheese Frosting
- Unsalted Butter
- Cream Cheese
- Powdered Sugar
- Whipping Cream or Milk
- Orange Zest
- Sparkling Sugar
- Sugared Cranberries
- Twisted Orange Slices
Equipment and Tools Needed
To prepare the delicious and festive cranberry orange cake, you will need to ensure you have the right equipment and tools on hand. Here is a list of essential items you will need to create this delightful dessert:
Equipment:
- 3 9-inch round cake pans
- Stand mixer with paddle attachment
- Medium bowl for mixing dry ingredients
- Glass measuring cup
- Small bowl for tossing cranberries
- Whisk for blending dry ingredients
- Spatula for folding in cranberries
- Parchment paper for lining cake pans
- Cooking spray for greasing pans
- Oven for baking
- Measuring cups and spoons
- Butter knife for greasing pans
- Cooling rack for cooling cakes
- Offset spatula for frosting
- Cake stand or platter for serving
Having these equipment and tools ready will ensure a smooth and successful baking experience, allowing you to create a stunning cranberry orange cake that will delight your taste buds and impress your guests.
Prep Work
When getting ready to make this delicious Cranberry Orange Cake, there are a few essential steps you need to take care of before diving into the baking process. Let’s start by preparing the sugared cranberries and getting the perfect zest and juice from fresh oranges.
Preparing the Sugared Cranberries
To add a sweet and festive touch to your cake, you’ll want to start by preparing the sugared cranberries. These cranberries will not only bring a burst of flavor but also an attractive decoration to your dessert.
Zesting and Juicing Oranges
The key to infusing your cake with that bright and zesty orange flavor lies in properly zesting and juicing fresh oranges. This step ensures that every bite of the cake is filled with citrusy goodness, making it a truly delightful treat.
Directions for Cranberry Orange Cake
Mixing the Batter
- In a large bowl, cream together 3/4 cup of unsalted butter, 1 1/3 cups of granulated sugar, and 3 tablespoons of fresh orange zest until smooth.
- Add 1 teaspoon of vanilla extract, followed by 2 large eggs added one at a time, mixing well after each addition.
- In a separate medium bowl, combine 1 1/2 cups of all-purpose flour, 1 1/2 teaspoons of baking powder, and 1/2 teaspoon of salt.
- Gradually add half of the dry ingredients to the butter mixture, mixing until well combined.
- Mix in 1/4 cup of sour cream and 3 tablespoons of fresh orange juice until fully incorporated.
- Fold in the remaining dry ingredients until the batter is smooth.
- Toss 6 oz of fresh or frozen cranberries in a bit of flour and gently fold them into the batter until evenly distributed.
Baking the Cake
- Preheat the oven to 350°F and grease two 9×5 loaf pans.
- Divide the prepared batter evenly between the pans, spreading it out to ensure even distribution.
- Bake the cakes in the preheated oven for 55-60 minutes or until a toothpick inserted into the center comes out clean.
- Allow the cakes to cool in the pans for about 30 minutes before transferring them to a wire rack to cool completely at room temperature.
- After cooling in the pans for 30 minutes, gently remove the cakes from the pans and allow them to cool completely on a wire rack.
- Once the cakes have cooled, they are ready to be glazed with a delightful orange glaze made from 1 1/2 cups of sifted confectioners’ sugar, 3 tablespoons of fresh orange juice, and 1 teaspoon of orange zest.
These steps will guide you through creating a moist and flavorful cranberry orange cake that is perfect for any festive occasion.
Making the Orange Cream Cheese Frosting
Creating the perfect orange cream cheese frosting is the icing on the cake for this delicious cranberry orange dessert. Here’s how to make it:
Blending Ingredients
To start, whip together softened cream cheese and butter until smooth and creamy. Gradually add powdered sugar, blending until well incorporated. Slowly mix in whipping cream until you reach your desired frosting consistency. For an extra burst of orange flavor, mix in a tablespoon of orange zest.
Frosting the Cooled Cake
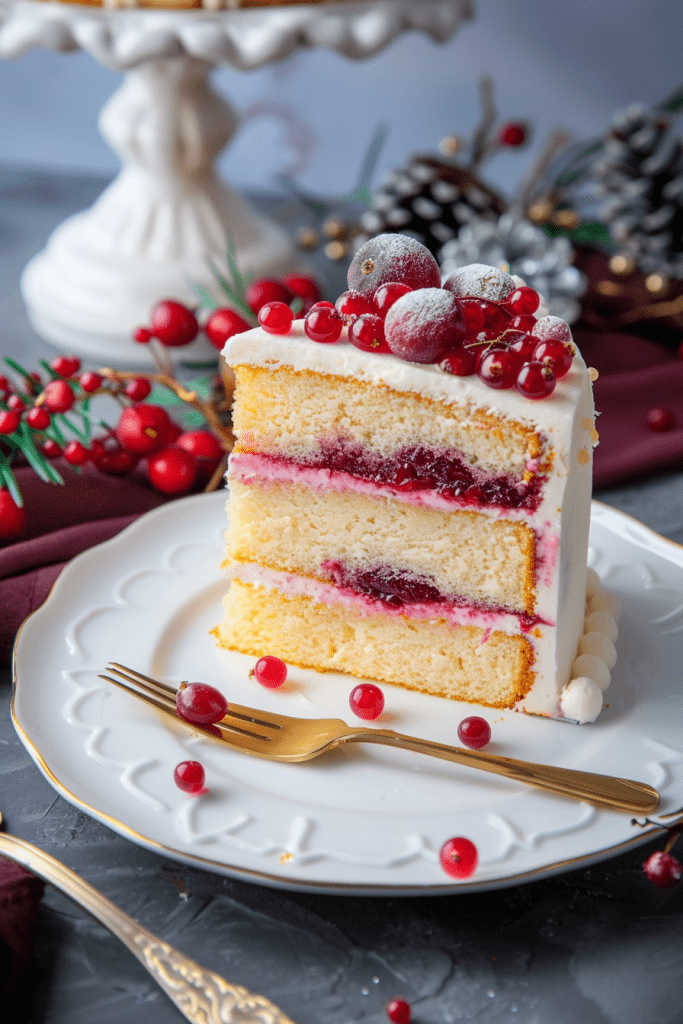
Once your cranberry orange cake layers have completely cooled, it’s time to frost them. Using a flat-edge knife or an offset spatula, generously frost the top of the cake with the prepared orange cream cheese frosting. For a finishing touch, decorate the frosted cake with sugared cranberries on top and a sprinkle of orange zest. Now, slice the cake and serve for a delightful treat bursting with holiday flavors.
Assembly and Decoration
Assembling and decorating the cranberry orange cake is where the magic happens. Make sure to follow these steps precisely to create a stunning and delicious dessert that will impress your guests.
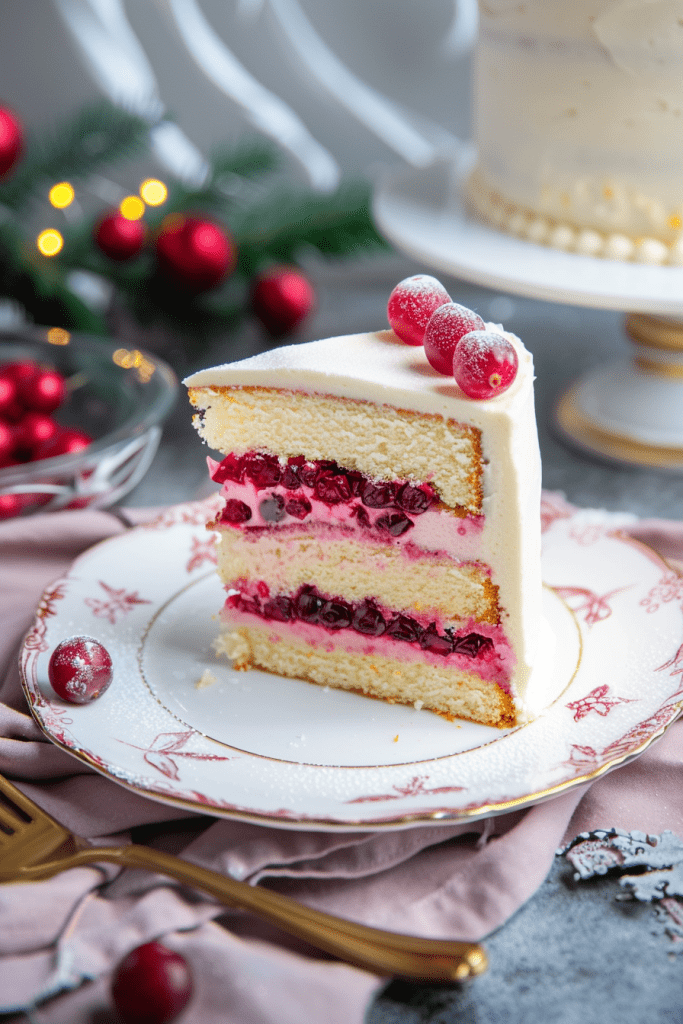
Layering the Cake and Frosting
- Place the first cake layer on a cake stand.
- Spread a generous amount of orange buttercream evenly on top.
- Repeat with the second cake layer.
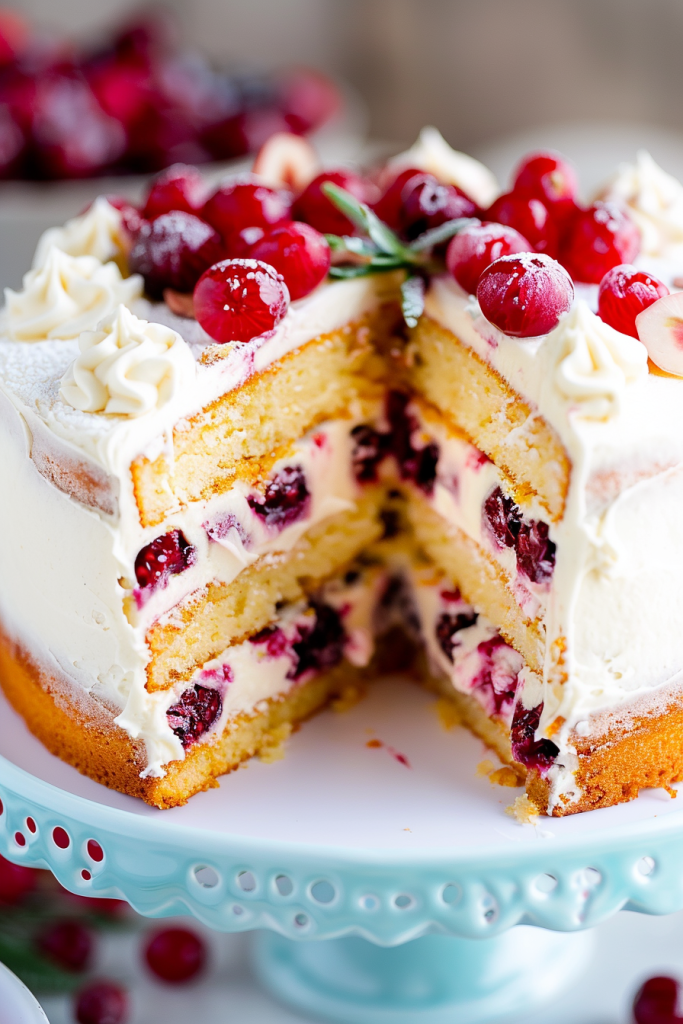
- Add the final cake layer and cover the entire cake with the remaining buttercream.
- Smooth the frosting on the top and sides for a clean finish.
- Garnish the frosted cake with sugared cranberries for a festive touch.
- Sprinkle fresh orange zest over the top of the cake for a burst of citrus flavor.
- Consider adding additional decorations like fresh orange slices or edible flowers for an extra special presentation.
By following these steps, you’ll have a beautifully layered cranberry orange cake that’s not only visually appealing but also bursting with sweet and tangy flavors.
Tips for Perfect Results
Ensuring that your cranberry orange cake turns out just right is key to a successful baking experience. Here are some valuable tips to help you achieve the perfect results:
How to Ensure Moisture and Fluffiness
To guarantee your cake is moist and fluffy, make sure to use room temperature ingredients, such as eggs, butter, and sour cream. Room temperature ingredients blend more easily, resulting in a smoother batter and a lighter texture in the finished cake. Additionally, be careful not to overmix the batter to maintain a delicate crumb structure.
Preventing Cranberries from Sinking
To prevent your cranberries from sinking to the bottom of the cake during baking, coat them lightly in flour before folding them into the batter. If you’re using frozen cranberries, add them directly from the freezer without thawing, as thawed cranberries can release excess moisture. By following this simple step, you can ensure an even distribution of cranberries throughout the cake for a perfect balance of flavors.
How to Store and Freeze Cranberry Orange Cake
Properly storing and freezing your cranberry orange cake can help maintain its freshness and flavor for an extended period. Here are the best methods to ensure you can enjoy your delicious cake whenever you like.
Storing at Room Temperature
If you plan to consume the cranberry orange cake within 2 days, storing it at room temperature is ideal. Wrap the cake tightly in plastic wrap or aluminum foil to prevent it from drying out. This method works well for short-term storage and ensures that the cake remains moist and tasty.
Freezing and Thawing Instructions
For longer-term storage, you can freeze the cranberry orange cake. To freeze, wrap the cake securely in plastic wrap and aluminum foil to prevent freezer burn. It can be stored in the freezer for up to 3 months. When ready to enjoy, thaw the cake in the refrigerator overnight. Bringing it to room temperature before serving will help restore its texture and flavor.
Conclusion
Creating a cranberry orange cake is a delightful way to impress guests and indulge in a flavorful treat. From the zesty citrus infusion to the sugared cranberry decorations, every step adds to the cake’s appeal. The moist texture and perfect balance of sweet and tangy flavors make it a must-have for any festive occasion. By following the detailed instructions for baking, frosting, and decorating, you can easily master this recipe and enjoy a visually stunning dessert that tastes as good as it looks. Remember to use room temperature ingredients, coat cranberries in flour, and follow storage tips to ensure your cranberry orange cake stays fresh and delicious. With a little effort and creativity, you can create a show-stopping dessert that will leave everyone craving for more.