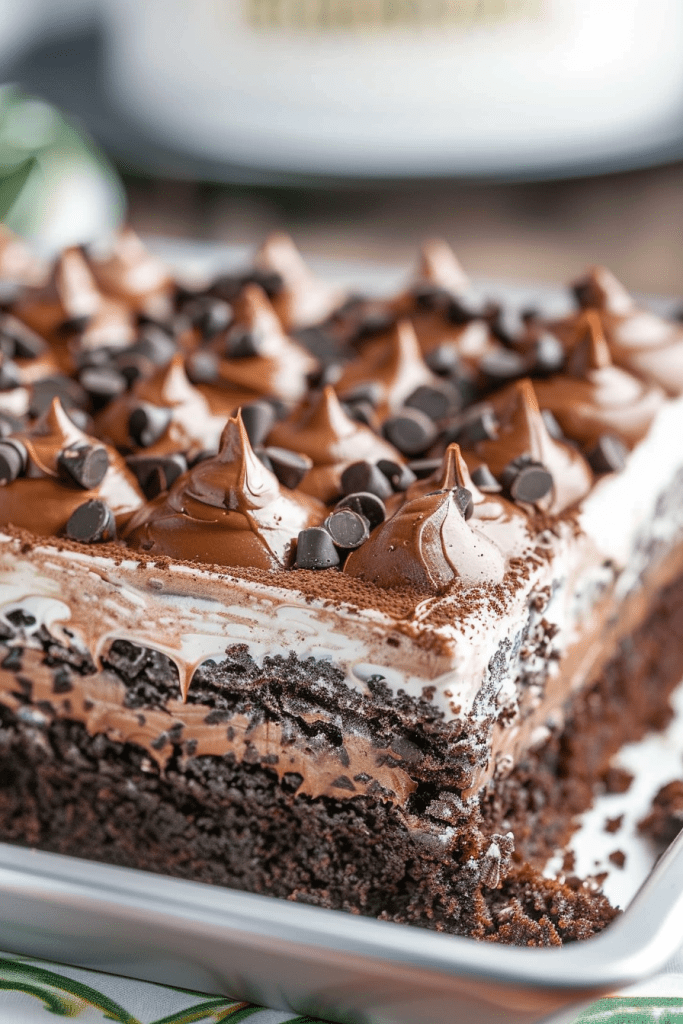
Being a chocolate lover, I’m always on the lookout for decadent desserts that satisfy my sweet tooth. Enter the world of chocolate poke cakes – a delightful twist on the classic cake mix. Imagine a moist chocolate cake infused with chocolate pudding and topped with a luscious chocolate whipped cream. This recipe takes indulgence to a whole new level.
If you haven’t tried a chocolate poke cake before, you’re in for a treat. The simple yet genius method of poking holes in the cake and filling them with rich pudding results in a gooey, heavenly texture that will leave you craving more. It’s the ultimate dessert for any chocolate enthusiast or casual gathering.
Get ready to elevate your dessert game with this irresistible chocolate poke cake recipe. Whether it’s a family gathering or a laid-back get-together, this dessert is sure to impress even the most discerning sweet tooth.
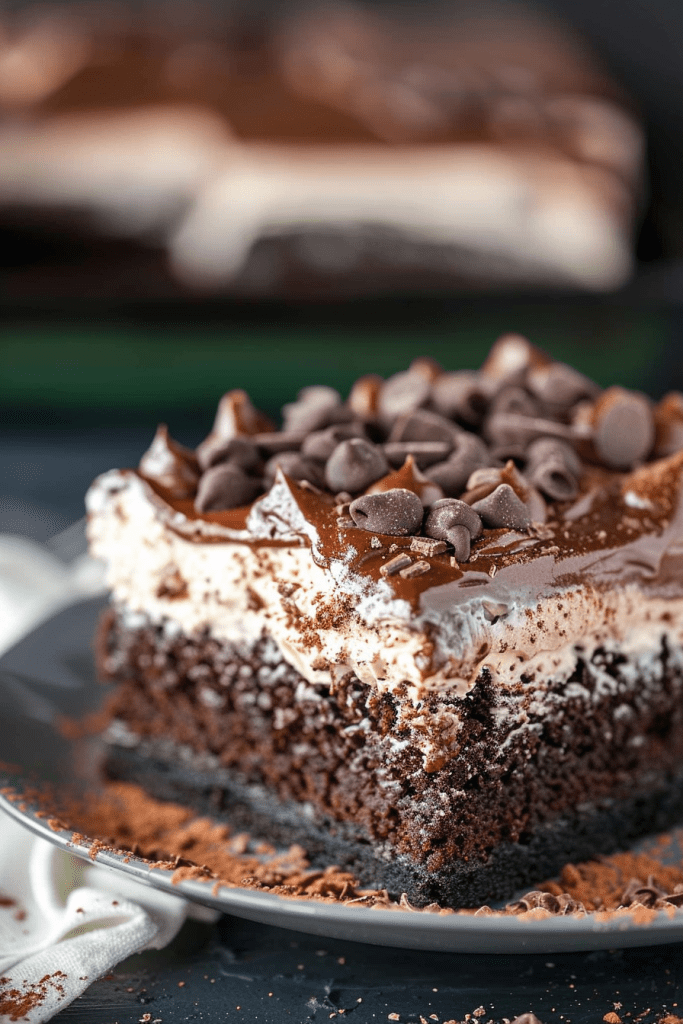
Ingredients
Indulge in the rich flavors of a chocolate poke cake with this decadent recipe. Below are the essential ingredients you’ll need to create this heavenly dessert.
Cake Base
- 2 cups (240 g) all-purpose flour
- 1 3/4 cups (350 g) granulated sugar
- 3/4 cup (85 g) Cacao Barry Extra Brute Cocoa
- 2 teaspoons baking powder
- 1 teaspoon baking soda
- 1/2 teaspoon salt
- 2 large eggs
- 1 cup buttermilk
- 1 cup warm water
- 1/2 cup vegetable oil
- 1 teaspoon vanilla extract
Poke Filling
- 1 can sweetened condensed milk
- 1/2 cup hot fudge sauce, warmed
- 1 package instant chocolate pudding mix
- 1 1/2 cups whole milk
- Whipped cream or whipped topping
- Chocolate shavings or sprinkles
Prepare these ingredients to start your journey in creating a delightful chocolate poke cake that will be loved by all.
Required Tools and Equipment
I always make sure to have the essential tools and equipment ready before diving into making a delicious chocolate poke cake. Here are the items you’ll need to prepare this delightful dessert:
Tools:
- Mixing Bowls: Use different sizes of mixing bowls for preparing the cake batter, frosting, and any additional toppings.
- Whisk: An essential tool for blending all the ingredients smoothly.
- Wooden Spoon or Straw: For poking holes in the cake after baking to allow the fillings to seep in.
- Electric Mixer: To whip up the chocolate cream frosting to a smooth and creamy consistency.
- Cake Pan: A standard rectangular cake pan is perfect for baking the cake.
- Measuring Cups and Spoons: Accurate measurement is crucial for perfect results.
- Spatula: Use a spatula to spread the frosting evenly over the cake.
- Cooling Rack: Allow the cake to cool properly on a rack before proceeding with the fillings.
- Oven: Preheat your oven to the specified temperature for baking the cake.
- Refrigerator: To chill the cake and frosting before serving.
- Plastic Wrap or Aluminum Foil: Handy for covering the cake while it chills in the refrigerator.
- Piping Bag with a Tip: If you want to add decorative piping to the cake.
- Sharp Knife: For slicing and serving the cake once it’s ready.
- Decorative Platter or Cake Stand: Present your chocolate poke cake in style when serving.
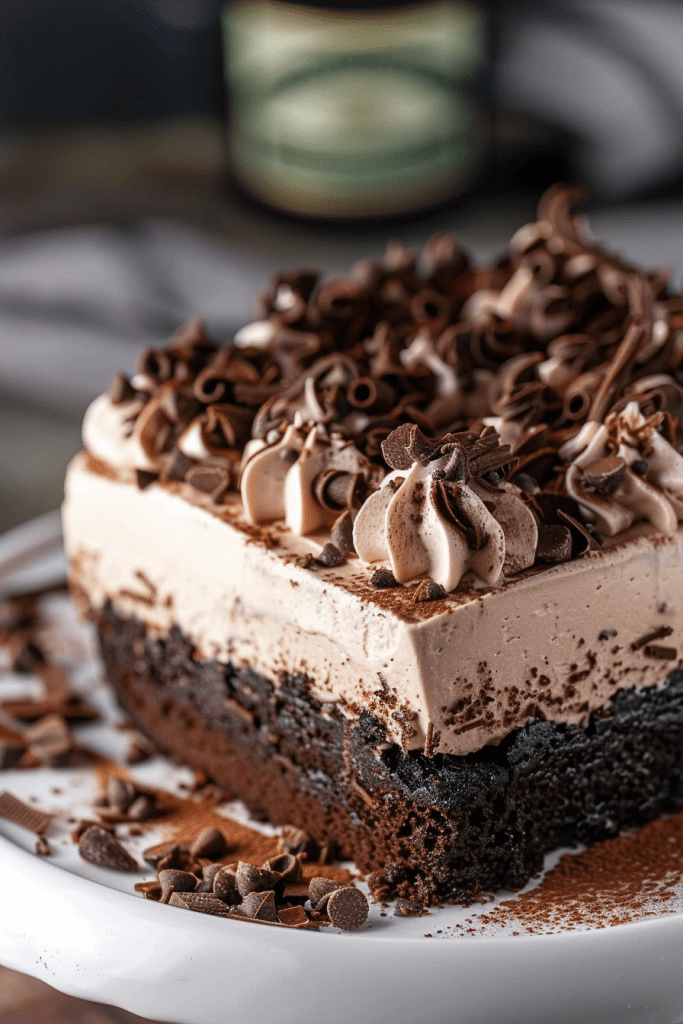
Instructions
Preparing the Cake
I start by preheating the oven as per the instructions on the cake mix box. While the oven is heating up, I prepare the devil’s food cake mix according to the box instructions. Once the batter is ready, I pour it into a 9×13-inch baking dish and bake it to perfection.
Adding the Filling
After the cake is baked, I take a round object (like the end of a wooden spoon) and poke holes all over the top of the cake. In a separate bowl, I mix instant pudding with cold milk until smooth. Slowly, I pour the pudding over the cake, making sure it fills the holes. I then place the cake in the refrigerator to chill for at least an hour.
Applying the Topping
With the cake chilled, I take the homemade chocolate whipped cream from the freezer. Using a spatula, I spread the whipped cream over the cake, ensuring an even layer. To add a final touch, I sprinkle chopped chocolate bars and a drizzle of chocolate on top. The cake is then refrigerated for at least 4 hours before serving.
Variations and Substitutions
When it comes to chocolate poke cake, there’s a world of possibilities for customizing this indulgent dessert to suit your preferences or experiment with new flavors. Here are some creative variations and substitutions you can try to elevate your chocolate poke cake game:
Topping Ideas:
- Heath Bars: The classic choice for topping a chocolate poke cake, these crunchy toffee bars add a delightful texture contrast.
- Toffee Bits: If you prefer a more subtle toffee flavor, opt for bagged toffee bits available in the baking aisle.
- Crushed Candy Bars: Experiment with crushed Reese’s peanut butter cups, Skor bars, or Snickers bars for a unique twist.
- Additional Toppings: Get creative with shredded toasted coconut, mini chocolate chips, chopped Oreos, or a drizzle of hot fudge or caramel sauce.
- Assorted Nuts: Sprinkle chopped peanuts, pecans, almonds, or a mix of your favorite nuts for added crunch.
Topping Substitutions:
- Whipped Topping: Instead of homemade chocolate whipped cream, you can use frozen whipped topping that has been thawed in the refrigerator beforehand.
- Frosting: If whipped cream is not your go-to topping, consider using your favorite frosting for a different finishing touch.
Cake Mix Options:
- Dark Chocolate Cake Mix: For a richer chocolate flavor, substitute the regular chocolate cake mix with a dark chocolate cake mix.
- Ingredient Variations: Explore different options by following the ingredients listed on the cake mix box.
Pudding Mix:
- Instant Pudding Flavors: Experiment with various instant pudding flavors like vanilla, butterscotch, or even white chocolate to complement the chocolate cake.
- Nut Butter: While the recipe calls for smooth peanut butter, you can switch it up with almond butter or cashew butter for a unique nutty flavor profile.
By exploring these variations and substitutions, you can create a personalized chocolate poke cake that suits your taste preferences and offers a delightful surprise with every bite. Experiment with different toppings, cake mix options, pudding flavors, and nut butter variations to make each chocolate poke cake a unique and unforgettable dessert experience.
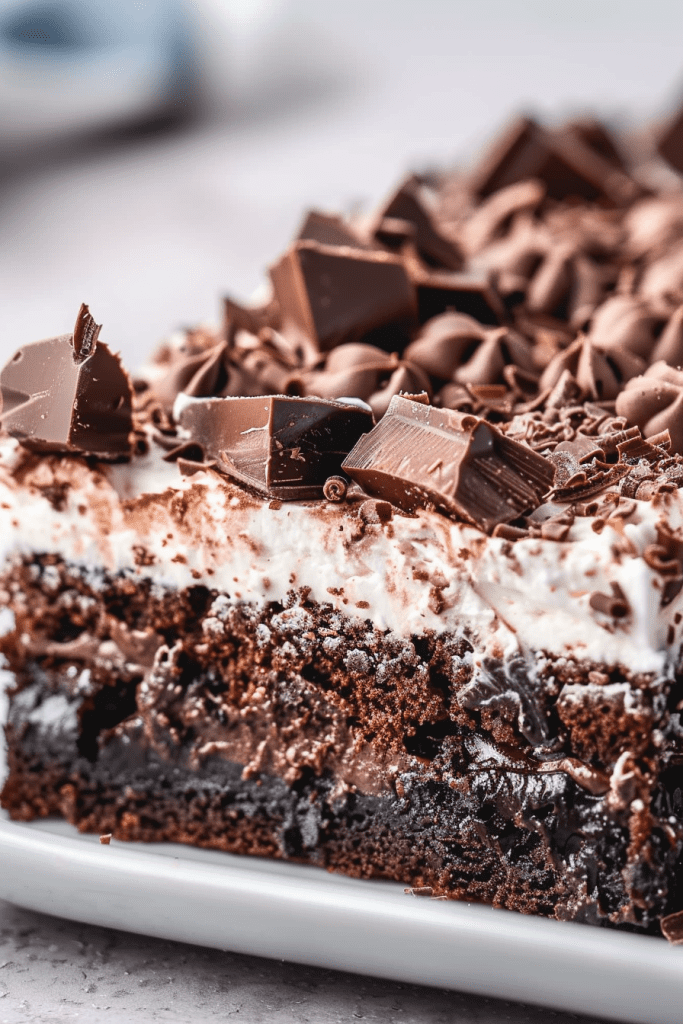
Tips for the Perfect Chocolate Poke Cake
For the perfect chocolate poke cake, attention to detail is key. A few simple tips can elevate your dessert from good to outstanding. Here are my top recommendations to ensure your chocolate poke cake turns out moist, gooey, and utterly delicious:
1. Sift the Dry Ingredients
To prevent dry clumps in your cake, always sift the dry ingredients together. This step ensures a smooth and consistent batter, resulting in a moist and tender cake with a uniform texture.
2. Don’t Skip the Coffee
Although you might be skeptical, adding coffee to your chocolate poke cake does wonders for enhancing the chocolate flavor. The coffee doesn’t overpower the cake; instead, it deepens the richness and complexity of the chocolate, making each bite more decadent.
3. Cool Before Poking
Once your cake is baked, allow it to cool completely before poking holes and adding the filling. Trying to poke warm cake can lead to a messy situation, so patience is key here for a neat and precise outcome.
4. Add the Pudding Right Away
When mixing the pudding with milk, ensure to pour it over the cake immediately. The goal is to have a liquid consistency for the pudding mixture so that it can easily penetrate and set within the holes of the cake, creating pockets of flavor and moisture.
5. Chill the Whip Bowl and Whisk
For a luscious and airy whipped cream topping, chill your bowl and whisk attachment in the freezer for 5 to 10 minutes before whipping the cream. The cold tools help create a lighter and fluffier texture, elevating the overall dessert experience.
Following these tips will guarantee that your chocolate poke cake not only looks delightful but also tastes absolutely divine. Master these simple yet effective techniques, and get ready to indulge in a dessert that will impress everyone at the table.
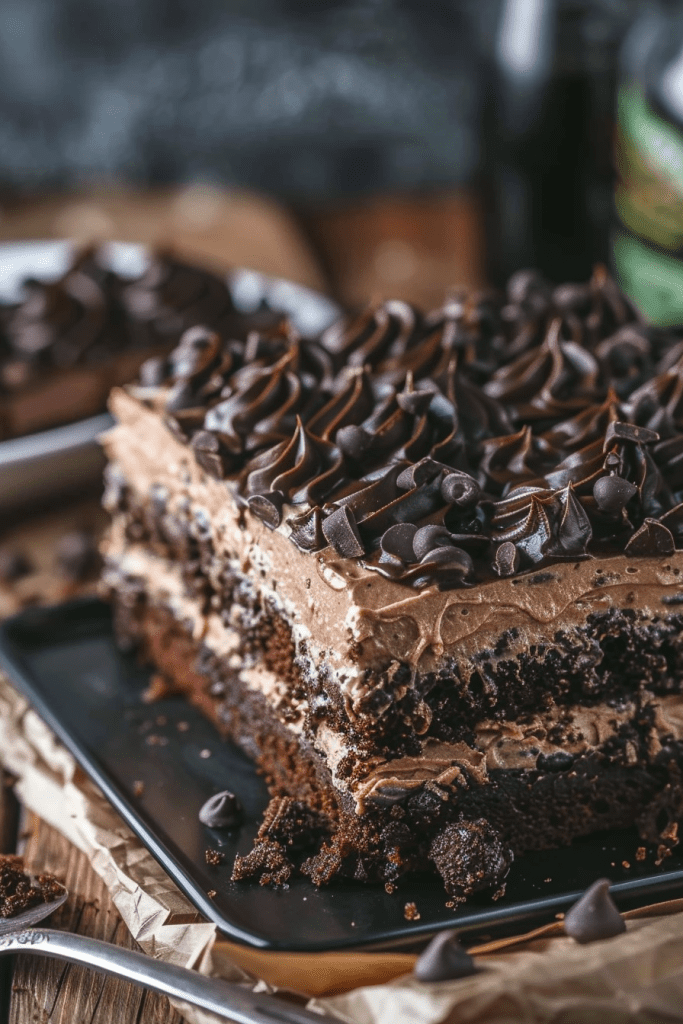
Storage and Serving Suggestions
After enjoying the delightful flavors of your chocolate poke cake, it’s important to know how to store it properly to maintain its freshness. Here are some tips on storing and serving your chocolate poke cake:
Storage Recommendations:
- Refrigeration: Once the cake is prepared and filled, store it in the refrigerator to keep it fresh. Cover the cake with plastic wrap or place it in an airtight container to prevent it from drying out.
- Chilling Time: Allow the cake to chill in the refrigerator for at least 2-4 hours before serving. This helps the flavors to meld together and enhances the moistness of the cake.
- Storage Duration: The chocolate poke cake can be stored in the refrigerator for up to 3-4 days. Be sure to consume it within this time frame to enjoy it at its best.
- Room Temperature: Before serving, let the cake sit at room temperature for about 20-30 minutes to soften slightly. This will make it easier to cut and serve.
- Garnishes: Add extra flair to your chocolate poke cake by garnishing it with toppings such as mini chocolate chips, toasted pecans, or crushed Heath bars. These toppings not only enhance the visual appeal but also add a delightful crunch and flavor contrast.
- Whipped Cream: Serve slices of the cake with a dollop of whipped cream or a scoop of vanilla ice cream for a decadent treat. The creamy texture of the whipped cream balances the rich chocolate flavors perfectly.
By following these storage and serving suggestions, you can ensure that your chocolate poke cake remains fresh, moist, and delicious for an extended period, allowing you to savor every bite of this delightful dessert.
Conclusion
I’ve shared tips and tricks to help you master the art of creating a delectable chocolate poke cake. From incorporating coffee for a rich flavor to garnishing with mini chocolate chips, every detail counts. Remember to refrigerate the cake for optimal freshness and consider experimenting with different toppings for a personalized touch. With these insights, you’re equipped to impress your guests and indulge in a moist, flavorful treat for days to come. Enjoy the process of baking and savoring each slice of this irresistible dessert.
