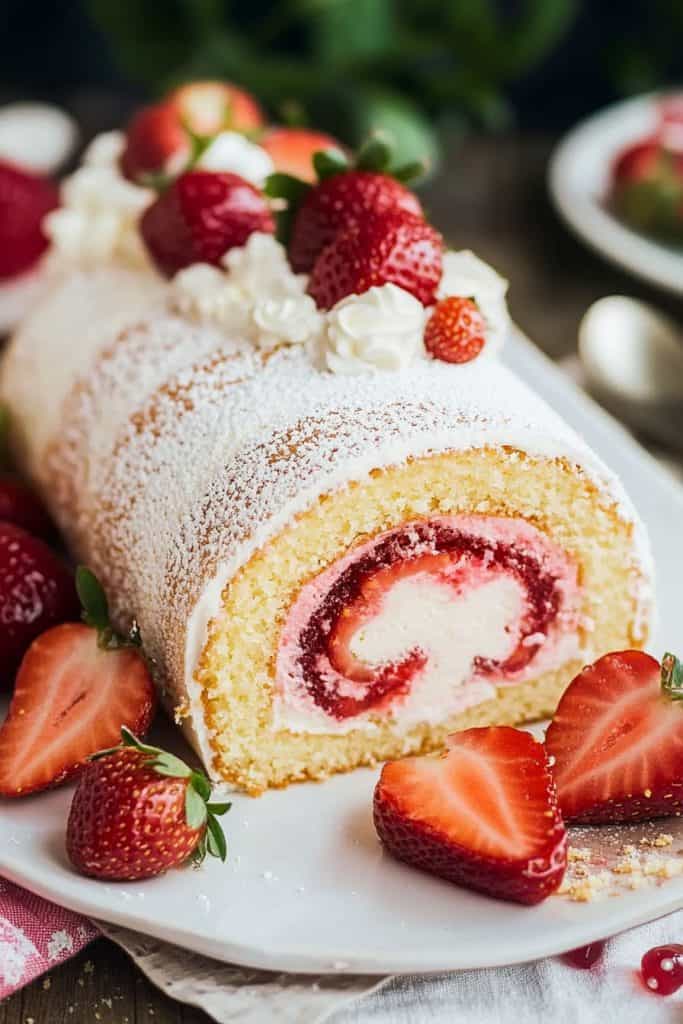
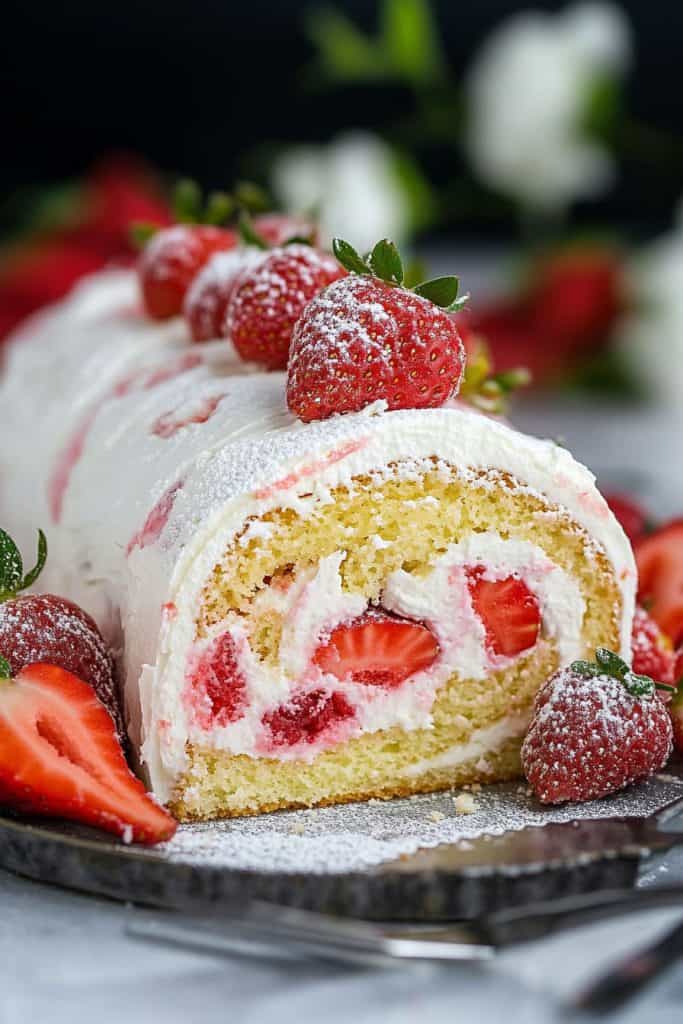
There’s something utterly delightful about a strawberry cake roll. It’s the perfect combination of fluffy sponge cake, sweet whipped cream, and juicy strawberries, all rolled into a beautiful, swirled dessert. This treat not only tastes heavenly but also looks stunning on any dessert table, making it a favorite for gatherings and special occasions.
Originating from the classic Swiss roll, the strawberry cake roll has evolved into a beloved dessert worldwide. Its light texture and fresh flavors make it an ideal choice for spring and summer celebrations. Plus, it’s surprisingly easy to make at home with just a few simple ingredients. Whether you’re a seasoned baker or a novice in the kitchen, this recipe will guide you through creating a show-stopping dessert that’s sure to impress.
Ingredients
This strawberry cake roll uses simple ingredients to create a light, fluffy cake filled with sweetened whipped cream and fresh strawberries.
For the Cake
- 1 cup all-purpose flour, sifted
- 1 teaspoon baking powder
- 1/4 teaspoon salt
- 4 large eggs, separated
- 1 cup granulated sugar, divided
- 1/4 cup whole milk, room temperature
- 1 teaspoon vanilla extract
- Powdered sugar, for dusting
- 1 cup heavy cream, chilled
- 1/4 cup powdered sugar
- 1 teaspoon vanilla extract
- 1 1/2 cups fresh strawberries, hulled and sliced thin
Equipment Needed
To create a perfect strawberry cake roll, you’ll need some essential equipment. Here’s a list of the tools I recommend:
- Mixing Bowls: You will need multiple sizes for various stages, including mixing dry and wet ingredients separately.
- Electric Mixer: A stand mixer or a handheld electric mixer works best for beating the eggs and sugar to the right consistency.
- Whisk: Useful for blending ingredients smoothly and ensuring there are no lumps.
- Sifter: Sifting the flour and cocoa powder helps achieve a lighter, airy cake texture.
- Rubber Spatula: Ideal for folding in ingredients gently without deflating the batter.
- Jelly Roll Pan: A must-have for baking the thin sponge layer. Typically, you’ll need a 10×15-inch pan for this recipe.
- Parchment Paper: Use this to line the jelly roll pan to prevent the cake from sticking.
- Kitchen Towel: Essential for rolling the cake right after baking. A clean, lint-free towel works best.
- Cooling Rack: Allows your cake to cool evenly without getting soggy.
- Offset Spatula: Makes spreading the whipped cream filling easier and more even.
- Knife: A sharp knife to slice strawberries and trim the ends of the rolled cake for a clean presentation.
- Fine Mesh Sieve: Great for dusting the final roll with powdered sugar for a beautiful finish.
Make sure you have all these tools on hand to ensure the preparation and assembly of your strawberry cake roll are smooth and efficient.
Directions
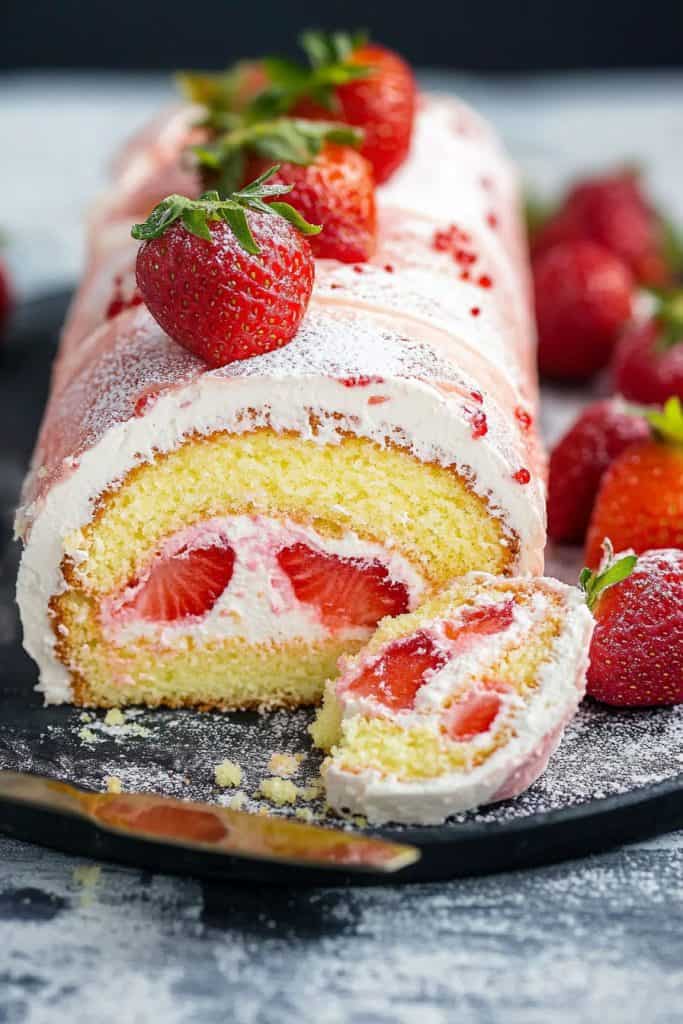
Follow these steps to create a delightful strawberry cake roll. From preparing the sponge cake to assembling the final product, every detail is crucial to achieve perfection.
Preparing the Cake
- Preheat the Oven: Preheat your oven to 350°F (175°C). Line a 10×15-inch jelly roll pan with parchment paper and lightly grease it.
- Separate the Eggs: Separate 4 large eggs, placing the yolks in one bowl and the whites in another.
- Beat the Yolks: Using an electric mixer, beat the yolks with 1/2 cup granulated sugar until thick and pale. Add 1 teaspoon vanilla extract and mix until combined.
- Sift Dry Ingredients: In a separate bowl, sift together 1/2 cup all-purpose flour, 1/4 cup cornstarch, and a pinch of salt.
- Combine and Mix: Gradually fold the dry ingredients into the egg yolk mixture until just combined.
- Beat the Egg Whites: Clean the mixer and beat the egg whites until stiff peaks form. Gently fold the egg whites into the batter, ensuring not to deflate them.
Baking the Cake
- Pour and Spread: Pour the batter into the prepared jelly roll pan. Spread it evenly using a spatula to reach all corners.
- Bake: Bake in the preheated oven for 10-12 minutes, or until the cake springs back when lightly touched.
- Prepare Rolling Surface: While the cake bakes, prepare a clean kitchen towel by dusting it lightly with powdered sugar.
- Invert the Cake: Once baked, immediately invert the cake onto the prepared towel. Peel off the parchment paper carefully.
- Roll the Cake: Starting from the short end, roll the cake and towel together. Allow it to cool completely while rolled to ensure flexibility.
- Prepare the Filling: In a bowl, whip 1 cup of heavy cream with 1/4 cup powdered sugar and 1 teaspoon vanilla extract until stiff peaks form.
- Unroll the Cake: Gently unroll the cake once it’s completely cooled.
- Fill the Cake: Spread the whipped cream evenly over the unrolled cake, leaving a 1-inch border on all sides.
- Add Strawberries: Scatter 1 cup of sliced fresh strawberries over the whipped cream.
- Re-roll the Cake: Carefully re-roll the cake without the towel. Transfer it to a serving plate with the seam side down.
- Chill and Serve: Chill in the refrigerator for at least 1 hour before slicing. Dust with powdered sugar before serving, if desired.
Tips for a Perfect Cake Roll
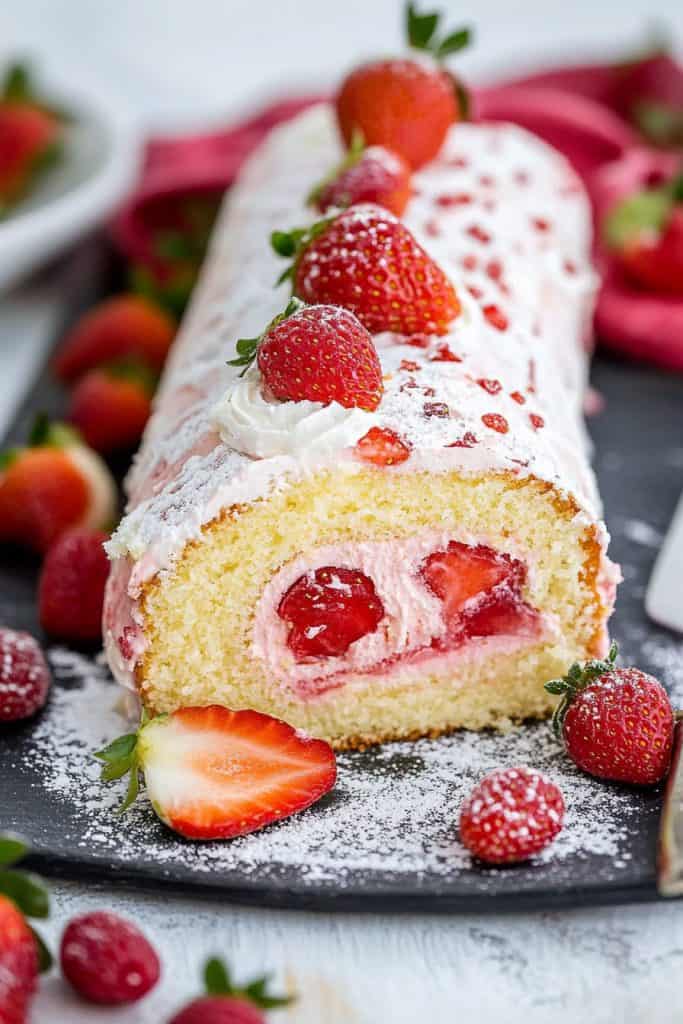
Mastering the art of a strawberry cake roll requires attention to detail and a few insider tips. Here are some key insights that can help you achieve a flawless dessert.
Troubleshooting Common Issues
Rolling a cake can be tricky, but with practice and patience, you can avoid some common pitfalls.
- Cracking: If your cake cracks while rolling, it may be overbaked or not moist enough. Ensure your cake is slightly under-baked for a more pliable texture.
- Breaking: If the cake breaks apart, it might be too thick. Spread your batter evenly before baking to achieve uniform thickness.
- Sticking: To prevent sticking, always dust your towel generously with powdered sugar before rolling.
- Uneven Roll: An uneven roll can result from inconsistent cooling or uneven spreading of filling. Allow the cake to cool completely and spread the filling evenly from edge to edge.
Pre-Rolling Tips
Preparation is key to a successful cake roll. Here are essential pre-rolling tips:
- Proper Cooling: After baking, let the cake cool slightly for 5-10 minutes. This helps prevent cracking and makes it more pliable.
- Use a Damp Towel: Roll your cake in a slightly damp towel while warm to maintain moisture and shape.
- Dust Powdered Sugar: Dust a clean kitchen towel with powdered sugar to ensure the cake doesn’t stick while cooling.
- Chill Before Serving: Once rolled with filling, chill the cake roll for at least one hour. This sets the filling and improves the overall texture.
Making Ahead and Storage
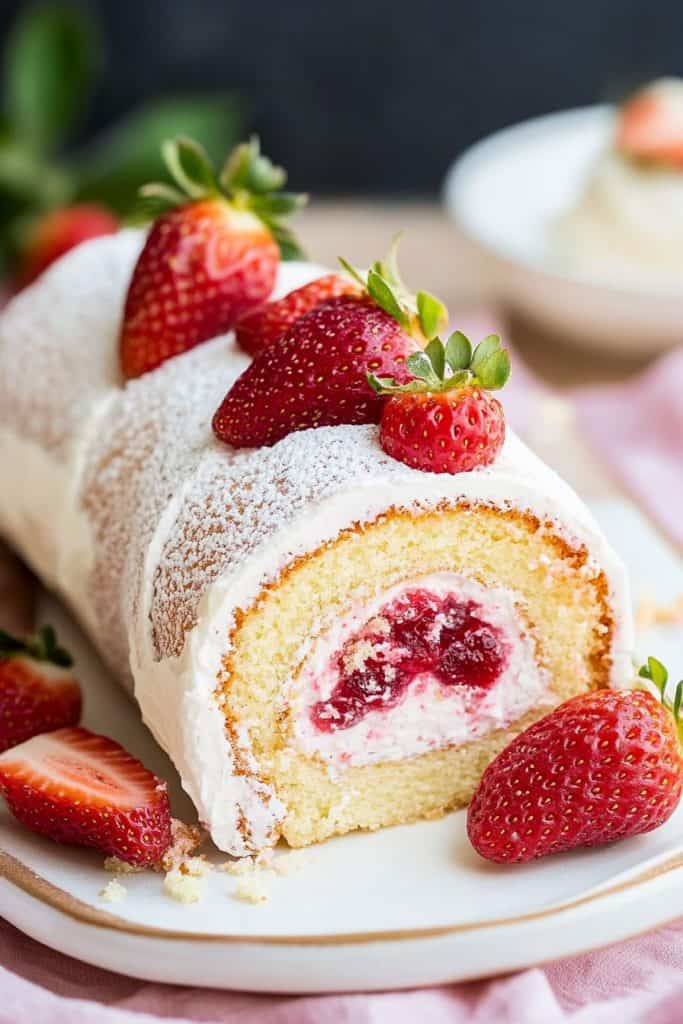
Planning in advance and proper storage are key to enjoying your strawberry cake roll at its best. Let’s dive into how to store this delightful dessert and how to make it ahead of time efficiently.
How to Store
To keep your strawberry cake roll fresh, follow these storage tips:
- Refrigerator Storage: Wrap the cake roll tightly with plastic wrap to prevent it from drying out. Place it in an airtight container and store it in the refrigerator for up to 3-4 days. This will maintain the cake’s moisture and freshness.
- Freezer Storage: For longer storage, you can freeze the cake roll. Wrap it well in plastic wrap followed by a layer of aluminum foil to prevent freezer burn. Place it in an airtight container or a heavy-duty freezer bag. Your cake roll can be frozen for up to 2 months. Thaw it in the refrigerator overnight before serving.
- Baking Ahead: You can bake the sponge cake a day ahead. After baking, let the cake cool completely on a wire rack. Roll it up in a clean kitchen towel dusted with powdered sugar and store at room temperature in an airtight container to maintain its shape.
- Preparing Fillings Early: Make your strawberry filling a day in advance. Store it in an airtight container in the refrigerator to allow the flavors to meld.
- Assembling in Advance: Assemble the cake roll up to one day before serving. Once assembled, wrap it tightly with plastic wrap and store it in the refrigerator. This helps the flavors to meld and the cake to set.
- Final Touches: Before serving, dust the cake roll with powdered sugar and add any final garnishes, such as fresh strawberry slices or whipped cream, to enhance its presentation and taste.
Variations
Chocolate Strawberry Cake Roll
- Swap the vanilla sponge cake with a chocolate one by adding 1/4 cup of cocoa powder to the flour mixture.
- Fill the cake roll with strawberry preserves and a chocolate whipped cream filling.
- Dust with powdered sugar and drizzle melted chocolate on top for an extra decadent touch.
Lemon Strawberry Cake Roll
- Incorporate the zest of one lemon into the sponge cake batter for a refreshing zing.
- Make a lemon whipped cream filling by adding 2 teaspoons of lemon juice and 1 teaspoon of lemon zest to the whipped cream.
- Garnish the roll with candied lemon slices and a light dusting of powdered sugar.
Matcha Strawberry Cake Roll
- Infuse the sponge cake with 1 tablespoon of matcha green tea powder for a unique flavor.
- Use a sweetened red bean paste and fresh strawberry filling to complement the matcha.
- Roll the cake and dust with a mixture of powdered sugar and matcha powder for a beautiful finish.
Vegan Strawberry Cake Roll
- Replace eggs with a flaxseed mixture (1 tablespoon ground flaxseed mixed with 3 tablespoons water per egg).
- Use almond milk instead of dairy milk.
- Prepare a coconut cream filling by whipping chilled coconut cream with a bit of powdered sugar and vanilla extract.
- Fold fresh strawberries into the coconut cream before rolling.
- Use a gluten-free all-purpose flour blend for the sponge cake.
- Ensure all other ingredients, like baking powder and vanilla extract, are certified gluten-free.
- Fill with a simple whipped cream and fresh strawberry filling.
- Dust with powdered sugar and serve with additional fresh strawberries on the side.
Conclusion
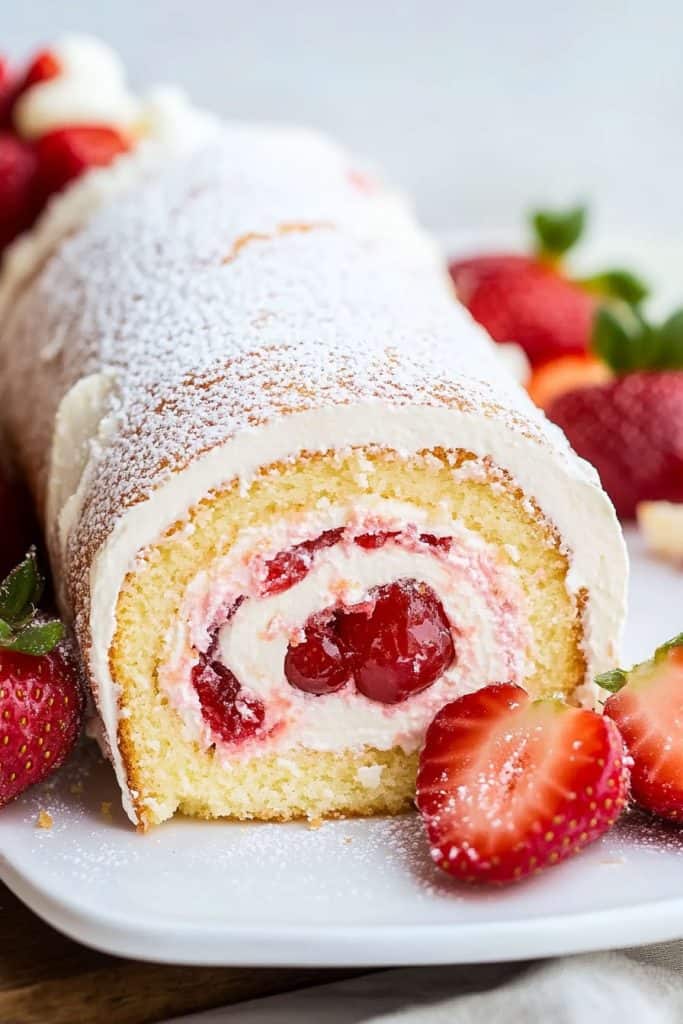
Creating a strawberry cake roll is a delightful culinary adventure that offers endless possibilities. Whether you’re sticking to the classic recipe or exploring variations like Chocolate or Vegan Strawberry Cake Rolls, there’s something for everyone. With a bit of planning and the right techniques, you can master this dessert and impress your friends and family. Don’t forget to experiment with gluten-free options to cater to all dietary needs. Happy baking!


