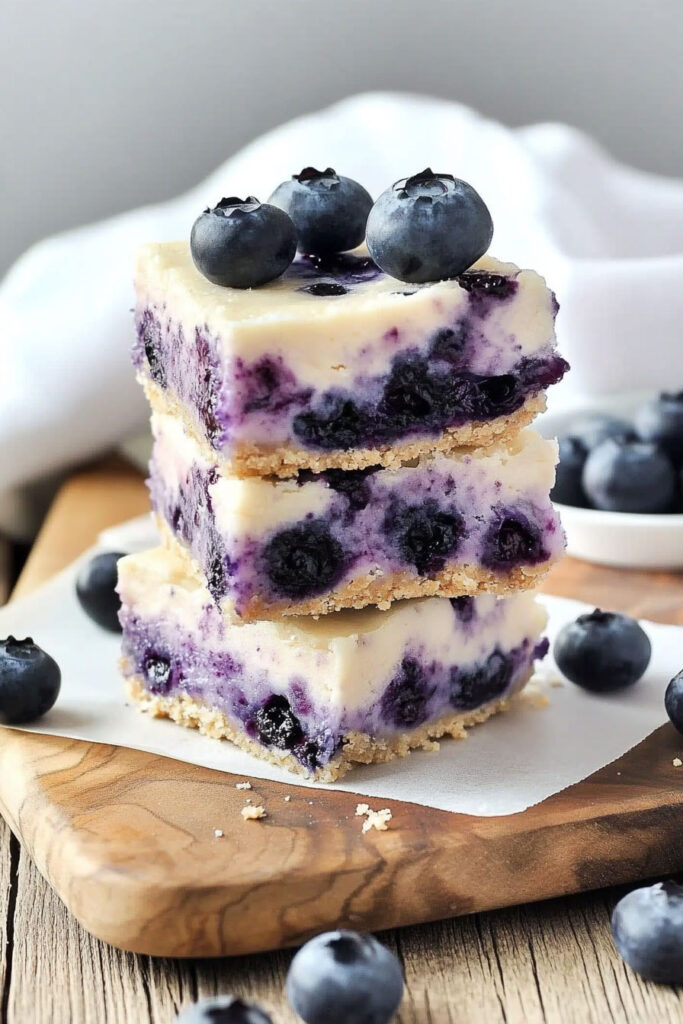
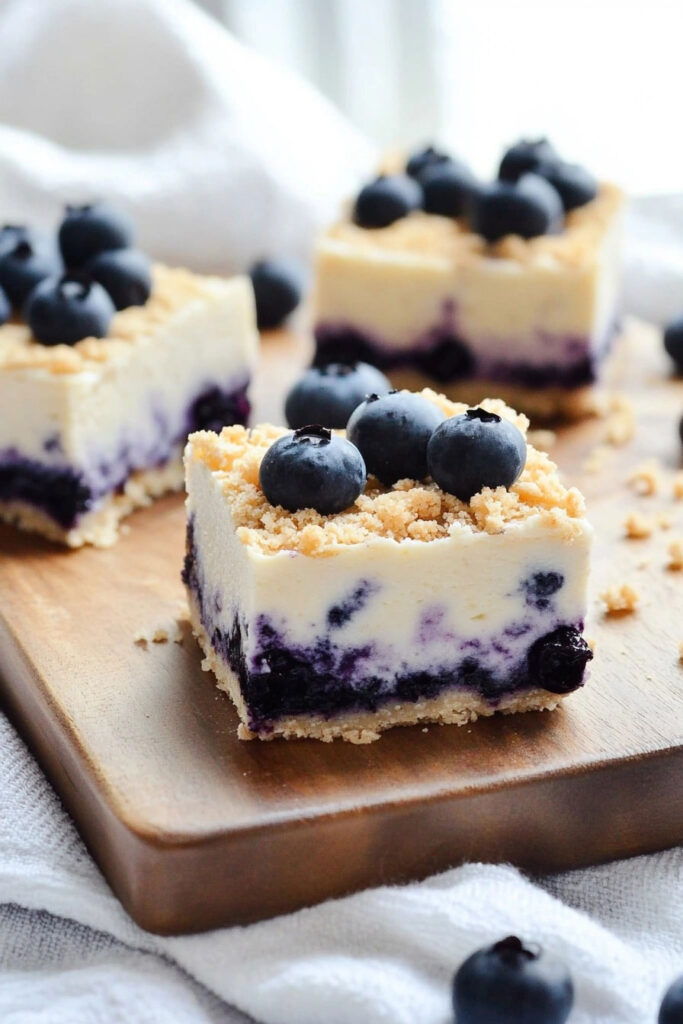
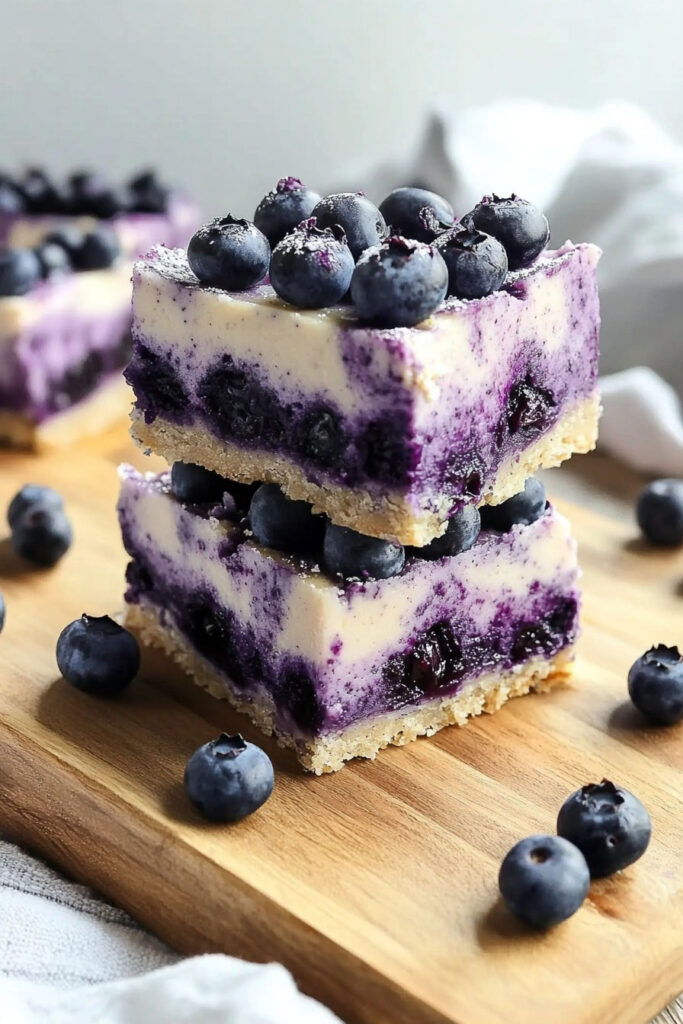
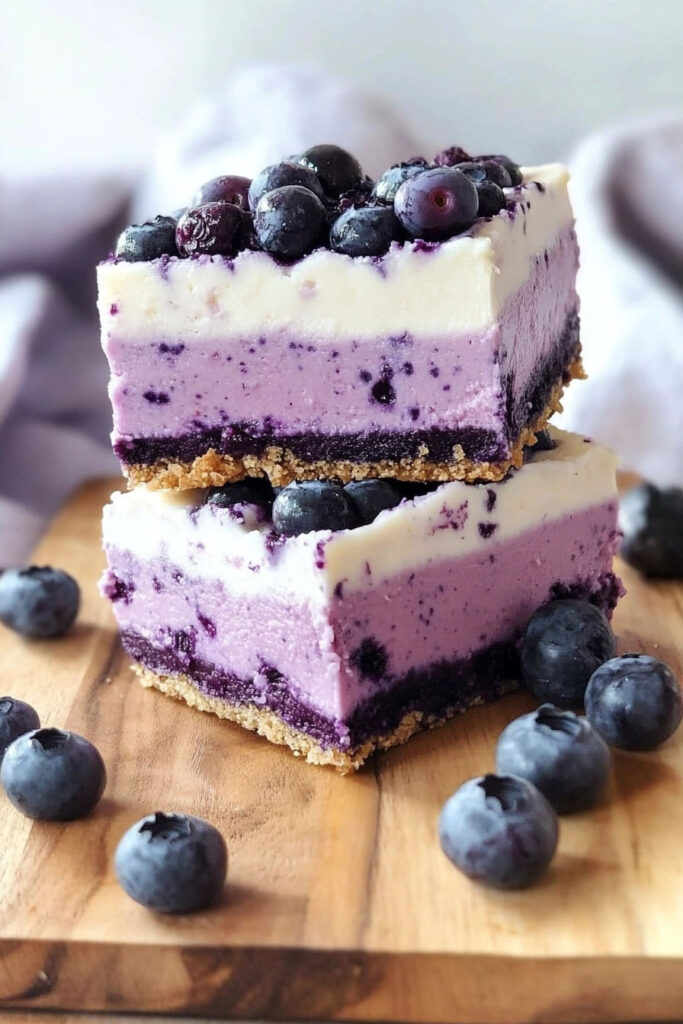
Craving a creamy, fruity dessert without the hassle of baking? These No Bake Blueberry Cheesecake Bars are the perfect answer! With layers of luscious cream cheese filling and the vibrant flavor of wild blueberries, this recipe is a show-stopper for any occasion. Whether you’re hosting a summer gathering or simply indulging in a sweet treat, these cheesecake bars are easy to make, visually stunning, and absolutely delicious.

Ingredients List
For the Crust
- 1 cup (100 g) Oreo crumbs or 12 Oreo cookies
- 1/4 cup melted butter
For the Cream Cheese Mixture
- 2 1/4 cups (500 g) cream cheese bars, at room temperature
- 1 1/4 cups sweetened condensed milk
- 1/4 cup sour cream
- 1 tsp vanilla extract
- 1/4 cup fresh lemon juice
- 1 cup frozen wild blueberries
Required Kitchen Tools
To prepare these cheesecake bars effortlessly, you’ll need:
- 8×8-inch Baking Pan: Ensures the perfect thickness for your cheesecake layers.
- Parchment Paper: Makes removing and cutting the bars easier.
- Mixing Bowls: Medium-sized bowls for dividing and mixing the cream cheese layers.
- Blender or Food Processor: For creating a smooth blueberry sauce.
- Spatula: Helps achieve even layers and smooth textures.
With these tools and ingredients ready, you’re all set to create this no-bake masterpiece!
Step-by-Step Preparation: No Bake Blueberry Cheesecake Bars
Creating these No Bake Blueberry Cheesecake Bars is a straightforward process, perfect for both novice and experienced bakers. Follow these steps to craft a dessert that’s as delightful to look at as it is to eat.

Preparing the Crust
The base of any great cheesecake is its crust, and this Oreo crust is no exception. Here’s how to make it:
- Line the Pan: Start by lining your 8×8-inch baking pan with parchment paper. This step makes it easy to remove the bars later.
- Combine Ingredients: In a bowl, mix 1 cup of Oreo crumbs (or crushed cookies) with 1/4 cup of melted butter until the crumbs are evenly moist.
- Press the Crust: Pour the crumb mixture into the prepared pan and press it down firmly with a spatula or the back of a spoon to create an even layer.
Set the crust aside while you prepare the creamy filling.
Making the Cream Cheese Mixture
The cream cheese filling is the heart of this dessert, offering a rich and smooth texture with a hint of tanginess.
- Blend the Blueberries: In a blender or food processor, puree 1 cup of frozen wild blueberries until smooth. Set aside 3/4 cup of this blueberry sauce for layering.
- Prepare the Base Mixture: In a large mixing bowl, beat 2 1/4 cups of cream cheese until smooth. Add 1 1/4 cups of sweetened condensed milk, 1/4 cup sour cream, 1 tsp vanilla extract, and 1/4 cup fresh lemon juice. Mix until well combined.
- Divide into Three Portions: Split the cream cheese mixture evenly into three medium-sized bowls for layering.
Layering and Freezing the Cheesecake Bars
Now that the crust and cream cheese mixture are ready, it’s time to assemble the layers and freeze the cheesecake bars to perfection.

Assembling the Layers
- First Layer (Blueberry Cream Cheese):
- Take one of the three bowls of cream cheese mixture and mix in 3/4 cup of the blended blueberry sauce. Stir well with a spatula until the mixture is evenly colored.
- Pour this blueberry cream cheese layer over the Oreo crust in the baking pan. Spread it evenly with a spatula to ensure a smooth base layer.
- Second Layer (Lighter Blueberry Cream Cheese):
- In the second bowl of cream cheese mixture, add the remaining 1/4 cup of blueberry sauce. This will create a lighter purple shade for contrast.
- Gently pour this mixture over the first layer and spread it evenly with a spatula.
- Third Layer (Plain Cream Cheese):
- Use the final bowl of plain cream cheese mixture for the top layer. Spread it carefully over the second layer, ensuring a smooth and even finish.
Freezing Instructions
- Cover and Freeze:
- Cover the baking pan tightly with plastic wrap or food foil, securing it with elastics if needed. This prevents freezer burn and helps maintain freshness.
- Place the pan in the freezer for at least 6 hours, or preferably overnight, to allow the layers to set completely.
- Serving Instructions:
- When ready to serve, remove the pan from the freezer and let it sit on the counter for about 10 minutes to soften slightly.
- Gently pull on the parchment paper to lift out the cheesecake block from the pan. Use a large knife to cut it into 9 equal squares.
Suggested Toppings for Cheesecake Bars
To elevate the presentation and flavor of your No Bake Blueberry Cheesecake Bars, consider these topping ideas:
- Fresh or Frozen Blueberries: Scatter a handful of blueberries on top for a vibrant, fruity finish.
- Maple Sugar Flakes: Sprinkle maple flakes for a subtle crunch and a hint of sweetness.
- Whipped Cream: Add dollops of whipped cream for an extra creamy touch.
- Mint Leaves: Garnish with fresh mint leaves to add a pop of green and a refreshing aroma.
- Drizzle of Blueberry Sauce: Use any leftover blueberry sauce to drizzle over the bars for added flavor and visual appeal.
Feel free to mix and match these toppings to suit your preferences or the occasion!

Frequently Asked Questions
1. Can I use fresh blueberries instead of frozen ones?
Yes! Fresh blueberries work just as well as frozen ones in this recipe. The flavor and color remain equally vibrant.
2. How long can I store these cheesecake bars?
These bars can be stored in an airtight container in the freezer for up to one week. Let them thaw slightly before serving.
3. Can I substitute the Oreo crust with another type of crust?
Absolutely! You can use graham cracker crumbs or any cookie crumbs of your choice as a crust alternative.
4. What’s the best way to achieve a smooth cream cheese texture?
Ensure that your cream cheese is at room temperature before mixing. This helps avoid lumps and creates a silky-smooth filling.
5. Can I make this recipe in advance?
Yes, this recipe is perfect for preparing ahead of time since it requires freezing. Make it the day before your event for best results.
Conclusion
These No Bake Blueberry Cheesecake Bars are a delightful dessert that combines creamy layers with the natural sweetness of blueberries. Perfect for any occasion, they’re easy to prepare, visually stunning, and bursting with flavor. Whether you’re hosting a party or indulging in a midweek treat, these bars are guaranteed to impress.
The no-bake aspect makes them convenient, while the vibrant blueberry layers add a touch of elegance. With simple ingredients and minimal effort, you can create a dessert that’s both delicious and memorable. So why wait? Gather your ingredients, follow these steps, and enjoy every bite of this fruity, creamy delight!
