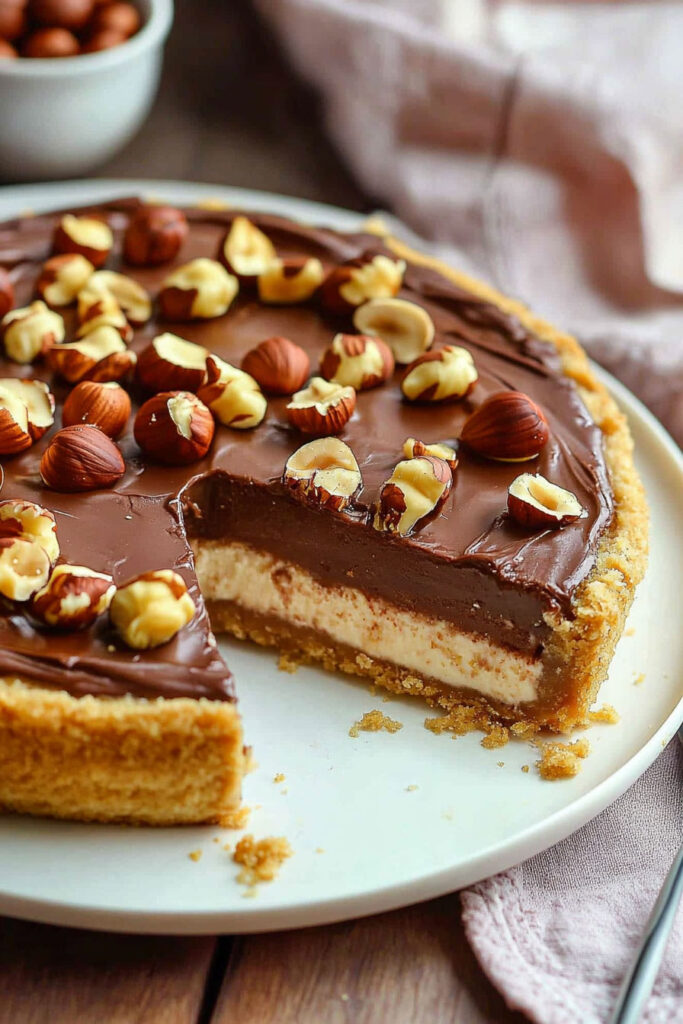
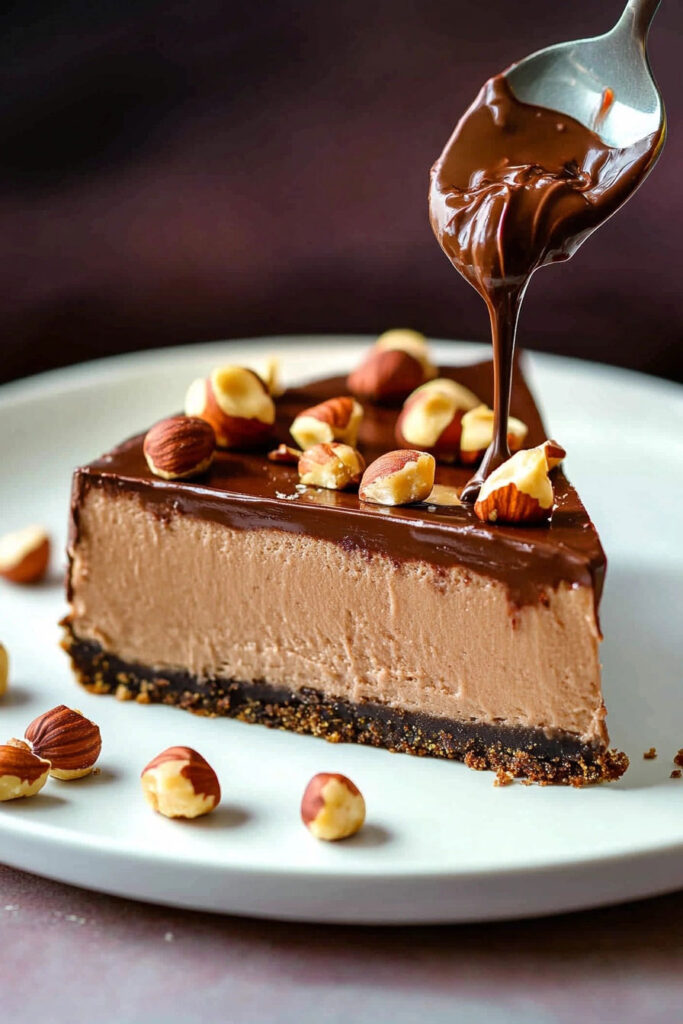
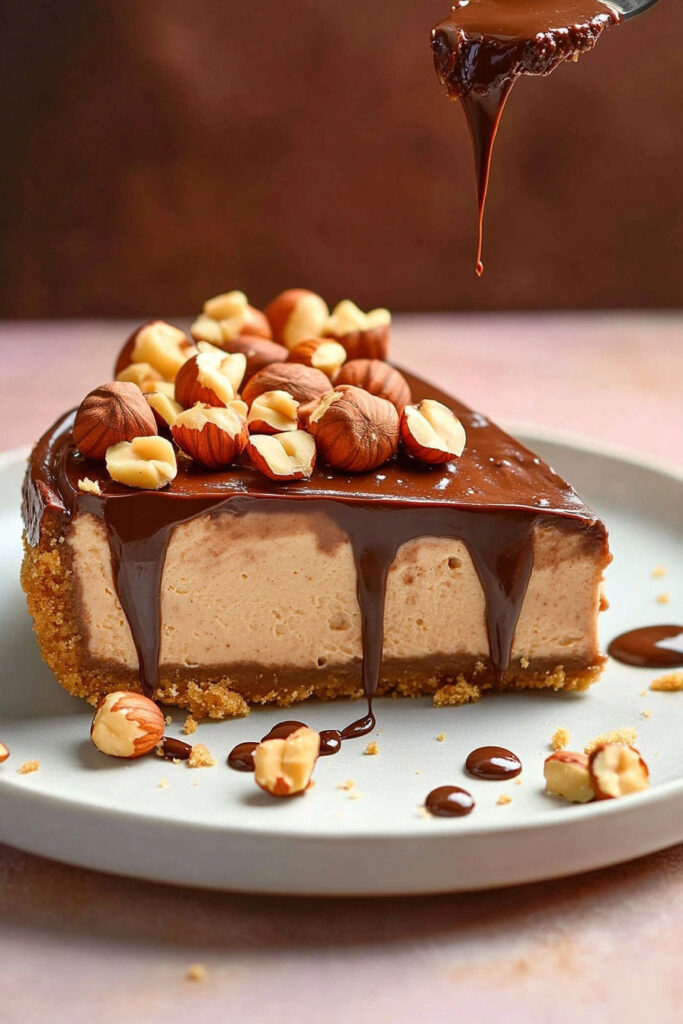
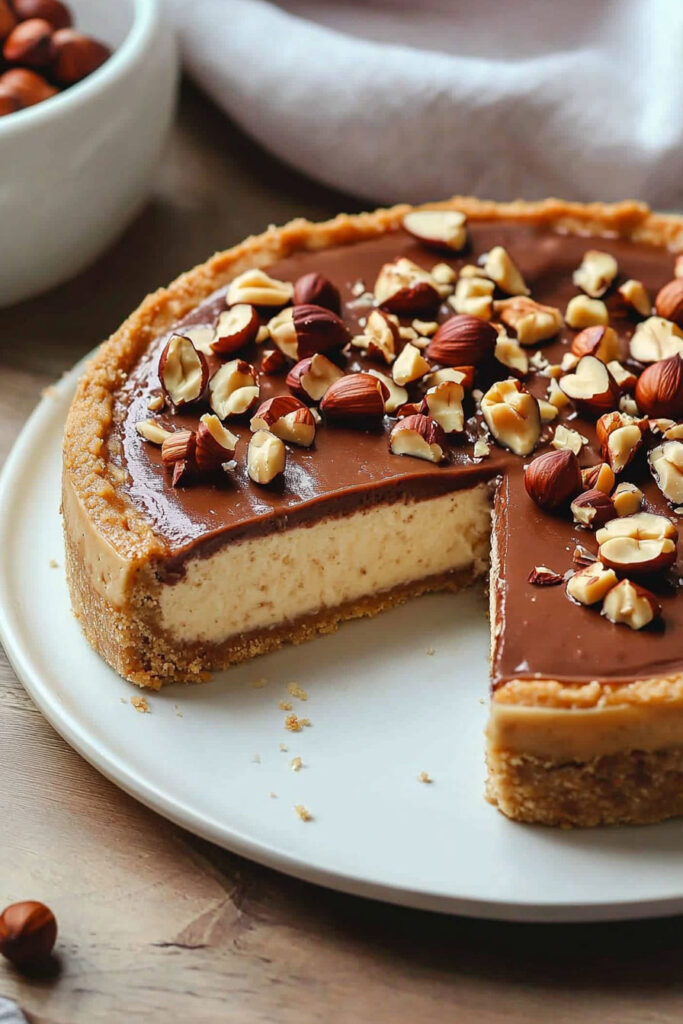
When it comes to indulgent desserts, few things can top the rich, creamy, and utterly satisfying experience of a Nutella Cheesecake. This no-bake recipe is a dream come true for chocolate and hazelnut lovers. With its buttery biscuit base, velvety Nutella-infused filling, and a luscious topping of melted Nutella and crunchy hazelnuts, this dessert is guaranteed to impress at any gathering or celebration.
Let’s dive into the details of this easy yet luxurious recipe that you can whip up with just a handful of ingredients!

Ingredients List
For the Base:
- 200 g Digestive biscuits, crushed
- 80 g Unsalted butter, melted
For the Cheesecake Mixture:
- 300 ml Double cream
- 400 g Full-fat cream cheese
- 200 g Nutella spread
For the Topping:
- 150 g Nutella, melted
- 50 g Hazelnuts, roughly chopped
These simple ingredients come together to create a dessert that’s as visually stunning as it is delicious. Now that we have our ingredients ready, let’s move on to the essential tools needed for this recipe.
Required Kitchen Tools
To ensure a smooth and enjoyable cheesecake-making experience, having the right tools on hand is essential:
- Mixing Bowls: You’ll need at least two large bowls for mixing the base and cheesecake filling.
- Electric Whisk: While you can use a manual whisk, an electric one will save you time and effort when whipping the cream and blending the filling.
- Springform Pan: A springform pan makes it easy to remove the cheesecake without damaging its delicate structure.
- Spatula: A silicone spatula is perfect for smoothing out the cheesecake mixture and spreading toppings evenly.
- Food Processor (Optional): For crushing biscuits into fine crumbs effortlessly.
With these tools ready, you’re all set to create your Nutella Cheesecake masterpiece!
Preparing the Base
The base forms the foundation of your Nutella Cheesecake, providing a delightful crunch that contrasts beautifully with the creamy filling. Follow these steps:
- Crush the Biscuits: Place the digestive biscuits in a food processor or seal them in a ziplock bag and crush them with a rolling pin until they turn into fine crumbs.
- Mix with Butter: In a mixing bowl, combine the crushed biscuits with melted butter until evenly coated.
- Press into Pan: Transfer the mixture into your springform pan and press it firmly into an even layer using the back of a spoon or a flat-bottomed glass.
- Chill: Place the pan in the fridge to set while you prepare the cheesecake filling.
This buttery biscuit base is not only easy to make but also provides a sturdy structure for your cheesecake.

Crafting the Creamy Nutella Cheesecake Filling
The filling is the heart of this Nutella Cheesecake, offering a luxurious, melt-in-your-mouth texture that perfectly balances sweetness and creaminess. Here’s how to prepare it step by step:
Step 1: Whip the Cream
- Pour 300 ml of double cream into a large mixing bowl. Using an electric whisk, whip the cream until it reaches stiff peaks. This step is crucial for achieving a light and airy texture in the cheesecake filling.
- Pro Tip: Ensure the cream is cold straight from the fridge for easier whipping.
Step 2: Blend the Cream Cheese and Nutella
- In another bowl, combine 400 g of full-fat cream cheese and 200 g of Nutella spread. Use an electric whisk to blend them until smooth and well combined.
- The Nutella adds a rich hazelnut-chocolate flavor, while the cream cheese provides a tangy balance that prevents the dessert from being overly sweet.
Step 3: Fold Everything Together
- Gently fold the whipped cream into the Nutella and cream cheese mixture using a spatula. Be careful not to overmix, as you want to retain as much air as possible for a fluffy consistency.
Step 4: Assemble the Cheesecake
- Remove the prepared biscuit base from the fridge. Spoon the cheesecake mixture onto the base, spreading it evenly with a spatula. Smooth out the top for a clean finish.
- Place the cheesecake back into the fridge and let it chill for at least 4 hours, though overnight chilling is ideal for best results.
This no-bake filling is incredibly easy to make and doesn’t require any gelatin or baking. The result? A silky-smooth cheesecake that holds its shape beautifully.

Adding the Nutella Topping and Final Touches
The topping is where this Nutella Cheesecake truly shines, adding a glossy finish and a delightful crunch that takes the dessert to the next level. Here’s how to create the perfect topping:
Step 1: Melt the Nutella
- Gently warm 150 g of Nutella in a small saucepan over low heat or in the microwave for short intervals. Stir frequently to ensure it softens evenly without overheating.
- Pro Tip: The Nutella should be just warm enough to pour smoothly but not hot, as excessive heat can alter its texture.
Step 2: Pour Over the Cheesecake
- Remove the chilled cheesecake from the fridge. While it’s still in the springform pan, pour the melted Nutella over the top. Use the back of a spoon or a spatula to spread it evenly, creating a smooth, glossy layer.
- Be careful not to press too hard or disturb the cheesecake filling underneath.
Step 3: Add Hazelnut Crunch
- Sprinkle 50 g of roughly chopped hazelnuts around the edges of the cheesecake. The hazelnuts add a satisfying crunch and enhance the nutty flavor profile of the dessert.
- For an extra decorative touch, you can drizzle additional melted Nutella in thin lines across the top using a piping bag or spoon.
Step 4: Final Chill
- Return the cheesecake to the fridge for at least 1 more hour to allow the topping to set completely. This step ensures clean slices when serving.
Serving Tips and Presentation
When it’s time to serve your Nutella Cheesecake, presentation is key. Follow these tips for a flawless finish:
- Release from Pan: Carefully remove the cheesecake from the springform pan. Run a warm knife around the edges before releasing it to prevent sticking.
- Slice Cleanly: Use a sharp knife dipped in warm water for clean, even slices. Wipe the blade between cuts for best results.
- Optional Garnishes: Add extra hazelnuts, whipped cream, or even chocolate shavings on each slice for an elegant touch.
This decadent dessert is perfect for any occasion—whether it’s a family gathering, birthday celebration, or just a treat-yourself moment. Its rich flavor and creamy texture will leave everyone asking for seconds!

FAQs and Conclusion
Frequently Asked Questions About Nutella Cheesecake
Q1. Can I make this Nutella Cheesecake gluten-free?
Absolutely! To make this dessert gluten-free, simply substitute the digestive biscuits with gluten-free alternatives. Ensure all other ingredients, like Nutella and cream cheese, are also certified gluten-free by checking their labels.
Q2. How long does Nutella Cheesecake last in the fridge?
This cheesecake can be stored in an airtight container in the fridge for up to 3 days. However, it’s best enjoyed within the first 24-48 hours for optimal freshness and texture.
Q3. Can I freeze Nutella Cheesecake?
Yes, you can freeze it! After the cheesecake has fully set, wrap it tightly in plastic wrap and then in aluminum foil to prevent freezer burn. It can be stored in the freezer for up to 1 month. Thaw it overnight in the fridge before serving.
Q4. What can I use instead of hazelnuts for the topping?
If you’re not a fan of hazelnuts or have a nut allergy, you can replace them with crushed biscuits, chocolate chips, or even fresh berries for a fruity twist.
Q5. Do I need gelatin to make this cheesecake?
No gelatin is required for this no-bake recipe! The combination of whipped cream and cream cheese provides enough structure to hold the cheesecake together.
Conclusion
Nutella Cheesecake is a dessert that brings together the best of both worlds—chocolatey decadence and creamy indulgence. It’s incredibly easy to make, requiring no baking or complicated techniques, making it perfect for both beginners and seasoned bakers alike. Whether you’re serving it at a party or enjoying it as a weekend treat, this cheesecake is sure to impress with its rich flavors and stunning presentation.
With its buttery biscuit base, velvety Nutella filling, and crunchy hazelnut topping, every bite is a harmonious blend of textures and flavors. Plus, its versatility allows you to customize it with your favorite toppings or dietary adjustments.
So why wait? Gather your ingredients, follow these simple steps, and treat yourself (and your loved ones) to this irresistible dessert. Trust me—it’s worth every calorie!
