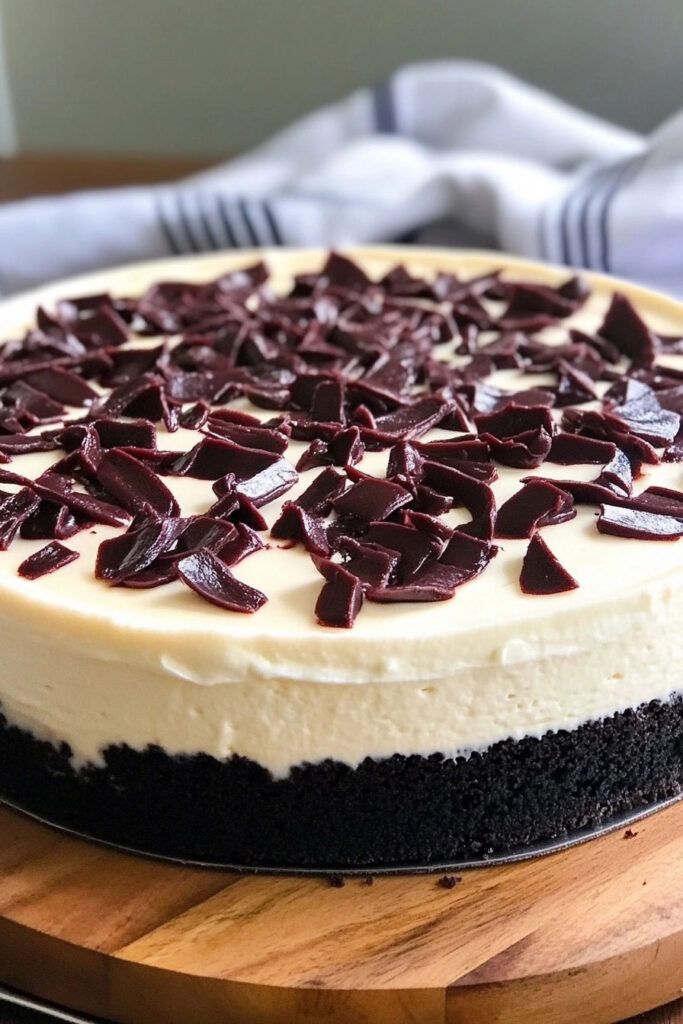
Craving something rich and decadent? Let me introduce you to the delightful world of Black Bottom Cheesecake, a dessert that perfectly marries the creamy texture of cheesecake with the indulgent flavor of chocolate. This dessert is not only a feast for the eyes but also a treat for your taste buds, making it an ideal choice for any occasion, be it a family gathering or a special celebration.
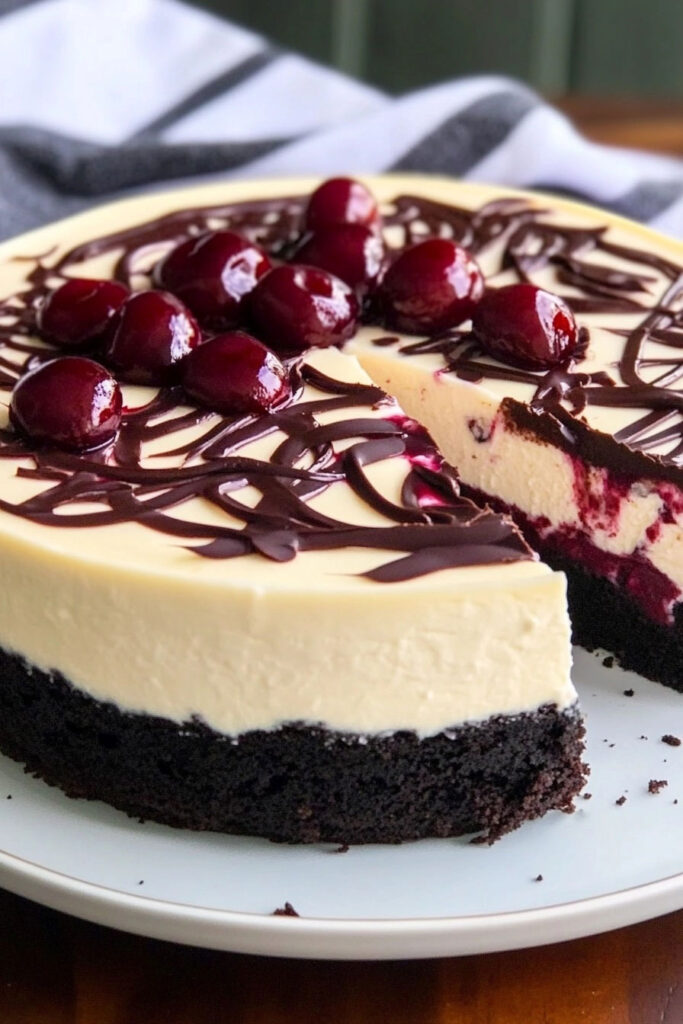
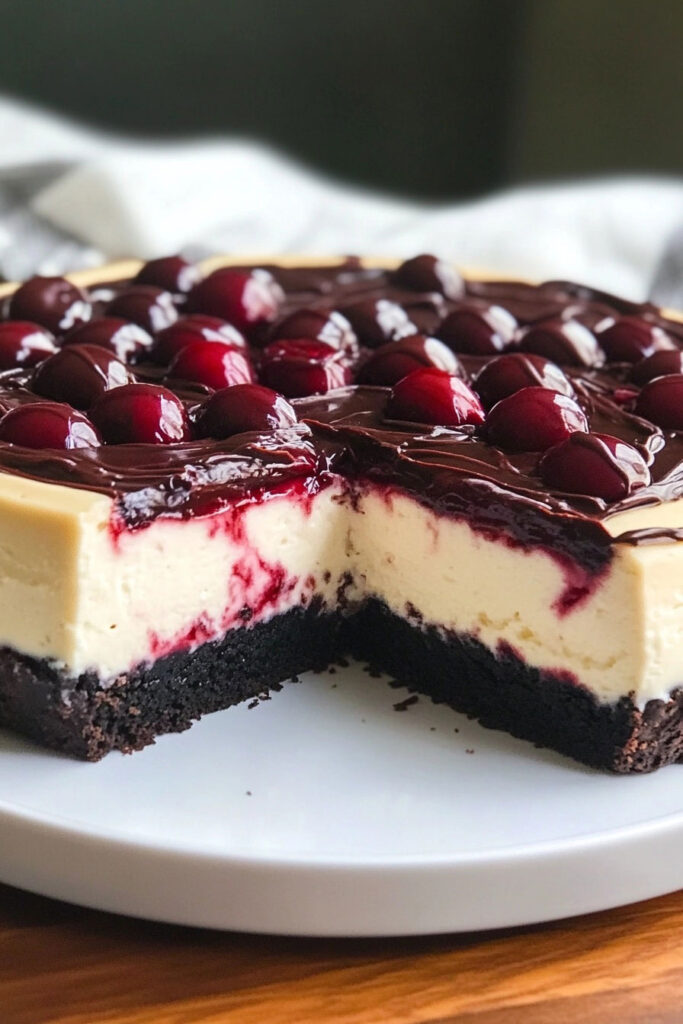
Black Bottom Cheesecake features a luscious chocolate ganache layer that sits beneath a creamy cheesecake filling, often adorned with a cherry topping that adds a refreshing contrast. The combination of flavors and textures creates an unforgettable dessert experience.
Ingredients List
Cheesecake Ingredients
- 5 ounces ground chocolate wafer cookies (about 1 cup or 25 Nabisco wafers)
- 2 tablespoons unsalted butter (melted)
- 1¾ cups granulated sugar (divided)
- ⅔ cup whipping cream
- 8 ounces semisweet chocolate (chopped)
- 6 ounces pitted cherries (fresh or frozen and thawed)
- 1 tablespoon freshly squeezed lemon juice
- 32 ounces cream cheese (at room temperature)
- 1 pinch kosher salt
- 1 teaspoon vanilla extract
- 2 large eggs
Required Kitchen Tools
When preparing Black Bottom Cheesecake, having the right kitchen tools can make the process smoother and more enjoyable. Here are the essential tools you will need:
- 9-inch Springform Pan: This is crucial for baking and serving your cheesecake without damaging its delicate structure.
- Mixing Bowls: A set of mixing bowls in various sizes will help you combine ingredients efficiently.
- Electric Mixer: An electric mixer is essential for achieving a smooth and fluffy cheesecake filling.
- Rubber Spatula: A rubber spatula is handy for scraping down the sides of bowls and ensuring all ingredients are well combined.
- Fine Mesh Sieve: This tool is useful for straining the cherry puree, ensuring a smooth consistency without any solids.
Having these tools on hand will set you up for a successful Black Bottom Cheesecake-making experience.
Cheesecake Preparation
Preparing Black Bottom Cheesecake involves several steps to create its signature layers and flavors. Let’s break down the process into manageable parts to ensure your cheesecake turns out perfectly every time.
Making the Crust
The crust is the foundation of your cheesecake, providing texture and flavor. Here’s how to prepare it:
- Preheat Your Oven: Start by preheating your oven to 350°F (175°C).
- Mix Ingredients: In a medium bowl, combine the ground chocolate wafer cookies, melted butter, and 2 tablespoons of granulated sugar. Mix until well combined.
- Press into Pan: Firmly press the crumb mixture onto the bottom of your springform pan to create an even layer.
- Bake: Place the pan in the preheated oven and bake for about 10 minutes until set. Once done, let it cool on a wire rack while you prepare the next layers.
Creating the Ganache Layer
The chocolate ganache adds richness to your cheesecake and is relatively simple to make:
- Heat Cream: In a small saucepan over medium-high heat, bring the whipping cream to a simmer until bubbles form at the edges.
- Add Chocolate: Remove from heat and add the chopped semisweet chocolate without stirring immediately. Let it sit for about 5 minutes.
- Stir Until Smooth: After resting, stir the mixture until smooth and glossy. Pour this ganache evenly over your cooled crust and chill it in the refrigerator for at least 30 minutes before adding the cheesecake filling.
Preparing Cherry Puree
The cherry puree adds a delightful fruity element that balances out the richness of the cheesecake:
- Blend Cherries: In a food processor or blender, puree the pitted cherries until smooth.
- Strain: Press the puree through a fine mesh sieve into a small saucepan to remove any solids.
- Cook with Sugar: Stir in 2 tablespoons of sugar and lemon juice, bringing it to a boil while stirring constantly until thickened. Set aside to cool.
Making the Cheesecake Filling
Now comes the star of the show—the cheesecake filling:
- Beat Cream Cheese: In an electric mixer fitted with a paddle attachment, beat the cream cheese until fluffy (about 3 minutes).
- Add Sugar Gradually: Lower the speed and slowly add in the remaining sugar until well combined.
- Incorporate Eggs: Add eggs one at a time, mixing gently after each addition to avoid overmixing.
- Dollop Over Ganache: Carefully spoon dollops of this filling over your chilled ganache layer, smoothing out gently without disturbing it.
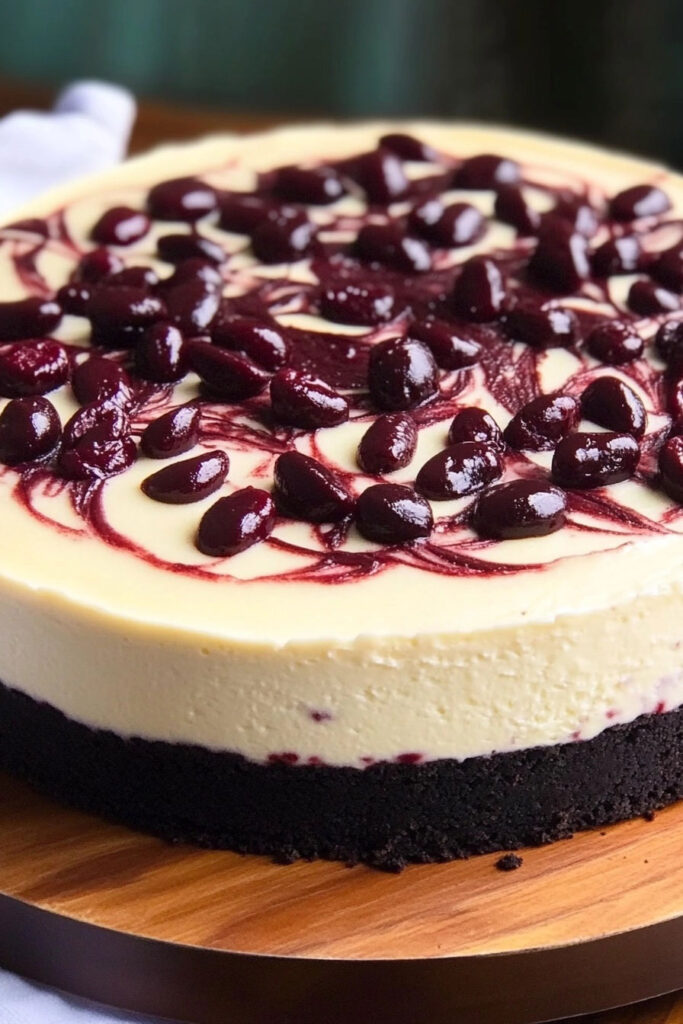
- Swirl Cherry Sauce: Drop spoonfuls of cooled cherry sauce on top of the cheesecake filling and use a skewer or toothpick to create beautiful swirls.
By following these steps meticulously, you’ll have set up your Black Bottom Cheesecake for baking!
Baking the Cheesecake
Baking your Black Bottom Cheesecake requires careful attention to ensure it sets perfectly while maintaining its creamy texture. Here’s how to proceed:
Preparing for Baking
- Adjust Oven Temperature: After preparing the cheesecake filling, reduce your oven temperature to 325°F (160°C).
- Set Up a Water Bath: To prevent cracking and ensure even baking, place your filled springform pan inside a larger roasting pan. Carefully add hot water to the roasting pan until it reaches halfway up the sides of the springform pan. This water bath will help regulate the temperature as the cheesecake bakes.
Baking Process
- Bake Until Set: Place the roasting pan in the oven and bake for 60 to 70 minutes. The cheesecake should be set around the edges but still slightly wobbly in the center when done.
- Cooling: Once baked, remove the cheesecake from the oven and let it cool in the water bath for about an hour. This gradual cooling helps prevent cracks on the surface.
- Refrigerate: After cooling, transfer the cheesecake to a wire rack and let it cool completely at room temperature before refrigerating it for at least 6 hours or overnight. This chilling time is crucial for achieving that perfect texture.
Unmolding and Serving
Once your cheesecake has chilled and set, it’s time to unmold and serve this delicious dessert:
- Run a Knife Around the Edge: Before removing the sides of the springform pan, run a warm, wet knife around the edge of the cheesecake to loosen it from the sides.
- Release Springform Pan: Carefully release and remove the sides of the springform pan, revealing your beautifully layered cheesecake.
- Slice and Serve: Use a sharp knife dipped in warm water to slice your cheesecake into wedges. Wipe the knife clean after each cut for neat slices.
- Garnish: For an extra touch, drizzle additional cherry puree over each slice or top with fresh cherries before serving.
Storage Instructions
To keep your Black Bottom Cheesecake fresh and delicious, proper storage is key:
- Refrigeration: Store any leftovers in an airtight container in the refrigerator for up to 5 days. The flavors will continue to meld, making each slice even more delightful.
- Freezing: If you want to keep your cheesecake longer, you can freeze it. Wrap individual slices tightly in plastic wrap and then place them in a freezer-safe container or bag. They can be frozen for up to 2 months. To enjoy later, simply thaw in the refrigerator overnight before serving.
By following these steps, you’ll ensure that your Black Bottom Cheesecake is not only visually stunning but also incredibly delicious!
Frequently Asked Questions
As we wrap up our exploration of Black Bottom Cheesecake, let’s address some common questions that often arise when making this delicious dessert.
What is Black Bottom Cheesecake?
Black Bottom Cheesecake is a delightful dessert that combines a rich chocolate ganache layer with a creamy cheesecake filling. It’s typically made with a chocolate wafer crust, and many recipes include a fruit topping, such as cherries, to enhance the flavor profile.
How do I prevent my cheesecake from cracking?
To prevent cracks in your cheesecake, it’s essential to bake it in a water bath. This method helps regulate the temperature and moisture level during baking. Additionally, avoid overmixing the filling and allow the cheesecake to cool gradually in the oven before refrigerating.
Can I use different fruits for the topping?
Absolutely! While cherries are a popular choice, you can use various fruits such as strawberries, blueberries, or raspberries. Just make sure to adjust the sweetness of your puree accordingly.
How should I store leftover cheesecake?
Leftover Black Bottom Cheesecake should be stored in an airtight container in the refrigerator. It can last for up to 5 days. If you want to keep it longer, consider freezing individual slices wrapped tightly in plastic wrap.
Can I make this cheesecake ahead of time?
Yes! Black Bottom Cheesecake is an excellent make-ahead dessert. You can prepare it up to two days in advance. Just ensure it’s properly chilled before serving for the best texture and flavor.
Conclusion
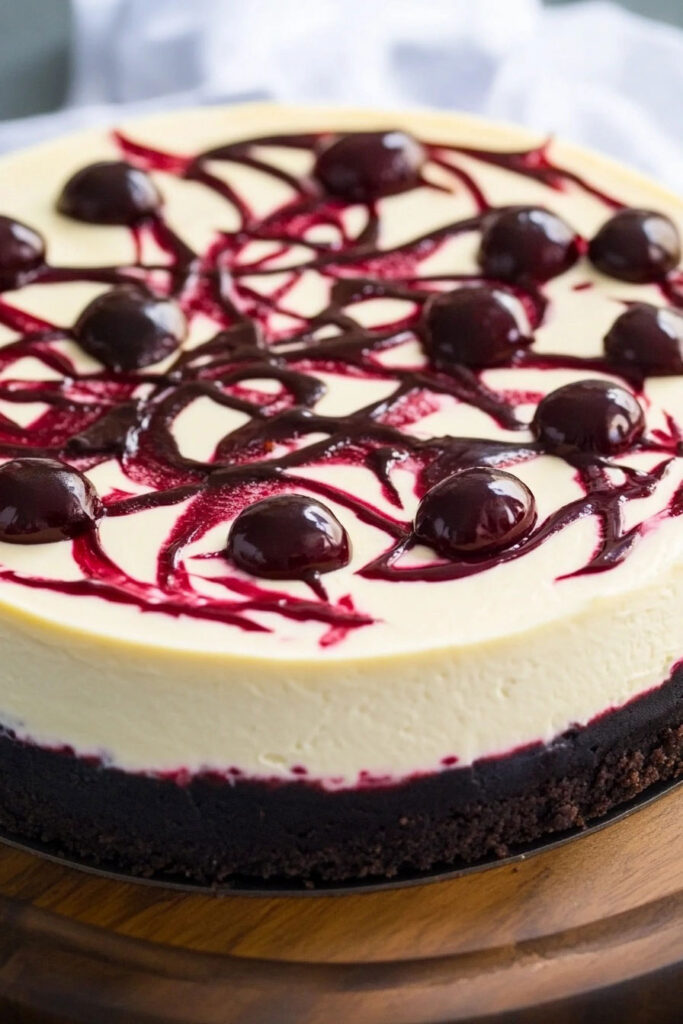
Mastering Black Bottom Cheesecake opens up a world of rich flavors and textures that are sure to impress anyone who takes a bite. From the luscious chocolate ganache to the creamy filling topped with vibrant cherry puree, this dessert is not just visually stunning but also incredibly satisfying.
By following the detailed instructions provided, you can recreate this classic treat in your kitchen with ease. Remember to embrace creativity—whether it’s experimenting with different fruit toppings or adjusting the sweetness to your liking, there’s plenty of room for personalization.
So roll up your sleeves and dive into making this delightful Black Bottom Cheesecake! With proper storage techniques, you can enjoy its deliciousness for days or even share it with friends and family at gatherings.
Now that you’re equipped with all the knowledge needed to create this masterpiece, I hope you enjoy every moment of baking and indulging in this decadent dessert!
