When it comes to starting the day on a sweet note, Italian breakfast cakes are a delightful choice. These cakes, known as “torte di colazione,” are light, moist, and perfect for pairing with a morning espresso or cappuccino. Unlike the dense, sugary cakes we might be used to, Italian breakfast cakes often feature simple, wholesome ingredients like yogurt, olive oil, and fresh fruit.
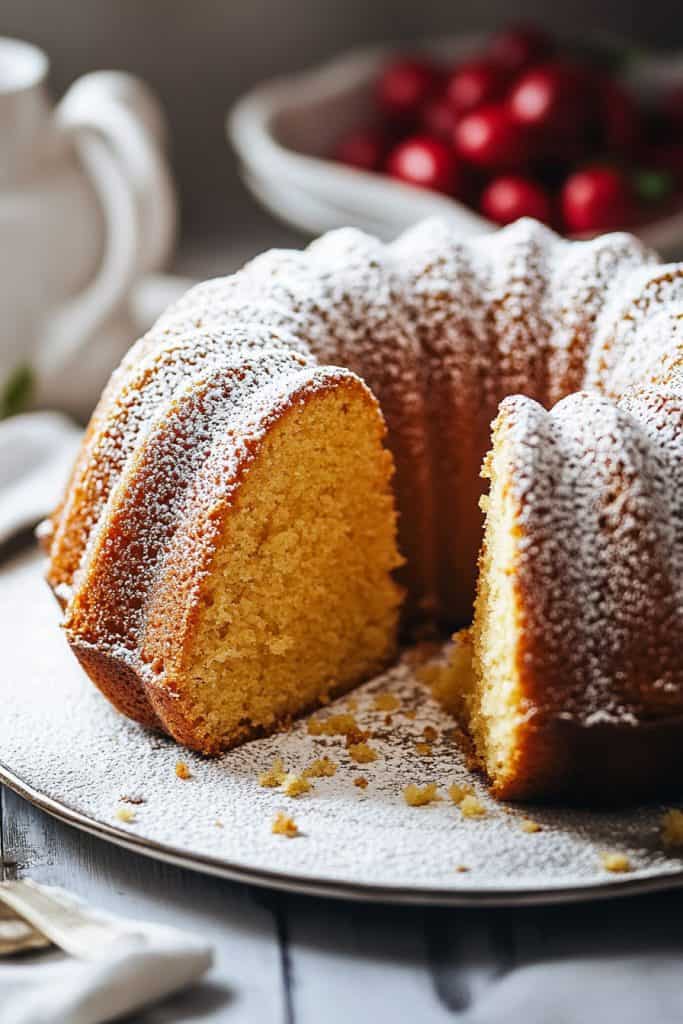
Ingredients
To start making an Italian breakfast cake, gather the following ingredients. This recipe uses simple, wholesome items to create a light, moist cake perfect for your morning coffee.
Dry Ingredients
- 2 cups all-purpose flour: Sift to remove any lumps.
- 1 cup granulated sugar: Adds sweetness without overpowering the flavor.
Wet Ingredients
- 3 large eggs: Ensure they are at room temperature for better mixing.
- 1 cup plain yogurt: Adds moisture and a slight tanginess.
- ½ cup olive oil: Provides a rich, smooth texture.
Flavorings
- 1 teaspoon vanilla extract: For a hint of warmth and depth.
- 1 teaspoon lemon zest: Freshly grated to enhance the cake’s brightness.
Additional Components
- 1 teaspoon baking powder: Helps the cake rise for a fluffy texture.
- ½ teaspoon baking soda: Works with the yogurt to create a light, airy crumb.
- Pinch of salt: Balances and enhances the sweetness.
- 1 cup fresh berries: Blueberries or raspberries work well, adding bursts of flavor and color.
With these ingredients ready, you are set to create a classic Italian breakfast cake that will delight your taste buds.
Special Equipment
When making an Italian breakfast cake, having the right equipment ensures the best results. Here are the essential tools you’ll need:
- Mixing Bowls: I prefer using a set of large and medium mixing bowls to combine both wet and dry ingredients separately. Opt for stainless steel or glass for easy cleaning.
- Electric Mixer: An electric hand mixer or stand mixer makes beating the eggs and sugar until fluffy much easier.
- Measuring Cups and Spoons: Accurate measurements are key, so make sure to use standard measuring cups and spoons.
- Sifter: A fine-mesh sifter or sieve is essential for sifting flour to avoid clumps and ensure a smoother batter.
- Zester: A microplane zester is ideal for obtaining fresh, fragrant lemon zest.
- Rubber Spatula: A flexible rubber spatula allows you to gently fold ingredients together without deflating the batter.
- Cake Pan: For an Italian breakfast cake, I recommend using a 9-inch round cake pan. Greasing it well or lining it with parchment paper helps the cake release easily.
- Cooling Rack: A wire cooling rack allows the cake to cool evenly after baking, preventing sogginess on the bottom.
- Oven Thermometer: Ensuring your oven is at the correct temperature is vital for proper baking.
Having these tools at hand will make the process smoother and more enjoyable, ensuring your Italian breakfast cake turns out perfectly every time.
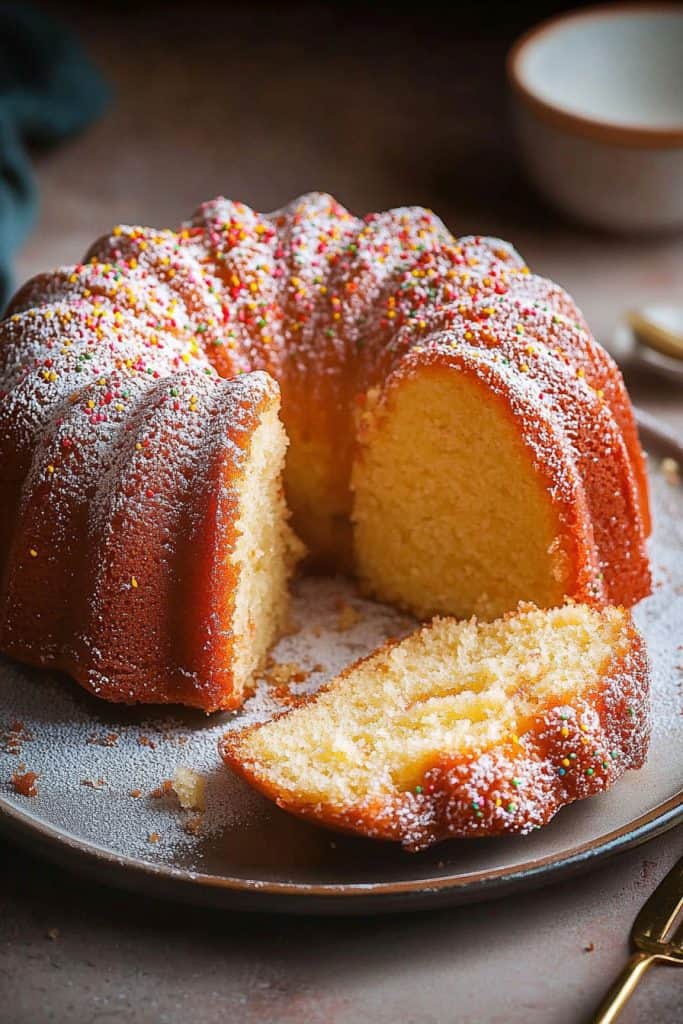
How to Make Italian Breakfast Cake
Making an Italian breakfast cake involves a few straightforward steps. Let’s dive into the process.
Prep
- Preheat your oven to 350°F (175°C).
- Grease and flour a 9-inch round cake pan.
- Measure out all your ingredients and have them ready: all-purpose flour, sugar, eggs, yogurt, olive oil, vanilla extract, lemon zest, baking powder, baking soda, salt, and fresh berries.
- Sift together the flour, baking powder, baking soda, and salt to remove any lumps.
Mixing the Batter
- In a large mixing bowl, beat the eggs and sugar together using an electric mixer on medium speed until the mixture is pale and slightly thickened.
- Add in the yogurt, olive oil, vanilla extract, and lemon zest. Continue to mix until well combined.
- Gradually fold the dry ingredients into the wet mixture using a rubber spatula until just combined. Be careful not to overmix, as this can make the cake dense.
- Gently fold in the fresh berries, ensuring they are evenly distributed.
Baking
- Pour the batter into the prepared cake pan, spreading it out evenly with the rubber spatula.
- Place the pan in the preheated oven on the middle rack.
- Bake for 30-35 minutes or until a toothpick inserted into the center of the cake comes out clean.
- If needed, rotate the cake pan halfway through baking to ensure even cooking.
- Remove the cake from the oven and place it on a cooling rack.
- Allow the cake to cool in the pan for about 10 minutes before removing it from the pan.
- Carefully invert the cake onto the cooling rack and let it cool completely before serving.
Following these steps will help you create a beautifully light and moist Italian breakfast cake, perfect for starting your day with a touch of Italian charm.
Serving Suggestions
When it comes to serving Italian breakfast cake, there are several delightful ways to make the experience even more enjoyable. Here are my favorite suggestions to elevate your morning treat:
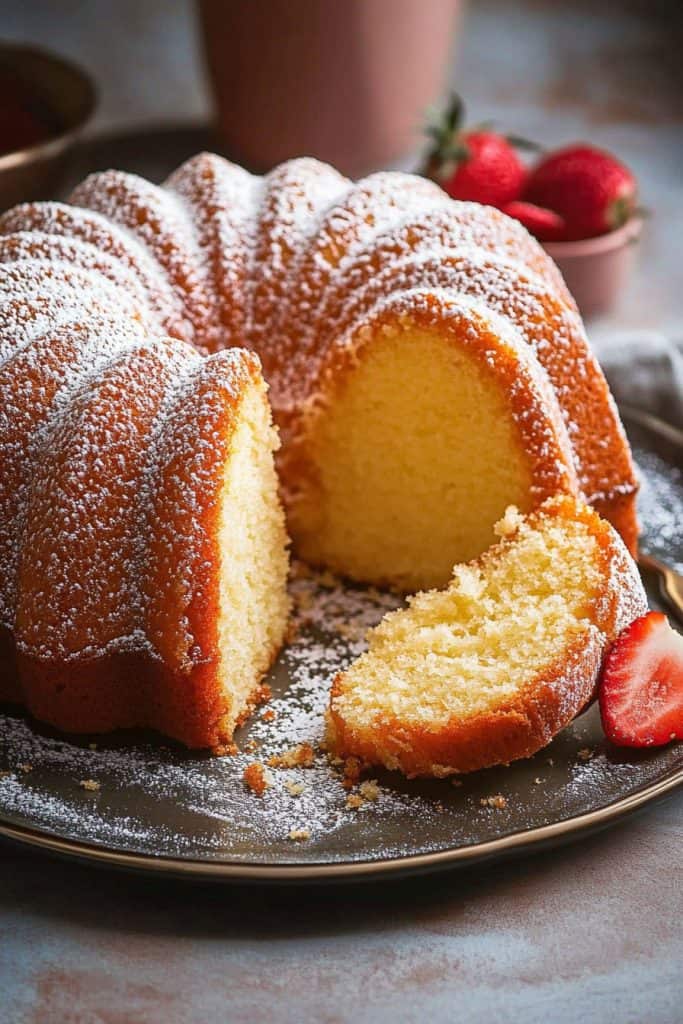
- Dust with Powdered Sugar: Once the cake has cooled completely, I like to dust a generous amount of powdered sugar over the top. This not only adds a bit of sweetness but also gives the cake a beautiful, finished look.
- Pair with Fresh Fruit: Serving the cake alongside fresh fruit can enhance its flavors. I often opt for berries, sliced peaches, or figs, depending on what’s in season. The juicy, fresh fruit pairs wonderfully with the light, moist texture of the cake.
- Yogurt Topping: A dollop of Greek yogurt on the side makes for a creamy complement to the cake. I sometimes mix a bit of honey into the yogurt for added sweetness. This combination provides a balanced and satisfying start to the day.
- Espresso or Cappuccino: No Italian breakfast is complete without a strong espresso or a frothy cappuccino. I love how the rich, bold flavors of the coffee contrast with the delicate cake, creating a perfect morning pairing.
- Warm and Serve: Although the cake is delicious at room temperature, warming a slice slightly enhances its flavor and texture. Just a few seconds in the microwave will do the trick, making the cake soft and fragrant.
- Drizzle with Honey: For an extra touch of sweetness, I sometimes drizzle a bit of honey over my slice. Choose a high-quality, aromatic honey to really bring out the flavors of the cake.
By incorporating these simple serving suggestions, you can transform your Italian breakfast cake into an unforgettable morning delight.
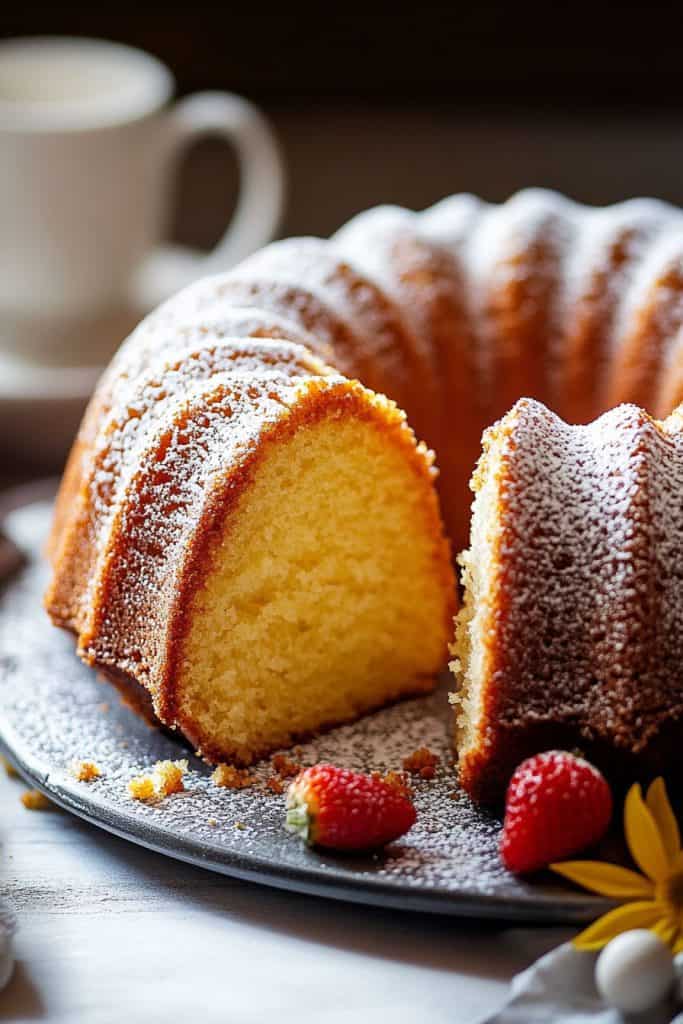
Storing and Freezing Instructions
To keep your Italian breakfast cake fresh and flavorful, follow these storing and freezing instructions.
Storing
- Cooling: Allow the cake to cool completely at room temperature on a wire rack. This will prevent condensation and sogginess.
- Wrapping: Once cooled, wrap the cake tightly in plastic wrap to lock in moisture. For an extra layer of protection, you can place it in an airtight container.
- Refrigeration: Store the cake in the refrigerator if you plan to eat it within 3 days. Refrigeration helps maintain its freshness.
- Room Temperature: If you plan to consume the cake within a day or two, storing it at room temperature is also an option. Ensure it’s kept in a cool, dry place, away from direct sunlight.
- Pre-freezing Preparation: For longer storage, first slice the cake into individual servings. This makes it easier to thaw and enjoy later.
- Wrapping for Freezing: Wrap each slice tightly in plastic wrap. For additional protection, you can wrap it again with aluminum foil.
- Freezer Storage: Place the wrapped slices in a freezer-safe zip-top bag or airtight container. Label the container with the date to keep track of freshness.
- Freezing Time: Store the cake in the freezer for up to 3 months. This extended time ensures the flavor and texture remain intact.
- Thawing Instructions: To enjoy your frozen Italian breakfast cake, thaw it overnight in the refrigerator. If you’re in a hurry, you can also use the microwave on a defrost setting for a quicker option.
Using these storing and freezing methods will ensure your Italian breakfast cake remains delicious, moist, and ready to enjoy whenever you want a delightful start to your day.
Variations and Substitutions
Italian breakfast cakes offer a wonderful canvas for creativity. Here are some variations and substitutions you can experiment with to make the recipe fit your preferences or dietary needs:
Flavor Variations
- Citrus Twist: Substitute plain yogurt with lemon or orange yogurt. Add the zest of one lemon or orange to the batter for a bright, tangy flavor.
- Nutty Delight: Replace 1/2 cup of the all-purpose flour with almond flour. This adds a rich, nutty taste and a slightly denser texture.
- Berry Boost: Fold in 1 cup of fresh berries, such as blueberries, raspberries, or chopped strawberries, into the batter before baking.
- Chocolate Indulgence: Mix 1/2 cup of mini chocolate chips into the batter or swirl in 1/4 cup of Nutella for a chocolatey twist.
Dairy-Free Options
- Yogurt Substitute: Use coconut yogurt or almond milk yogurt for a dairy-free version. This keeps the cake moist and flavorful without dairy.
- Milk Substitute: Use unsweetened almond milk, soy milk, or oat milk in place of regular milk. This substitution affects the moisture content but ensures a dairy-free cake.
Gluten-Free Alternatives
- Gluten-Free Flour: Replace the all-purpose flour with a 1:1 gluten-free baking flour blend. Ensure the blend contains xanthan gum or a similar binding agent for best results.
- Oat Flour: You can substitute half of the all-purpose flour with oat flour for a heartier, gluten-free version. Make sure to use certified gluten-free oats.
Egg Substitutes
- Flaxseed Meal: Combine 1 tablespoon of flaxseed meal with 3 tablespoons of water to replace each egg. Allow the mixture to sit for a few minutes until it becomes gelatinous.
- Applesauce: Use 1/4 cup of unsweetened applesauce for each egg to add moisture and a hint of sweetness.
- Honey or Maple Syrup: Replace granulated sugar with an equal amount of honey or maple syrup. Adjust the liquid content slightly to balance the added moisture.
- Coconut Sugar: Use coconut sugar instead of granulated sugar for a lower glycemic index. This adds a subtle caramel flavor to the cake.
Expert Tips for the Perfect Cake
Measure Ingredients Accurately
I always use a digital kitchen scale to measure ingredients by weight for the best accuracy. This ensures the right balance between dry and wet ingredients, leading to a perfectly moist and fluffy cake.
Use Room Temperature Ingredients
Bringing ingredients like eggs and yogurt to room temperature ensures they mix more evenly. I usually take them out of the refrigerator at least 30 minutes before I start baking.
Preheat Your Oven
Preheating the oven to the correct temperature is crucial. I typically preheat mine for at least 15 minutes to ensure it reaches the desired temperature before placing the cake inside.
Combine Dry and Wet Ingredients Separately
Mixing dry ingredients like flour, baking powder, and salt in one bowl and wet ingredients like eggs, oil, and yogurt in another helps to achieve a smooth batter. I then gently combine them to avoid overmixing, which can make the cake dense.
Grease and Flour Your Pan
To prevent the cake from sticking, I always grease my baking pan with butter or oil and then dust it lightly with flour. This makes it much easier to remove the cake once it’s baked.
Avoid Overmixing the Batter
Once I combine the wet and dry ingredients, I mix them until just combined. Overmixing can result in a tough cake. I use a spatula to fold the ingredients gently rather than a whisk or beater.
Check for Doneness
I check the cake’s doneness by inserting a toothpick or skewer into the center. If it comes out clean or with just a few crumbs, the cake is done. If it has wet batter on it, I bake it for a few more minutes and check again.
Cool the Cake Properly
Letting the cake cool in the pan for about 10 minutes helps it set. I then transfer it to a wire rack to cool completely. This step is essential for maintaining the cake’s texture and preventing it from becoming soggy.
Store the Cake Correctly
To keep the cake fresh, I store it in an airtight container at room temperature if I plan to eat it within a couple of days. For longer storage, I refrigerate the cake or freeze slices individually wrapped in plastic wrap.
By following these expert tips, you can ensure your Italian breakfast cake turns out perfect every time.
Conclusion
Exploring Italian breakfast cakes has been a delightful journey into a world of simple yet exquisite flavors. With the right ingredients and techniques, anyone can create a cake that’s light, moist, and perfect for starting the day.
Remember to measure ingredients accurately and follow the expert tips for the best results. Whether enjoyed with a cup of coffee or shared with loved ones, these cakes bring a touch of Italian warmth to your mornings.
Happy baking!
