
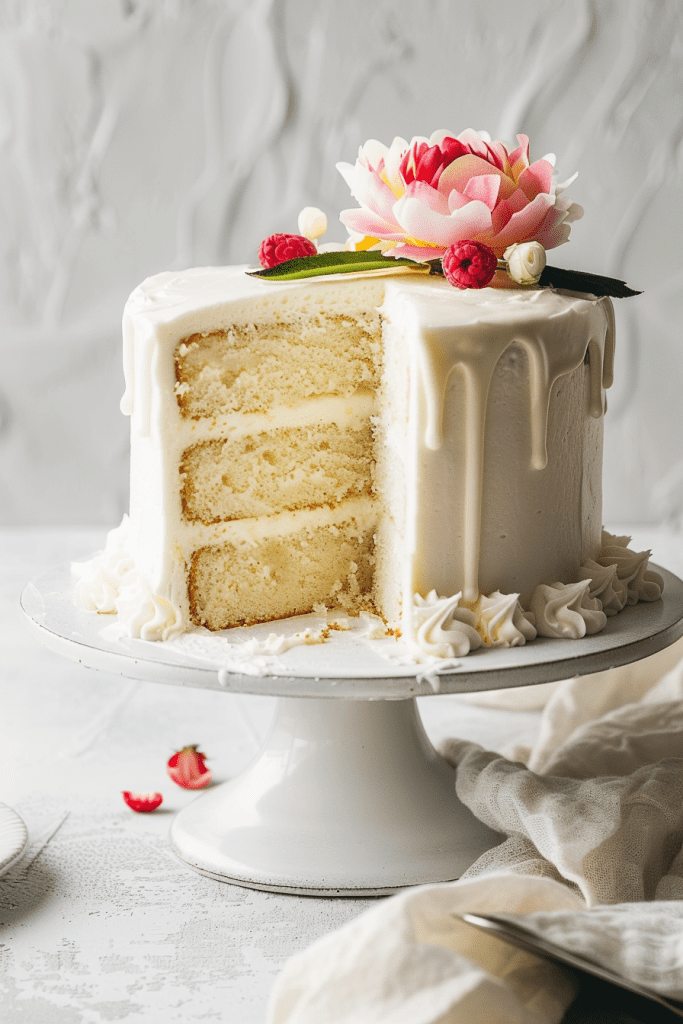
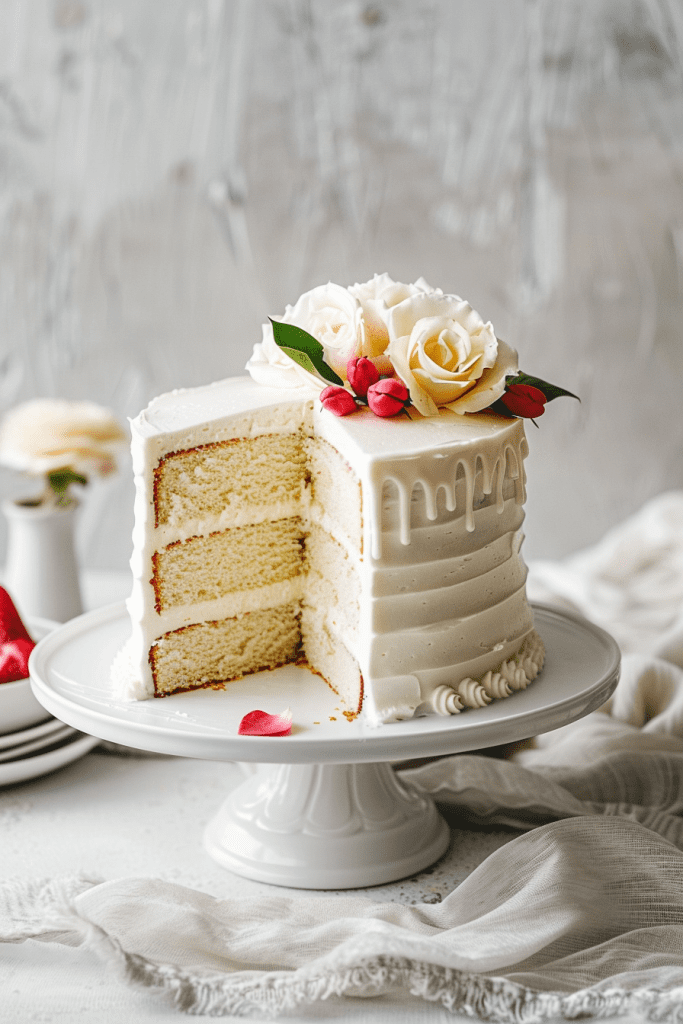
Craving a decadent treat that’s both easy to make and utterly delicious? Look no further than the best white velvet cake recipe out there. This semihomemade delight starts with a simple white box cake mix but gets elevated with the addition of key ingredients like sour cream. Trust me, this isn’t your average white cake – it’s a true standout in flavor and texture.
I stumbled upon this gem back in 2012, and since then, it’s been my go-to for any occasion. The beauty of this recipe lies in its simplicity; it’s a breeze to whip up, yet the results are unparalleled. Picture moist, velvety layers that melt in your mouth with every bite. So, if you’re looking to impress at your next gathering or simply satisfy a sweet tooth, this white velvet cake is the answer.
Ingredients
Creating a mouthwatering white velvet cake requires a few essential ingredients for both the cake and frosting layers. Let’s dive into what you’ll need for this delightful dessert!
Cake Ingredients
- 2 1/2 cups all-purpose flour
- 1 3/4 cups granulated sugar
- 1 cup sour cream
- 1/2 cup unsalted butter, softened
- 1/2 cup vegetable oil
- 4 large eggs
- 1 tablespoon vanilla extract
- 1 teaspoon baking powder
- 1/2 teaspoon baking soda
- 1/2 teaspoon salt
- 1 cup buttermilk
- 6 large egg whites
- 1 cup heavy cream
- 1/4 cup powdered sugar
- 1 teaspoon vanilla extract
Equipment Needed
When preparing your luscious white velvet cake, having the right equipment on hand is essential to ensure a smooth baking process. Here’s a list of the equipment you’ll need to create this delectable treat:
- Three 8-inch round cake pans
- Parchment paper
- Stand mixer
- Mixing bowls
- Whisk
- Measuring cups and spoons
- Rubber spatula
- Cake strips (optional for even rise)
- Cooling racks
- Offset spatula
- Cake turntable (optional for frosting)
- Serrated knife (for leveling cakes, if desired)
Having these tools readily available will help you craft a stunning white velvet cake with ease. Make sure to gather all your equipment before you start to make the baking process a breeze.
Prep Work
Before diving into the delicious white velvet cake recipe, a few essential prep steps can make your baking experience smoother.
Preparing the Cake Pans
- Preheat the oven to 350 degrees Fahrenheit.
- Lightly grease two 8-inch round pans that are at least 2 inches deep and line them with parchment or silicone liners.
- Grease the parchment or liners for easy cake removal after baking.
- In a mixing bowl, sift together the all-purpose flour, baking powder, baking soda, and salt.
- Whisk these dry ingredients thoroughly to ensure even distribution and proper incorporation into the cake batter later on.
Directions
Making the Cake Batter
To begin making the white velvet cake batter, preheat the oven to 350°F and prepare two 8-inch round pans by greasing and lining them with parchment or silicone liners. If using cake strips for an even rise, soak two strips in cold water.
In a stand mixer bowl, whisk together flour, cornstarch, sugar, salt, baking powder, baking soda, and lemon juice powder. Using the flat beater attachment, mix the butter into the dry ingredients on low speed until the mixture resembles coarse sand, for about 1 to 2 minutes.
In a separate bowl or large measuring cup, whisk the egg whites until frothy. Stir in the buttermilk, oil, extracts, and vinegar. Gradually add the liquid ingredients to the butter-flour mixture while the mixer is running. Scrape the bowl’s bottom and sides, then beat the batter for 2 minutes at medium speed.
Baking the Cake
Once the cake batter is ready, divide it evenly between the prepared pans, with about 720g per pan. Optionally, wrap soaked cake strips around the sides of the pans for even baking.
Bake the cakes in the preheated oven for 35 to 40 minutes until they are golden brown and pulling away from the sides. To check for doneness, insert a toothpick or thin knife into the center; it should come out clean or with a few crumbs clinging. The internal temperature at the center should reach about 204°F.
After baking, remove the cakes from the oven and let them cool for 5 minutes. Then, loosen their edges with a small spatula or knife and transfer them to a wire rack to cool completely.
Cooling and Releasing the Cake
Allow the cakes to cool in the pans for 15 minutes before transferring them to a wire rack to finish cooling. Once completely cooled, the white velvet cake layers are ready to be filled and frosted with Cream Cheese Frosting, Ermine Icing, or frosting of choice. For extra-moist layers, consider applying a soak before assembling the cake.
Store the unfrosted cake layers appropriately to maintain freshness until ready to assemble and decorate.
Frosting Preparation
Creating the perfect frosting is essential for complementing the delicious white velvet cake. Here, I’ll guide you through the process of making the frosting and share some valuable tips to achieve the ideal consistency.
Making the Frosting
- Ingredients Preparation: Gather the necessary ingredients for the White Velvet Cream Cheese Icing, including unsalted butter, cream cheese, powdered sugar, milk, and vanilla extract.
- Creaming Process: In a mixing bowl, beat the softened butter and cream cheese until smooth and creamy. Gradually add the powdered sugar, ensuring it is fully incorporated into the mixture.
- Adjusting Consistency: Add milk to the frosting gradually until you reach the desired texture. If the frosting is too thick, continue adding small amounts of milk until it becomes spreadable.
- Flavor Enhancement: Incorporate vanilla extract to enhance the flavor profile of the frosting. Adjust the amount based on your preference for a subtle or strong vanilla taste.
- Final Mixing: Beat the frosting at a medium-high speed until smooth and creamy. Ensure there are no lumps and the consistency is perfect for spreading onto the cake layers.
- Temperature Awareness: Ensure that the butter and cream cheese are at room temperature before creaming them together. Cold ingredients can lead to lumpy frosting.
- Gradual Mixing: When adding the powdered sugar and milk, do it gradually. This helps in achieving a smoother and lump-free frosting consistency.
- Texture Adjustment: If the frosting is too runny, add more powdered sugar to thicken it. On the other hand, a thick frosting can be thinned out with a little more milk.
- Testing for Spreadability: Perform a quick test by spreading a small amount of frosting on a plate. The consistency should be smooth and easy to spread without tearing the cake layers.
- Refrigeration: If the frosting becomes too soft due to warm temperatures, place it in the refrigerator for a short time to firm up before frosting the cake.
By following these steps and tips, you’ll create a delightful and perfectly balanced frosting for your white velvet cake.
Assembling the White Velvet Cake
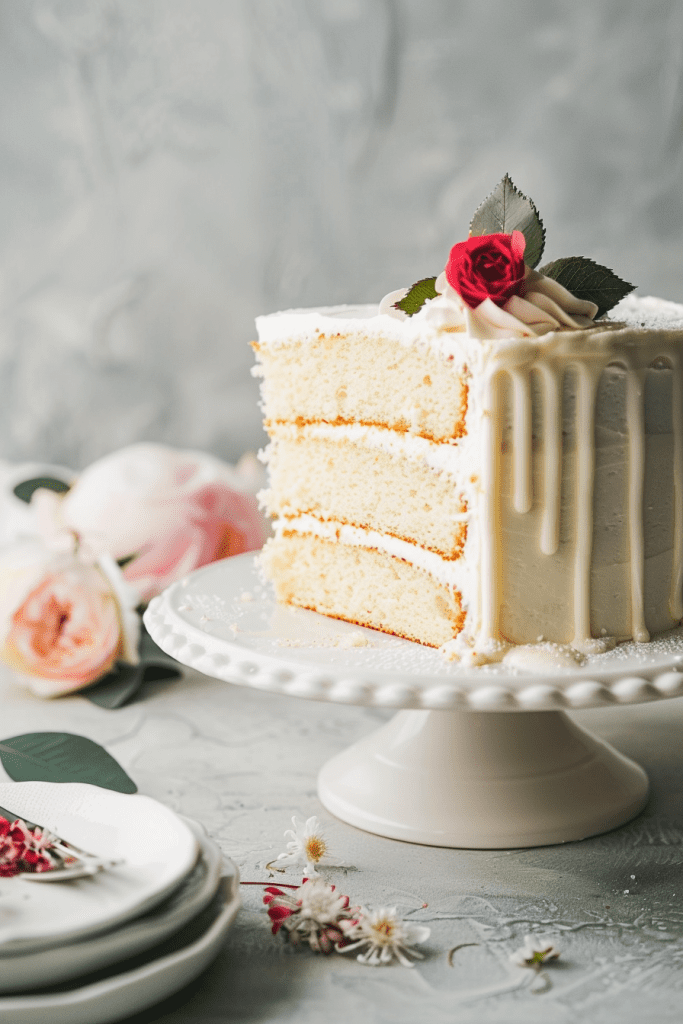
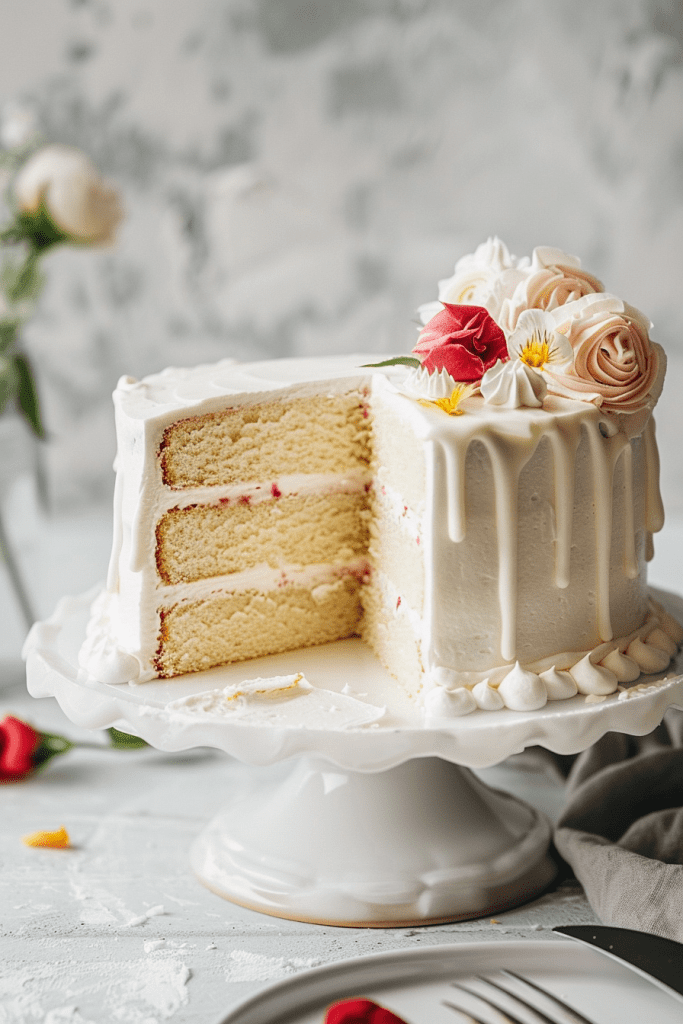
Assembling the white velvet cake is a crucial step to showcase the beauty of this decadent dessert. Follow these steps carefully to create a stunning and delicious white velvet cake.
Layering the Cake
- Place the first cooled cake layer on your cake plate or pedestal.
- Pipe a dam of buttercream about ¼ to ½ inch from the edge of the cake using a disposable piping bag or ziplock bag.
- Spread the whipped cream within the dam and repeat for the second cake layer.
- Top with the third cake layer and fill any gaps between the cake layers with buttercream.
- Apply a crumb coat, a thin layer of frosting, to the cake.
- Chill the cake for 15-20 minutes in the freezer or longer in the refrigerator to firm it up.
- Apply the final coat of frosting and add texture with an offset spatula.
- Pipe a bead border using a round tip 3 at the base of the cake and create a simple piped daisy design around the top edge for a decorative finish.
By following these steps, you will successfully assemble and frost your white velvet cake, ready to be enjoyed by all.
Decorating Tips
Decorating a white velvet cake can take it from delicious to visually stunning. Here are some tips to make your cake as beautiful as it is tasty.
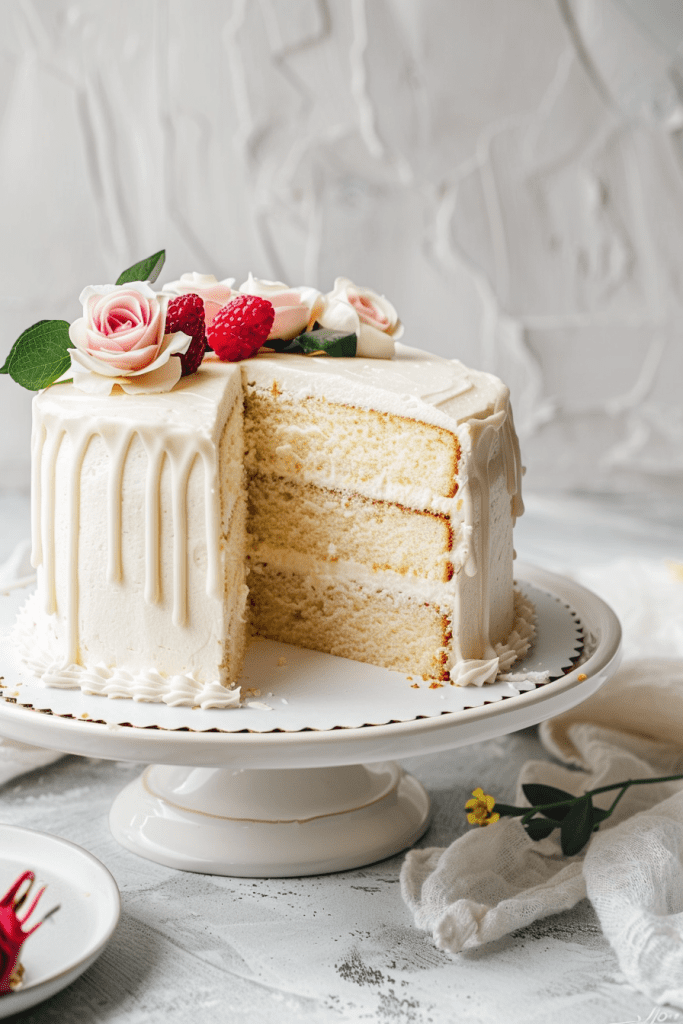
Simple Decorative Ideas
When it comes to decorating your white velvet cake, simplicity can be just as elegant as elaborate designs. Consider using fresh flowers, sprinkles, or edible pearls to add a pop of color and texture to your cake. You can also opt for a smooth frosting finish for a classic look.
Advanced Decorating Techniques
For those looking to take their cake decorating skills to the next level, consider trying advanced techniques such as piping intricate designs, creating ombré frosting effects, or experimenting with different frosting textures. Fondant decorations, edible gold leaf, or personalized cake toppers can also elevate the overall presentation of your white velvet cake.
Serving and Storage
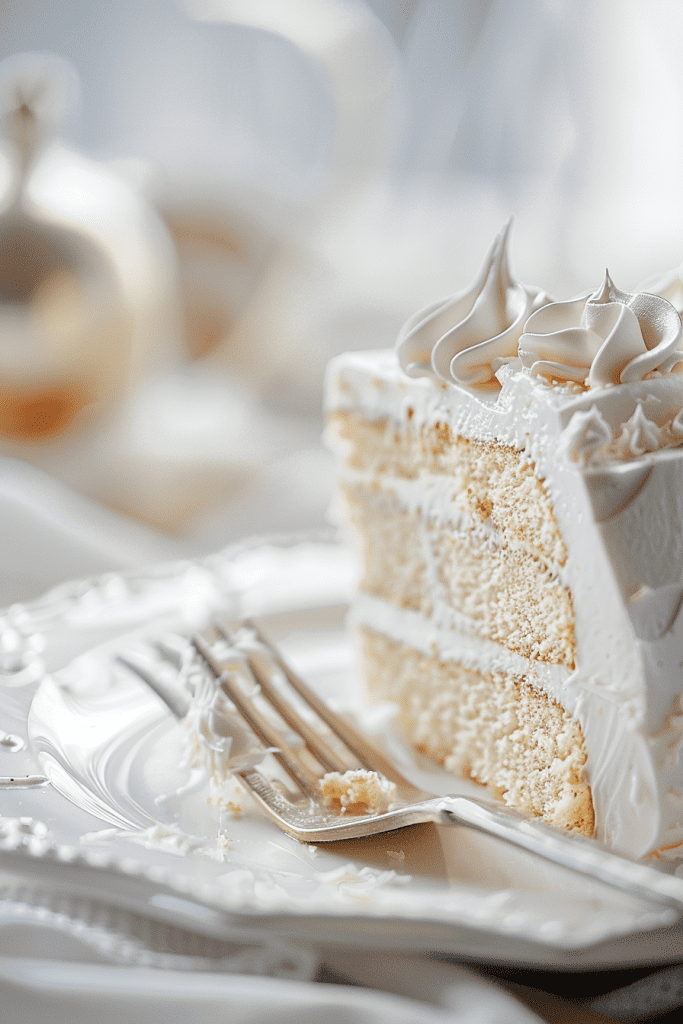
Best Practices for Serving
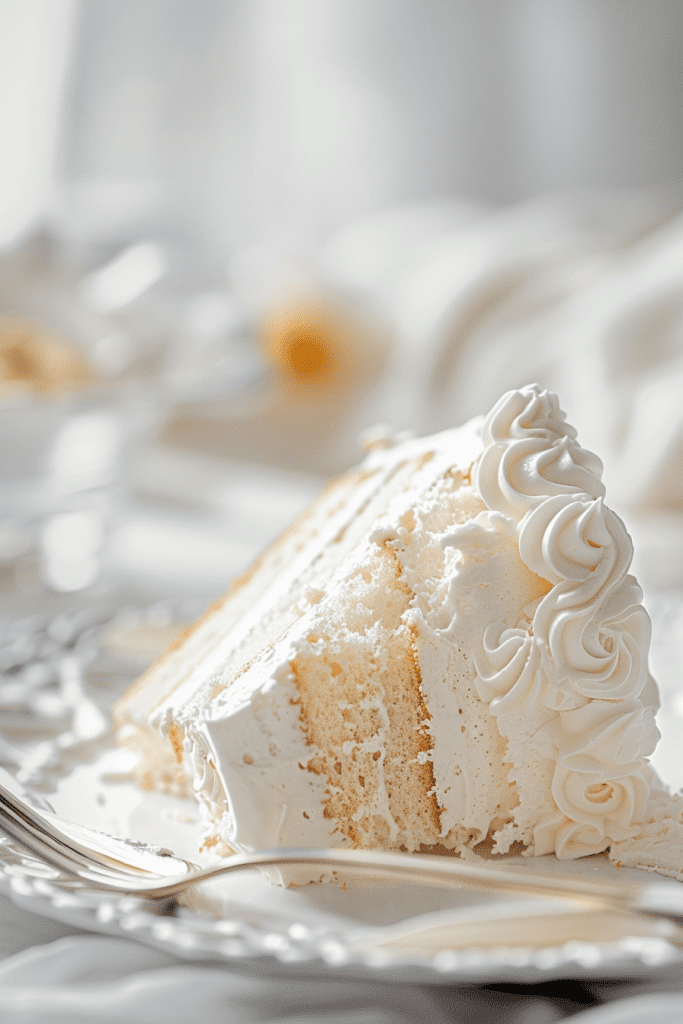
To serve your decadent white velvet cake, ensure it is at room temperature for the best taste and texture. For a clean slice, use a sharp knife dipped in hot water and wiped dry between cuts, creating smooth edges on each slice. Pair each slice with a dollop of fresh whipped cream or a scoop of vanilla ice cream to complement the cake’s rich flavor.
How to Store
Store your white velvet cake in an airtight cake container at room temperature for up to 2 days. If the cake contains perishable fillings like cream cheese icing, refrigerate it, ensuring it is covered securely. For longer storage, freeze the cake in slices or as a whole, wrapped tightly in plastic wrap and aluminum foil to prevent freezer burn. Thaw the cake in the refrigerator overnight before serving for the best taste and texture.
Conclusion
That wraps up the journey to mastering the art of creating a heavenly white velvet cake. By following these detailed steps and tips, you’re well-equipped to impress your guests with a stunning and delicious dessert. Remember, attention to detail is key when it comes to assembling and decorating your white velvet cake. Whether you opt for a simple yet elegant design or decide to showcase your skills with intricate decorations, the end result will surely be a showstopper. Don’t forget to personalize your cake with unique touches like fondant decorations or edible gold leaf for that extra touch of luxury. With proper storage techniques, you can enjoy your white velvet cake for days to come. So go ahead, unleash your creativity, and let your white velvet cake creation shine!