
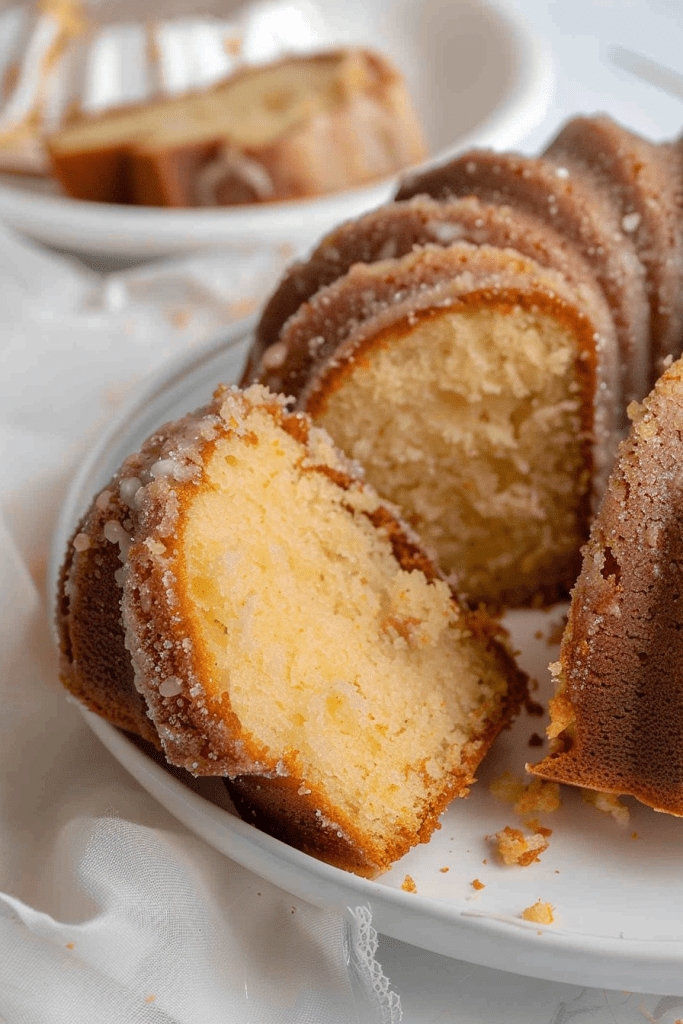
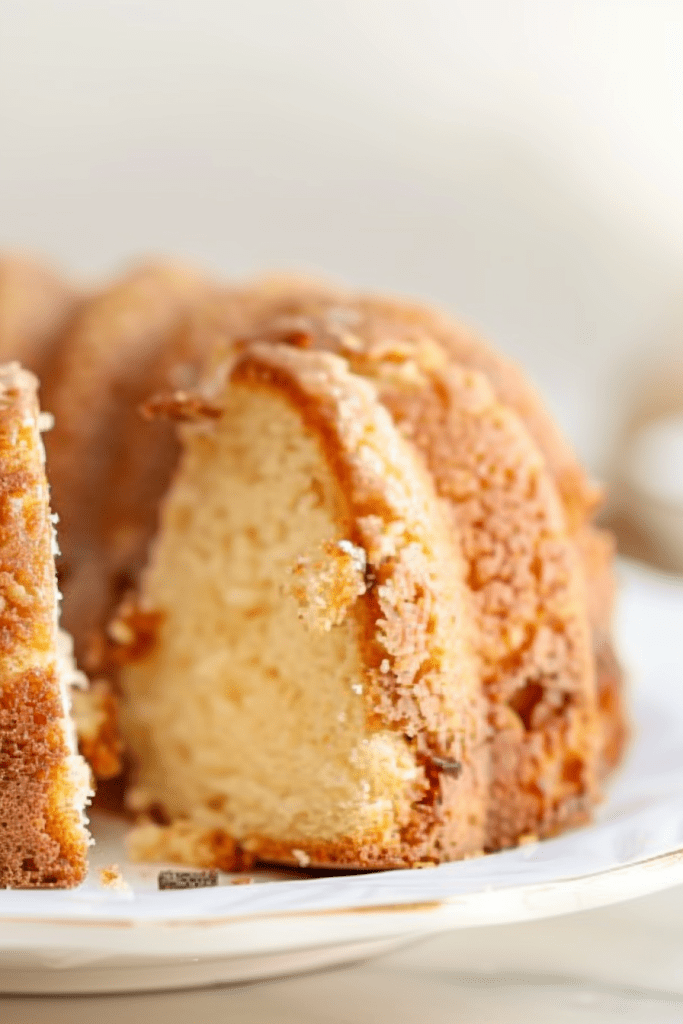
Growing up, the taste of Vanilla Wafer Cake was a nostalgic delight that never failed to bring a smile to my face. This vintage recipe, brimming with crushed Nilla Wafers, coconut, and pecans, holds a special place in my heart. The unique twist of using cookie crumbs instead of traditional flour creates a dense, flavorful Bundt cake that is simply irresistible.
The moment I sink my teeth into a slice of this buttery, moist cake, I am transported back to cherished memories of indulging in its rich goodness. The marriage of vanilla wafers, pecans, and coconut in this recipe elevates the classic cake to a whole new level of decadence. Whether baked in a bundt pan or a tube pan, this Vanilla Wafer Cake promises a delightful treat that is sure to captivate your taste buds.
Ingredients
Required Ingredients
- 2 cups granulated sugar
- 1 cup butter, softened
- 6 large eggs
- 2 teaspoons vanilla
- 1/2 cup milk
- 12 ounces vanilla wafers, crushed
- 7 ounces unsweetened coconut
- 1 cup pecans, chopped
- Canned coconut flakes or bagged coconut can be used instead of frozen coconut.
- Customize your cake by omitting coconut and/or pecans if desired.
- Serve the cake dusted with powdered sugar, with whipped cream, caramel sauce, fresh berries, or lightly toasted in an air fryer.
Equipment Needed
To prepare this delicious Vanilla Wafer Cake, you will need the following equipment:
1. Bundt or Tube Pan:
You will need a Bundt or Tube pan to bake the cake. I recommend using a tube pan to avoid any sticking issues that can sometimes occur with certain Bundt pans.
2. Mixing Bowls:
Have mixing bowls available for combining all the cake ingredients. You’ll need a couple of bowls to mix the wet and dry ingredients separately before combining them.
3. Hand or Stand Mixer:
A hand mixer or a stand mixer will make it easier to cream the butter and sugar, and beat the eggs and vanilla until fluffy.
4. Spatula:
A spatula is essential for scraping down the sides of the mixing bowl and ensuring all the ingredients are well combined.
5. Measuring Cups and Spoons:
Accurate measurements are crucial in baking, so have measuring cups and spoons on hand to measure out the ingredients precisely.
6. Cooling Rack:
Once the cake is baked, you will need a cooling rack to let it cool completely before serving or adding any toppings.
7. Foil (if needed):
In case the top of the cake starts to brown too quickly during baking, have foil ready to cover it gently until the cake is fully cooked.
Preparations
Prepping Ingredients
To begin making this delicious Vanilla Wafer Cake, ensure all your ingredients are prepped and ready. Crush the Nilla Wafers to a fine crumb by using either a food processor or a ziplock bag and a rolling pin. Remember to shred the coconut, chop the pecans, and have all other ingredients measured out.
Preheating and Pan Preparation
Before diving into the mixing process, preheat your oven to 350 degrees Fahrenheit. Grease and flour your Bundt cake pan thoroughly, making sure every crevice is coated to prevent sticking. Proper preheating and pan preparation are crucial for a successful and beautifully baked cake.
Instructions
In this section, I will walk you through the steps of creating a delicious Vanilla Wafer Cake. From mixing the batter to baking the cake and finally cooling and removing it from the pan, follow these instructions for a perfect outcome.
Mixing the Batter
- Begin by preheating your oven to 350°F to ensure it’s ready for baking later.
- In a large bowl, cream together softened butter and granulated sugar until smooth.
- Add eggs and vanilla extract to the mixture, mixing well after each addition.
- Pour in milk and continue mixing until the batter is well-combined.
- Use a food processor to crush Nilla Wafers into fine crumbs, ensuring no large pieces remain.
- Fold the crushed wafers, shredded coconut, and chopped pecans into the batter by hand until evenly distributed.
- Grease your Bundt pan generously, ensuring to cover all surfaces evenly.
Baking the Cake
- Once the batter is ready, pour it into the prepared Bundt cake pan.
- Place the pan on the center rack of the preheated oven and bake for 60 to 70 minutes.
- Check for doneness by inserting a toothpick into the center of the cake – it should come out clean when the cake is ready.
- To prevent any potential overflow during baking, place a baking sheet on the rack below the cake.
- Once baked, remove the cake from the oven and place the pan on a wire rack for 15 minutes to cool slightly.
- After cooling in the pan for 15 minutes, run a knife around the edges of the cake to help release it.
- Invert the pan onto a cake stand or plate, gently tapping if needed to release the cake.
- Allow the cake to cool completely before slicing it.
- Optionally, you can wrap the fully cooled cake in plastic wrap and foil to store it in the freezer for up to a month.
Assembly and Decoration
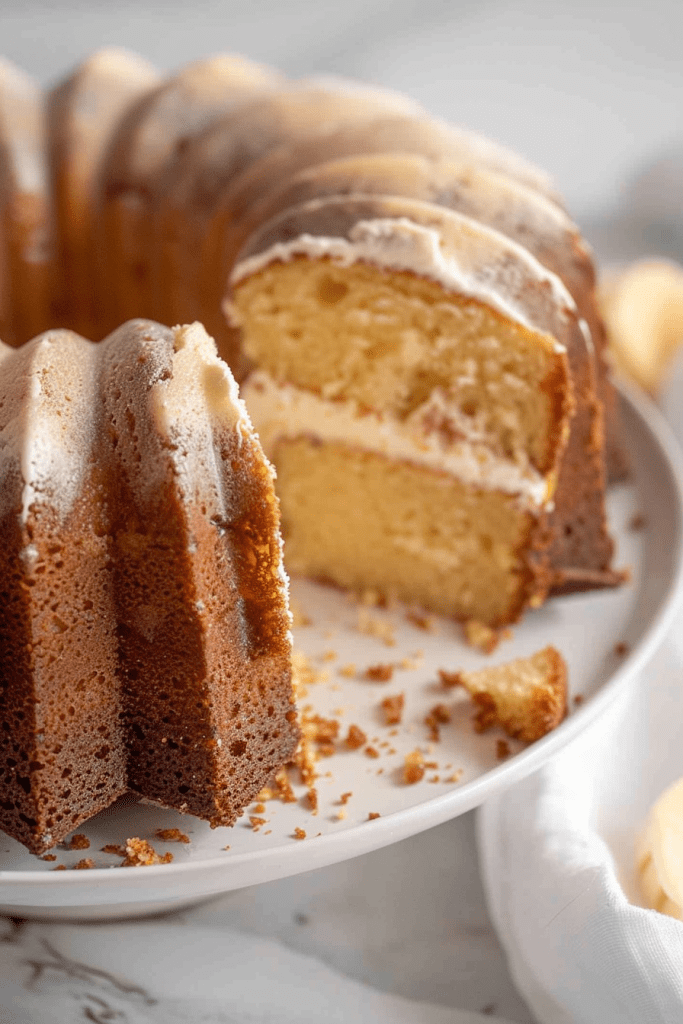
Frosting and Layering Tips
For frosting and layering this vanilla wafer cake, I recommend using a delicious white chocolate or vanilla frosting. You can start by spreading a thin layer of frosting between each cake layer. It helps to make the cake layers stick together and adds extra moisture and flavor. After layering the cake, apply a generous amount of frosting on the top and sides for a beautifully frosted look.
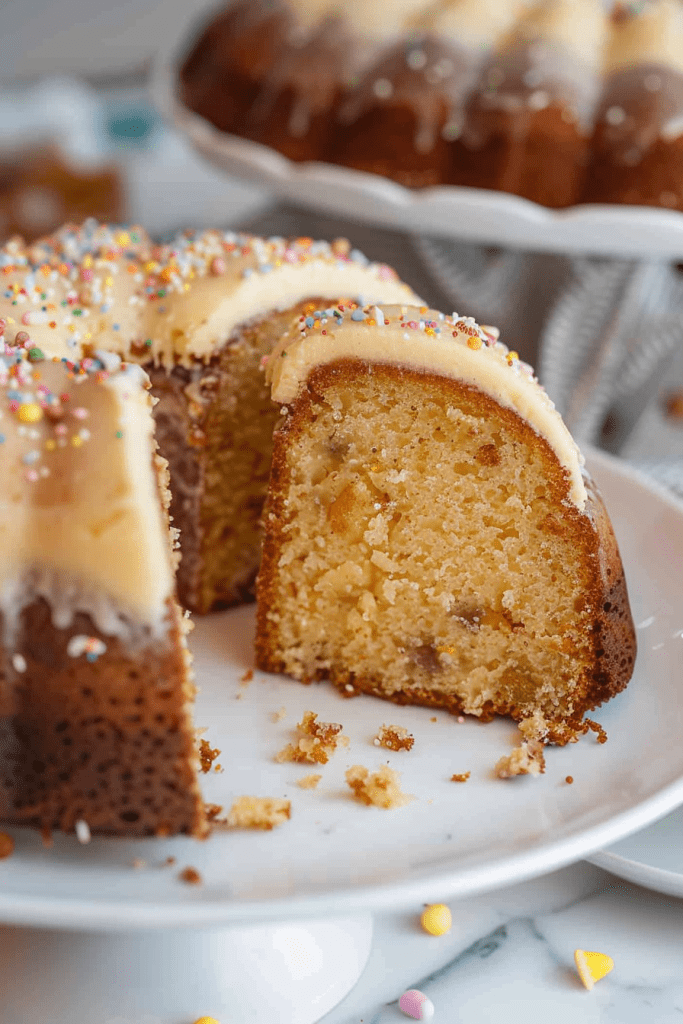
Decorating with Wafer and Additional Toppings
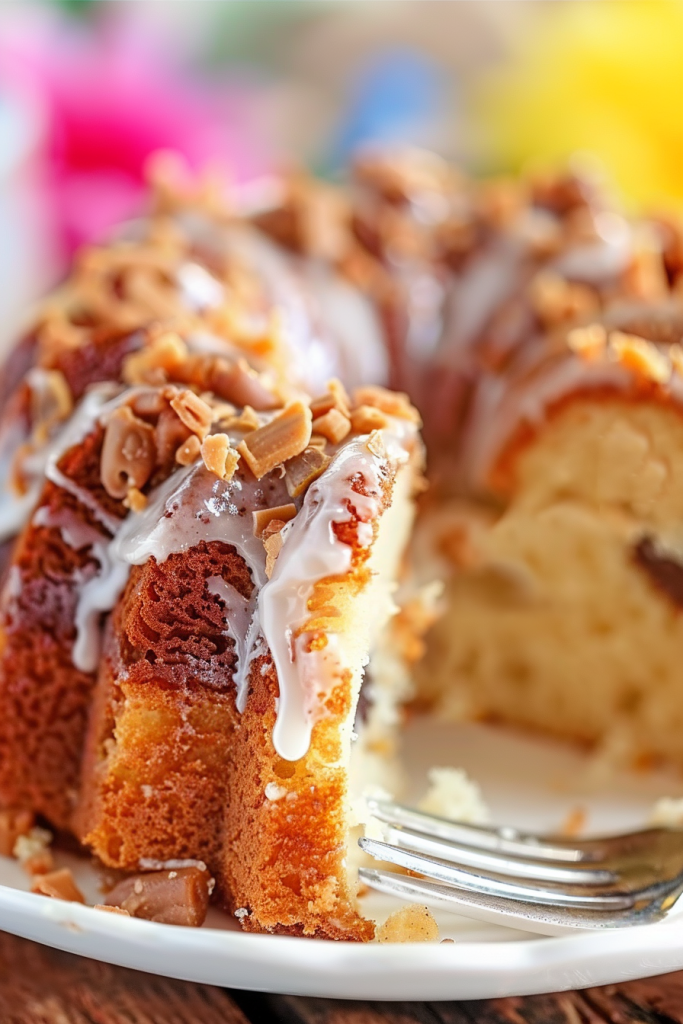
To decorate this vanilla wafer cake, consider adding a sprinkle of crushed vanilla wafers on top of the frosting for a crunchy texture and a hint of nostalgic flavor. You can also garnish the cake with additional toppings like fresh coconut flakes, chopped pecans, or a drizzle of caramel sauce for a visually appealing and tasty finishing touch. Get creative with your decorations to make this cake a stunning centerpiece for any occasion.
Serving Suggestions
Vanilla Wafer Cake pairs perfectly with a variety of accompaniments to elevate the dessert experience. Enhance the flavors and presentation of your cake with these ideal suggestions.
- Whipped Cream: Serve each slice with a dollop of freshly whipped cream for a classic and light addition.
- Fresh Berries: Top the cake with a mix of fresh berries like strawberries, blueberries, or raspberries for a burst of fruity sweetness.
- Caramel Sauce: Drizzle warm caramel sauce over the cake for a decadent finish that adds richness and depth to each bite.
- Toasted Coconut: Sprinkle toasted coconut shavings over the cake to enhance the nutty flavor and provide a delightful crunch.
- Vanilla Ice Cream: Pair slices of the cake with a scoop of creamy vanilla ice cream for a delightful contrast of temperatures and textures.

Storage and Preservation
After indulging in the delightful Vanilla Wafer Cake, you might wonder about the best ways to store and preserve this scrumptious dessert. Whether you have a few slices left over or want to prepare ahead of time, proper storage techniques can help maintain the cake’s freshness and flavor.
1. Room Temperature: If you plan to consume the cake within a day or two, storing it at room temperature in an airtight container is ideal. Ensure the container is sealed tightly to prevent air exposure, which can dry out the cake.
2. Refrigeration: For longer storage periods, you can refrigerate the Vanilla Wafer Cake. Wrap the cake slices or the whole cake tightly in plastic wrap or aluminum foil before placing it in the refrigerator. This method can keep the cake fresh for up to five days.
3. Freezing: To extend the shelf life of your Vanilla Wafer Cake, freezing is an excellent option. Cut the cake into individual slices or wrap the whole cake tightly in plastic wrap and aluminum foil before placing it in a freezer-safe container. Properly stored, the cake can last up to three months in the freezer.
4. Thawing and Serving: When ready to enjoy your frozen Vanilla Wafer Cake, remove it from the freezer and let it thaw in the refrigerator or at room temperature. For a fresher taste, you can briefly warm the cake in the oven before serving.
By following these simple storage and preservation tips, you can savor the delightful flavors of your Vanilla Wafer Cake even days after baking it. Whether stored at room temperature, in the refrigerator, or in the freezer, your cake will remain moist and delicious, ready to be enjoyed at any time.
Conclusion
Vanilla Wafer Cake recipes offer a delightful blend of flavors and textures that evoke a sense of nostalgia. By following precise measurements and baking techniques, you can create a delicious dessert that is sure to impress. From mixing the batter to decorating the finished cake, each step contributes to a delightful culinary experience. Whether enjoyed on its own or paired with toppings like whipped cream or caramel sauce, Vanilla Wafer Cake is a versatile treat for any occasion. By understanding storage options and serving tips, you can ensure that your cake remains fresh and delicious for days to come. Explore the endless possibilities of Vanilla Wafer Cake recipes and treat yourself to a slice of homemade goodness.