
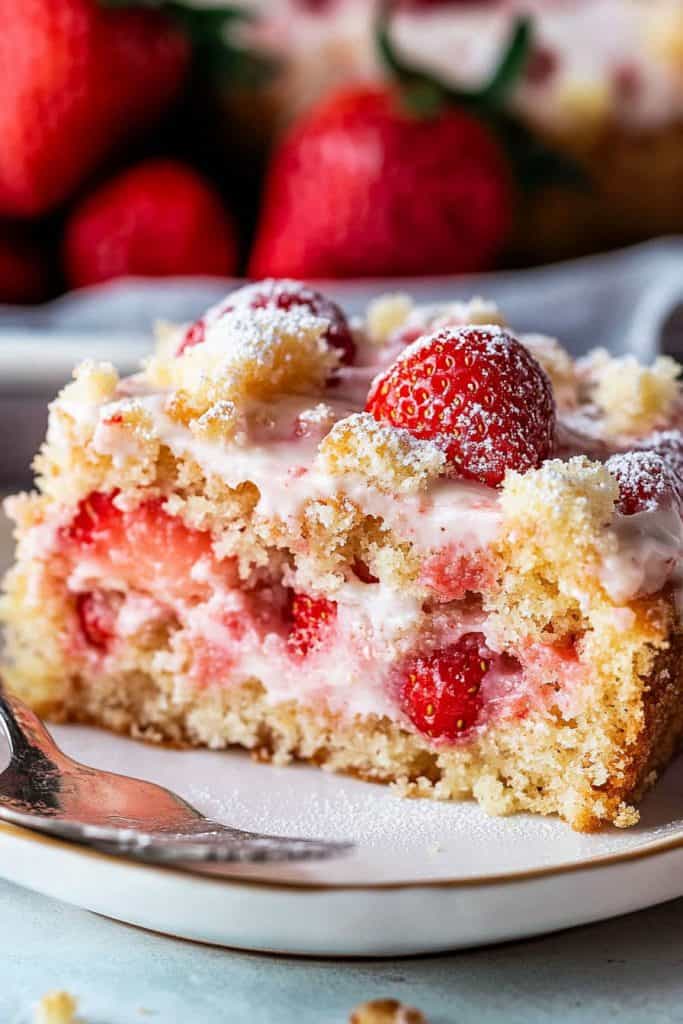
Nothing says “weekend indulgence” quite like a slice of strawberry coffee cake with a crumb topping. This delightful treat combines the sweetness of fresh strawberries with the comforting warmth of a classic coffee cake. Perfect for brunch gatherings or a cozy afternoon snack, this cake will quickly become a household favorite.
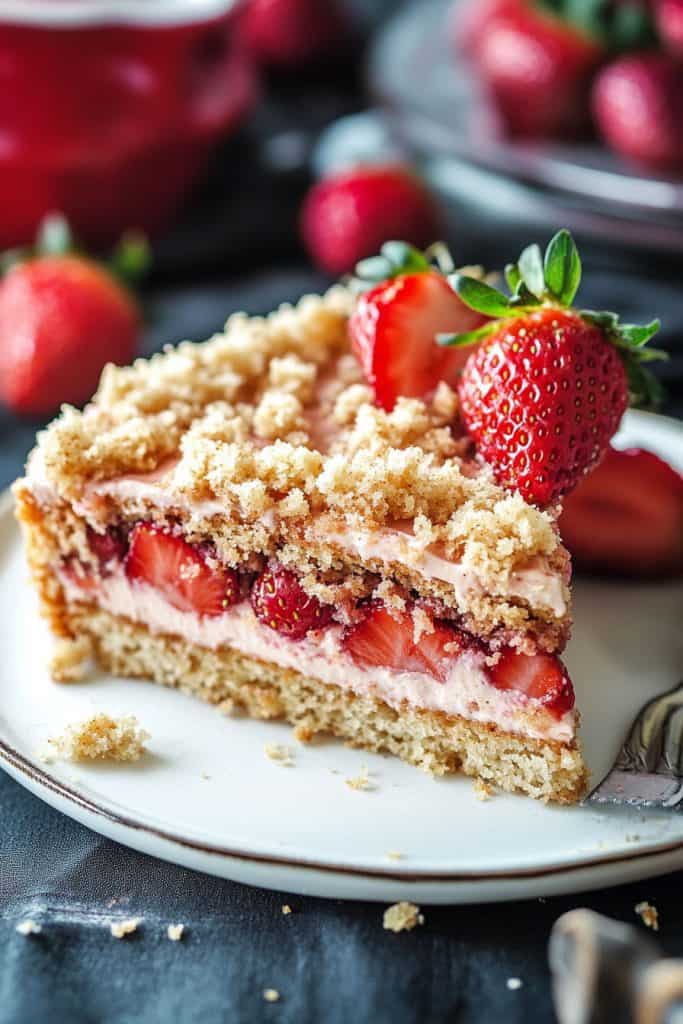
The origins of coffee cake date back to 17th-century Europe, where it was a staple accompaniment to coffee. Adding strawberries and a crumb topping gives it a modern twist, making it irresistible. I love how the juicy strawberries blend with the buttery crumbs, creating a perfect balance of flavors and textures. Whether you’re a seasoned baker or a newbie in the kitchen, this recipe is straightforward and rewarding.
Tools and Equipment
To ensure that your strawberry coffee cake with crumb topping comes out perfectly, it’s essential to use the right tools and equipment. Here’s what you’ll need:
- 9-Inch Round Cake Pan: A standard 9-inch round cake pan works perfectly for this recipe. Lightly grease and flour it to ensure the cake releases easily.
- Mixing Bowls: Use medium to large bowls for mixing both the batter and the crumb topping.
- Electric Mixer: Ideal for creaming the butter and sugar, giving the cake batter a light and airy texture.
- Measuring Cups and Spoons: Precise measurements are crucial for baking success.
- Spatula: For spreading the batter evenly in the pan and ensuring no ingredients are wasted.
- Sifter: Sifting the flour and dry ingredients ensures a lighter texture for the cake.
- Cooling Rack: Proper cooling prevents the bottom of the cake from becoming soggy.
Ingredients
Below are the ingredients you’ll need to make this delicious strawberry coffee cake with a crumb topping. Ensure you have all items at hand before you begin.
Cake Batter
- ¾ cup unsalted butter, room temperature
- ¾ cup white sugar
- 2 large eggs, room temperature
- 1 teaspoon vanilla extract
- 1 teaspoon lemon zest
- ⅔ cup sour cream
- 1 ¼ cups all-purpose flour
- 1 teaspoon baking powder
- ¼ teaspoon baking soda
- ½ teaspoon salt
- 1 cup fresh strawberries, sliced
Crumb Topping
- ¼ cup white sugar
- ⅓ cup light brown sugar
- 1 teaspoon ground cinnamon
- 1 stick (½ cup) unsalted butter, melted
- 1 ⅓ cups all-purpose flour
With these ingredients ready, you’ll be all set to create a delightful strawberry coffee cake that will impress everyone.
Directions
Prep
Start by preheating your oven to 350°F (175°C). Lightly butter and flour a 9-inch round cake pan or line it with parchment paper.
Make the Cake Batter
- Place the butter and white sugar in a large mixing bowl. Beat on high speed until well incorporated and fluffy—this will take about 5 minutes.
- Reduce the mixer speed to low and add the eggs one at a time, mixing well after each addition. Add the vanilla extract and lemon zest, and mix until incorporated.
- In a separate bowl, sift together the flour, baking powder, baking soda, and salt.
- Alternately add the dry flour mixture and sour cream to the butter-sugar mixture. Begin with ⅓ of the flour mixture, mixing just until combined, then add ½ of the sour cream. Continue alternating (flour, sour cream, flour), mixing after each addition until just incorporated. Avoid overmixing.
Assemble the Cake
- Spread the batter evenly into the prepared cake pan.
- Arrange the sliced strawberries evenly over the top of the batter.
- Sprinkle the crumb topping (prepared as described below) evenly over the strawberries.
Make the Crumb Topping
- In a medium bowl, combine the white sugar, light brown sugar, and cinnamon. Stir to mix.
- Add the melted butter to the bowl, stirring until fully incorporated.
- Add the flour and mix well until the mixture resembles coarse crumbs.
Bake
Bake the cake in the preheated oven for 40 to 50 minutes, or until a toothpick inserted into the center comes out clean.
Cool
Remove the cake from the oven and allow it to cool in the pan for about 10 minutes. Transfer the cake to a wire rack to cool completely before slicing and serving.
Tips for Success
Making the perfect strawberry coffee cake with a crumb topping requires a few helpful tips to ensure the best results:
Don’t Rush Cooling: Allow the cake to cool for at least 10 minutes in the pan before transferring it to a cooling rack to prevent the crumb topping from shifting.
Picking Fresh Strawberries: Choose strawberries that are bright red and firm to the touch for the best flavor and texture.
Chilling the Crumb Topping: For a crunchier topping, chill the crumb mixture in the refrigerator while you prepare the batter.
Avoid Overmixing: Mix the batter only until the ingredients are combined to avoid a dense cake.
Storage and Freezing
Proper storage and freezing methods help keep your strawberry coffee cake fresh longer.
Freezing: Wrap the completely cooled cake tightly in plastic wrap and place it in an airtight container or resealable freezer bag. Freeze for up to three months. Thaw overnight in the refrigerator and bring to room temperature before serving.
Storage: Store leftover cake in an airtight container at room temperature for up to two days. For longer freshness, refrigerate for up to five days.
Conclusion
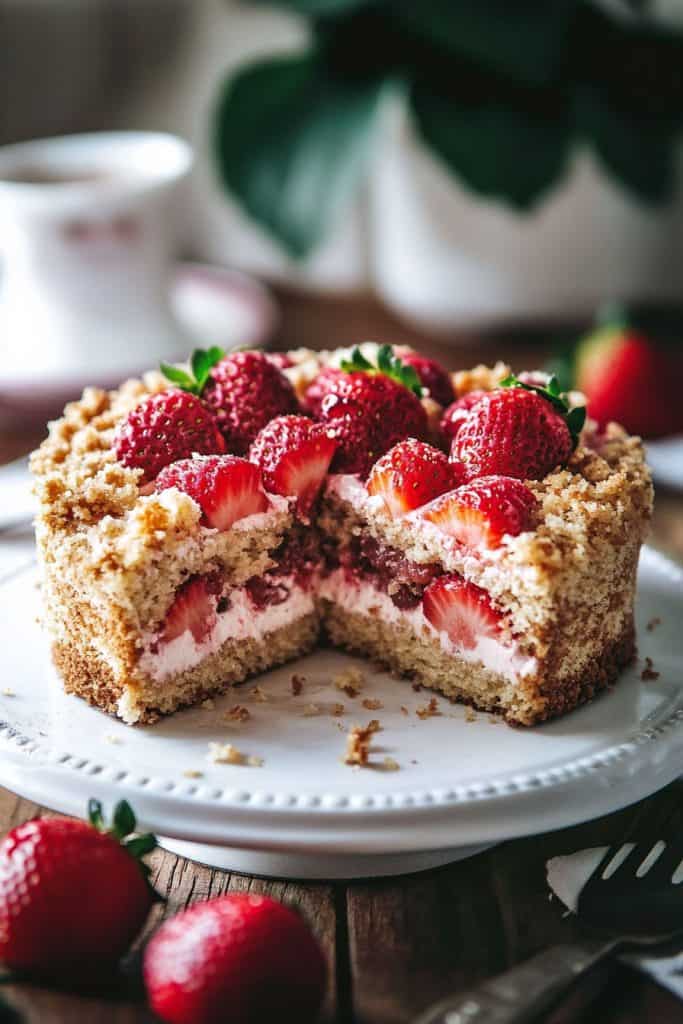
Creating a strawberry coffee cake with a crumb topping is a delightful experience that brings together simplicity and sophistication. Whether you’re an experienced baker or just starting out, this recipe is designed to deliver flavorful, show-stopping results. The sweet strawberries, buttery crumb topping, and tender cake make for an irresistible combination. By following the steps and tips provided, you’ll achieve a cake that’s as delicious as it is beautiful. Don’t forget to enjoy a warm slice with a cup of coffee or tea. Happy baking!
PrintStrawberry Coffee Cake with Crumb

This Strawberry Coffee Cake with Crumb is the perfect blend of moist, tender cake, sweet strawberries, and a buttery crumb topping. Perfect for brunch, a cozy snack, or dessert, this easy-to-make coffee cake is bursting with fresh flavor and a hint of cinnamon. Ideal for impressing guests or indulging with a warm cup of coffee!
- Prep Time: 20 minutes
- Cook Time: 40–50 minutes
- Total Time: 1 hour 10 minutes
- Yield: 8 slices 1x
- Category: Dessert/Brunch
- Cuisine: American
Ingredients
Cake Batter:
- ¾ cup unsalted butter (room temperature)
- ¾ cup white sugar
- 2 large eggs (room temperature)
- 1 teaspoon vanilla extract
- 1 teaspoon lemon zest
- ⅔ cup sour cream
- 1 ¼ cups all-purpose flour
- 1 teaspoon baking powder
- ¼ teaspoon baking soda
- ½ teaspoon salt
- 1 cup fresh strawberries (sliced)
Crumb Topping:
- ¼ cup white sugar
- ⅓ cup light brown sugar
- 1 teaspoon ground cinnamon
- ½ cup (1 stick) unsalted butter (melted)
- 1 ⅓ cups all-purpose flour
Instructions
1. Prep the Oven and Pan
- Preheat oven to 350°F (175°C).
- Grease and flour a 9-inch round cake pan or line it with parchment paper for easy release. Pro Tip: Lightly greasing ensures the cake won’t stick, while flour gives the batter extra lift.
2. Make the Cake Batter
- In a large mixing bowl, cream butter and sugar on high speed until fluffy and light. This should take about 5 minutes.
- Reduce the mixer to low speed and beat in the eggs, one at a time, until fully incorporated.
- Add the vanilla extract and lemon zest, mixing until smooth.
- In a separate bowl, whisk together the flour, baking powder, baking soda, and salt.
- Alternate adding the dry ingredients and sour cream to the butter-sugar mixture:
- Add ⅓ of the dry ingredients and mix until just combined.
- Add ½ of the sour cream and mix gently. Repeat, finishing with the last portion of the dry ingredients.
Pro Tip: Don’t overmix the batter—this can result in a dense cake. Mix until just combined.
3. Prepare the Crumb Topping
- In a medium bowl, combine the white sugar, light brown sugar, and cinnamon.
- Stir in the melted butter until fully blended.
- Add the flour and mix until the mixture resembles coarse crumbs. Chill in the refrigerator until ready to use. Visual Cue: The topping should hold its shape when pressed between your fingers but still be crumbly.
4. Assemble the Cake
- Spread the batter evenly into the prepared pan.
- Arrange sliced strawberries over the top in an even layer.
- Sprinkle the crumb topping evenly over the strawberries. Pro Tip: Chill the crumb topping briefly before sprinkling to help it stay crisp and flaky during baking.
5. Bake and Cool
- Bake in the preheated oven for 40–50 minutes or until a toothpick inserted into the center comes out clean.
- Let the cake cool in the pan for 10 minutes, then transfer it to a wire rack to cool completely. Common Mistake: Avoid cutting the cake while it’s still hot; the crumb topping may slide off.
Notes
Serving Suggestions:
- Serve warm or at room temperature with a dusting of powdered sugar, a dollop of whipped cream, or a drizzle of vanilla glaze for a touch of sweetness.
- Pair perfectly with coffee, tea, or a glass of cold milk for a satisfying treat.
Storage and Reheating:
- Room Temperature: Store leftovers in an airtight container for up to 2 days.
- Refrigerator: Extend freshness by refrigerating in a sealed container for up to 5 days.
- Freezer: Wrap tightly in plastic and foil, then freeze for up to 3 months. Thaw overnight in the refrigerator.
- To reheat, warm slices in a 300°F (150°C) oven for 5–10 minutes for that fresh-baked flavor.
Tips & Tricks:
- Choosing Strawberries: Use firm, ripe strawberries; avoid mushy ones to keep the cake from becoming too wet.
- Chilled Crumb Topping: Keeping the topping cold ensures it stays on top and doesn’t sink into the cake.
- Sour Cream Substitute: If you’re out of sour cream, plain Greek yogurt works as a great alternative.